1998 Durango Rear Axle Swap for a 2003
While I was having 4.56 gears installed in my axles, we discovered spun racers. I then decided to go with a 2003 axle so I would have rear disc brake. 2003 was the first year the Durangos came with rear disc brakes.
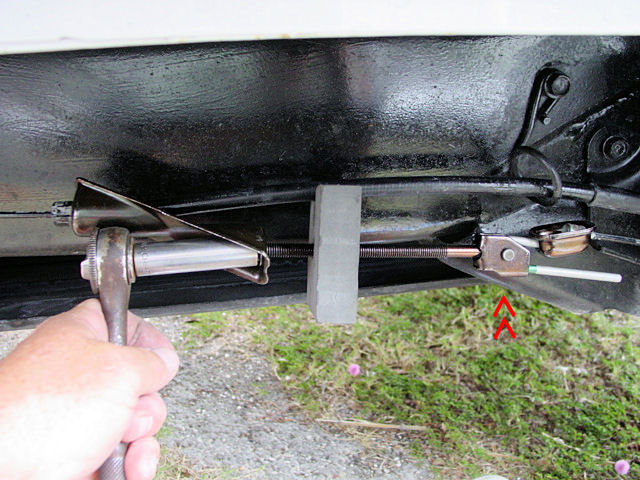
My axle was a 9.25 Twelve Bolt with a locker due to the D being a 4x4. So I located a 2003 from a local wrecking yard out of Houston for $250.00. I found them on eBay by doing a search for Durango axles. The swap is 98% plug and play, so the write up is mainly going to focus on the E-Brake System at the point where the two rear cables come to meet the front main cable. At this point is where the tensioner is located at.
When you do locate an axle and if it is still on the vehicle, make sure you tell them that you want all the brake lines and cables. Tell them to undo all of them and to NOT cut anything. They will usually cut wires, cable and such just to get the parts of the vehicle quicker. The one thing I didn't ask for, which I should have was the Tensioner setup. The dealership lists it as a CABLE-PARK, Part Number - 52113642AB and the price is $15.75.
As I said, the swap is vary basic and if you can remove your old axle, you can certainly install the new one. I have a 5 1/2" suspension lift and the install was still plug and play.
One thing that must be done is to exchange the yokes. That way the '98 driveshaft bolts to the '03 axle. Just unbolt it, pull it out and put the '98 one in its place. |
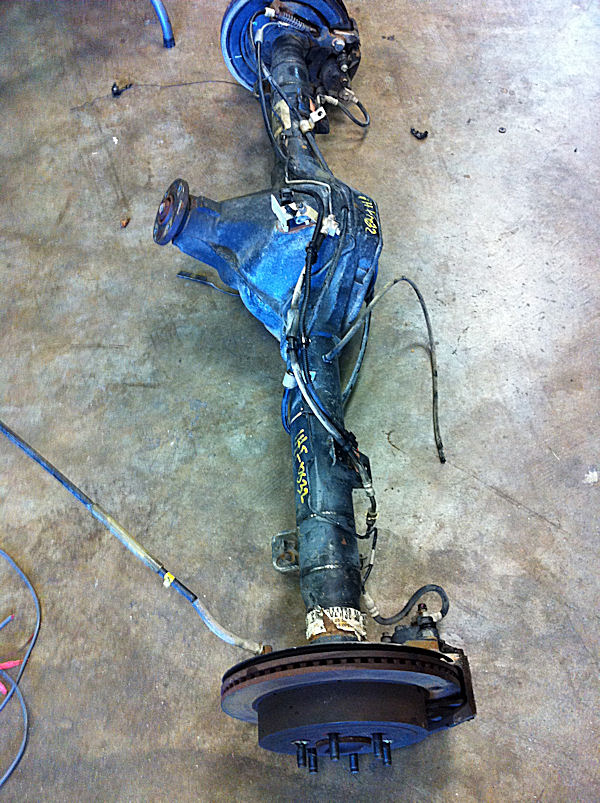
 The old axle |
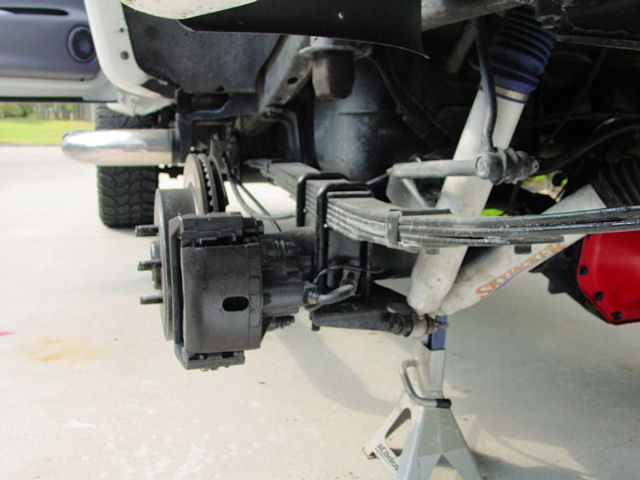
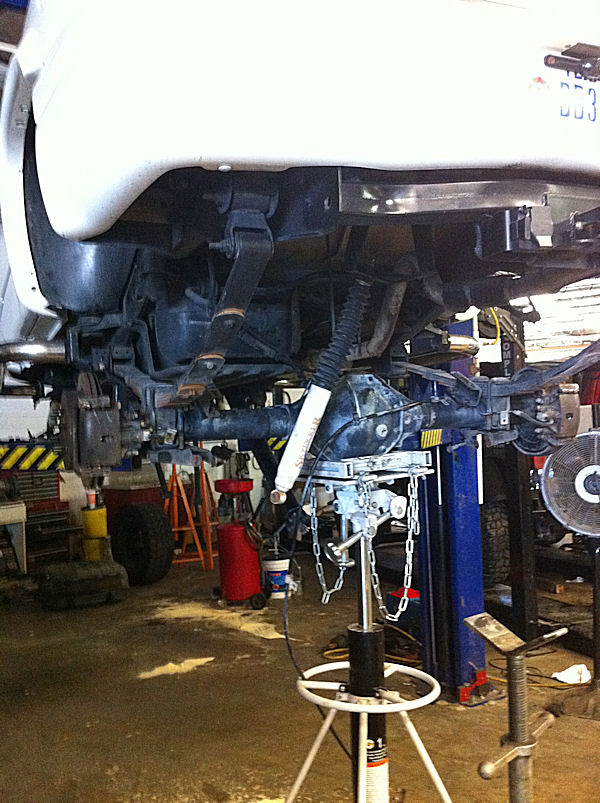 The new axle up in place |
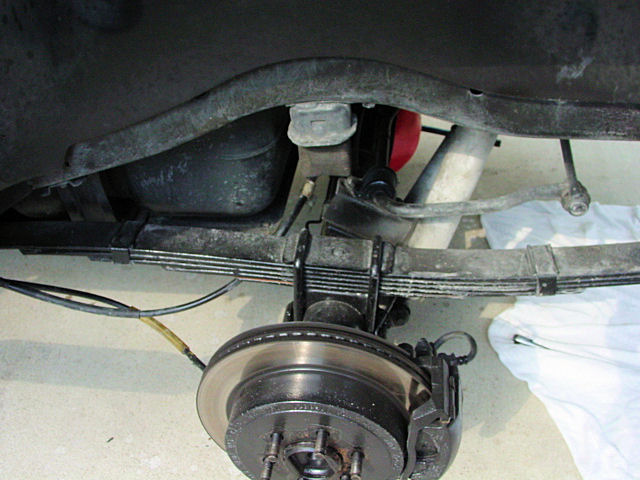
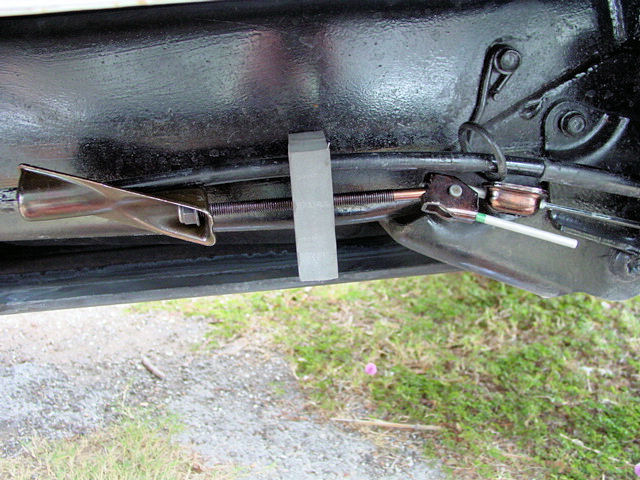
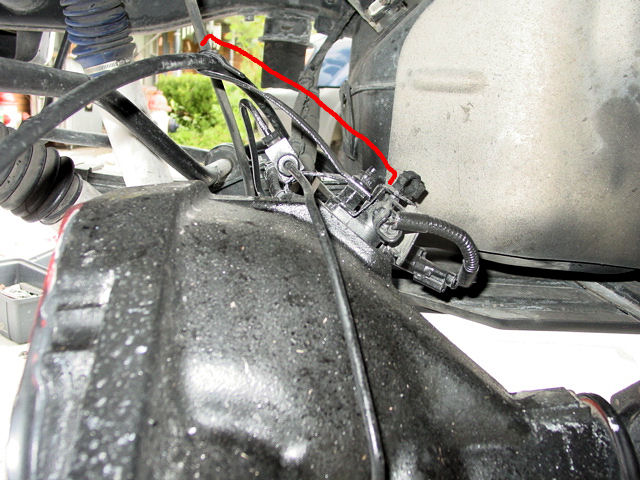 The red line shows the braket that holds the E-Brake Cable. It used to be bolted to the top bolt on the Differential Cover and went downward. Since my D is raised, I bolted it at the point shown in the picture. I did this mainly because I didn't want it to go across my cover as I plan on putting a Mag-Hytec cover on in the very near future. Also, the Speed Sensor was plug and play. My sensor cable plugged right into it and I have had no problems with it. |
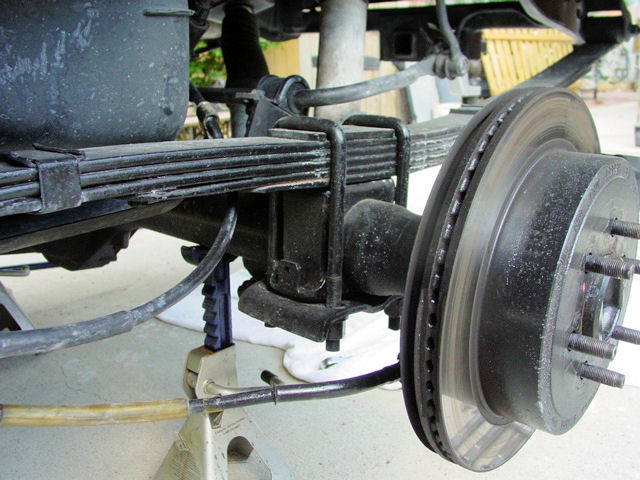
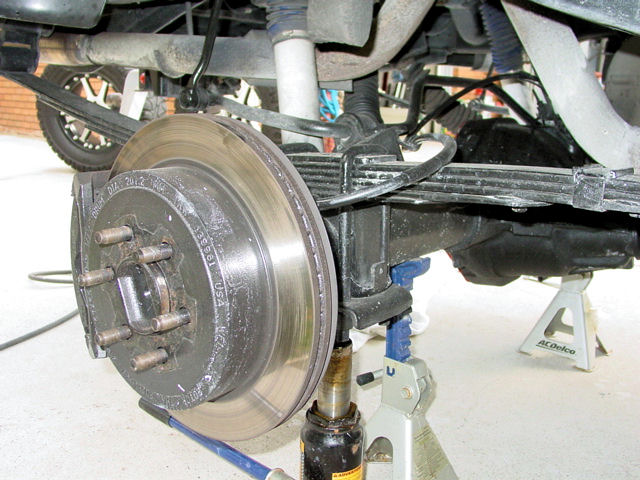 The passenger side view. I also had the discs turned since we did put on new pads. |
 Drivers Side |
 Drivers Side |
 Drivers Side |
 Drivers Side |
 Passenger Side |
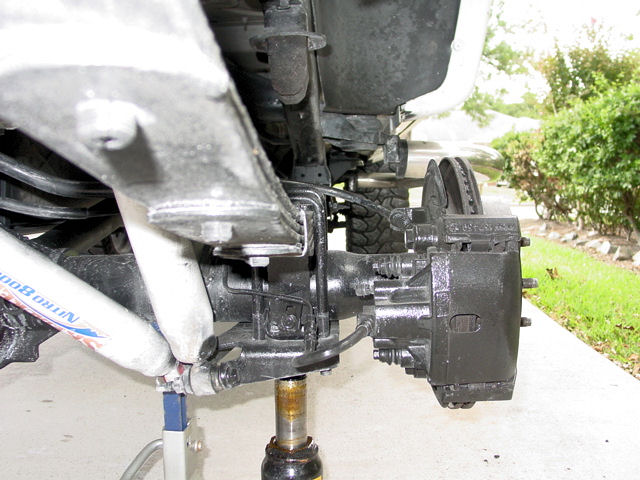
 On the E-Brake Cable running from the passenger side, there are two brackets shown above. Both of them bolted to the Sway Bar bolts. |
Again, there is not much to explain on installing the 2003 Axle. Unbolt old axle, bolt in new one.
The part that needs some modifying is the E-Brake setup at the tensioner, located under the rear drivers side door. This install can go two ways, depending on how you feel like doing it.
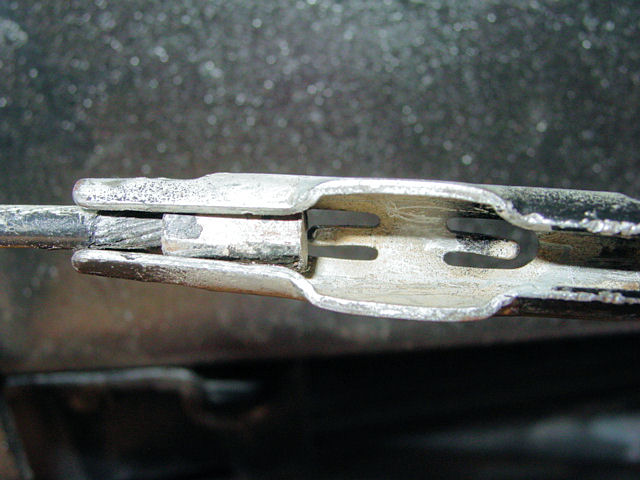
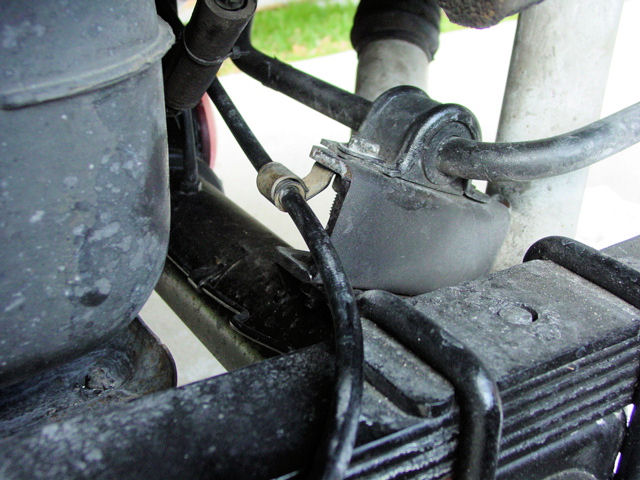
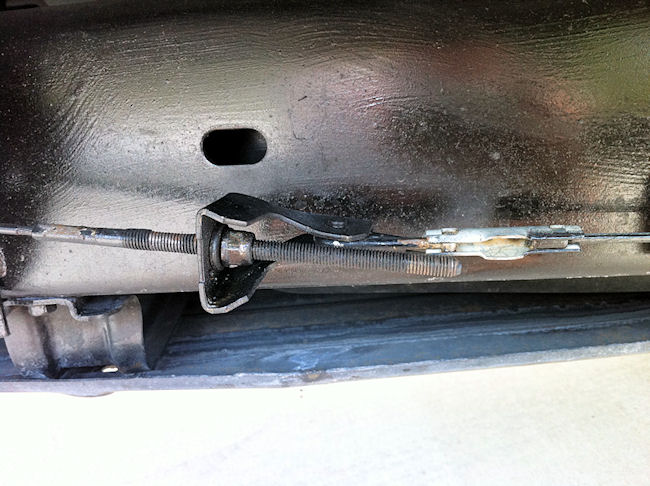
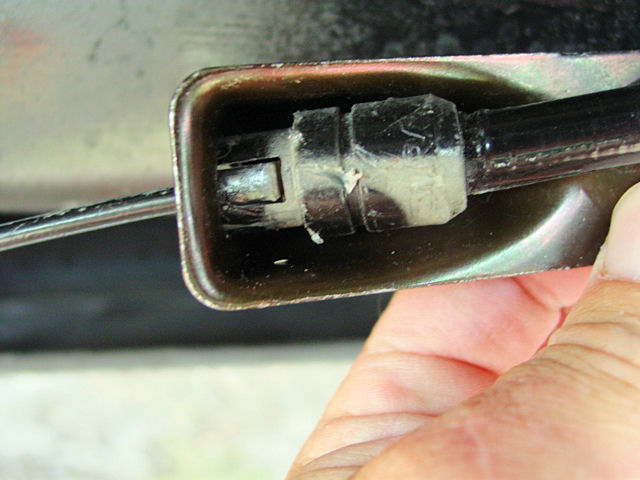
 This is the '98 Tensioner setup. It is seperate from the part that connects the two rear cables to the front cable. |
 This is the '98 clip that holds the two rear cables together. You can actually use this one if you want. Though as you can see, you will need to spread both ends apart as the drivers side cable on the 2003 has a larger lead piece. Plus the passenger side cable has a very large head piece. This does hold up well, but is not the look I wanted. Since I was going with a 2003 setup, I wanted the 2003 Tensioner setup also. |
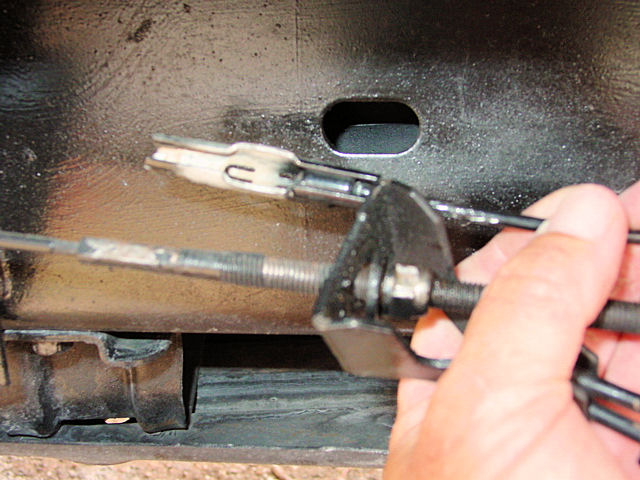
 This is the setup using the '98 clip and tensioner. |
 Another view |
 The '98 Tensioner |
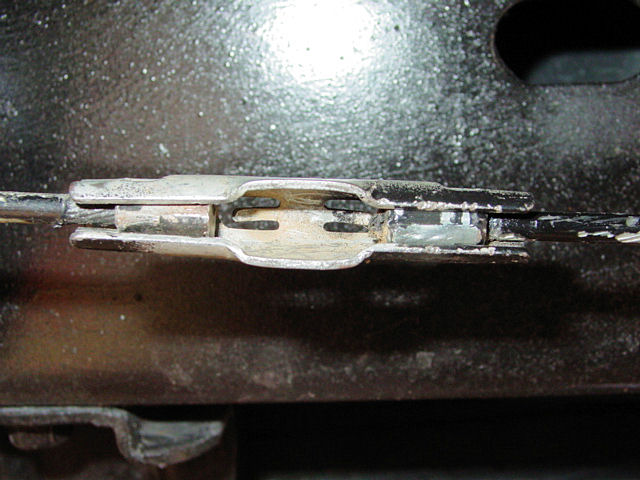
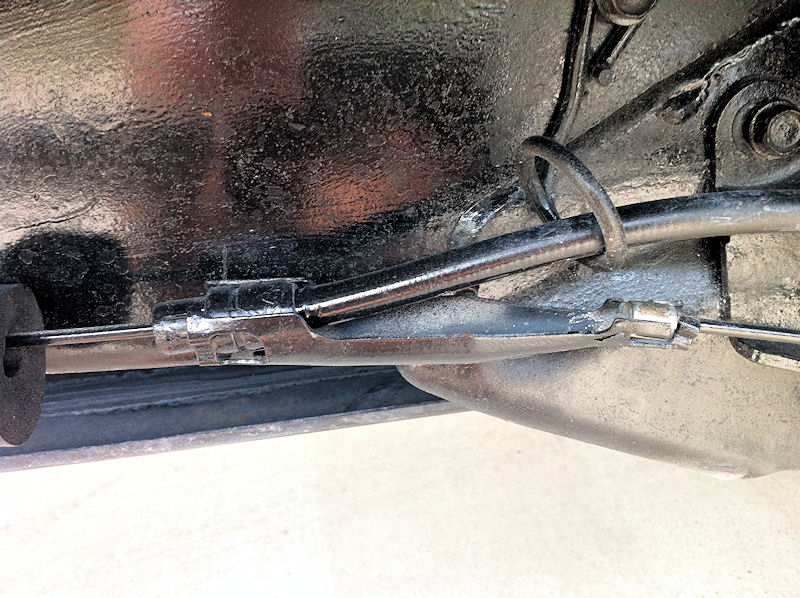
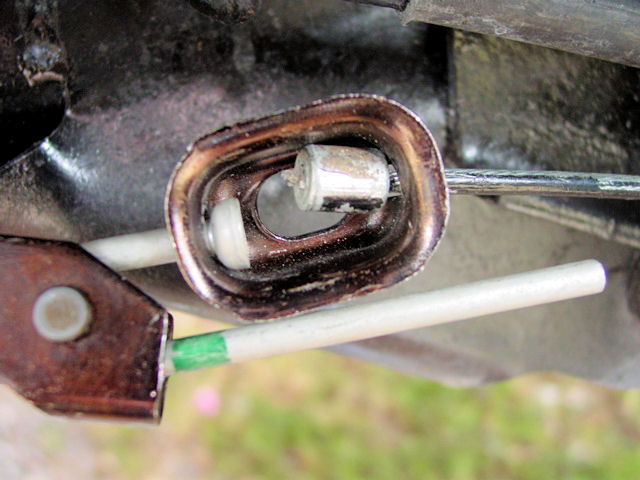
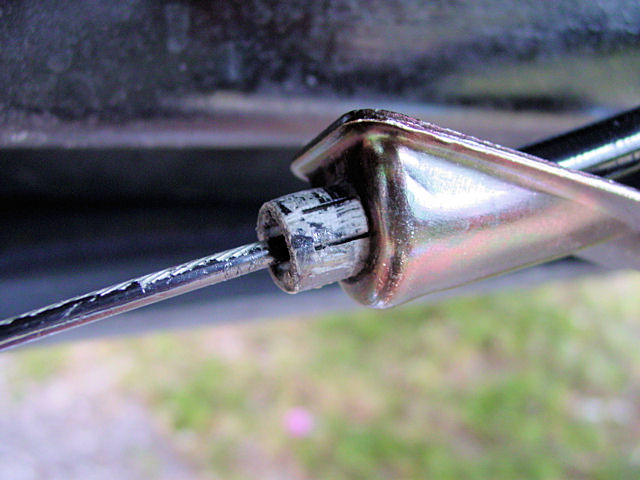
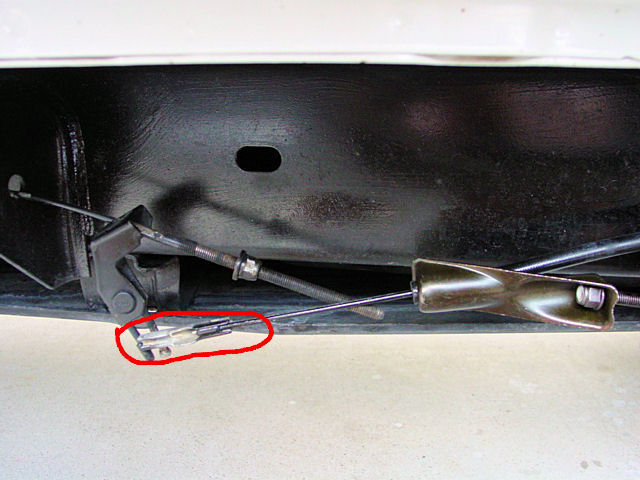 The front part of the new Tensioner. Once the slack is pulled from the passenger side cable, you can see how far the clip (circled) on the end of the cable reaches. On the 2003 Durango, the Tensioner and the piece above, which connects the two rear cables, is one piece. So if you look at the '98 Tensioner, where the threaded bar is, there would be a lead piece that clips into that clip (circled.) |
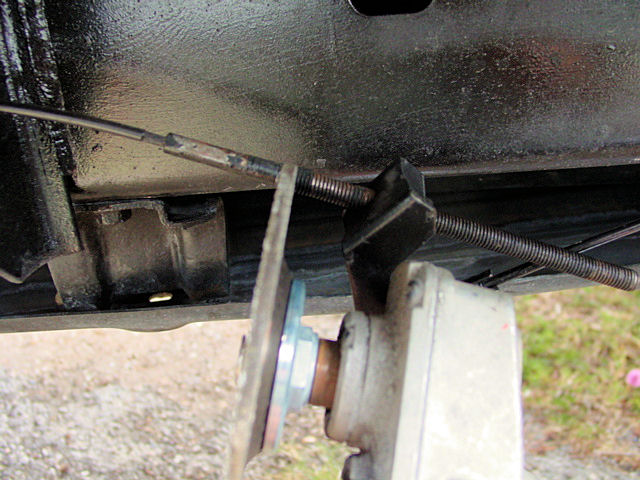
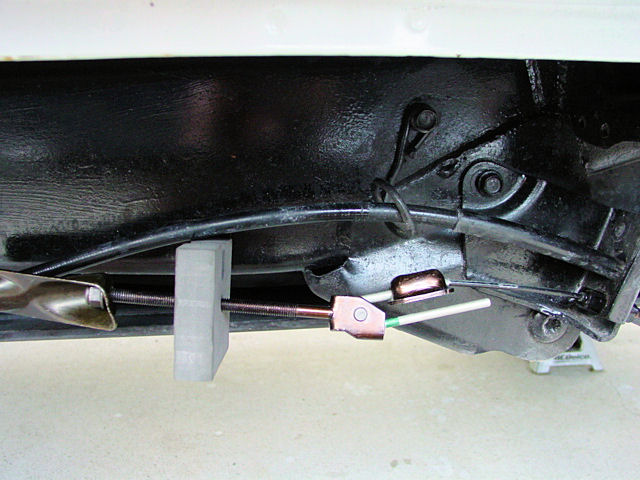 Here is how the 2003 setup will look. Notice where the top cable goes through the loop? Look at the old setup a few pics above and you can see how far away the end of the top cable is now from that loop. |
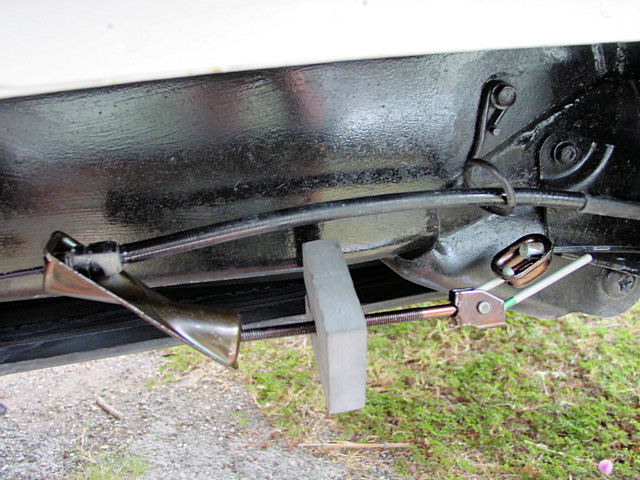 another view of the setup loosely in place. |
 Eventually this piece will click into place with the retaining clips. |
 You can see how far the clip needs to be now to hold it all in place. |
 The drivers side cable clips into here. |
 Now you need to cut this piece at the line to simulate the lead piece on the 2003 cable. That way it will slide into the clip that will hold the front cable to the back cables. This piece needs to be 1/2" long, as you will see in the following pics. |
 I used an angle grinder to make my cut. |
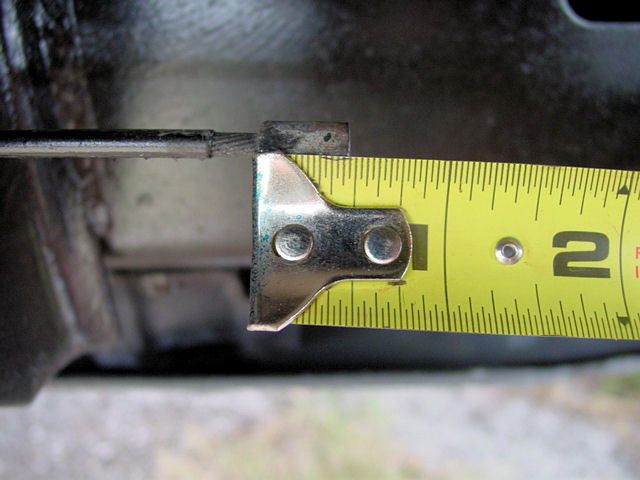 Here is the cut piece at 1/2" long. |
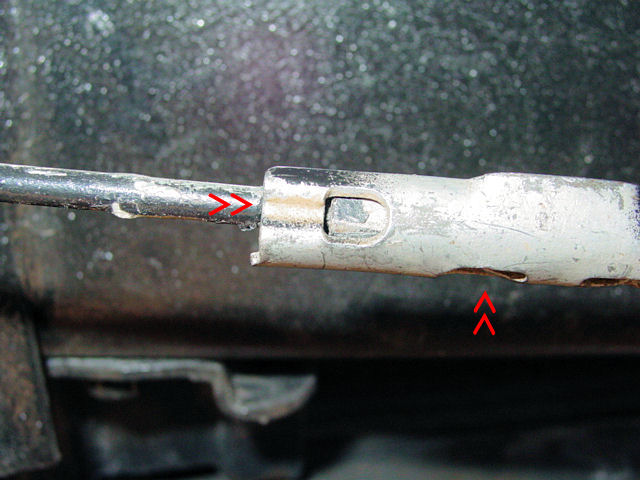 The first two arrows point to an indention that is on both sides of the clip. The other arrows point to what keeps the piece from backing out. Make sure this piece is bent slightly inward. |
|
 Here the passenger side cable clips into place. |
The passenger side end cable locked into the backside of the clip. This setup is now identical to the 2003 setup. |
 The new tensioner setup is now ready to be tightened up. |
Use a deep socket to tighten the tensioner. You need to also hold the part the arrows are pointing to. This will keep the whole thing from turning as you tighten it. I was able to hold it by hand. |
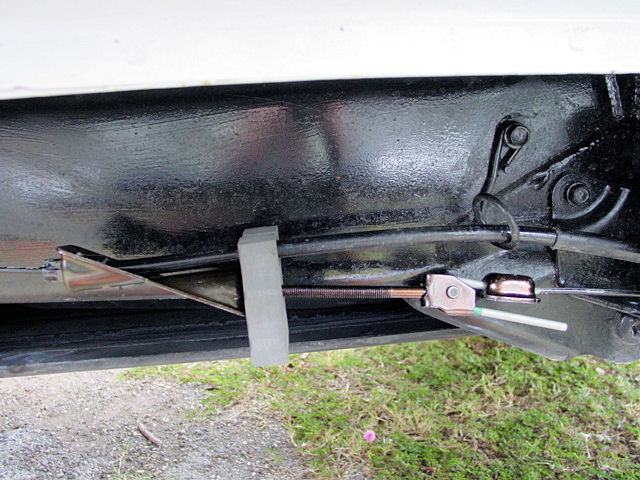 It is now tightened up. I adjusted mine by tightening it until I felt the same resistance on my E-Brake Pedal as I did before. When pushing down the pedal, it starts to get hard at about 3/4 of the way down. |
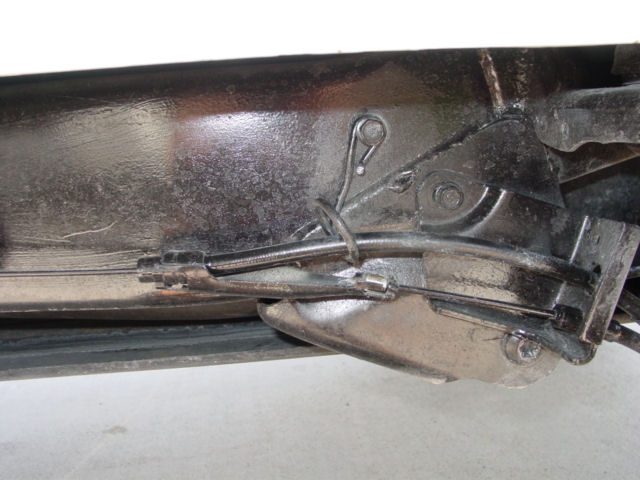
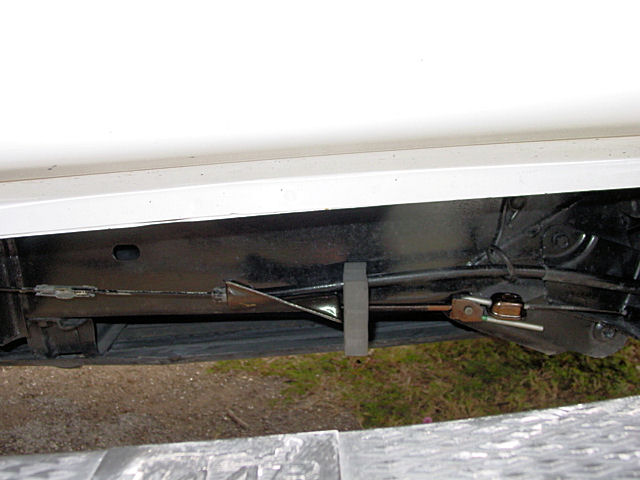 Here you can now see the whole setup and this is what the 2003 setup would look like. |
If you have any questions about this, you can email me at FirePro911@comcast.net One last thing. |