iPod Install Mod into Ashtray
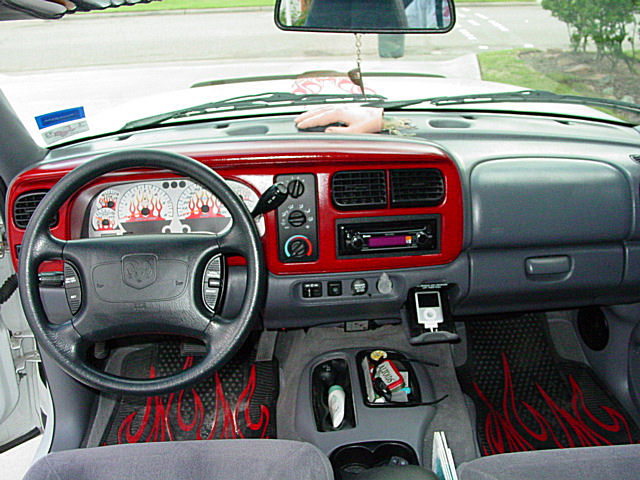
I replaced my 10 pack CD Changer with an iPod Nano 8gig and since it plugs directly into my radio via an USB port, I wanted a place to install it out of the way.
I still wanted to view the screen in case we wanted to watch Videos, Movies or TV Shows on it.
So I choose to install it into the ashtray from a sugestion on the Durango Board.
As you cut your pieces of wood, keep fitting them into the ashtray to make sure everything sits like you want. Also keep sticking your ashtray into it's holder and closing it to make sure it closes all the way. Doing all
this during the build will let you make changes early on as you go along.
Here is the ashtray, you will noticed that I broke off the larger ribs at the front of it. There were four total and snap off real easy. 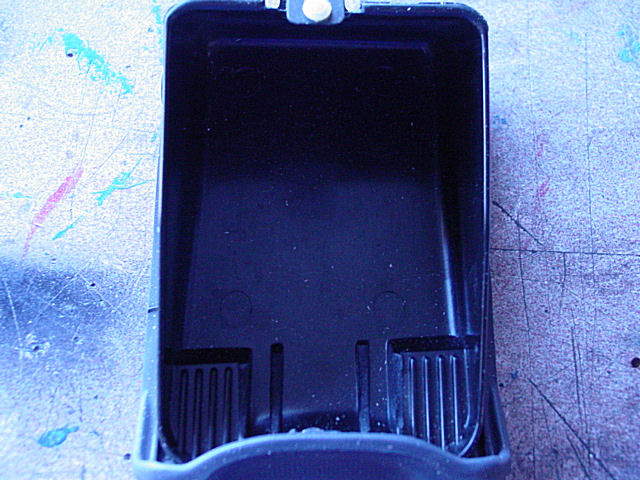 |
This is a piece of wood I cut to fit in it. I used soft pine as it is easier to work with. I also traced out the iPod on it. I cut it to be flush with the ribs so the door would close up all the way. 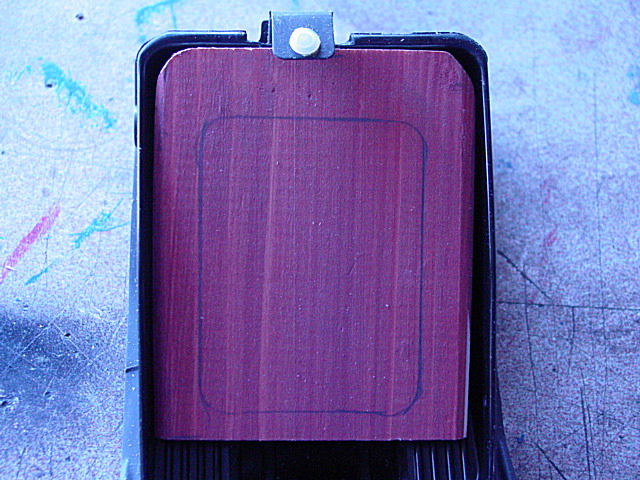 |
I used cedar for the build up that will make up the spot for the iPod to sit in. Another soft wood which is easy to work with. These pieces were cut to a little bit bigger size than the iPod. That way once everything is covered, the iPod will sit down in it nice and snug. 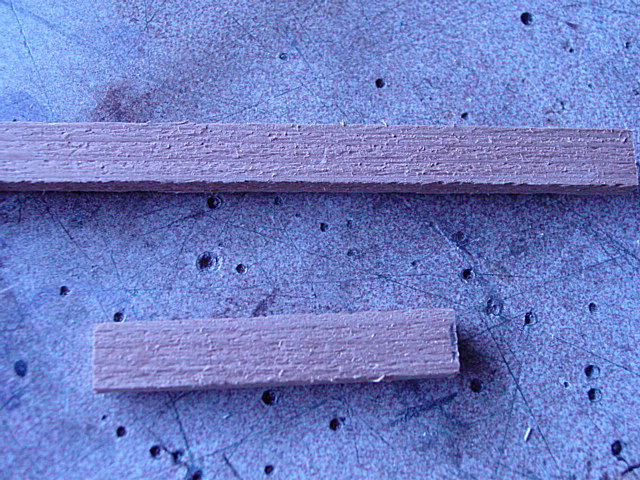 |
I use wood glue on every piece. This is the pre-cut piece you see in the left pic. 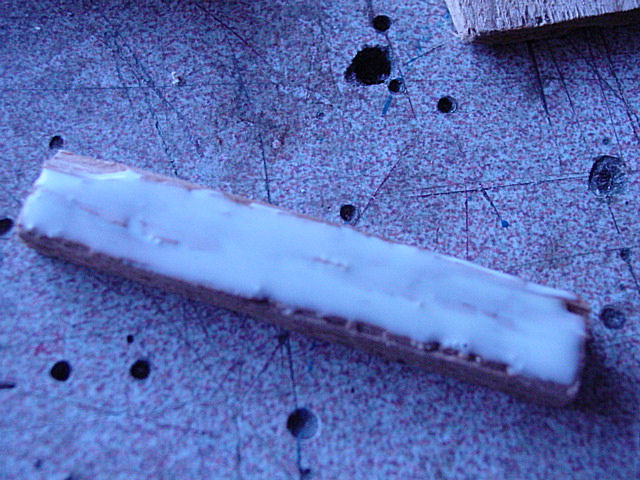 |
Here it is nailed down along the traced out line of the iPod. You then simply wipe away the excess glue. 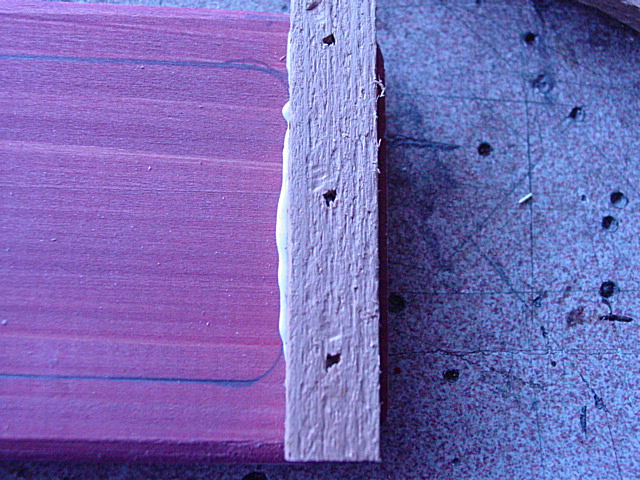 |
Here are all the pieces roughed in place. 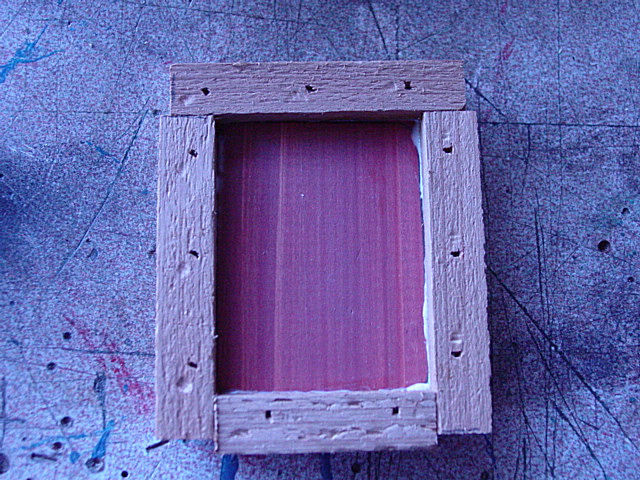 |
This is the bottom piece that holds the top piece flush along the ashtray. It actually holds the whole part at the angle the ashtray is at. 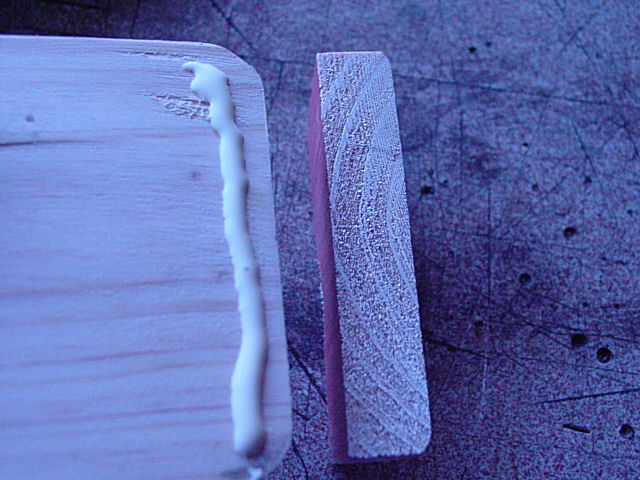 |
Here it is in place and also showing the notch for the cable to run through. The cable will come in from the back of the ashtray, though the hole and out the front to hook into the iPod. This part is only for those who have the radio with a USB port on it. Other wise you will not need to follow the parts about the USB cables. 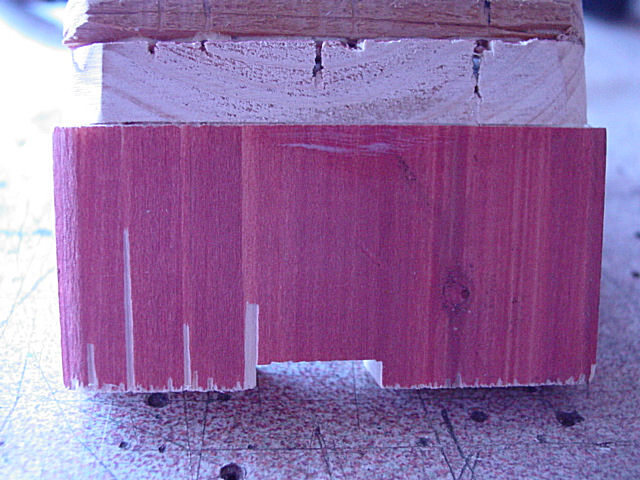 |
A few pics of the piece sanded down and ready for the fabric to be glued on. I used a belt sander and with the soft wood I used, it all sanded down quick and easy. 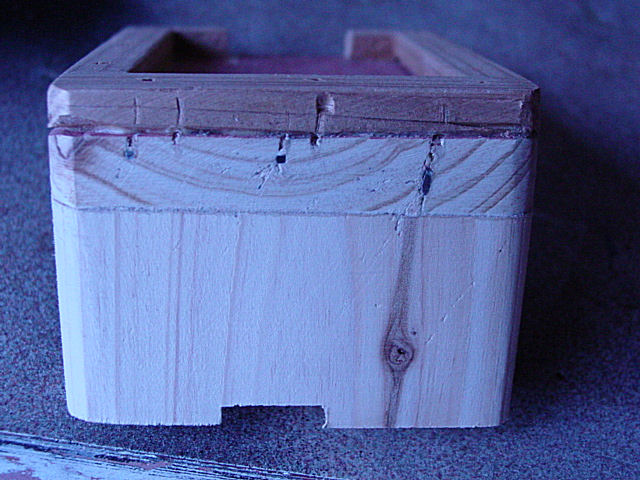 |
You can see I rounded the corners off some to help it fit into the ashtray better. 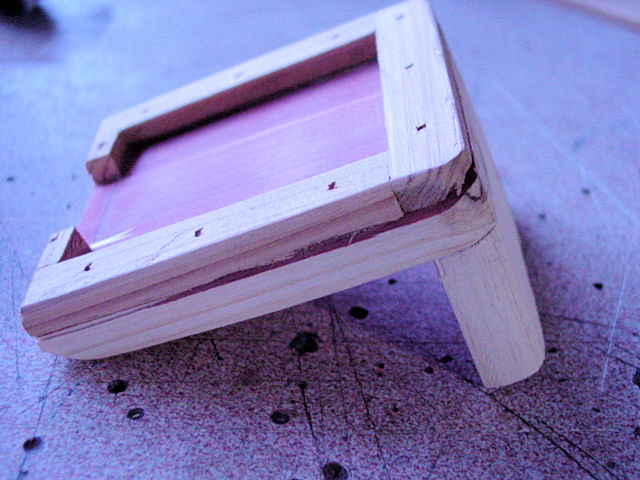 |
 |
The angled part you see is so it will sit down in the ashtray at an angle better. Helps the door to close all the way. Make sure you test all this out as you go along. It is easier to make adjustments before you get to deep into the project. 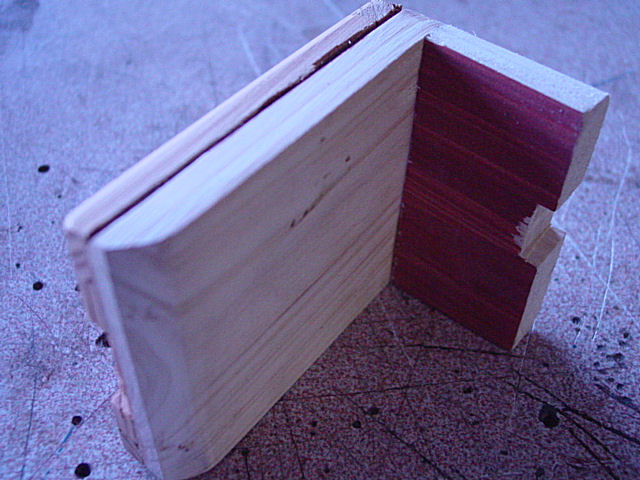 |
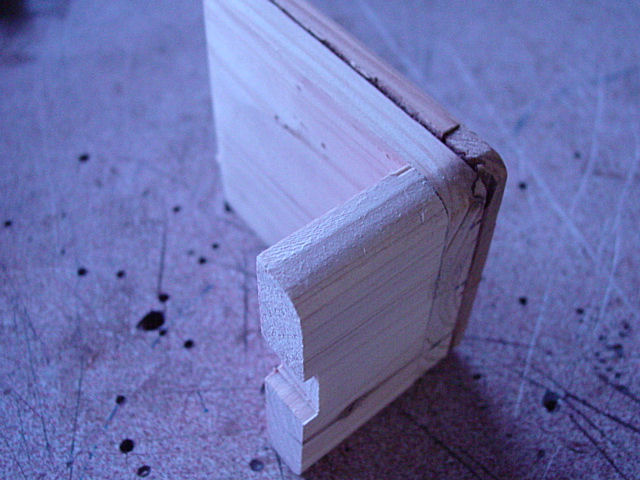
You can see where I cut the part for the cable to plug into the iPod. This way the iPod will sit in flush. 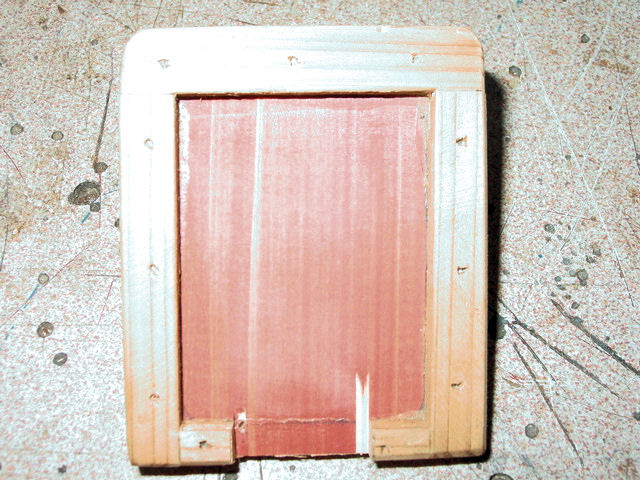 |
The iPod sitting in place. The very small gap around it will be filled with the fabric you choose to glue on later. Then the iPod will fit in nice and snug. This pic was before I cut the part out for the cable to plug in. You can see the cut part in the pic to the left. So this pic is what it will look like if you do not do the cable option. 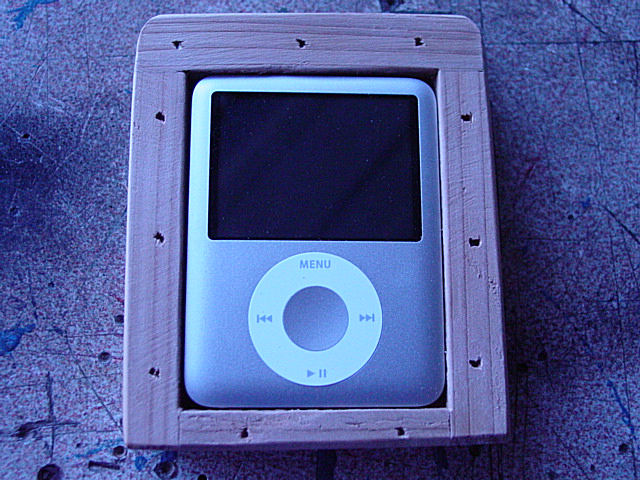 |
I just plugged it in and placed it in the holder. The made two pencil marks where I needed to cut.  |
The piece sitting in the ashtray. you can see how it sits flush from front to back now. Plus it sits right at the ribs on the bottom.  |
With the iPod showing how the cable will run underneath. 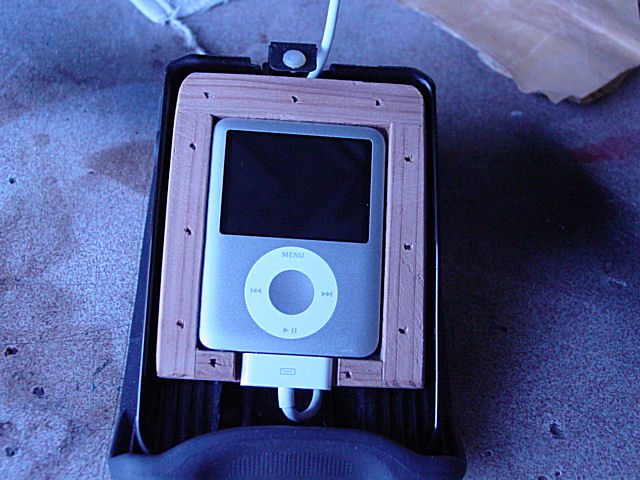 |
This is the back part of the ashtray. The little tab you see needs to be pushed down to pull it out for drilling. 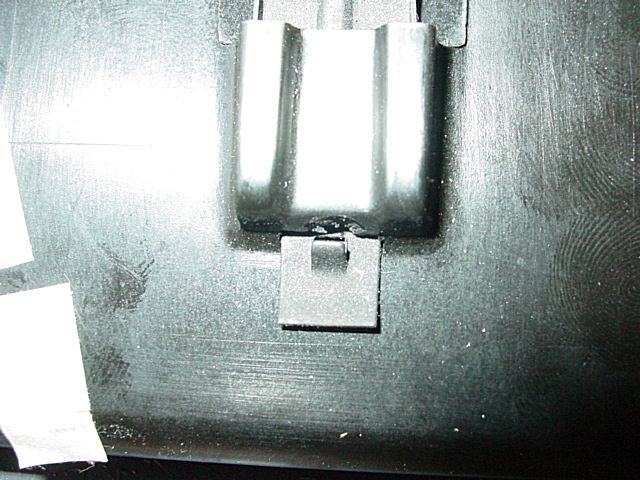 |
Once out you can drill the back of the ashtray so the cable can run through it. I used a 3/4" spade bit. You most likely will not get a clean hole as the material is not plastic. It is some sort of carbon deposit material and is brittle. 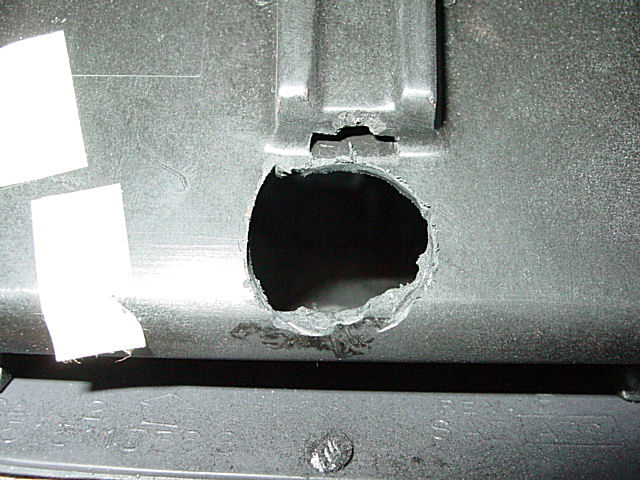 |
After drilling hole, you can re-install the metal tab. 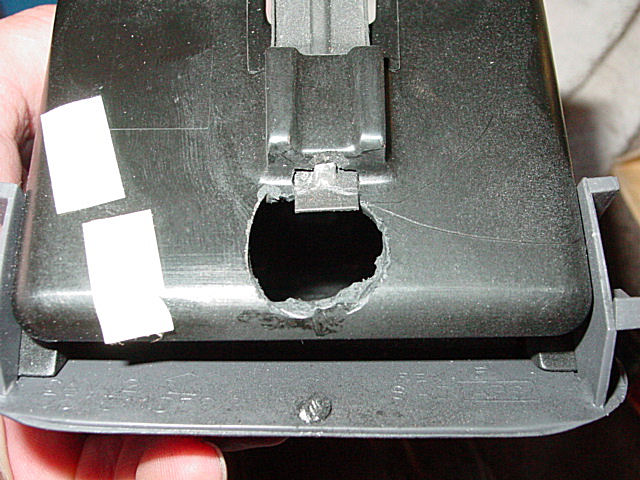 |
You can see the cable running through the hole with the holder inside showing the notch. 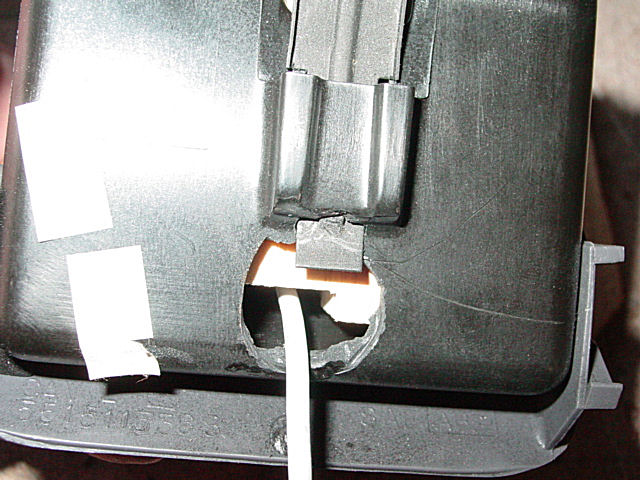 |
This is how it sat before I modded the ashtray to open further. In the pic part of the screen cannot be seen. 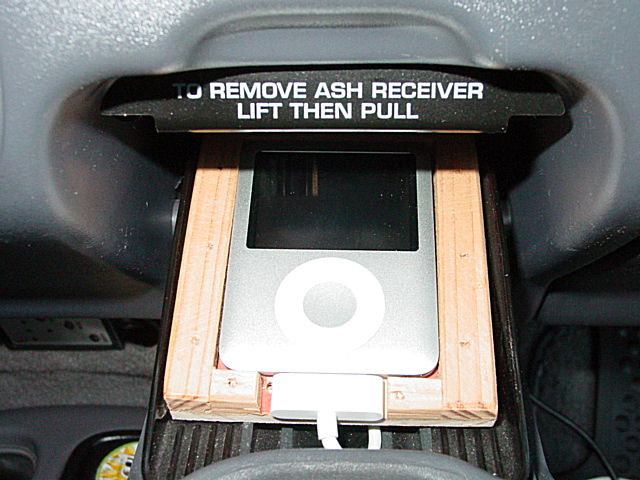 |
Here is another shot from eye level. You can really see how the screen is blocked from view. 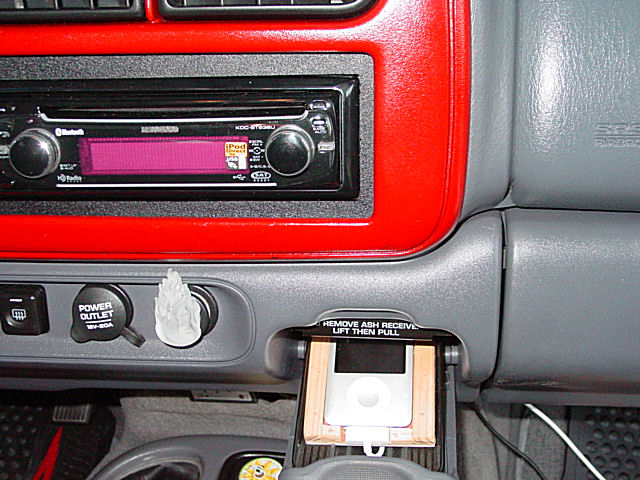 |
These tabs are the reason why. They set the amount the door will open. 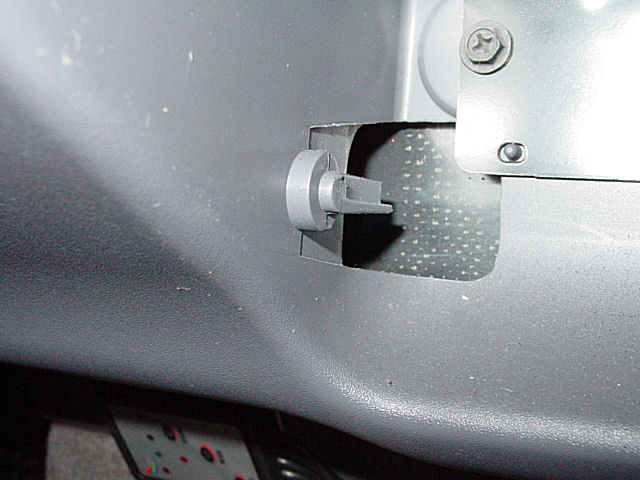 |
I used these to cut the tabs down to size. Just make sure you use a new razor blade to make it easier. 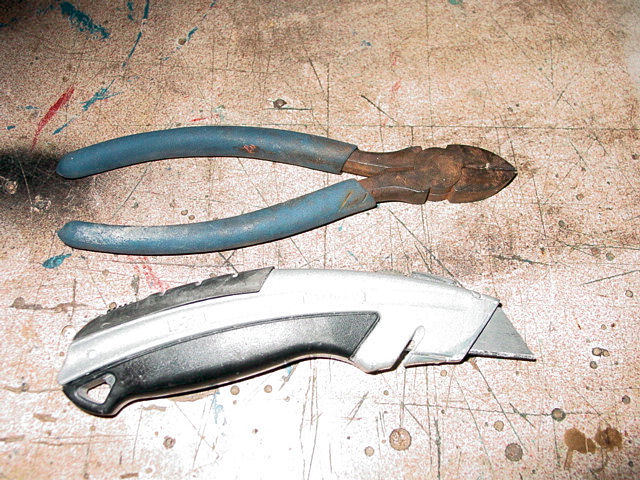 |
You can see I cut the tab flush with the hole that was already there. 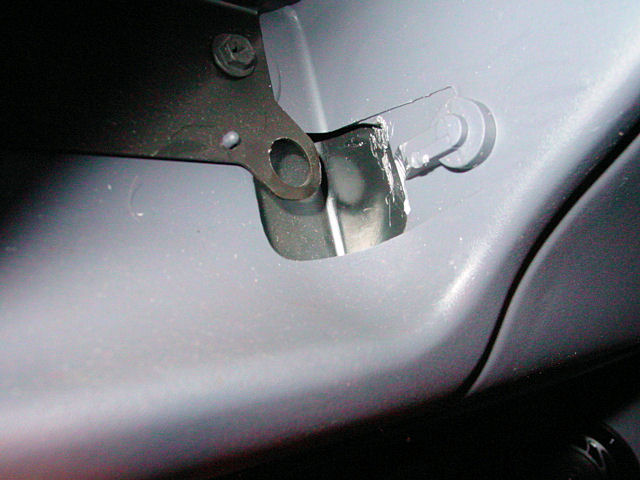 |
Left side 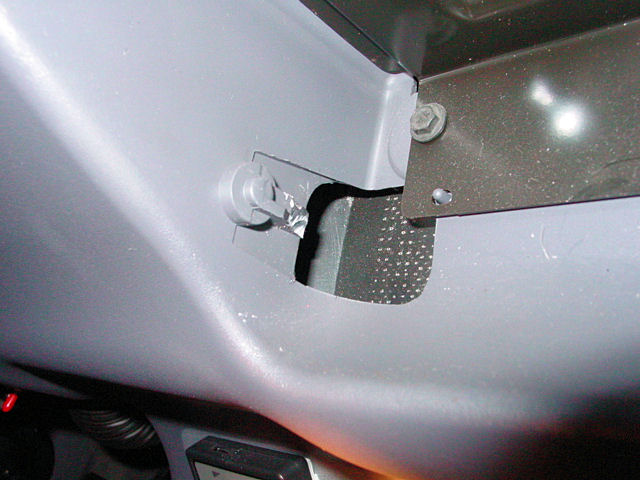 |
Now you can see how much more the door will open exposing the screen. 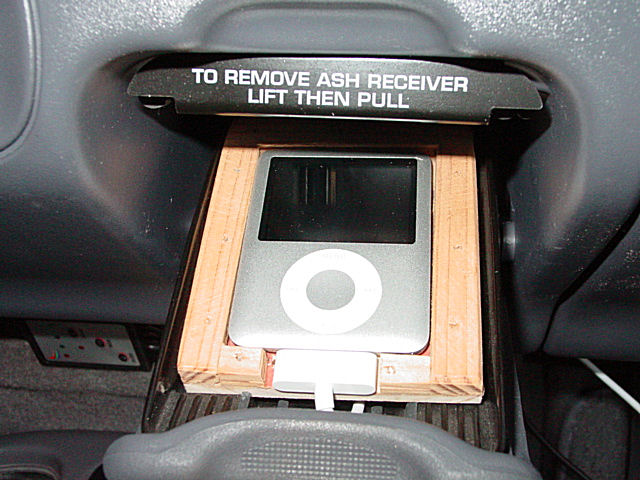 |
Eye level showing the full screen now. 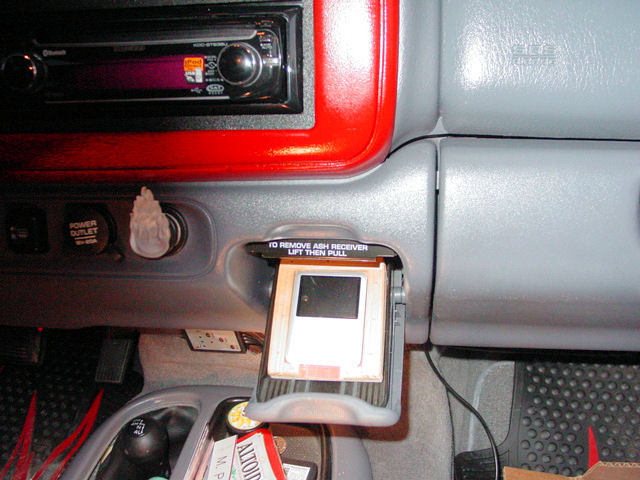 |
Here is the fabric I choose. It is black and like a soft velvet. 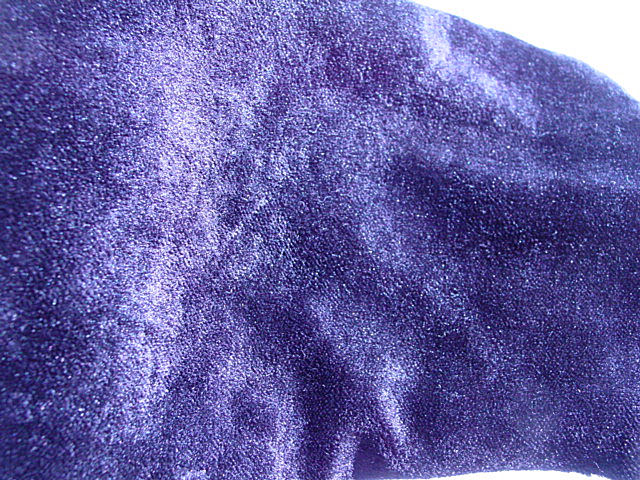 |
I used the spray adhesive for this since I used such a soft fabric. 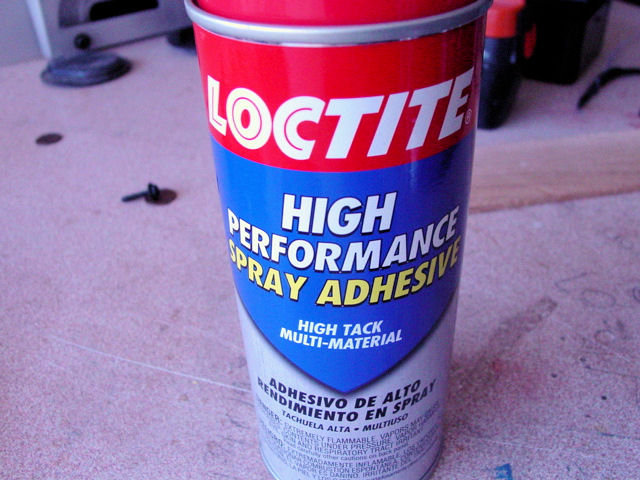 |
After spraying the wood and the cloth, let it dry for about 15 minutes or until you can touch it without sticking to it. Once the two are placed together, they will bond with no problem. Lot's of people make the mistake on trying to make the bond while the glue is wet. That only leads to a mess and will not stick properly. 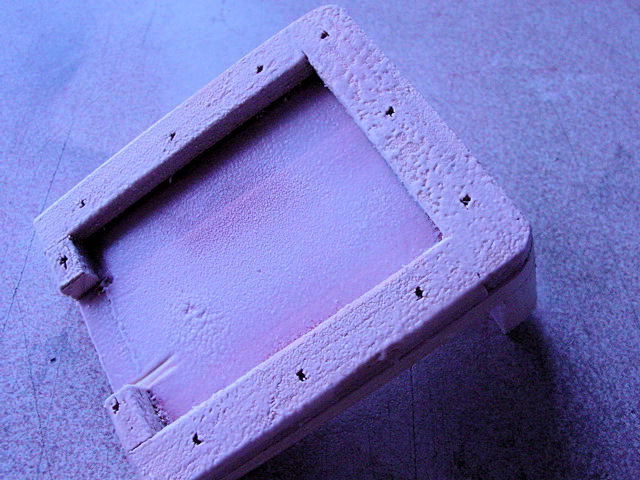 |
Glue on the cloth. 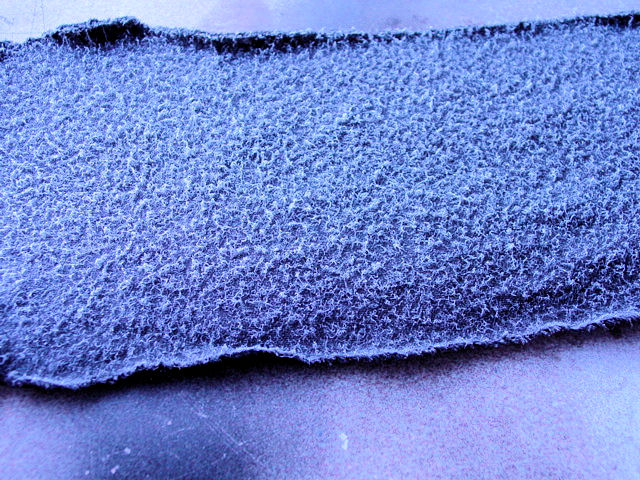 |
Here it is covered. You can use your fingers or a credit card to work the fabric onto the edges where the iPod will sit. 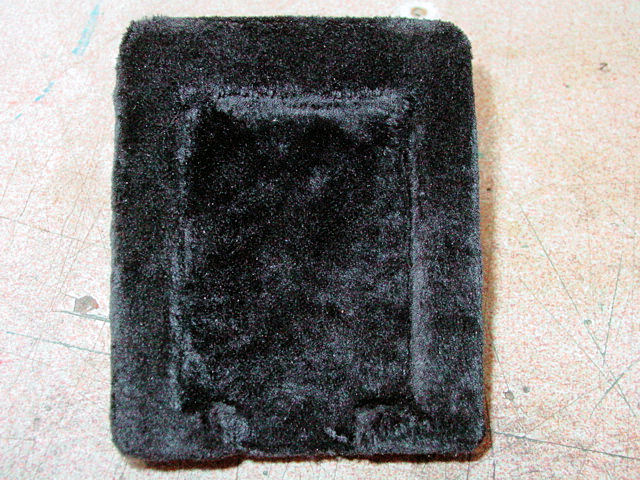 |
the back of it does not have to be pretty as no one will ever see it. Always cut your material bigger than what you are cover as you can always trim off the excess from behind. 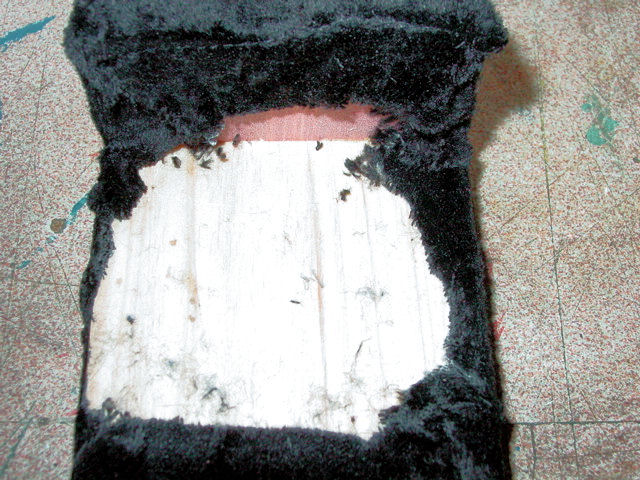 |
As it sits in the ashtray. it is hard to tell from the pic, but the inside edges are nice and tight. 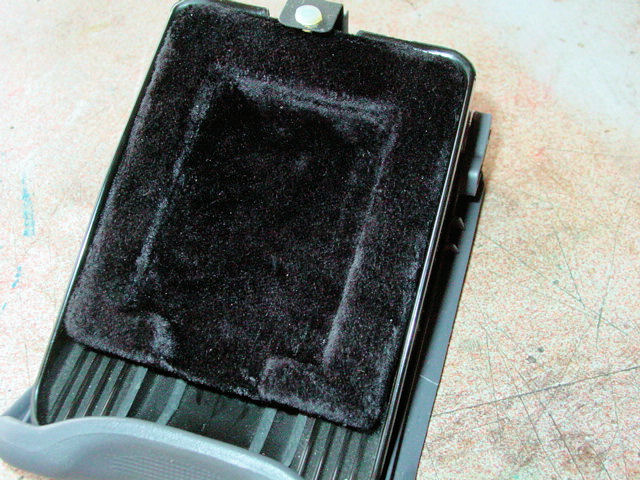 |
iPod sitting in it's new home nice and snug. 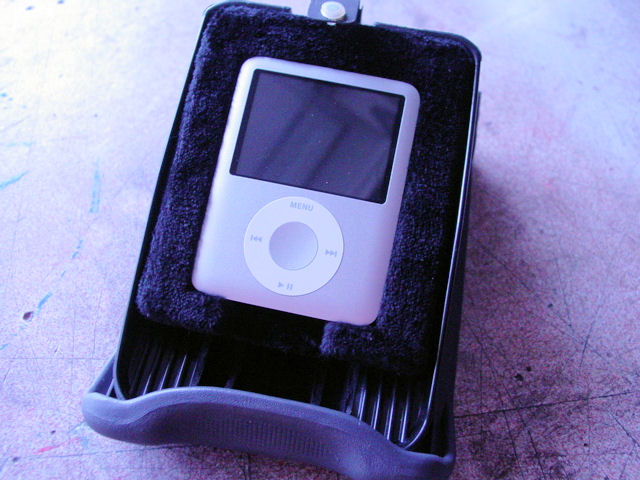 |
I ran the USB port from the radio up and into the back of the ashtray. It will sit under the holder. 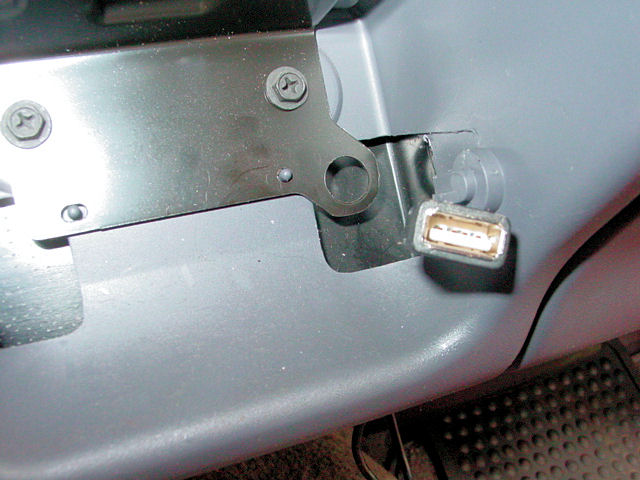 |
Here it is running into the back of the ashtray. 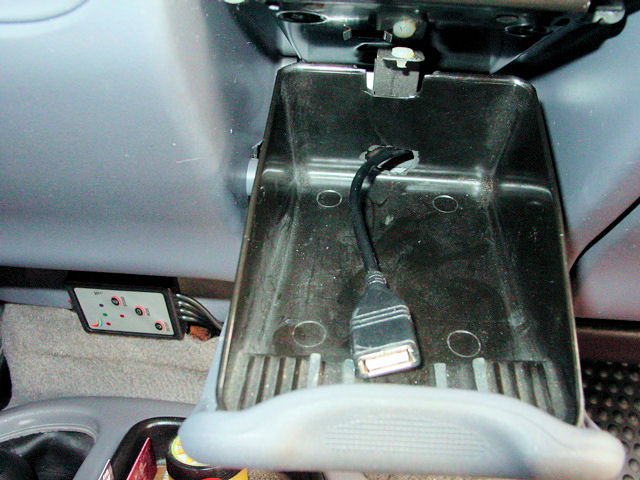 |
Then I took the USB cable the iPod came with and curled it up to sit under the holder. That way I can just lift the holder up, unplug the cable and take it in the house with me to plug into the computer when I add more songs to the iPod. Another option would be to purchase another cable and leave it in place here and one in your house. 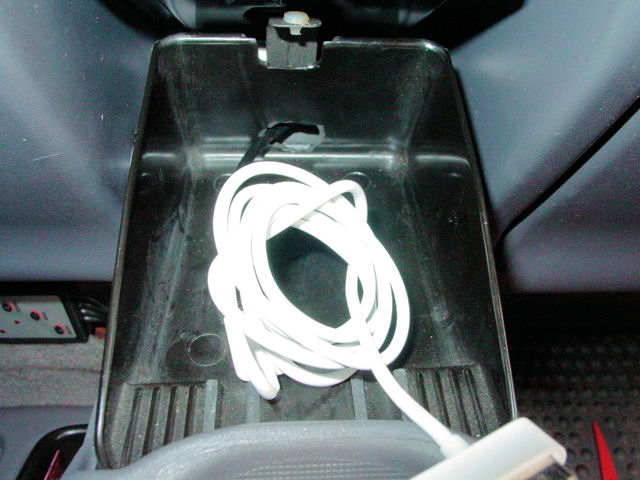 |
This shows the end of the cable as it will plug into the iPod. 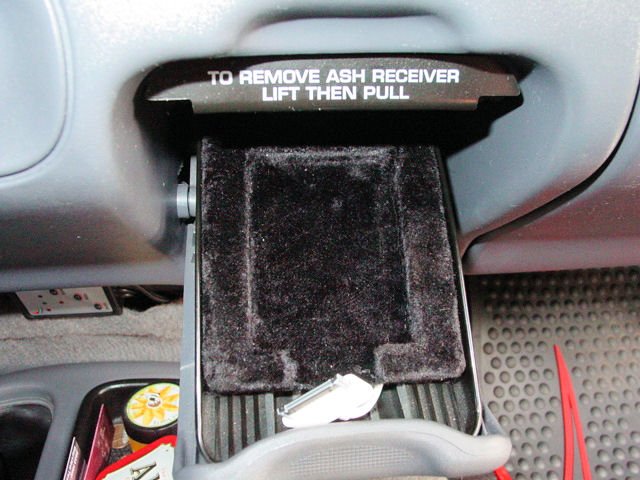 |
And plugged into the iPod. 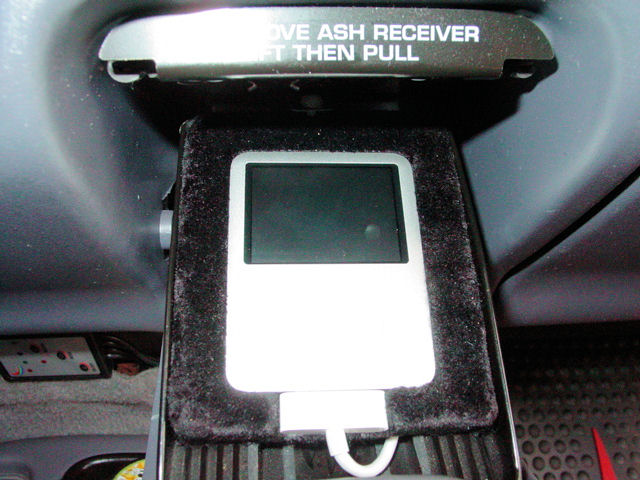 |
With the radio turned on. 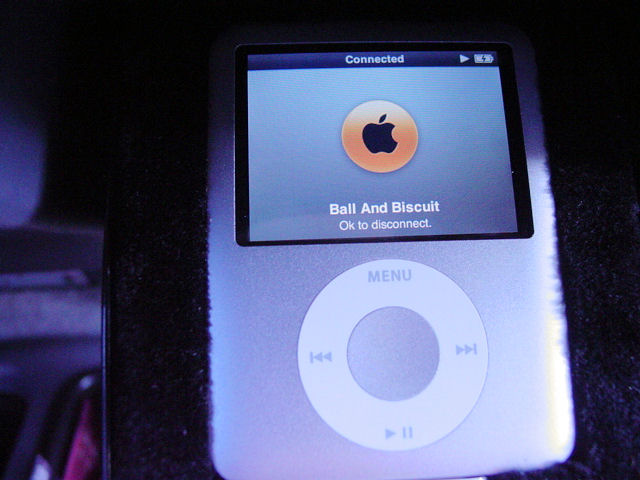 |
iPod......What iPod? 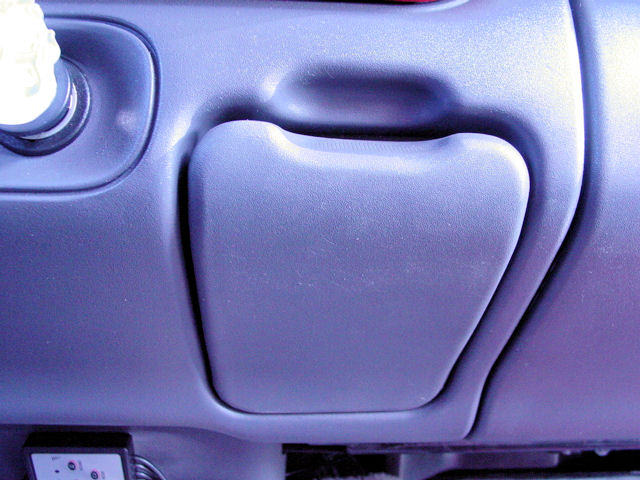 |