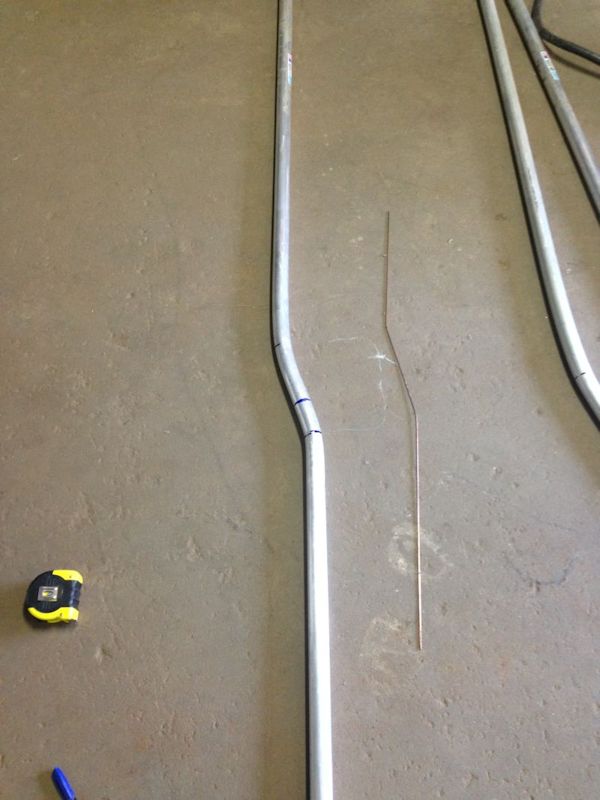
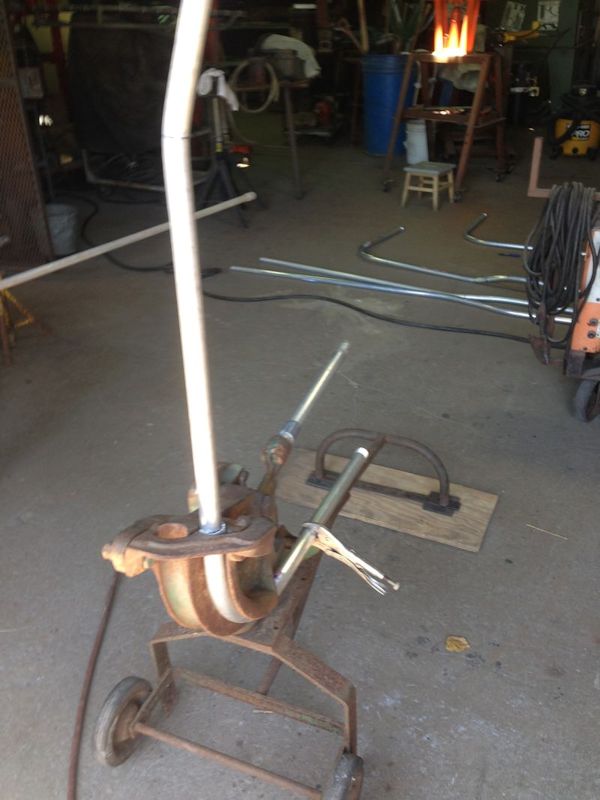
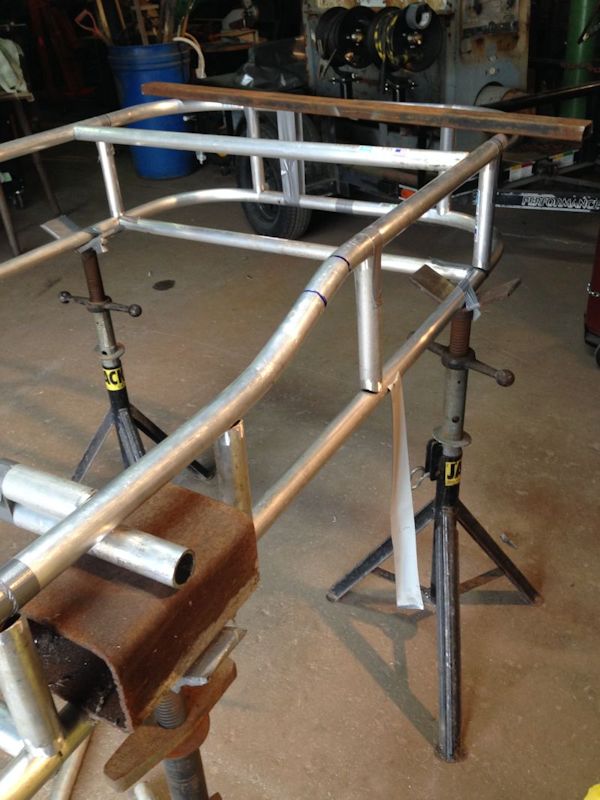
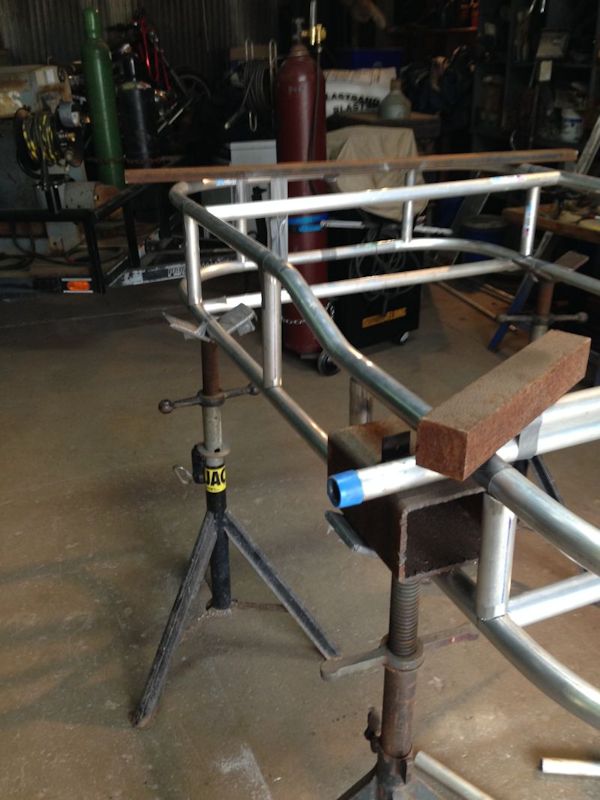
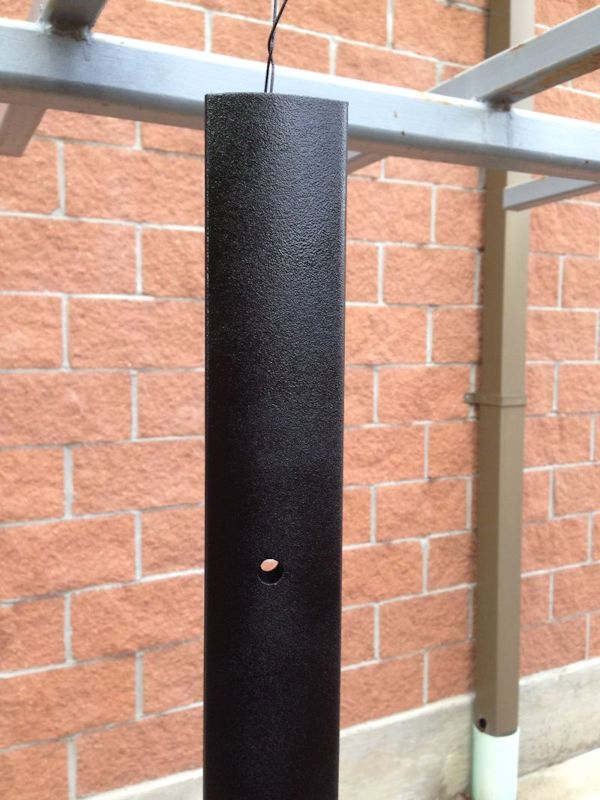
Using a copper wire to get the upper tubes bends adjusted
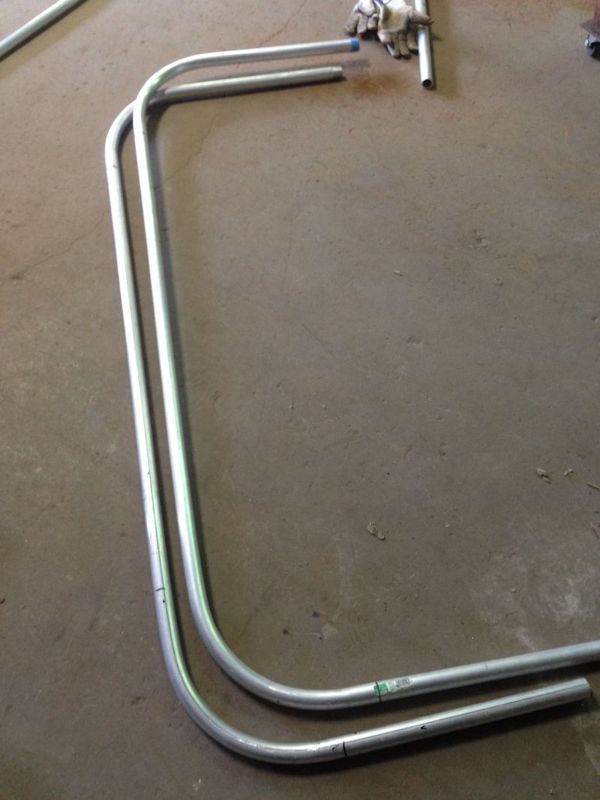
Bottom tubes bent
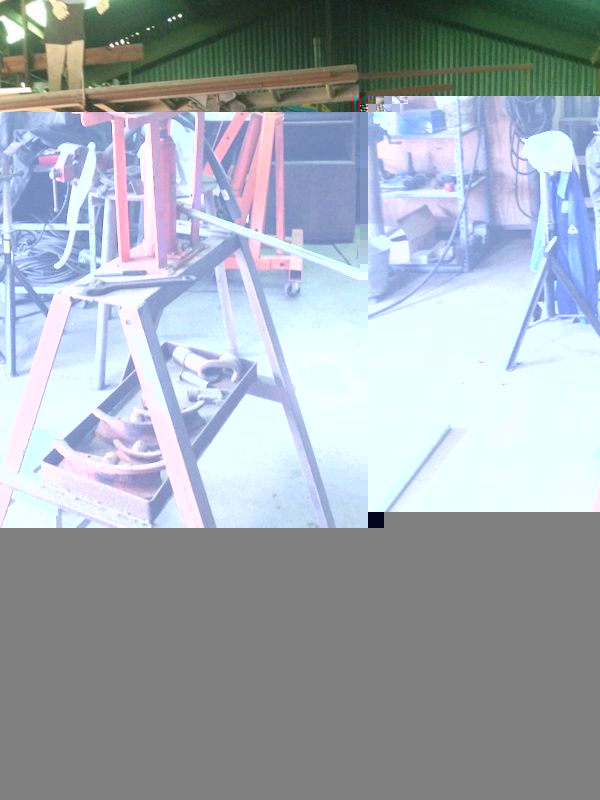
Bender
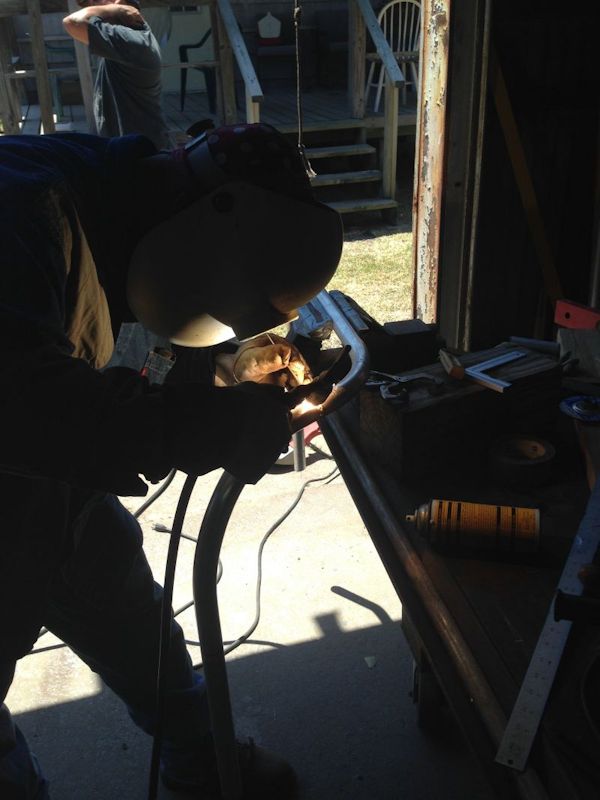
My buddy TIG welding the aluminum
Another bender we have, which is for conduit
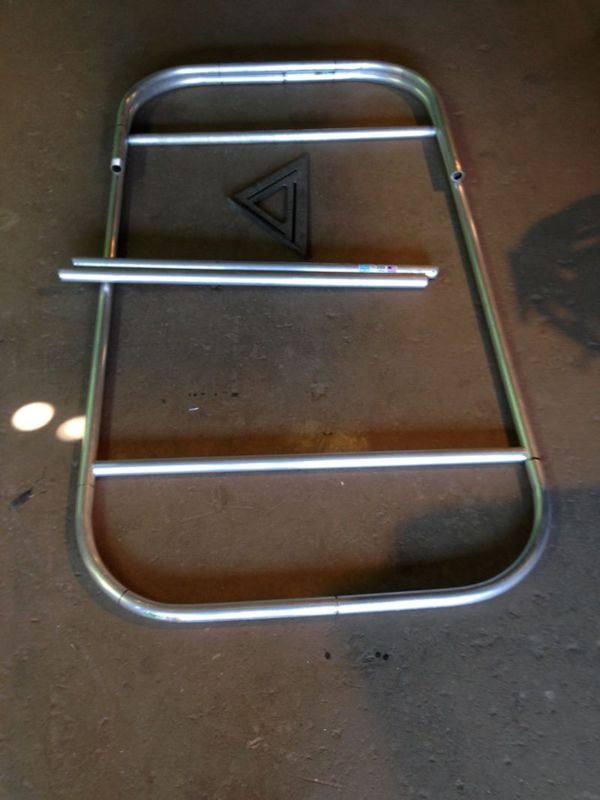
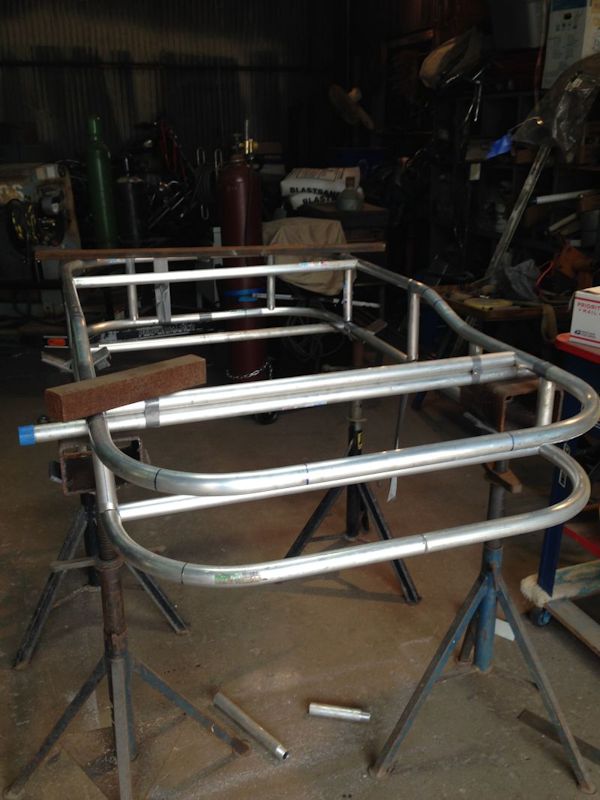
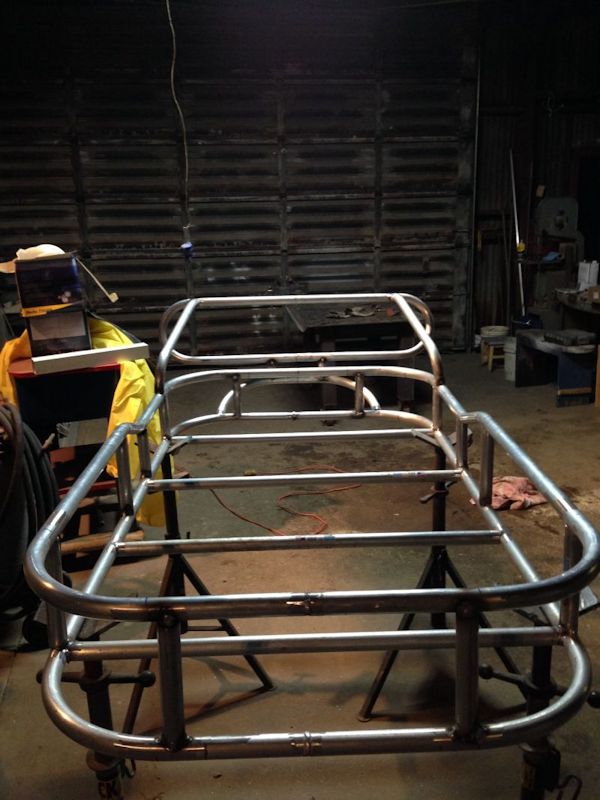
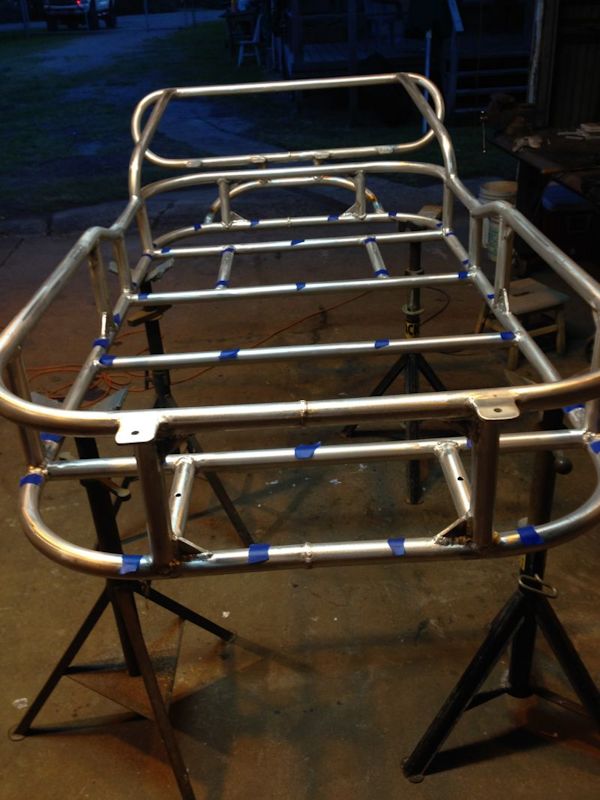
Cross bars being fitted after being saddled
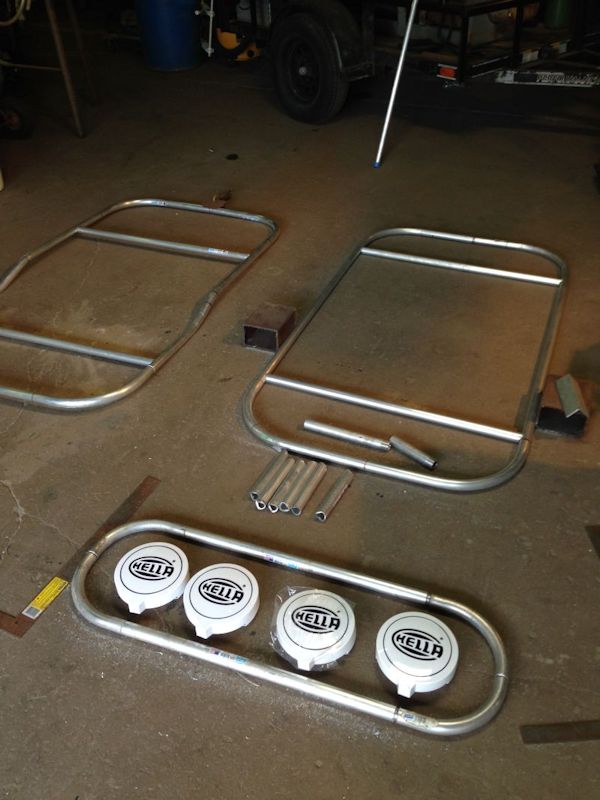
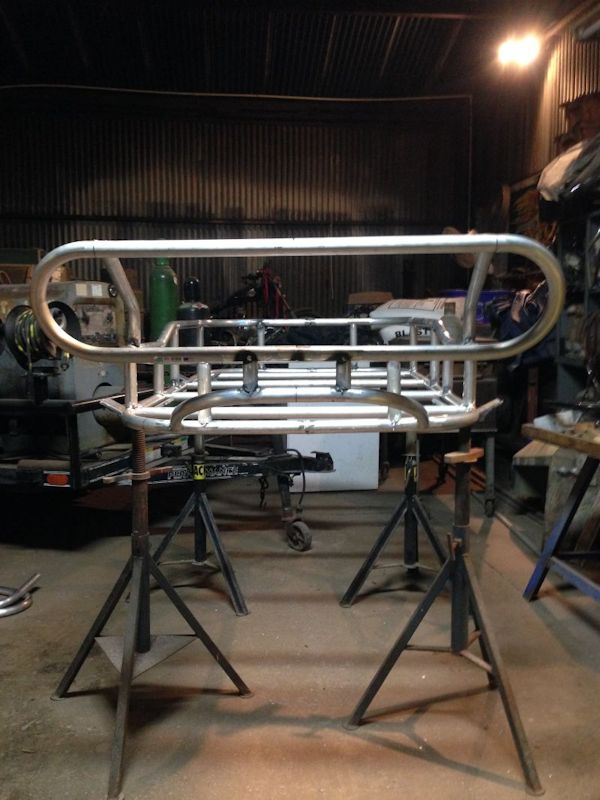
Laid out
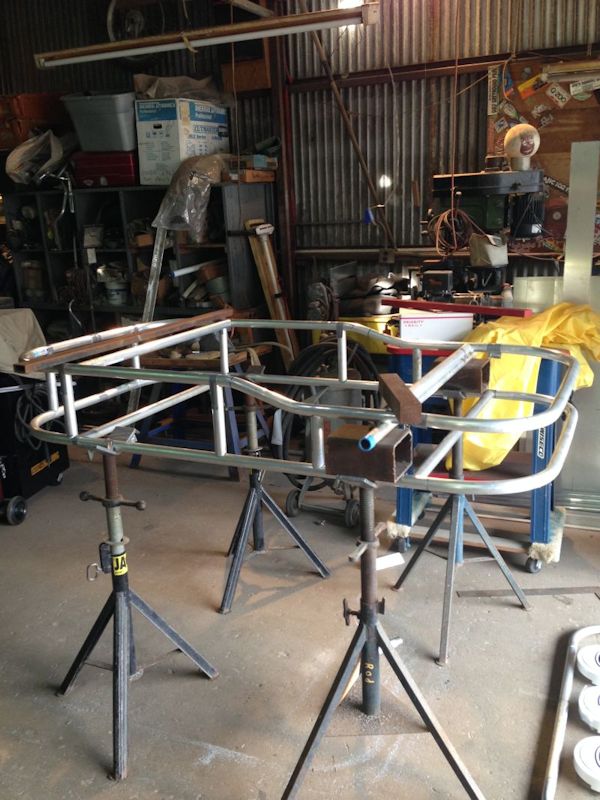
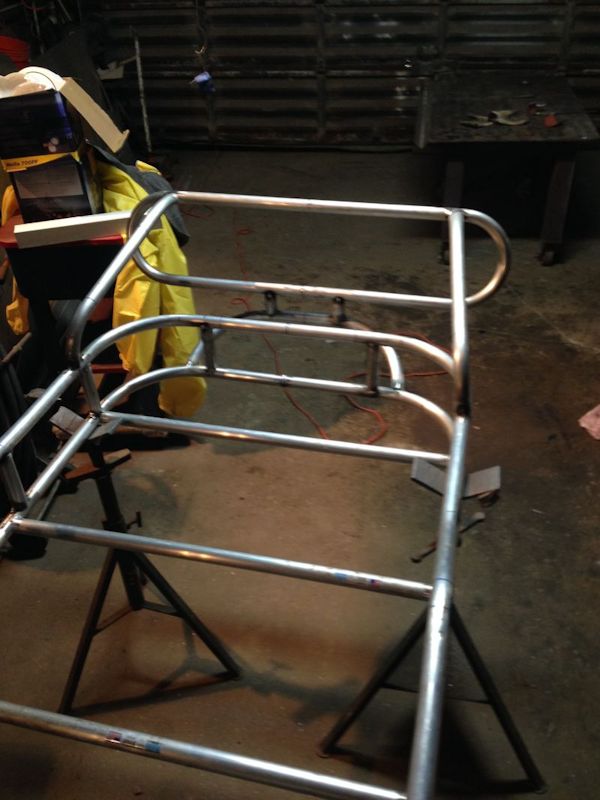
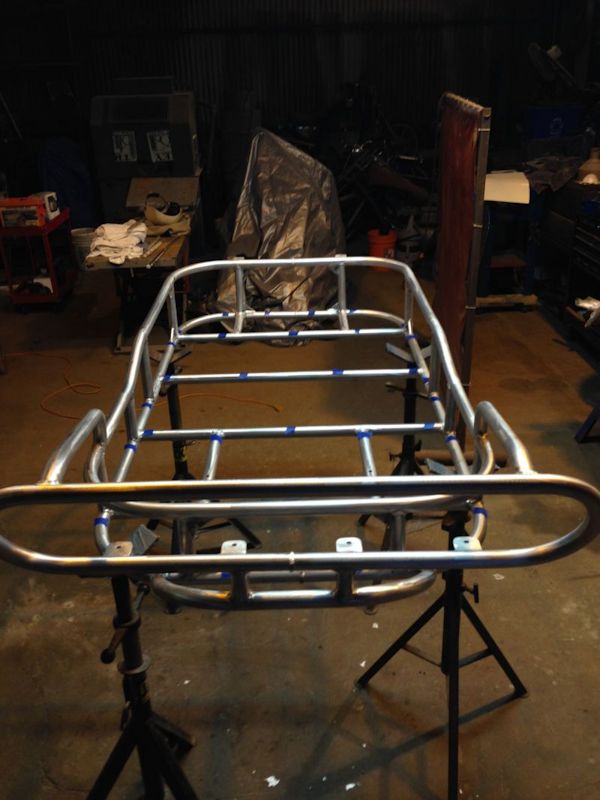
Mocking it up

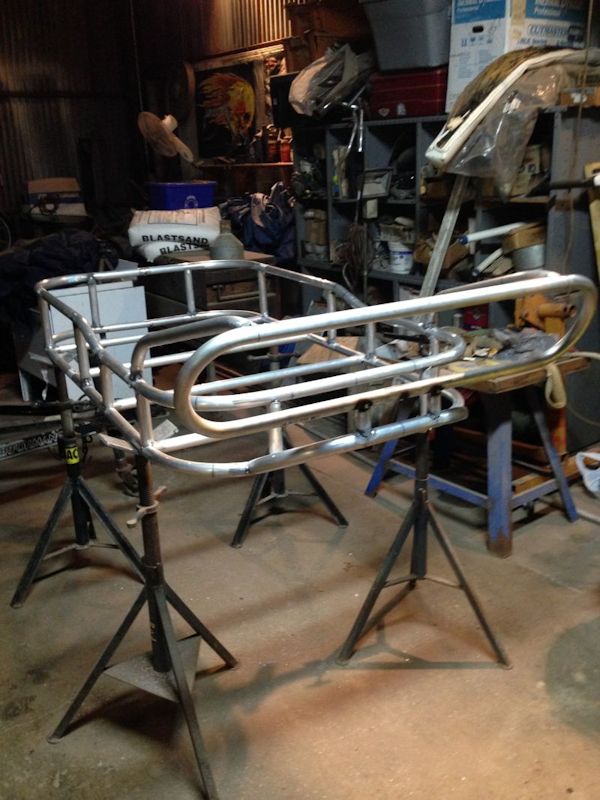
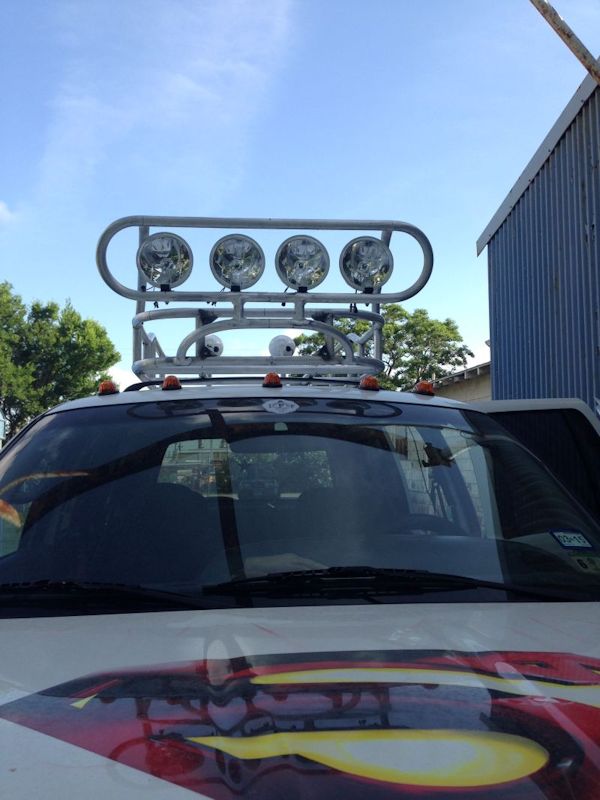
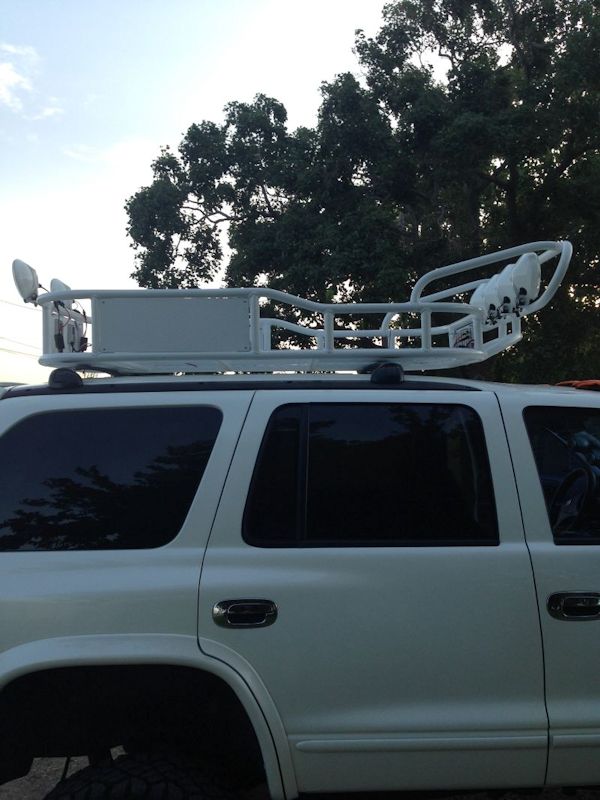
With the smaller new hoop for the lights. Our new dies came in and I was able to bend the hoop smaller and only have one butt weld on it.

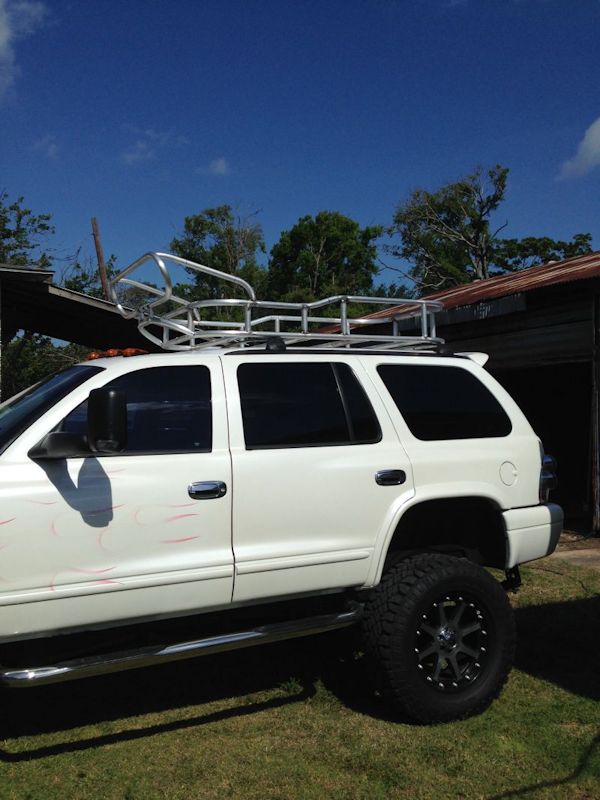
Set in place to see how it would fit.

Mocking up the light tabs
Back on top for fit
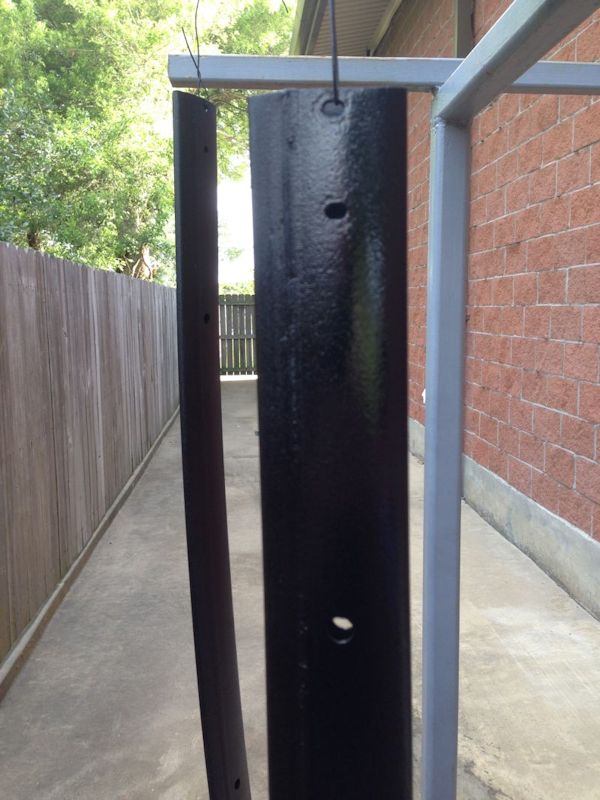
Now to remove, clean up, treat and paint the roof bars. You can see where I started sandblasting the rust.
You can see the holes that were drilled for the Roof Rack to bolt to. They will be stainless bolts and nuts. I use stainless hardware on every project.
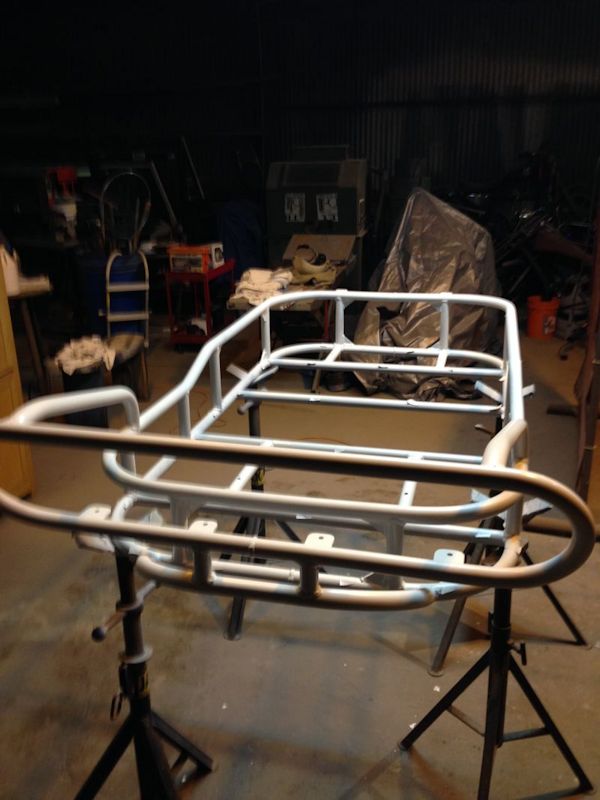
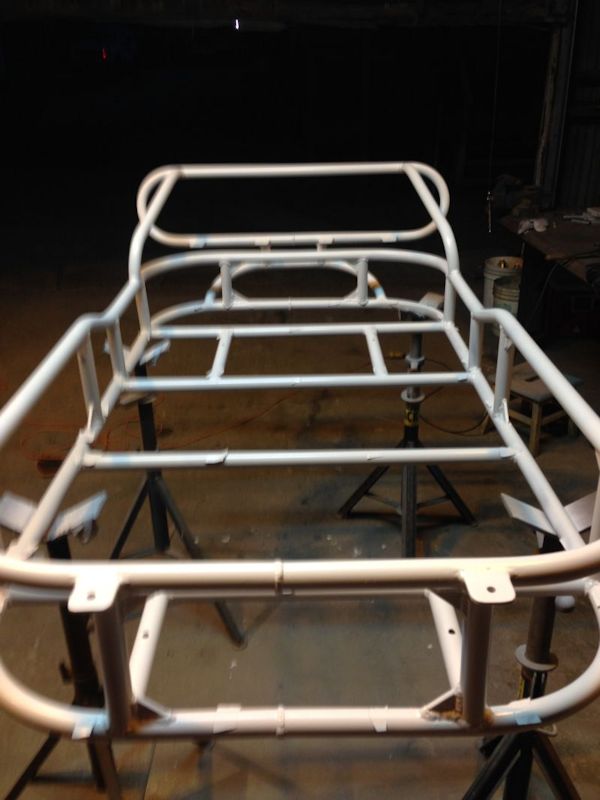
Painted
Preparing to paint with Self-Etching Primer, which is a must for aluminum so that the apint has something to stick to. The tape covers all the spots that the aluminum expanded sheet will be welded when set in place.
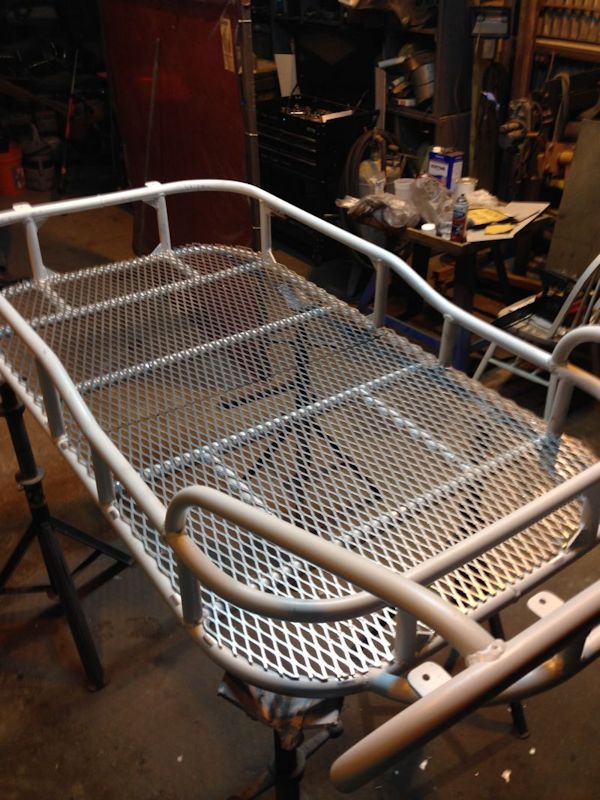
Aluminum expanded sheet cut to fit in place. Will be shot with Self-Etching Primer, then everything lightly sanded and painted white.
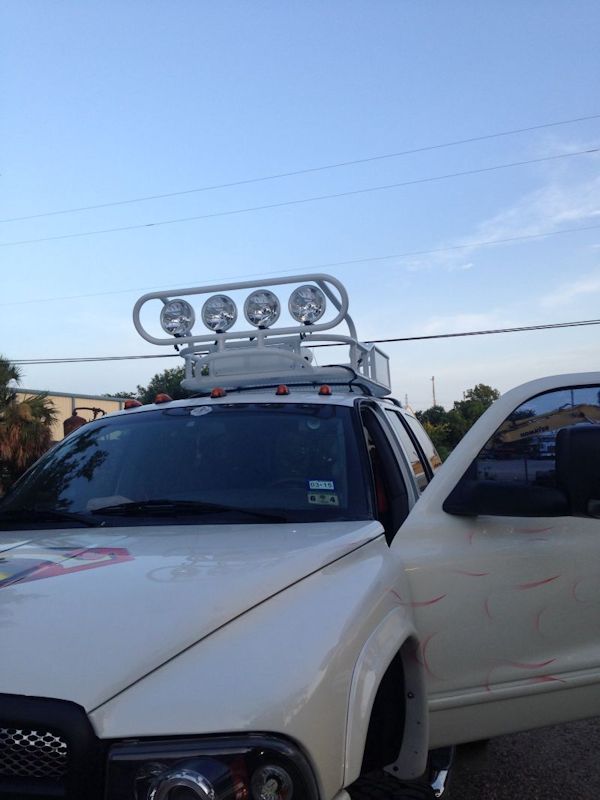
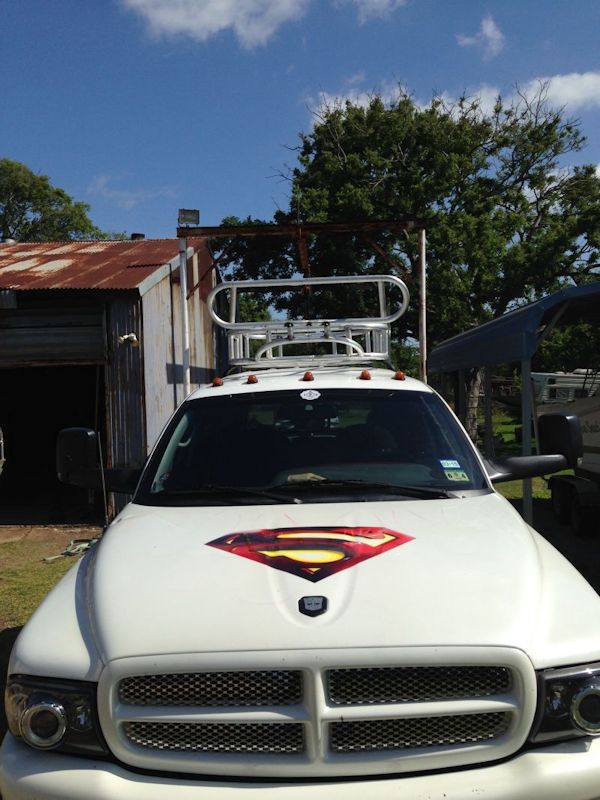
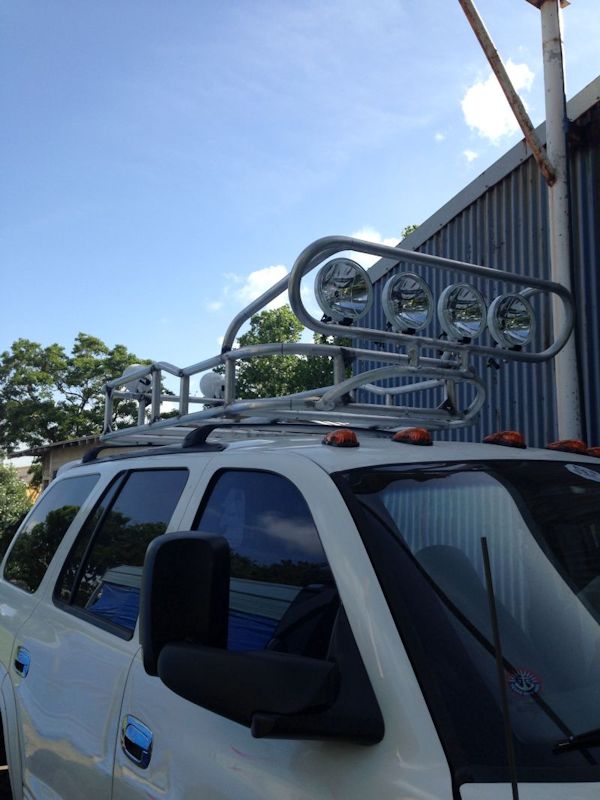
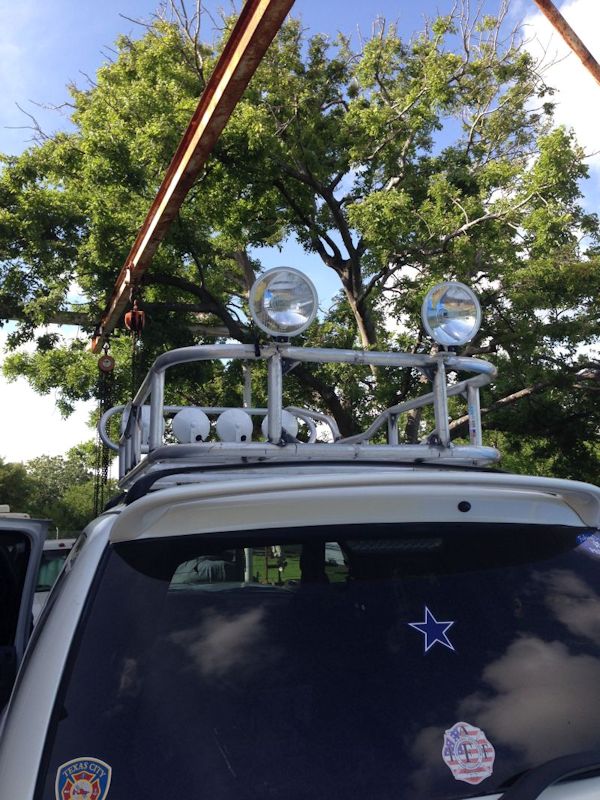
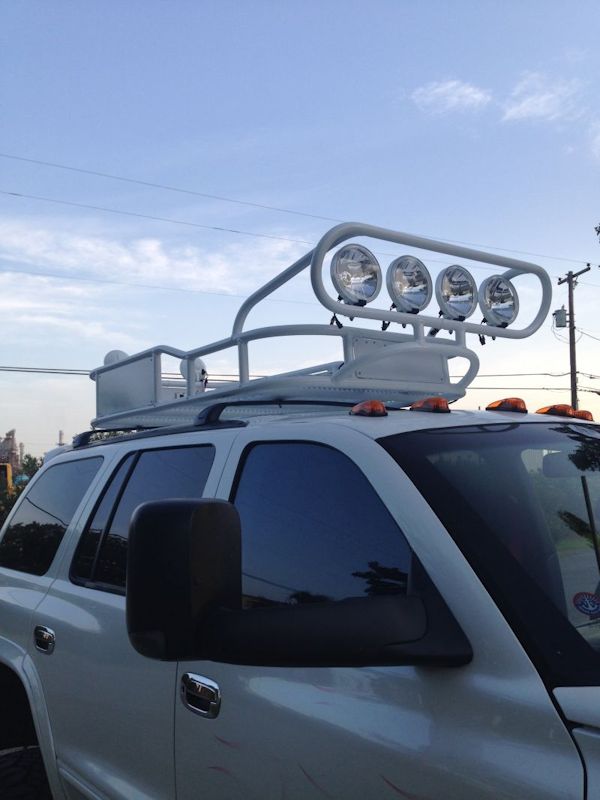
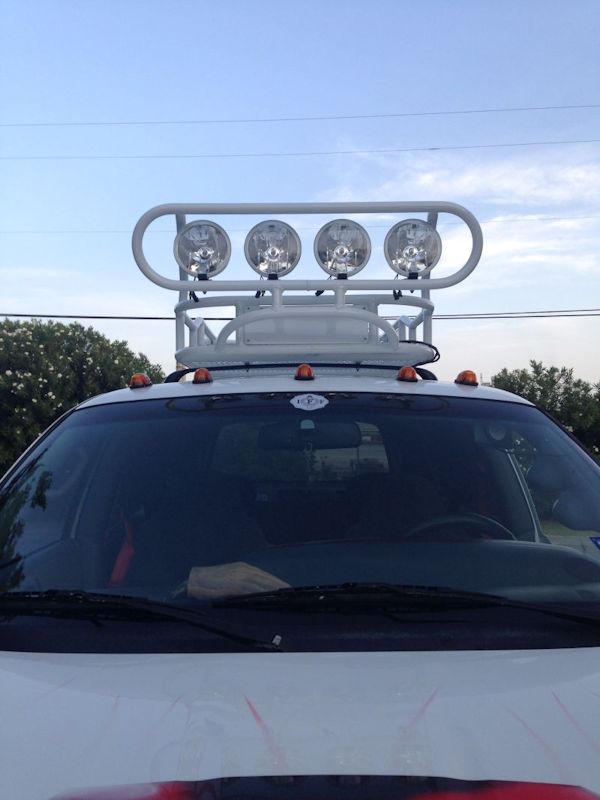
Back in place after being painted and lights installed. The wiring harness I made to the lights will be rerouted properly later. That process is below in the Hella Light pictures.

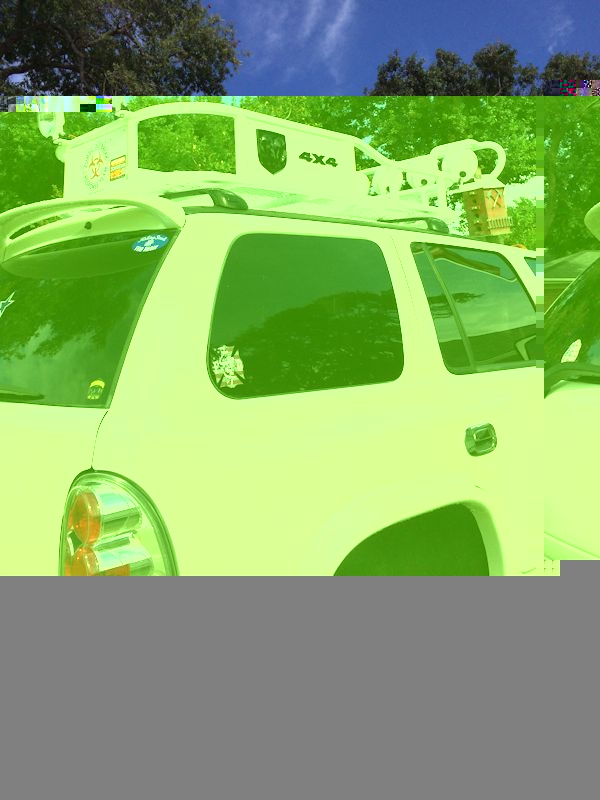
I have added the 2014 emblems from Dodge
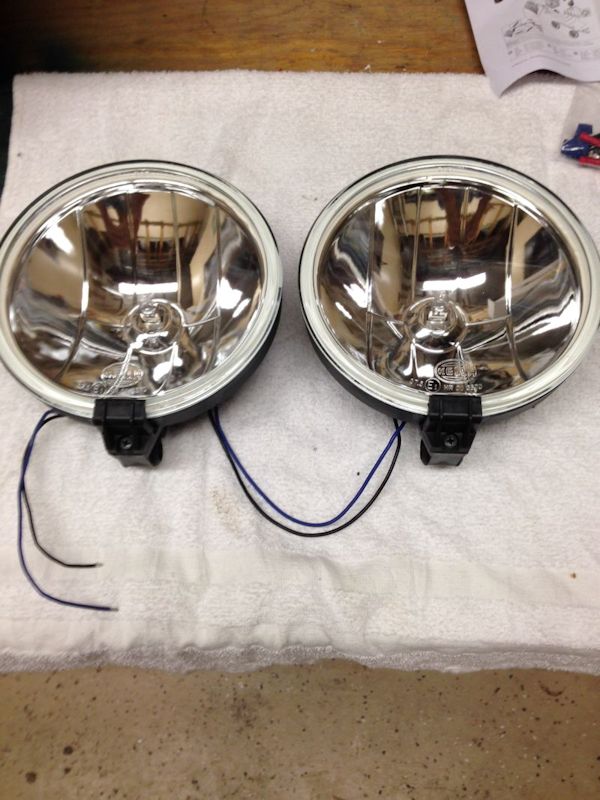
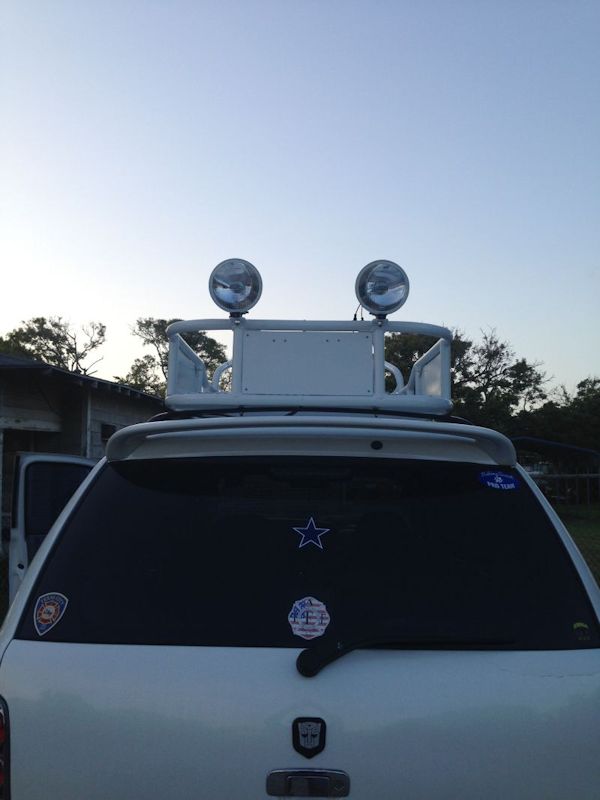
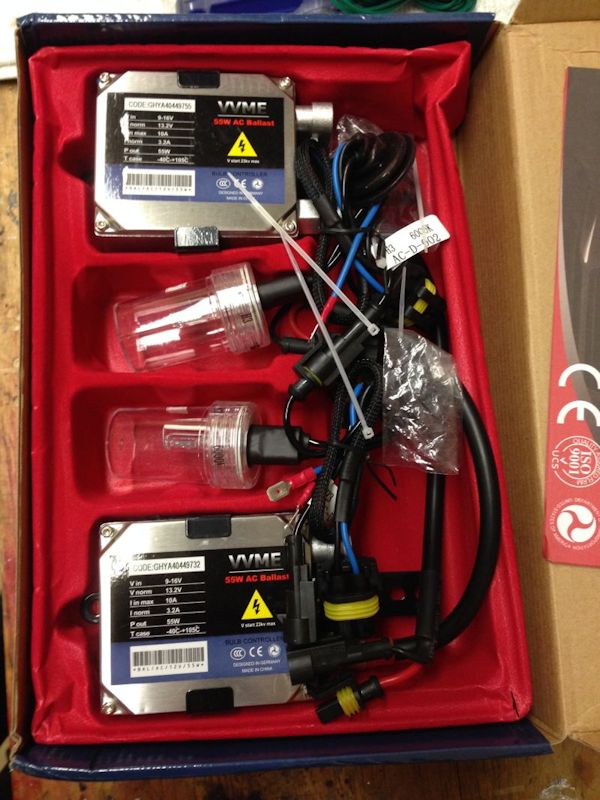
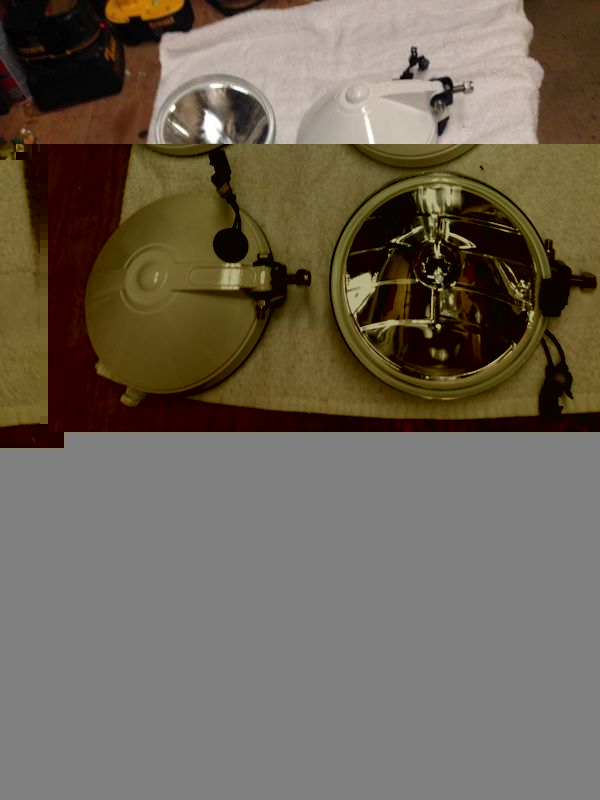
Hella Lights will be converted to HID. Six 700's facing forward and two 500's facing back.
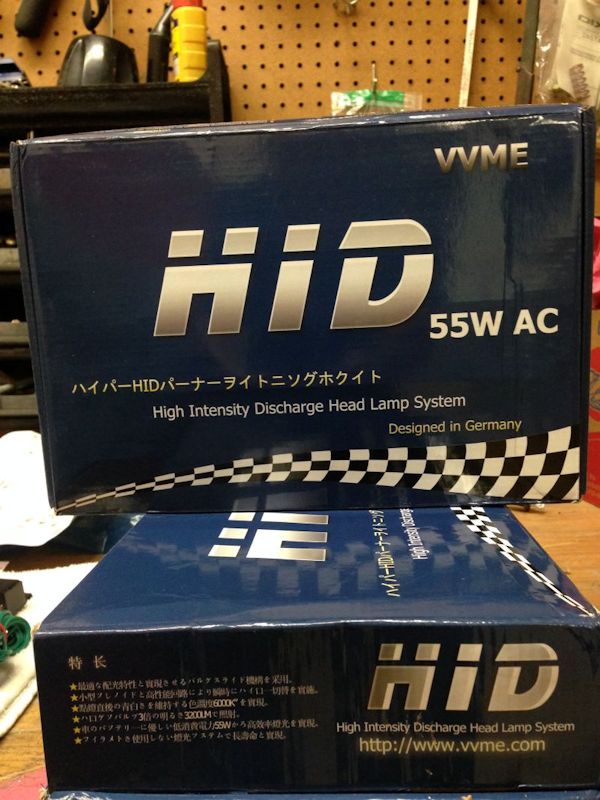
I also run these bulbs in my headlight projector housings. I have never had a problem with these kits from vvme.com.
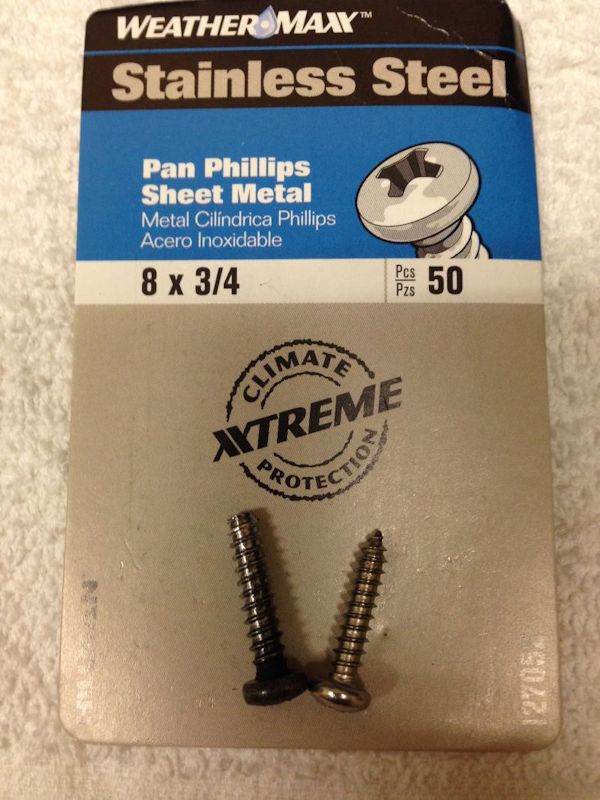
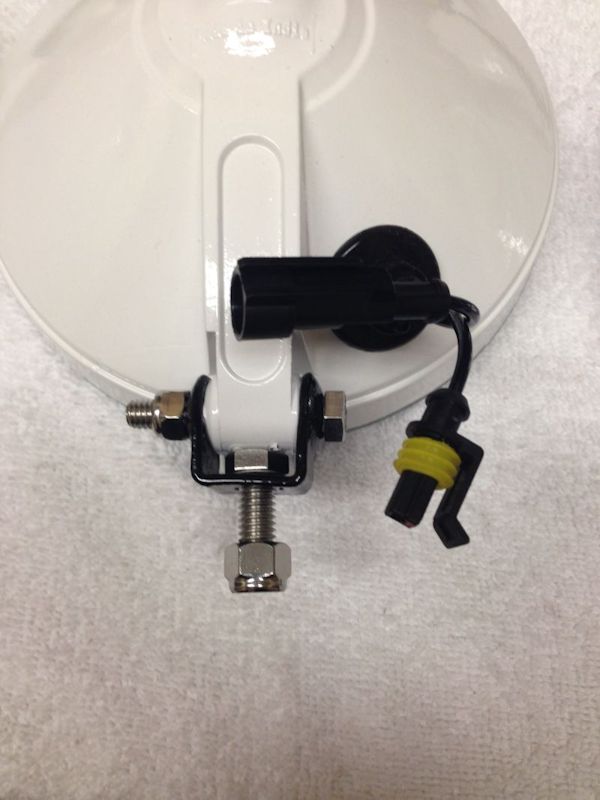
As always, I only use stainless for my projects. The left one came with the Hellas.

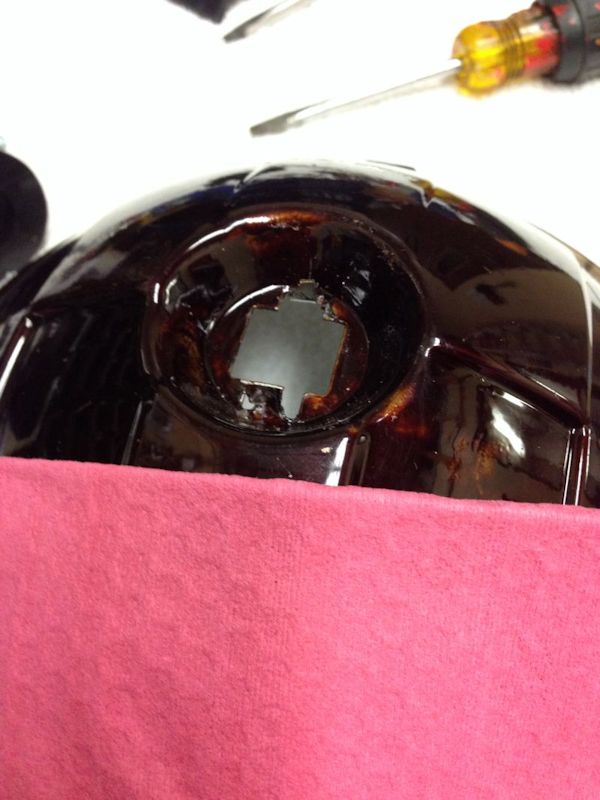
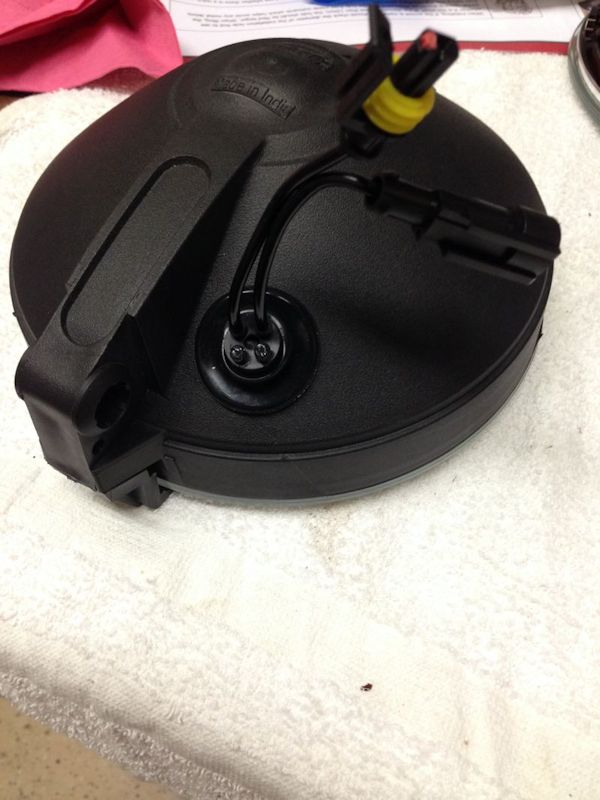
I will use the same stock hole to run the new wires.
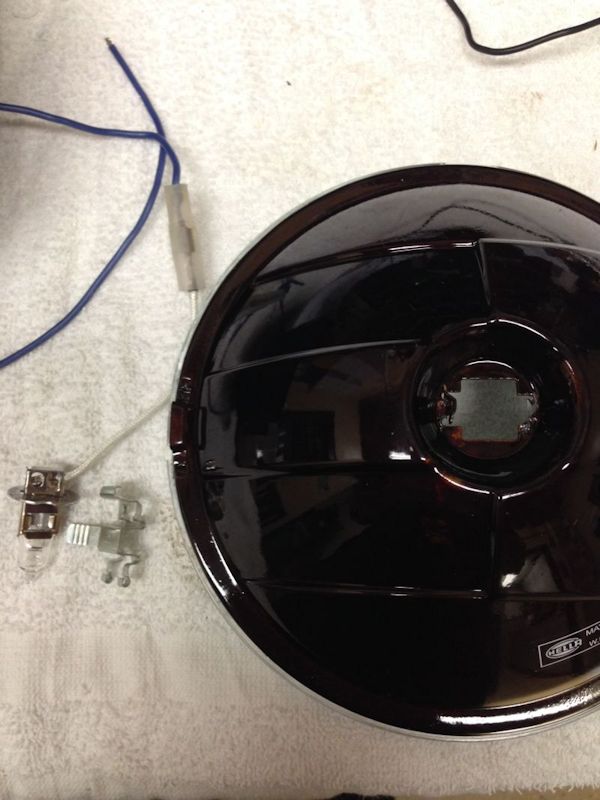
Removed stock bulbs and wiring
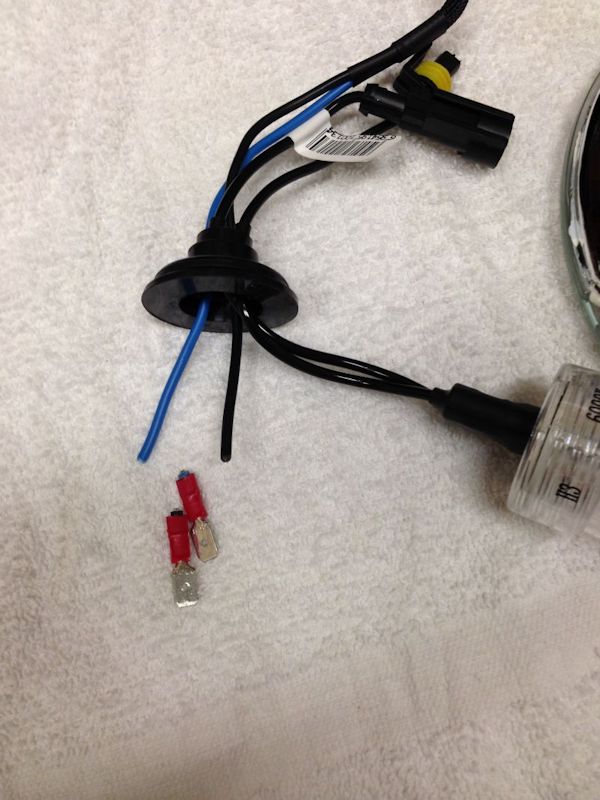
Cutting off the terminals I will not use
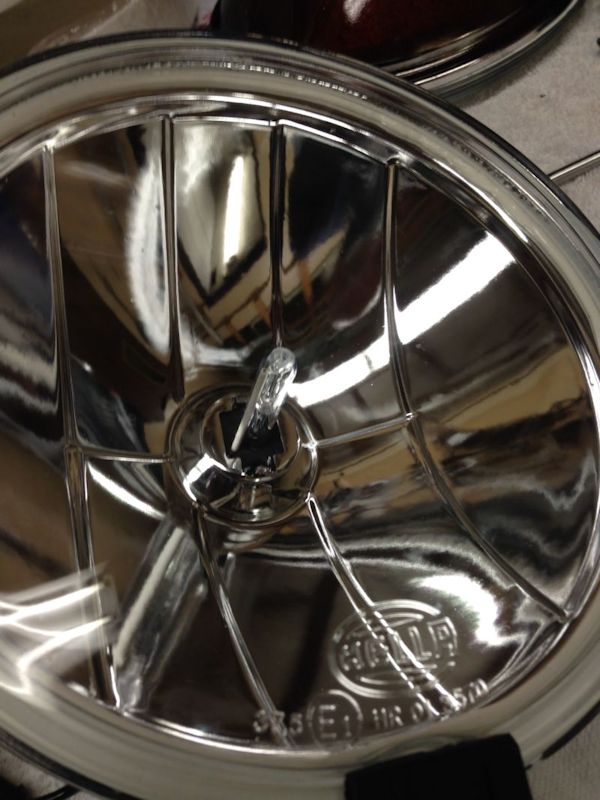
Look closely, I had to trim the two little tabs that held the stock lights in place. What is left will be used to bend and help hold the HID bulb.
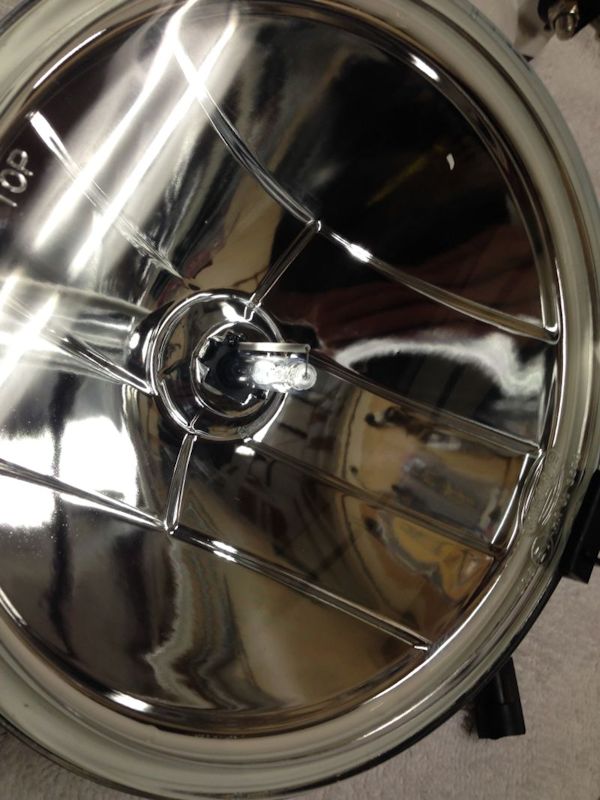
I then placed the HID bulb and bent the tabs down to help secure the bulb.
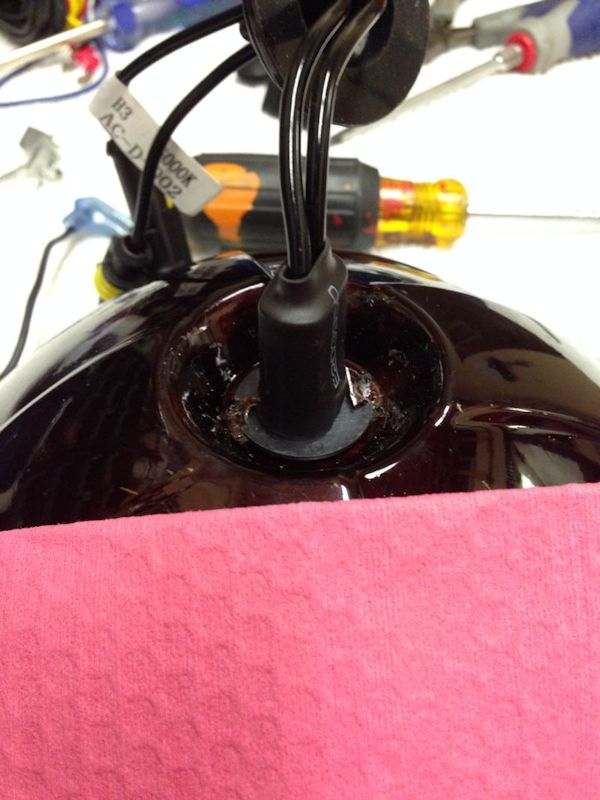
The boot for the housing hole. You can see the white plastic piece I made for a templete to cut the hole bigger.
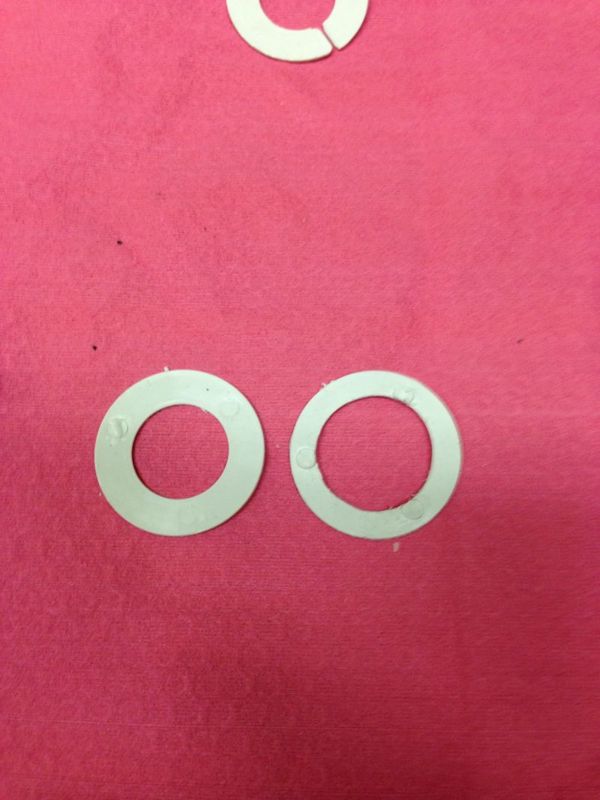
These pieces come in the kits. So I used my dremel to make a template.
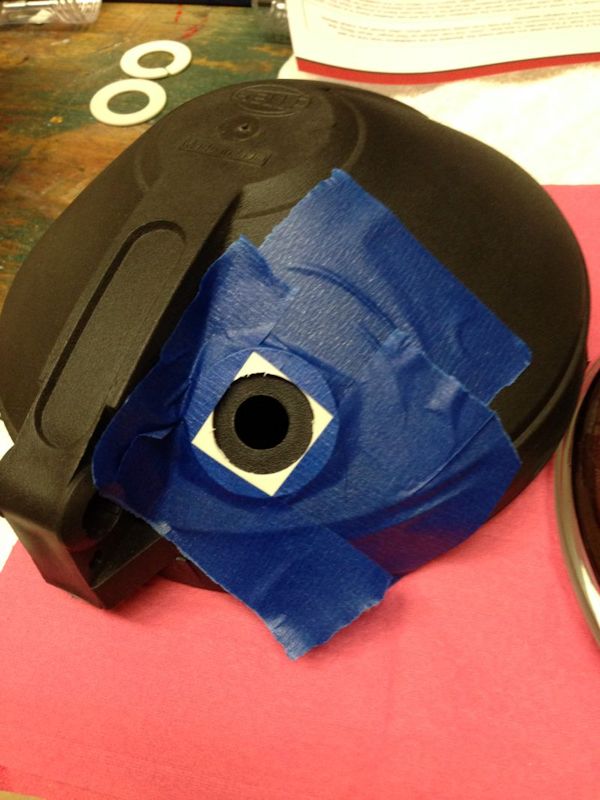
Here is the template in place.
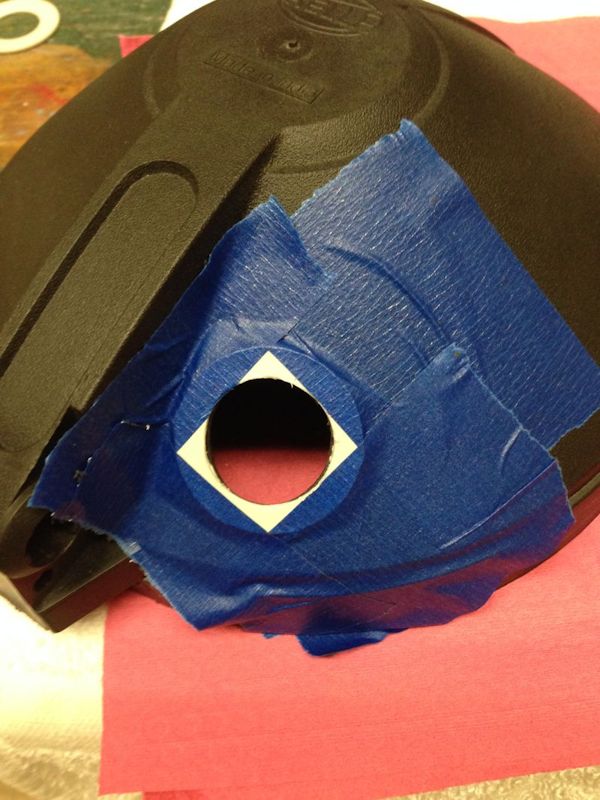
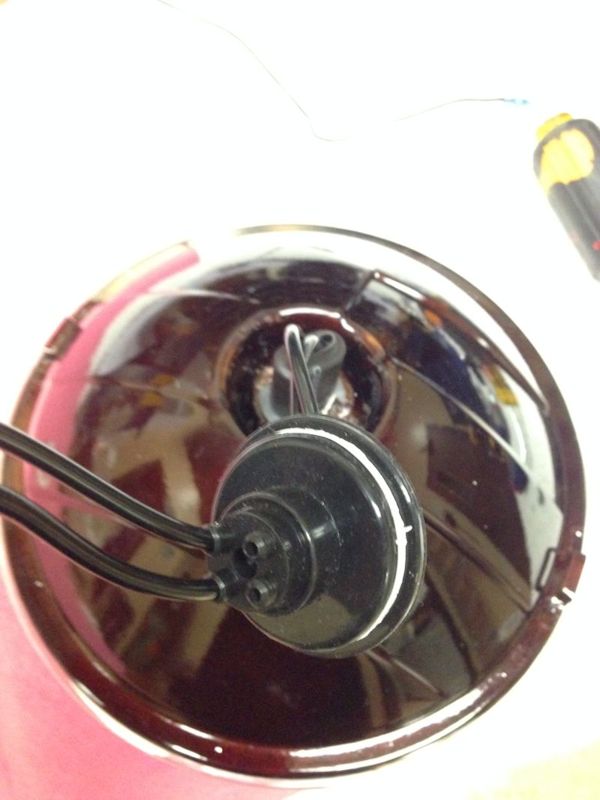
After I carefully used my dremel to make the stock hole bigger to match the template. Now the HID boot will fit in it perfectly.
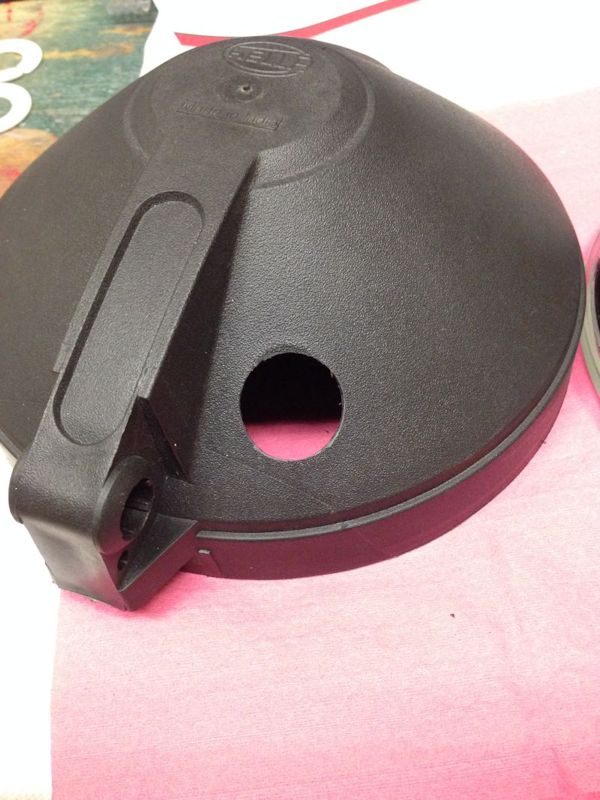
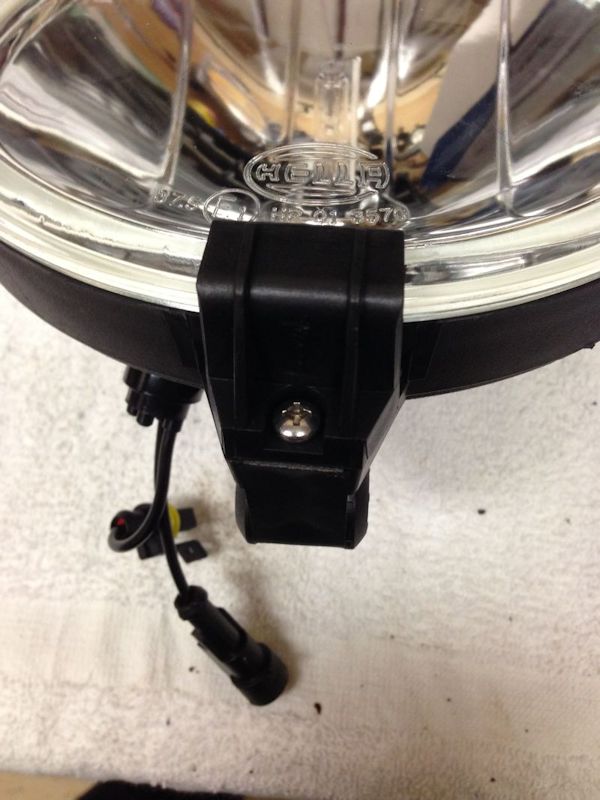
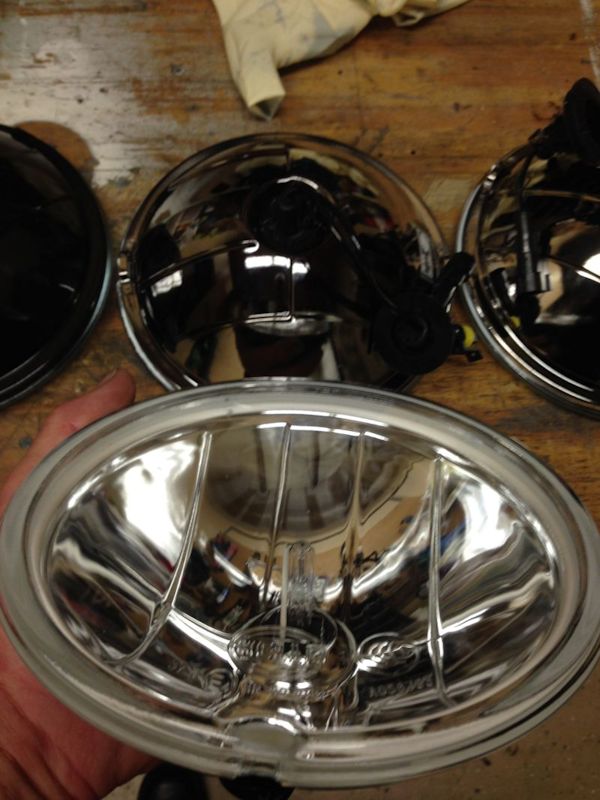
Notice how I have the back of the light pushed out? As compared to the picss above. You need to do this so the HID buld will fit the housing. Some will also drill this out and this is where they have the wires come out with the boot. I wanted to keep the factory hole to the side, so I went this route.
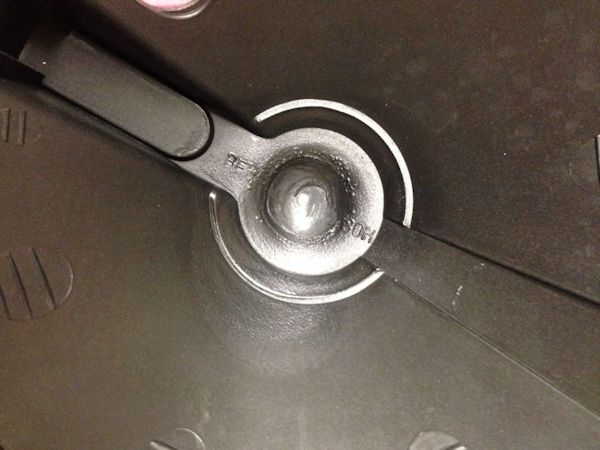
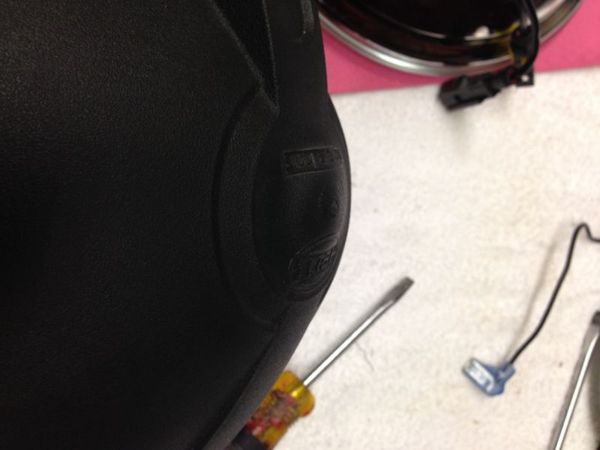
Here is a look at the inside after the dimple was pushed in it.

You need a socket large enough to fit around the flat part of the back center. I used a 3/4" and put it in the vice.
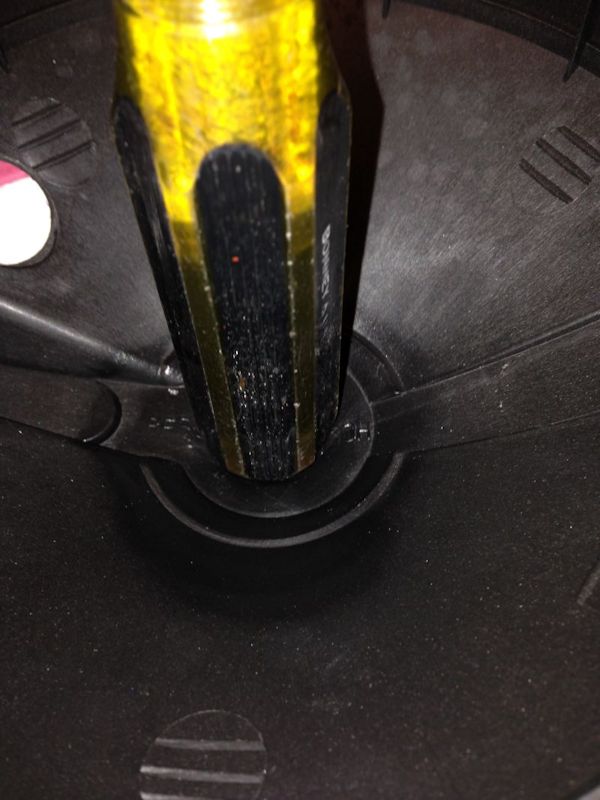
Then used a heat gun and slowly start heating the plastic up from the inside. Take your time with this step to get it to look good. If you get it to hot, the screwdriver could push through the housing, screwing it up.
Once you get the housing hot enough, place it down on top of the socket, then use the back of a large screwdriver to slowly push a dimple into it. the socket should be the guide for the screwdriver
so you end up with a nice round dimple like in the pic above showing the back of the housing. You should hold the screwdriver in place until the housing cools down enough to not lose its shape after the screwdriver is removed.
I used the Polyurethane Sealant on the right to hold the lights in place.
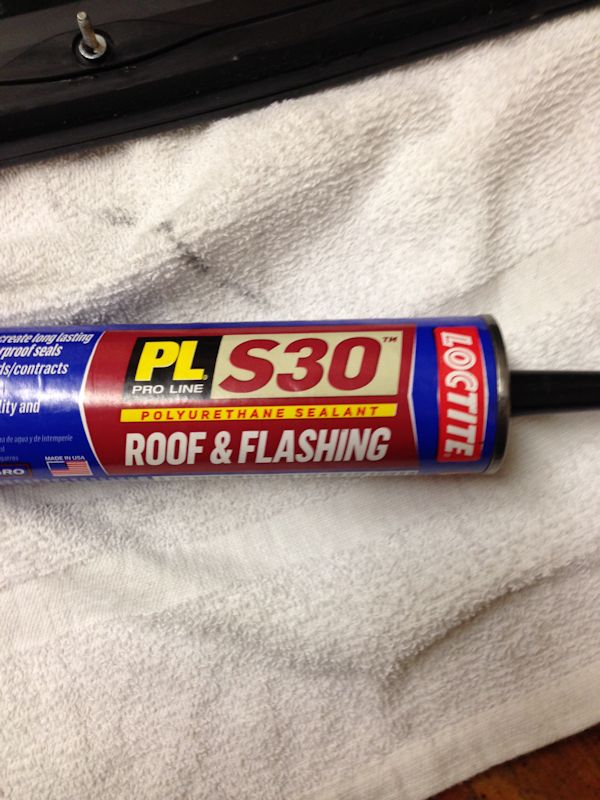
You can get this at Lowes or Home Depot. I use it instead of silicon since it is 100 times better. But do not treat it like silicon, it is messy and sticky. But it will never lift, allow mildew or break down like silicon does over time. You will see me use this throughout all my projects.
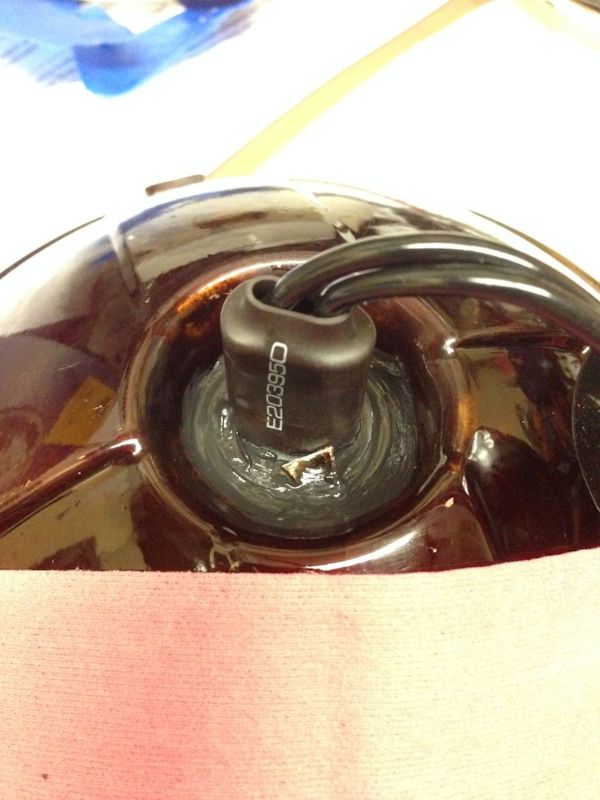
After putting the polyurethane on all the bulbs, I let them sit overnight so it could cure. I then put the housings back together the next day. If you get in a hurry and try to fit the housings back together, then your bulbs will end up crooked. You can see that I placed some polyurethane on the two holes above so no moisture can get into the housing.
The HID bulbs sit in the housing nice and straight without hitting the glass now.
The stainless screws I used
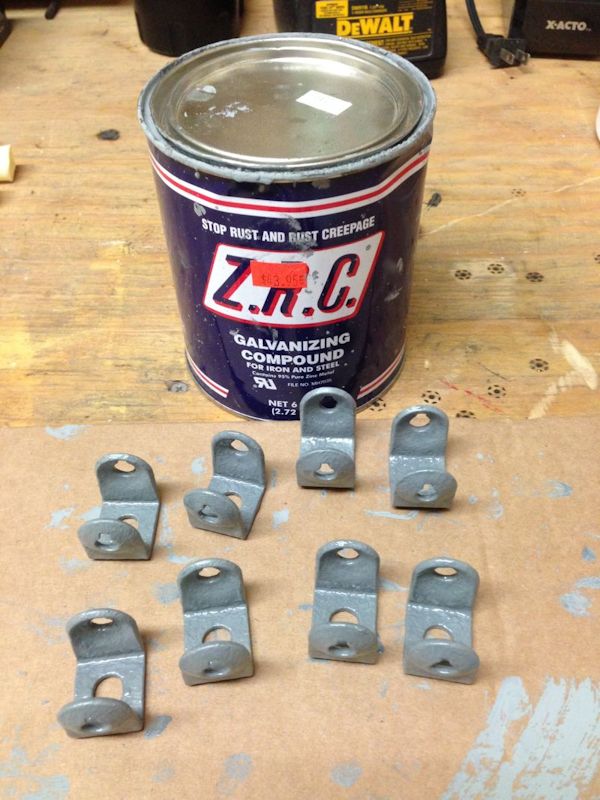
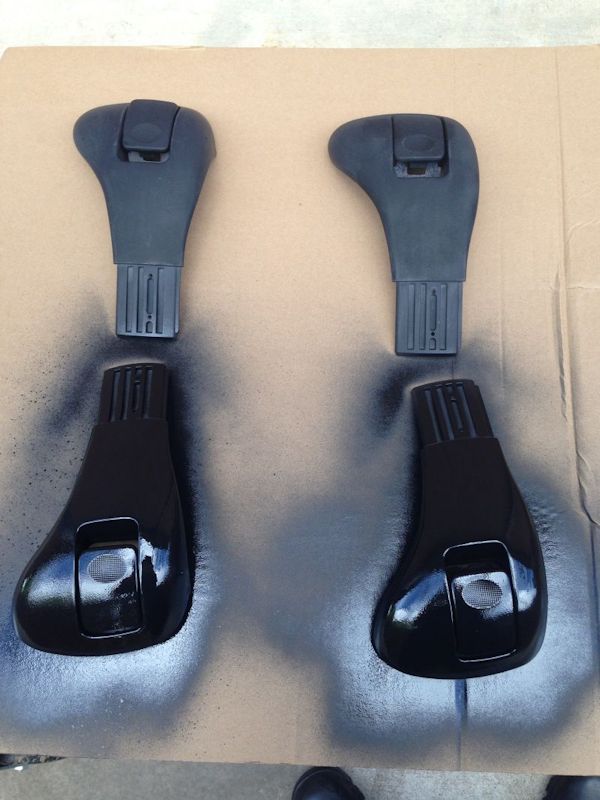
Since the brackets are now stainless, I painted them with ZRC before shooting them black.
Shows that some of these Hella lights have different glass to them.
This is the smooth lens, which is a "Spot" lens.
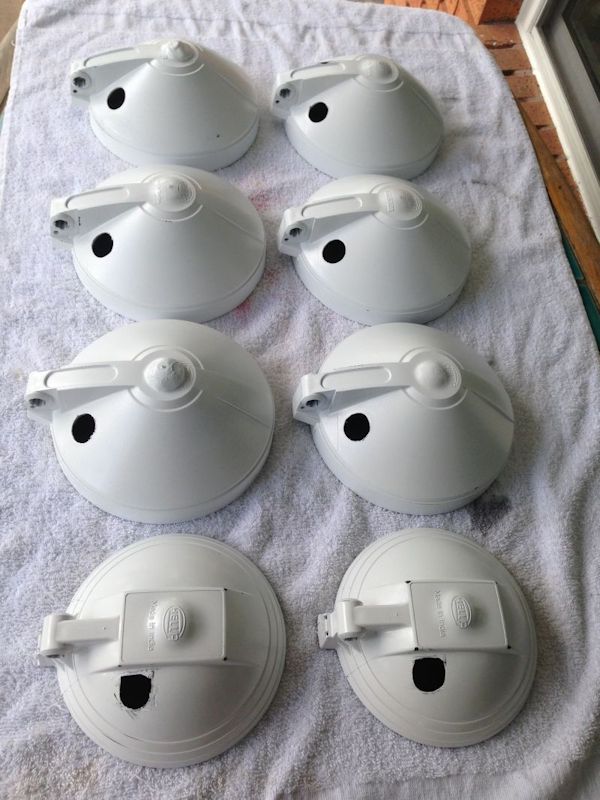
Painted and waiting for the clear coat. The bottom two are the Hella 500's. You can see all the dimples I put in them so the HID bulbs would fit.
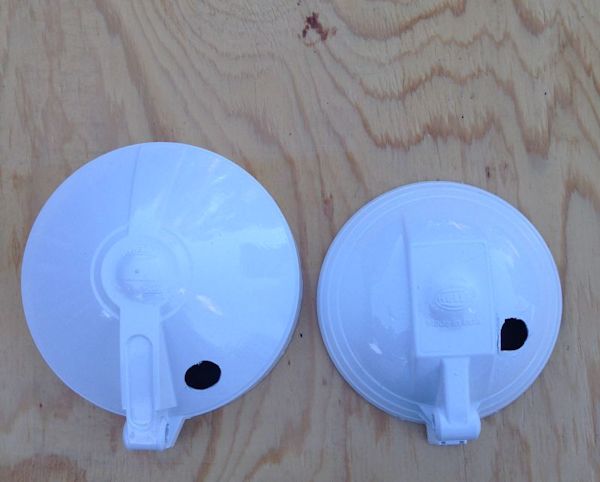
The Hella 700 next to the Hella 500 and both have been clear coated.
Nuts and bolts are stainless
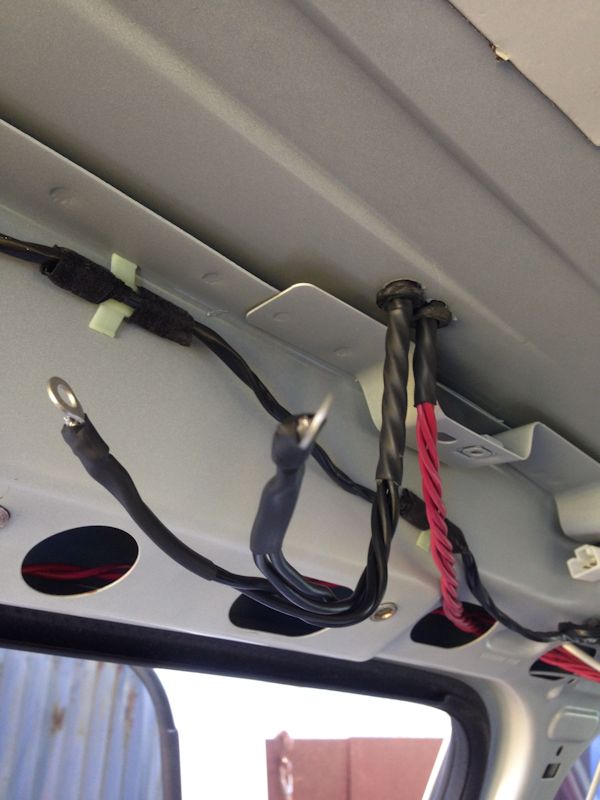
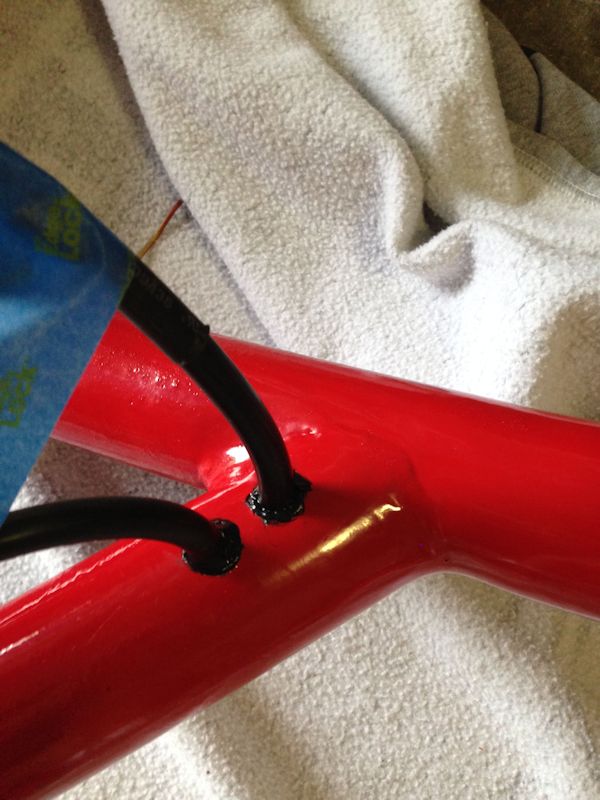
Ran all my wiring through the roof and under the headliner. All terminals were soldered and heat shrunk. You see the bottom of the two boots coming through the roof.
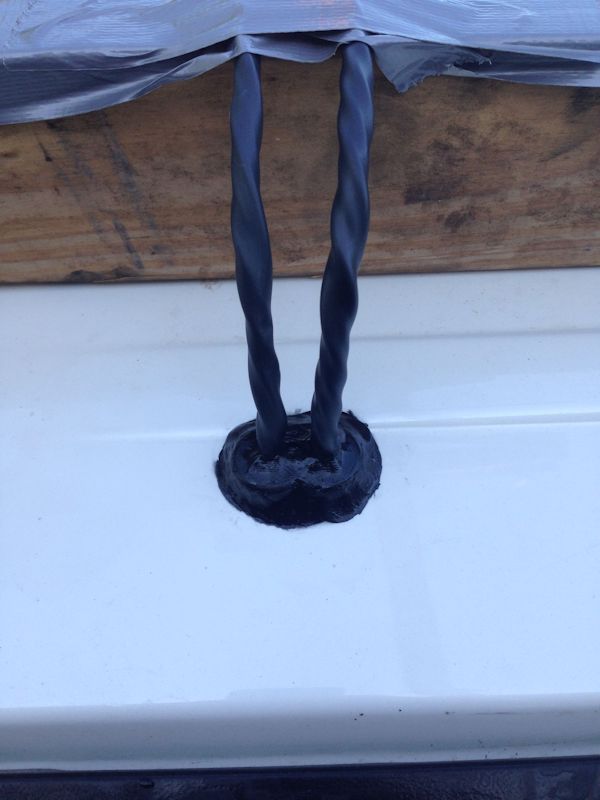
On the roof, I used the Polyethane to seal the two boots as one. I used the 2x4 to hold the wires up to keep the boots straight and seated until the polyurethane cured for 24 hours. This stuff will never pull away from the body and leak.
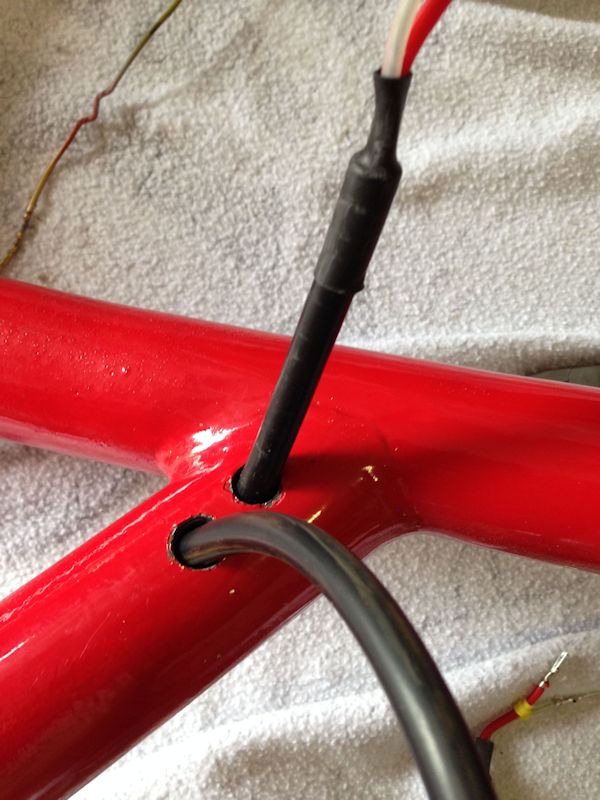
I got online and learned how to disassemble the HID connectors, that way I could run the wires through my front guard.
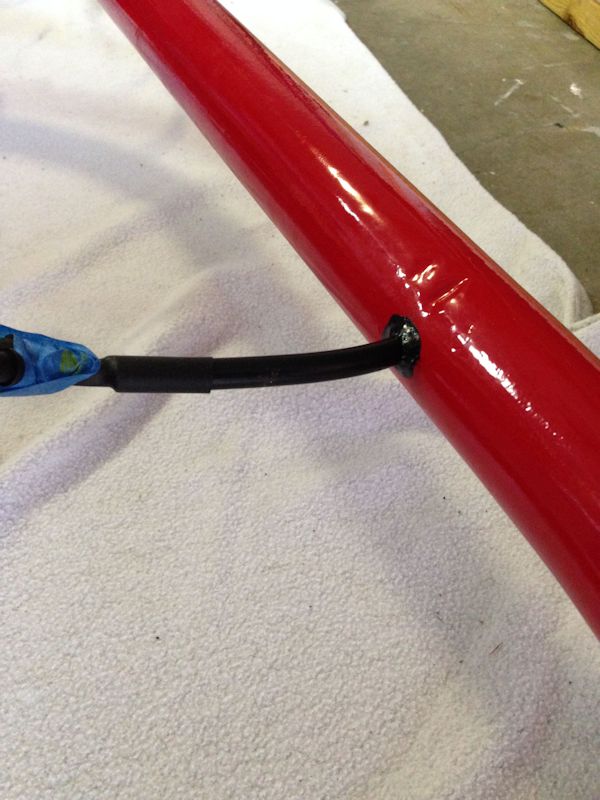
More polyurethane
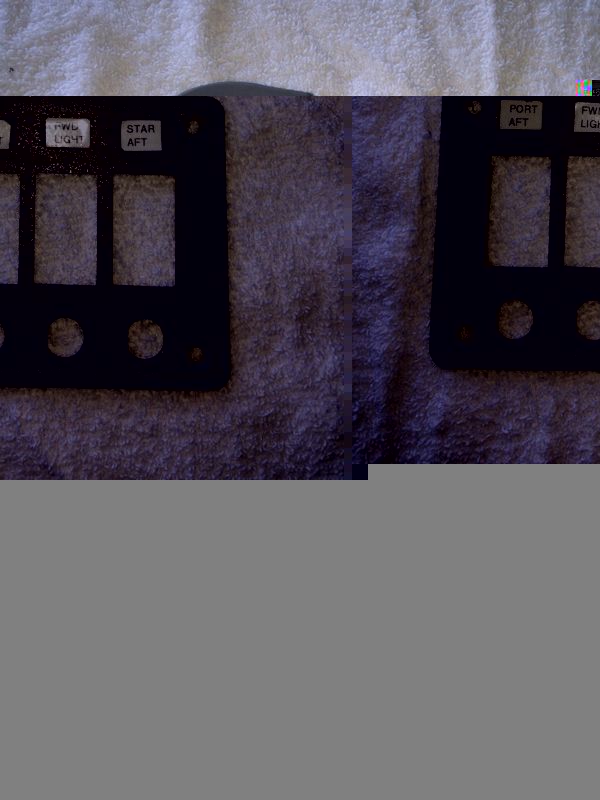

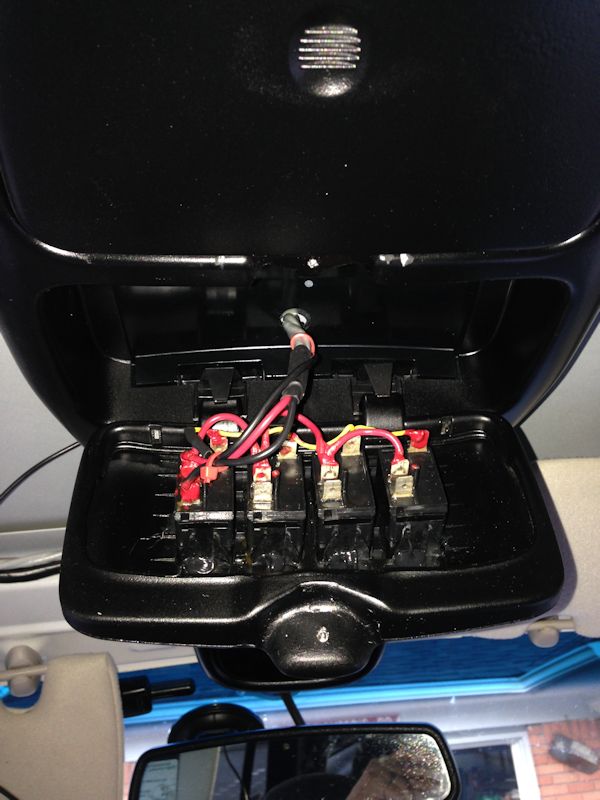
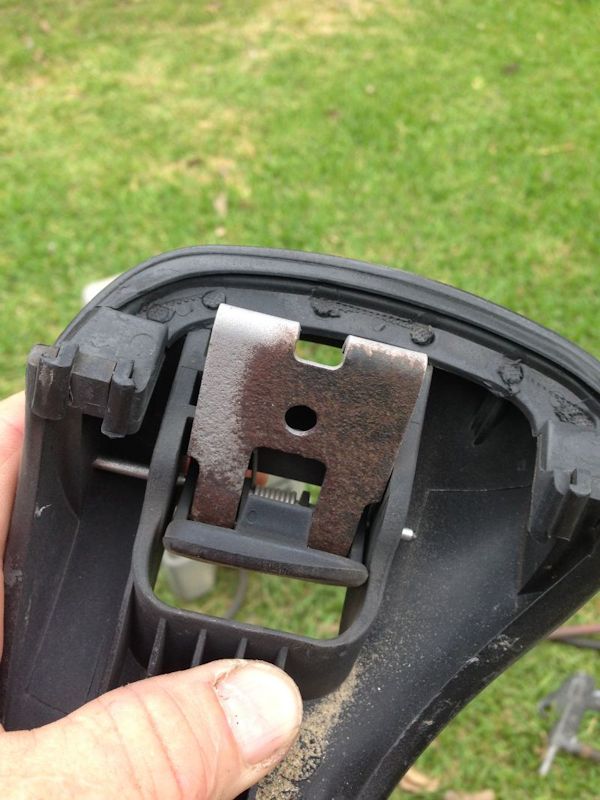
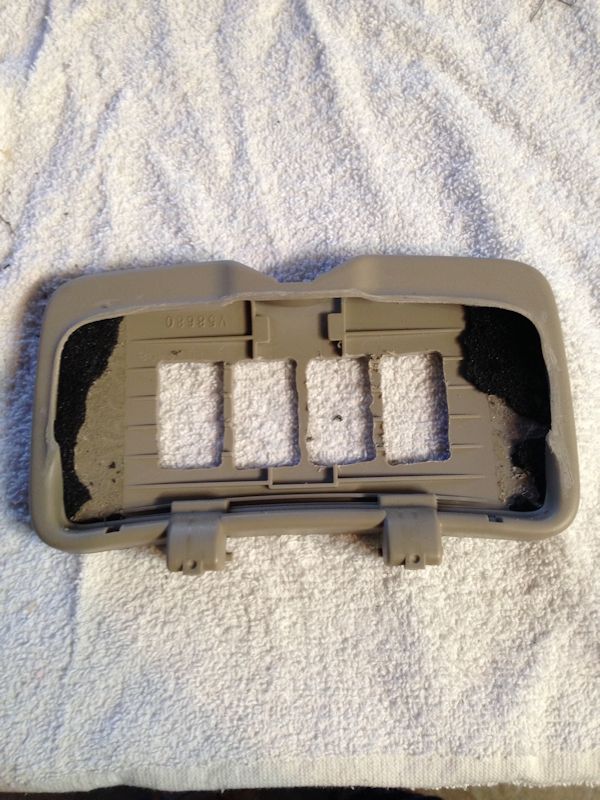
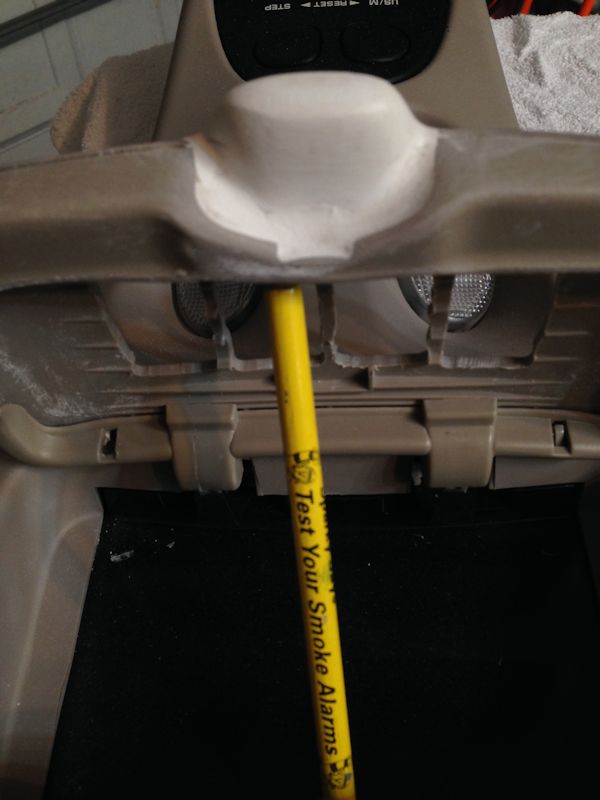
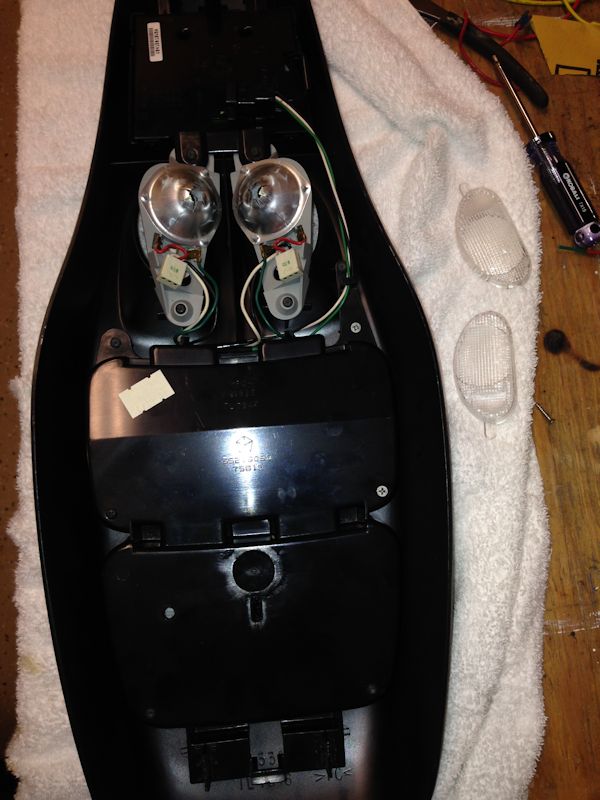
I taped the metal piece to the door to use as a template, so all the rocker switches would align.

Still came out messy, but once cleaned up they all fit perfect.
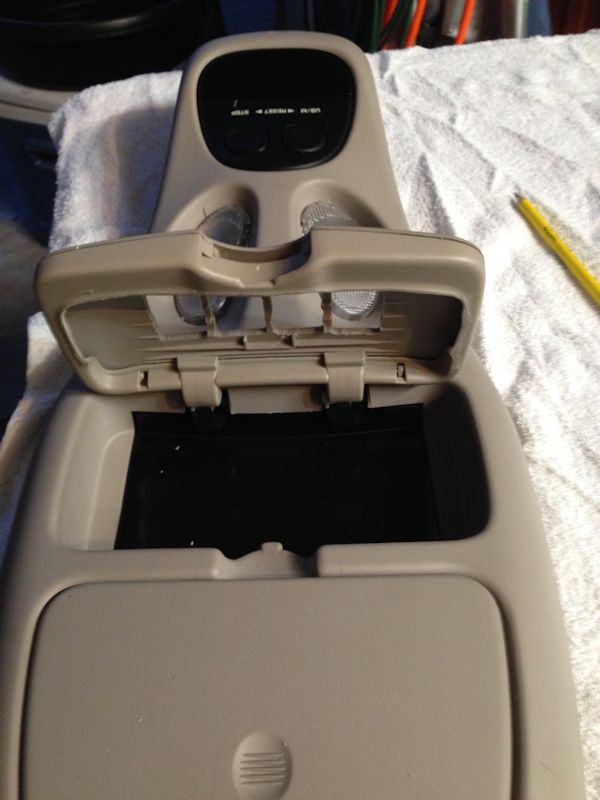
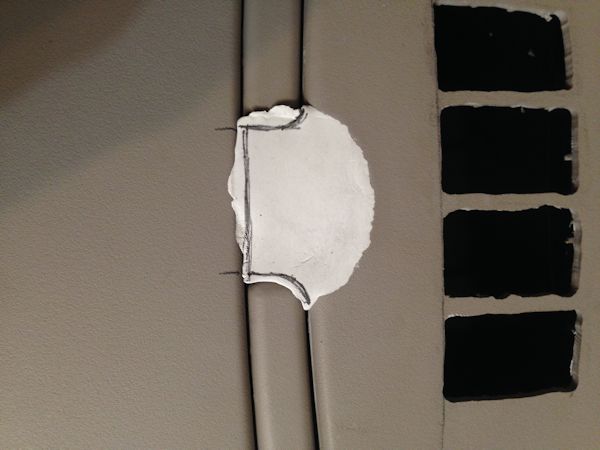
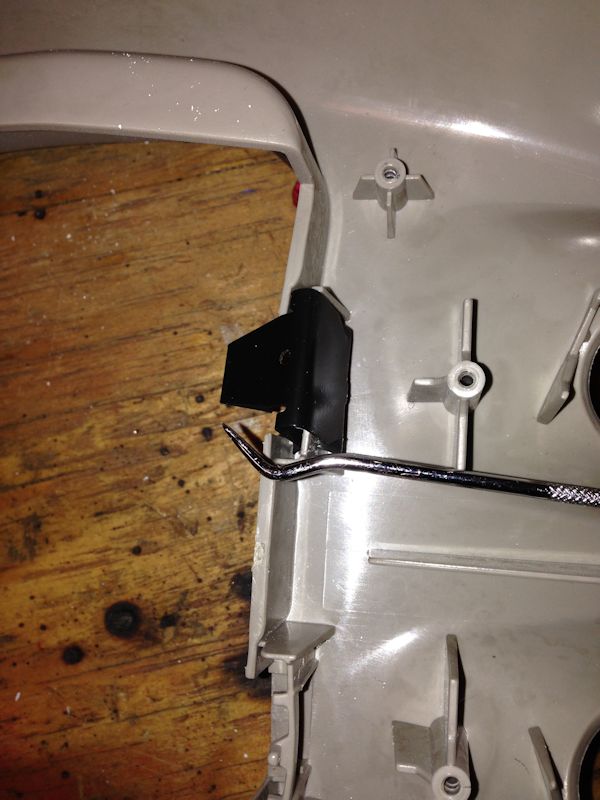
I used this to mold a new piece to keep the door closed.
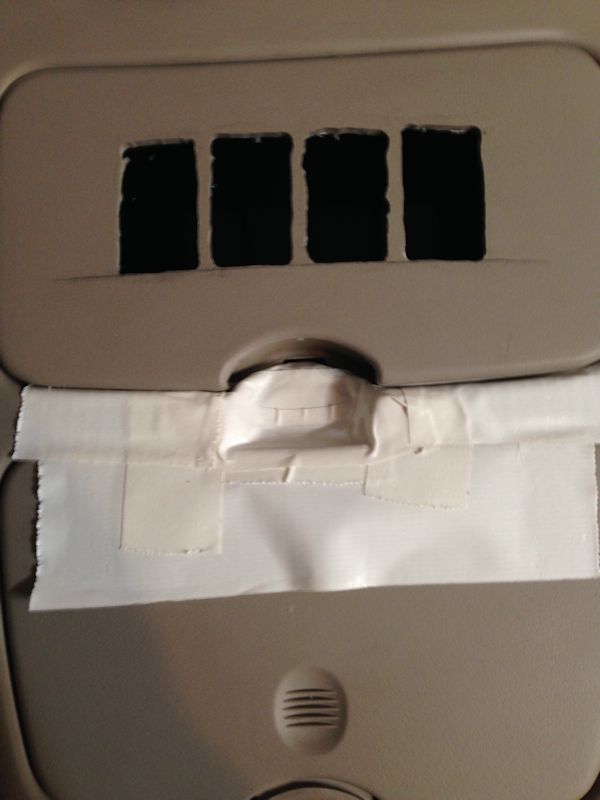
Duct tape will keep the Epoxy from sticking to the other part of the console.
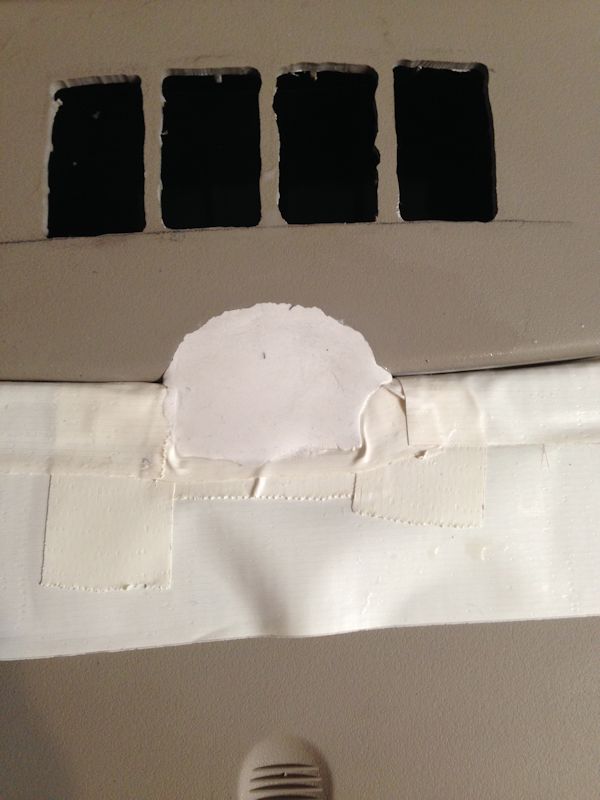
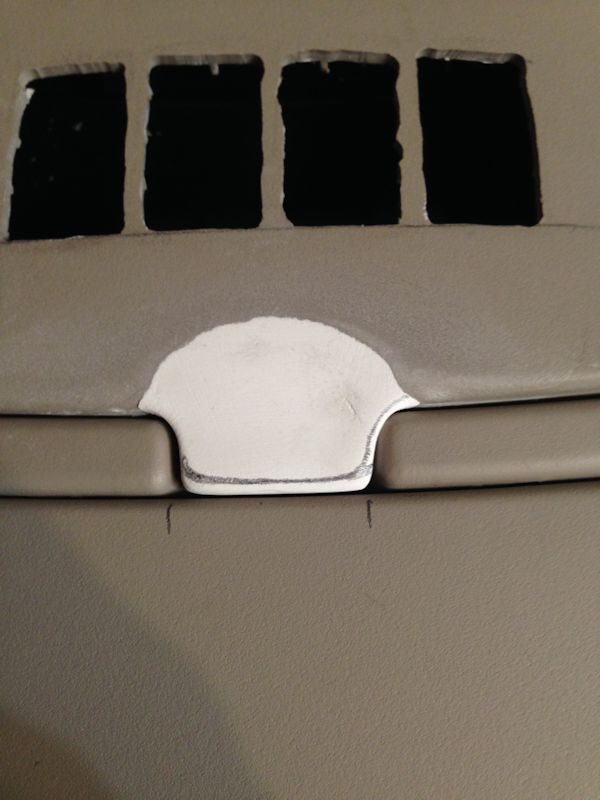
Mixed it up and mashed it all in place.
Once it cured, I opened the door and removed the duct tape.
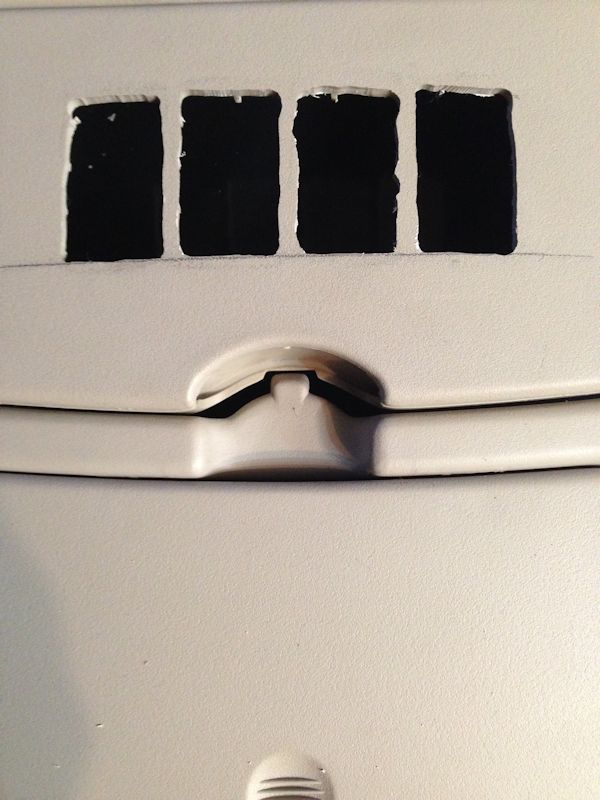
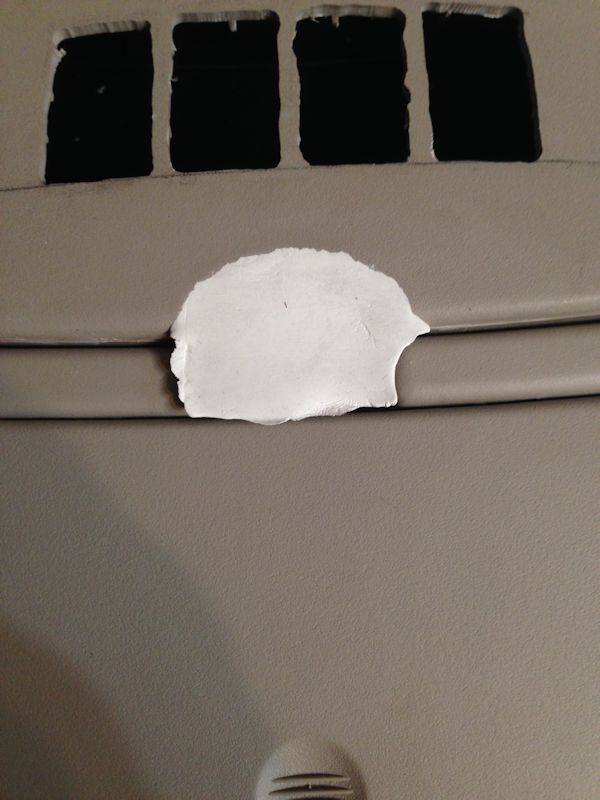
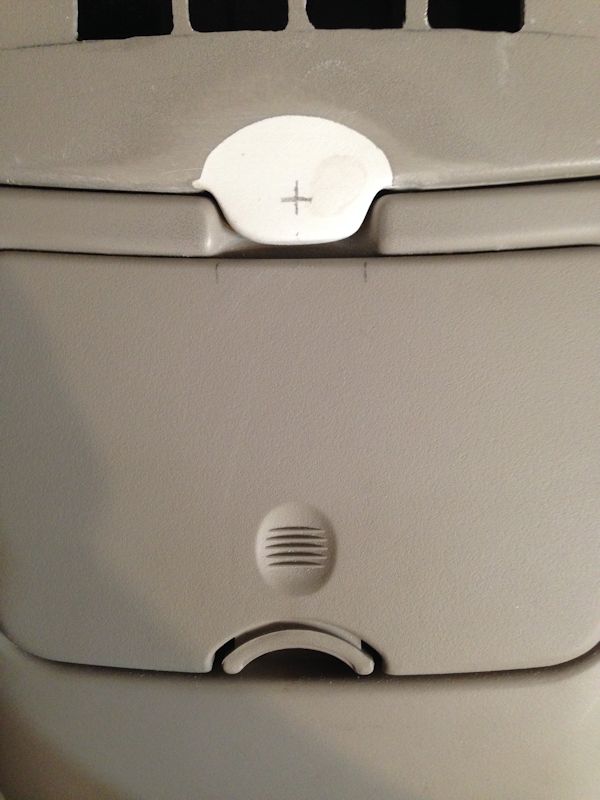
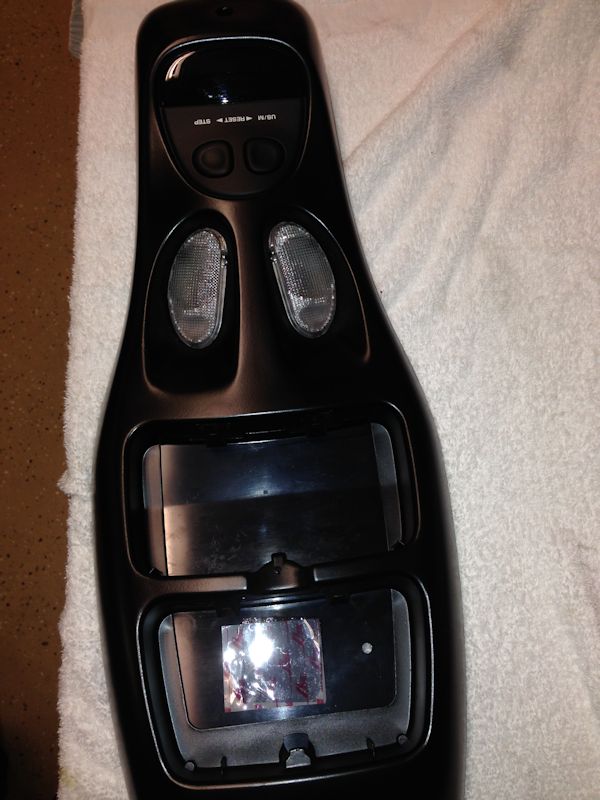
Drew the shape I want to end up with.
Once sanded down, I drew the shape again to tweak it.
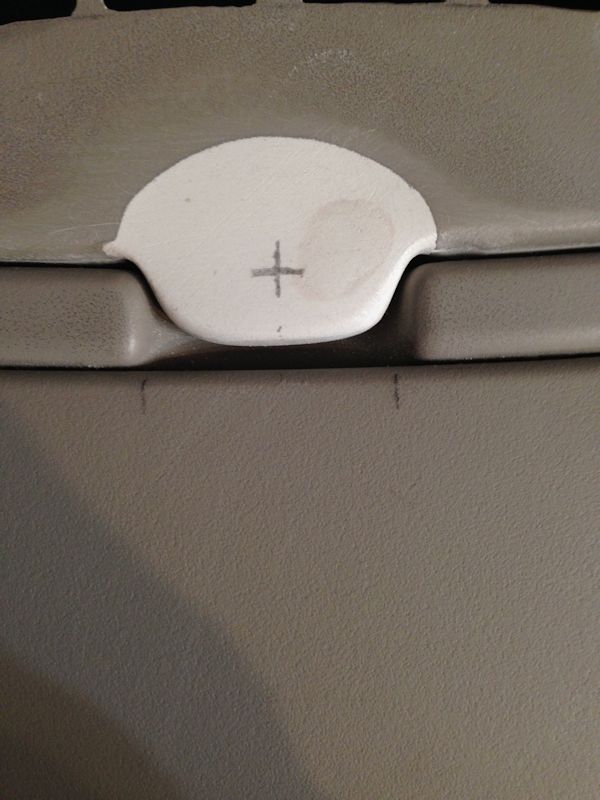
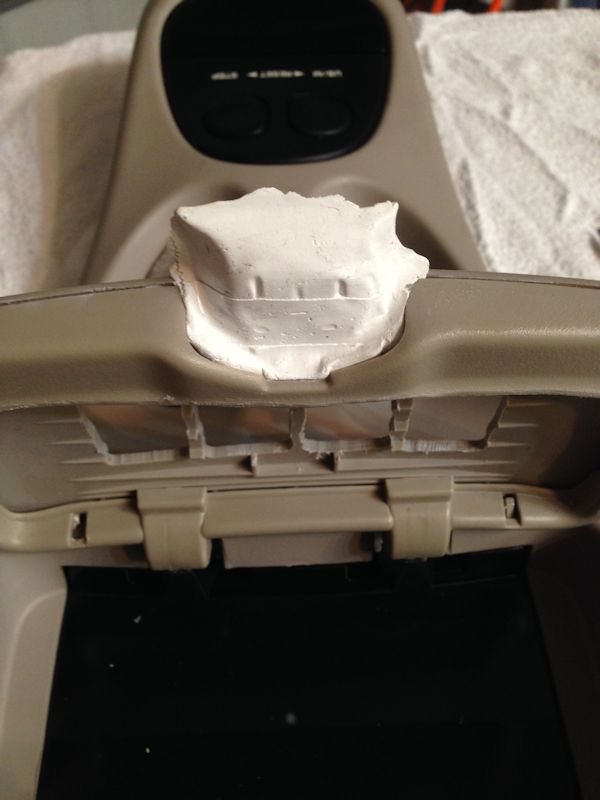
Marked the hole I will drill for the screw that will now hold the door shut. The stock latch was not string enough to hold the door shut with the weight of the switches.
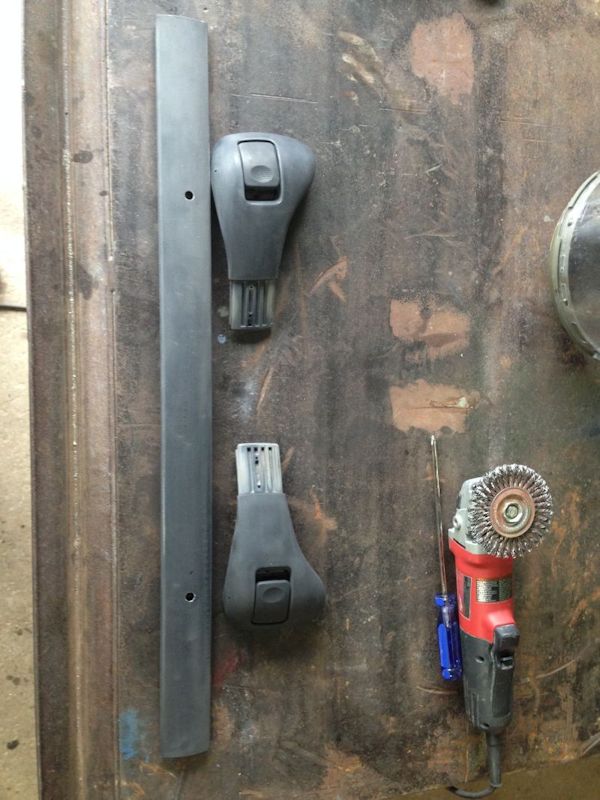
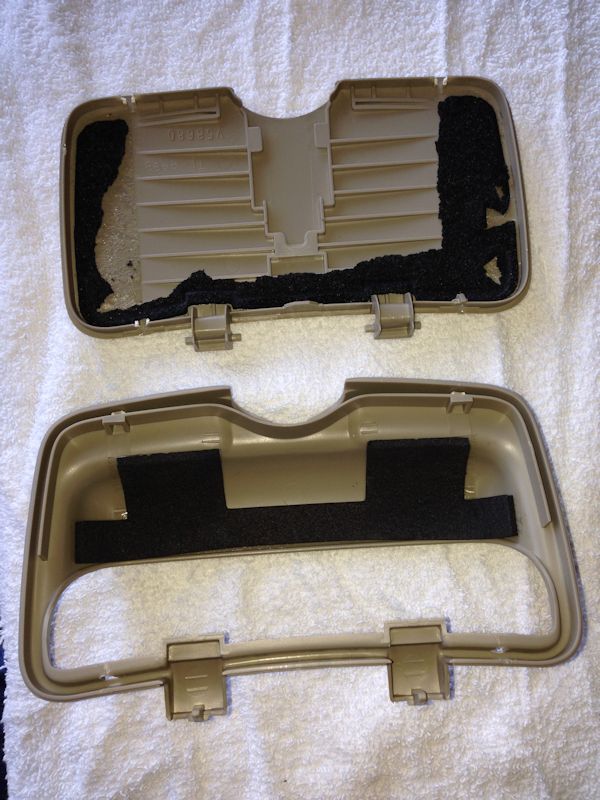
Have to remove everything to prepare for paint.
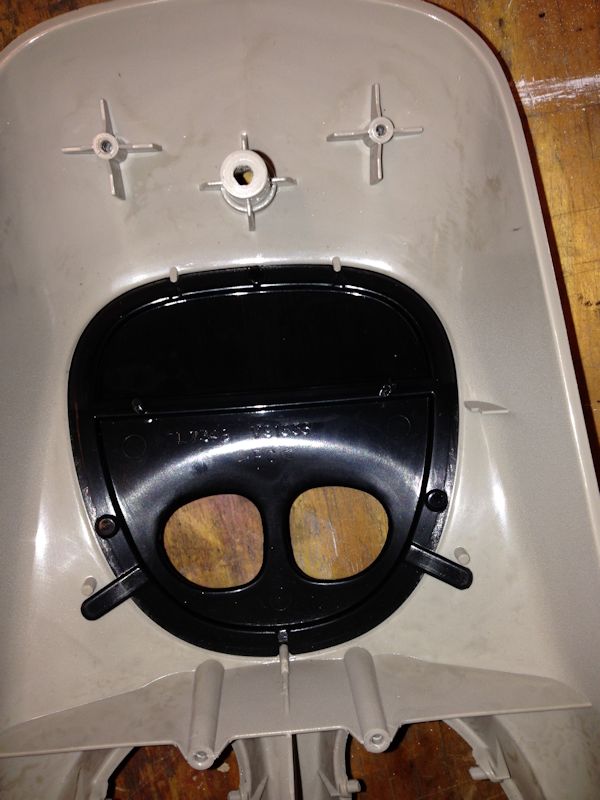
Had to be very careful with these clips so not to break the plastic they are attached to.
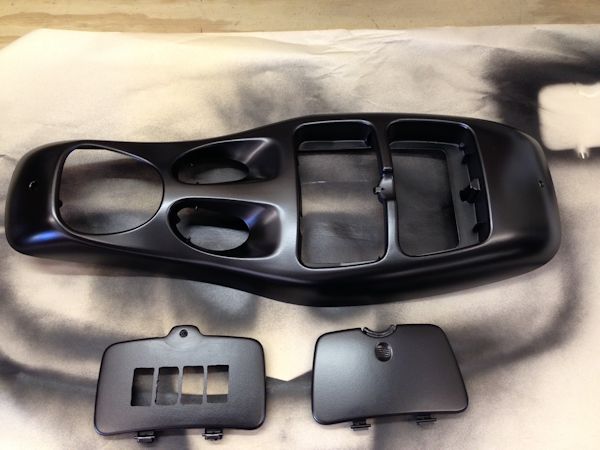
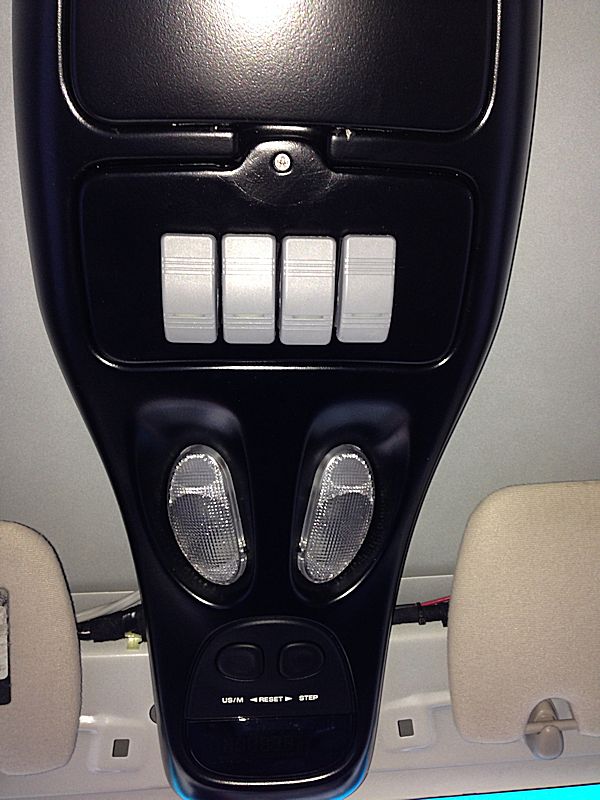
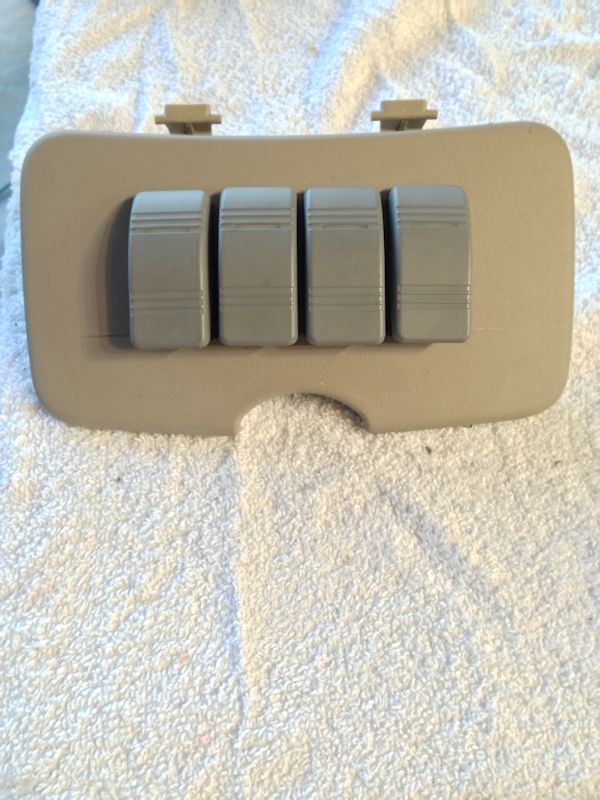
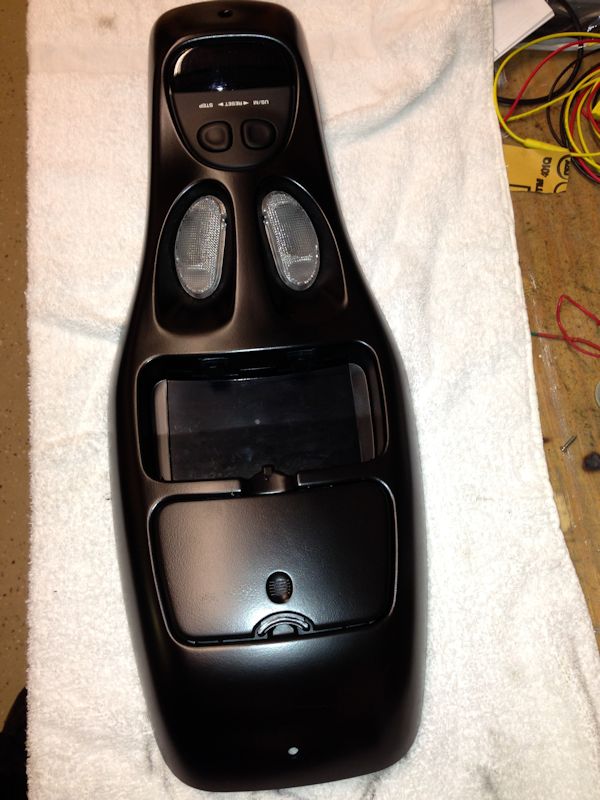
Shot it black, which will look good against my gray headliner.
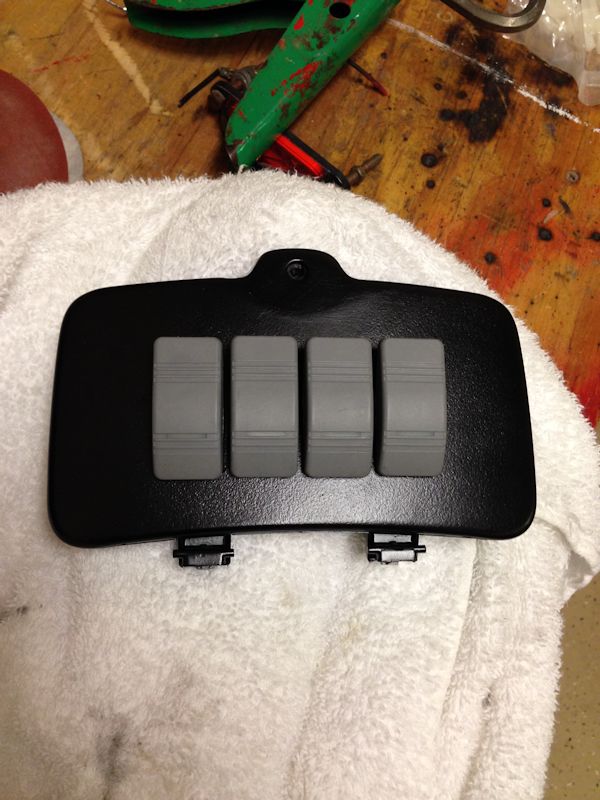
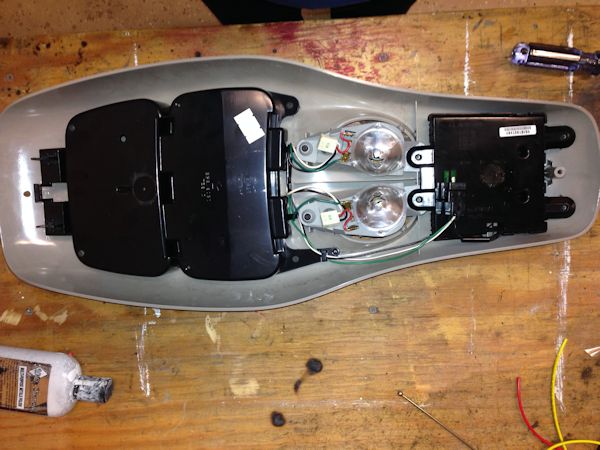
Switches, which have the LED lights in them.
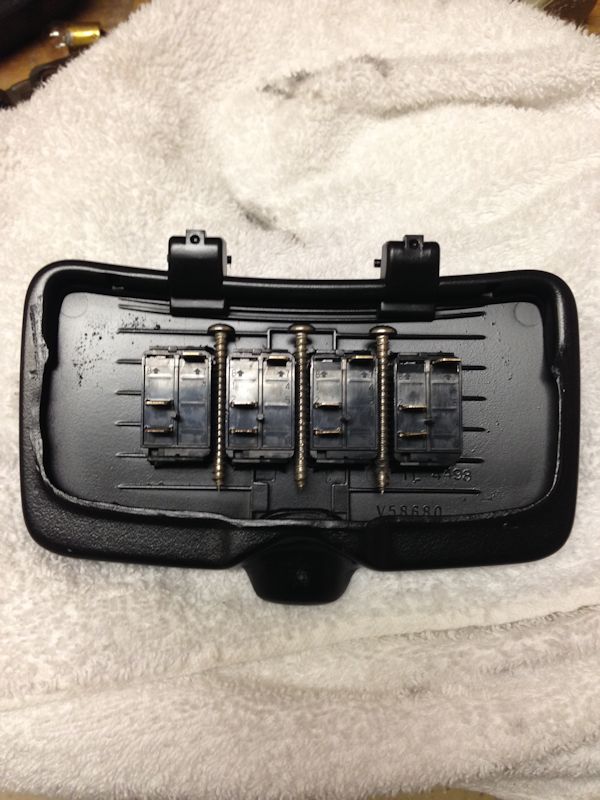
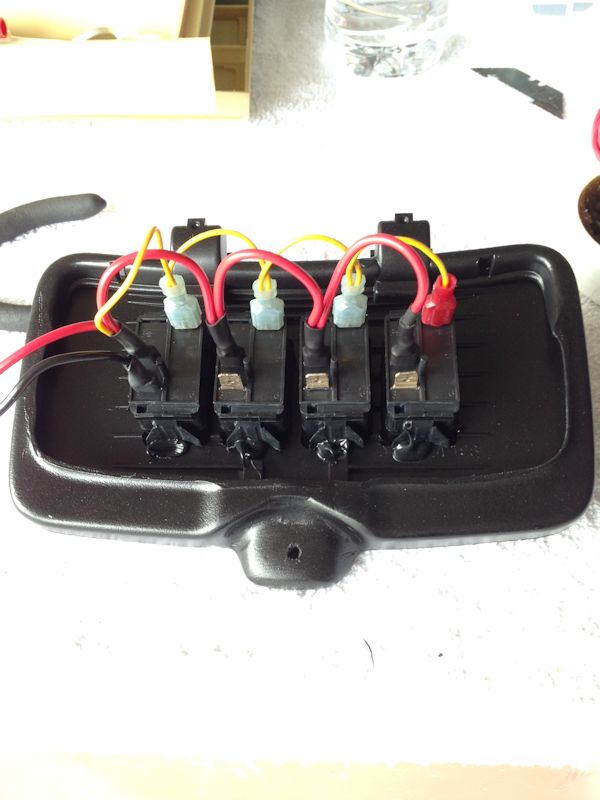
The screws are only there to hold the switches nice and uniform
I then used a dab of polyurethane on them to hold them in place
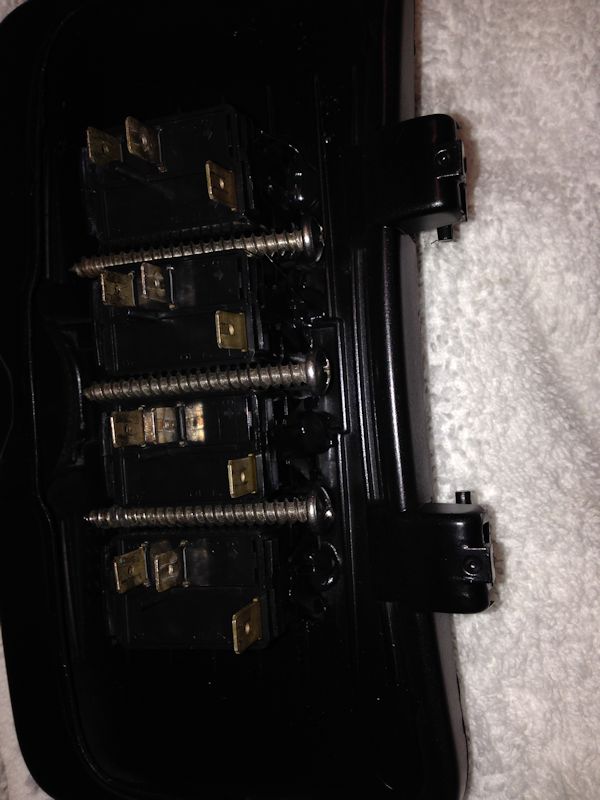
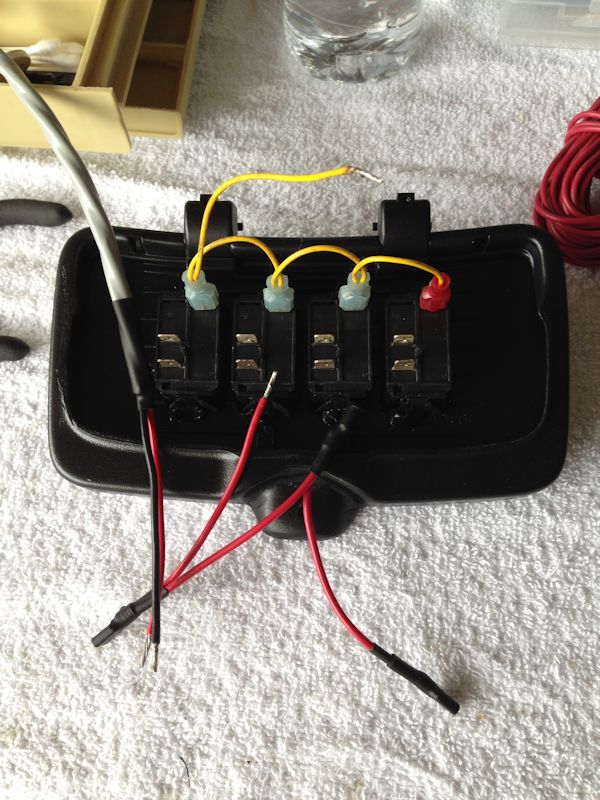
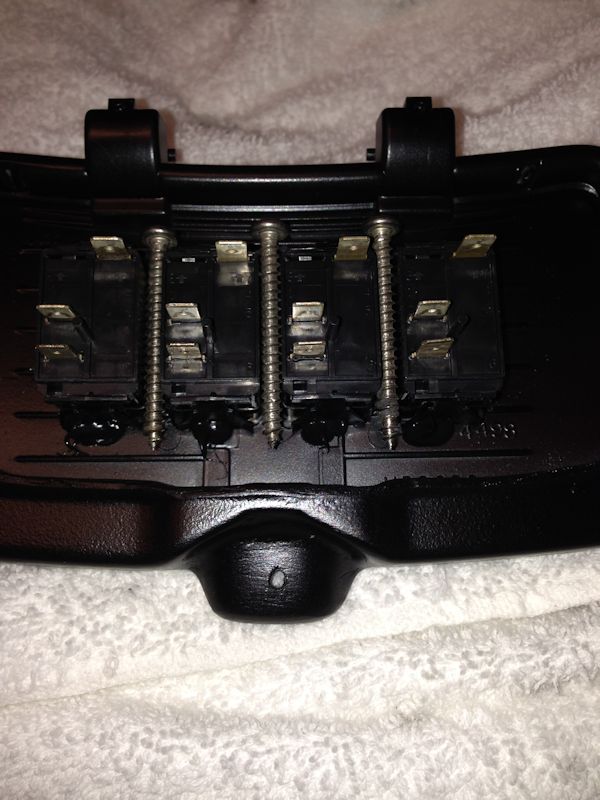
Once I was finished with wiring the switches, I couldn't close the door. So I had to redo them all without the terminals.
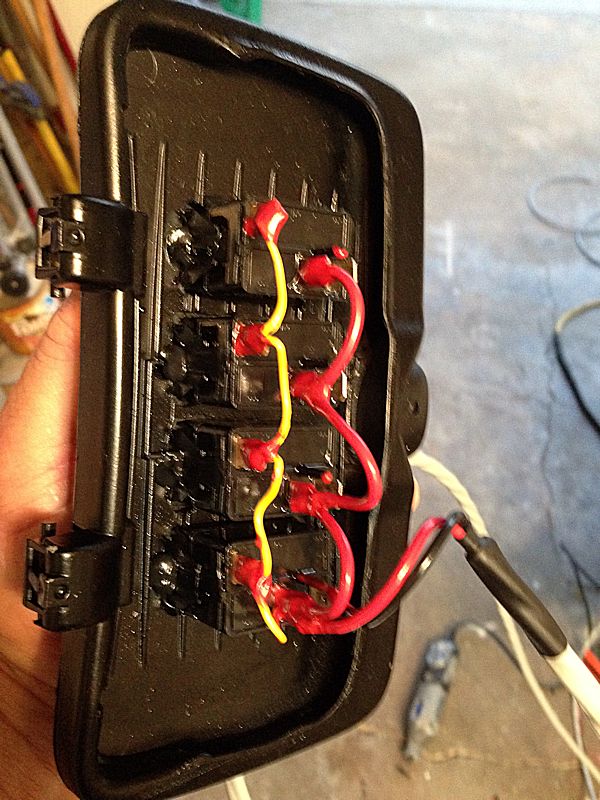
I soldered all the wires in place this time, then sealed them with liquid tape.