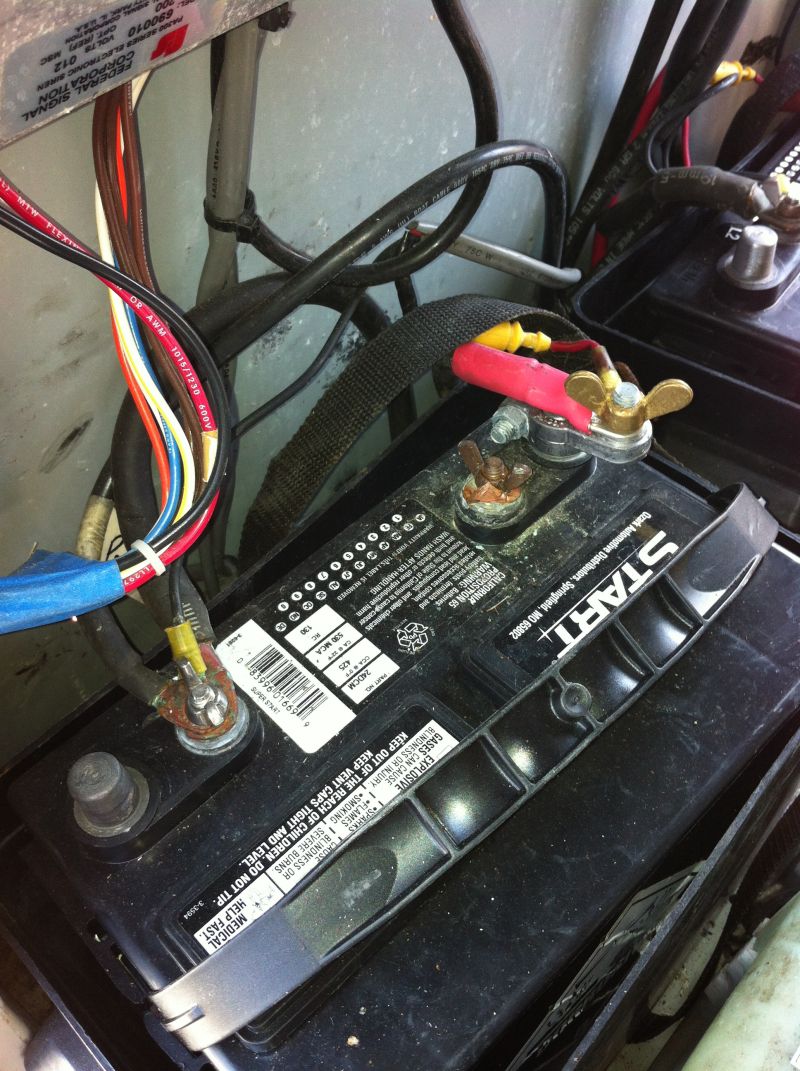
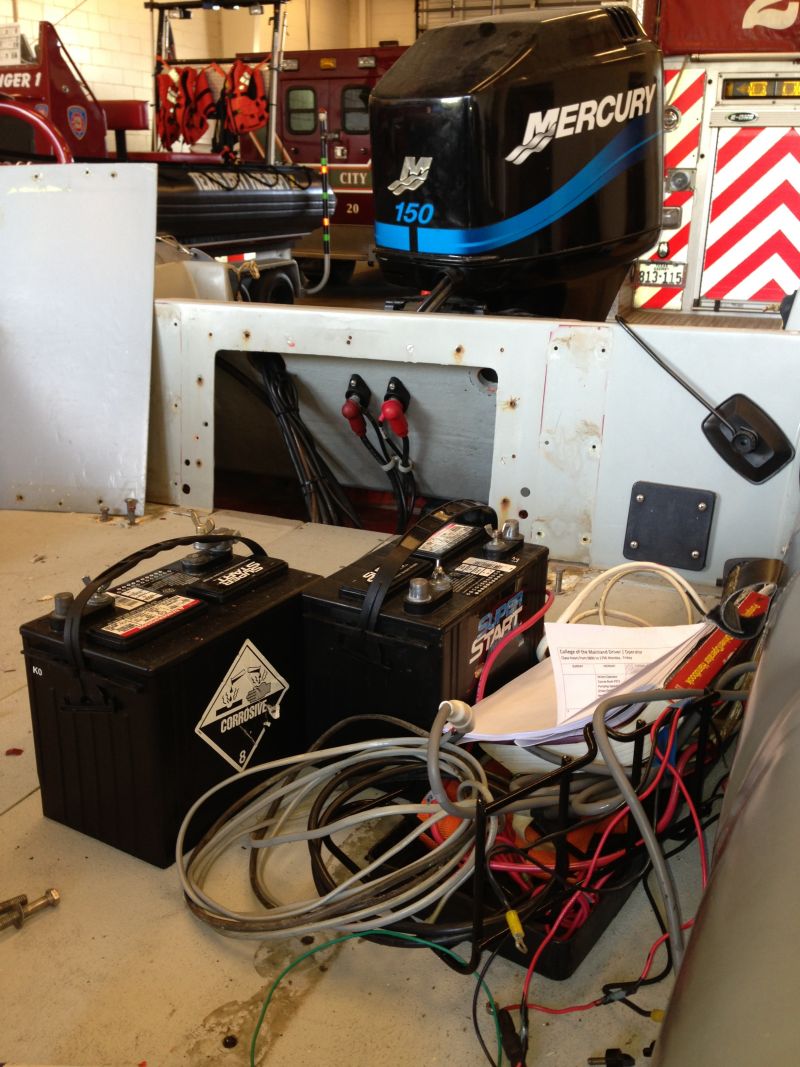
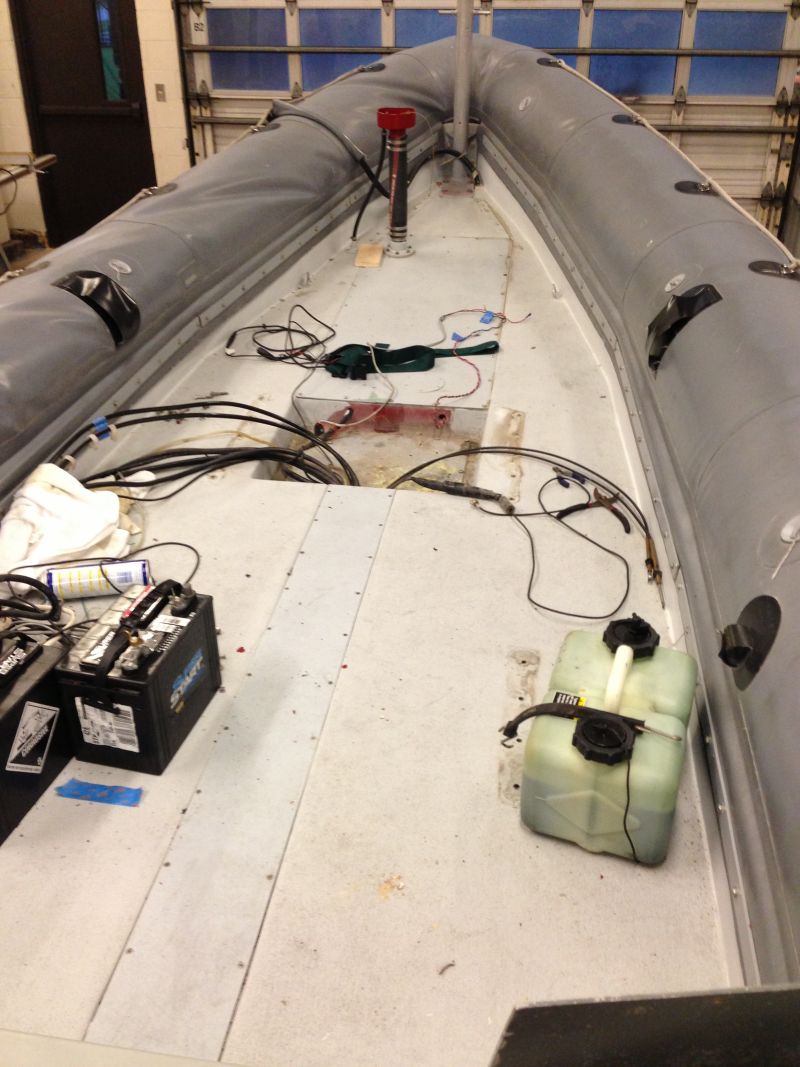
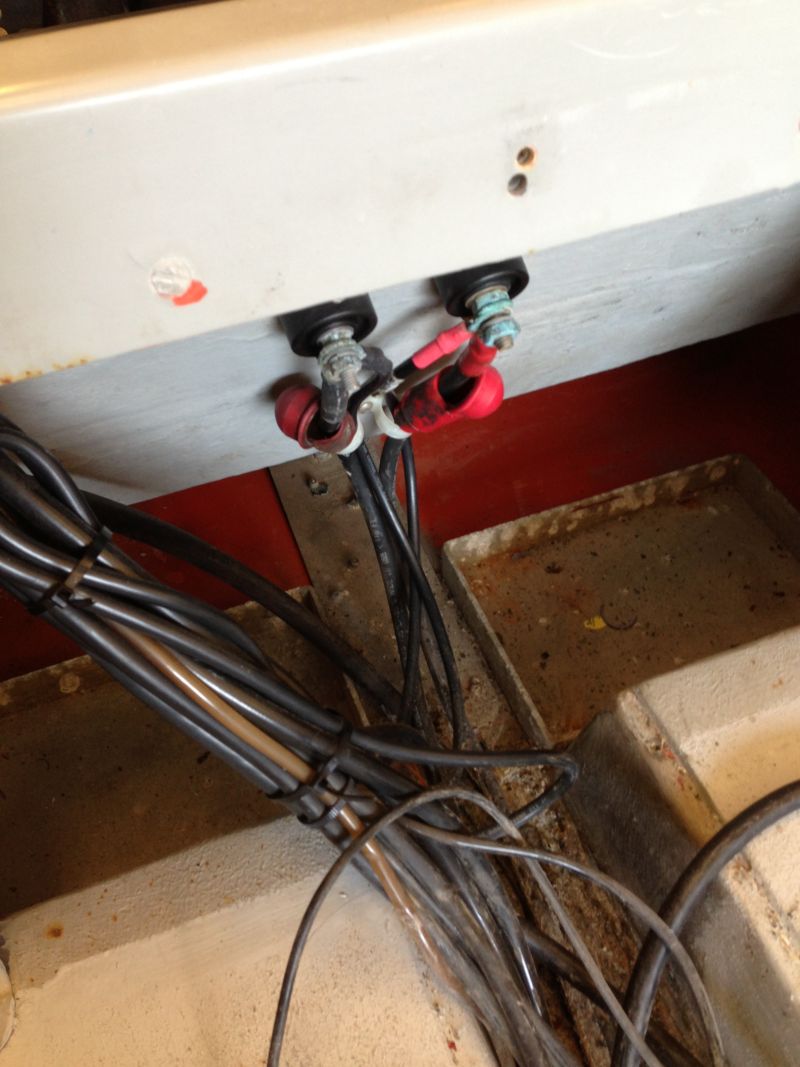
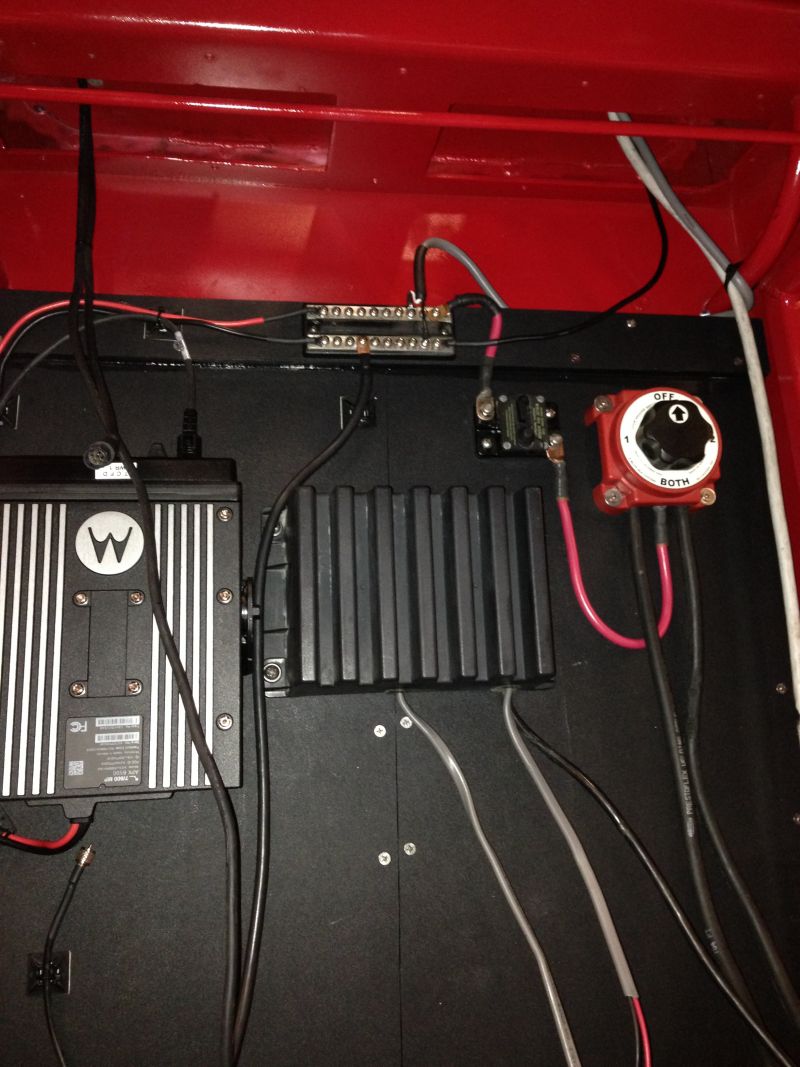
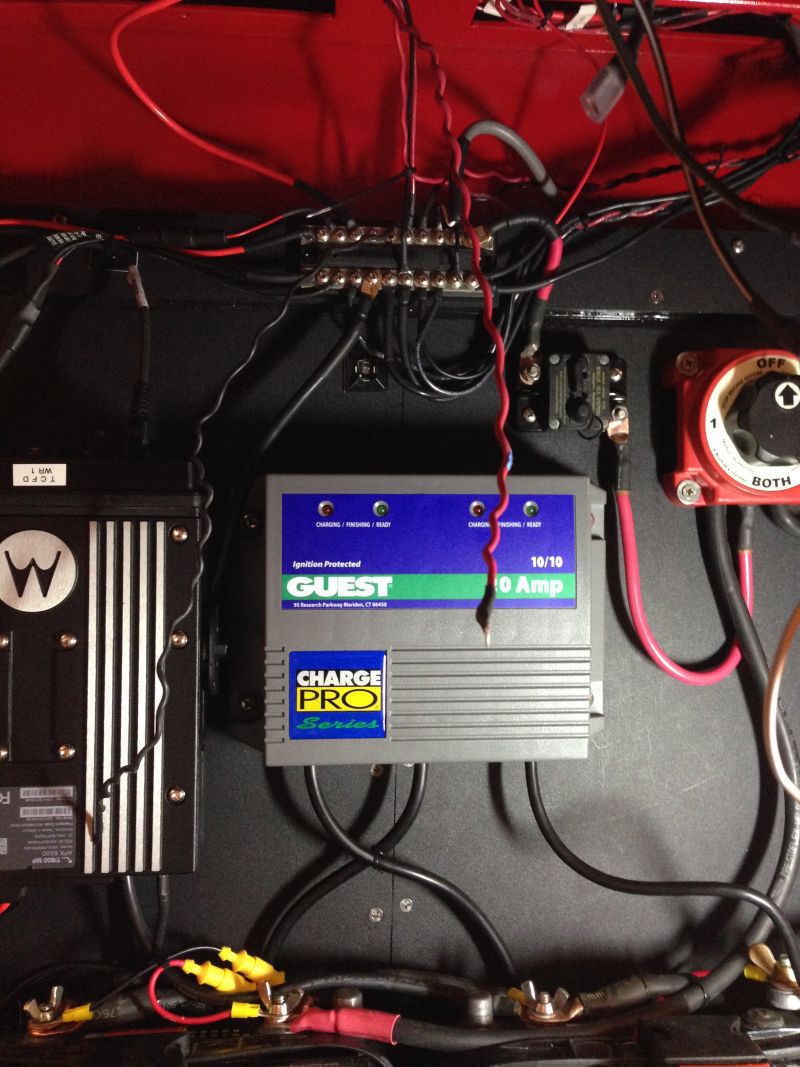
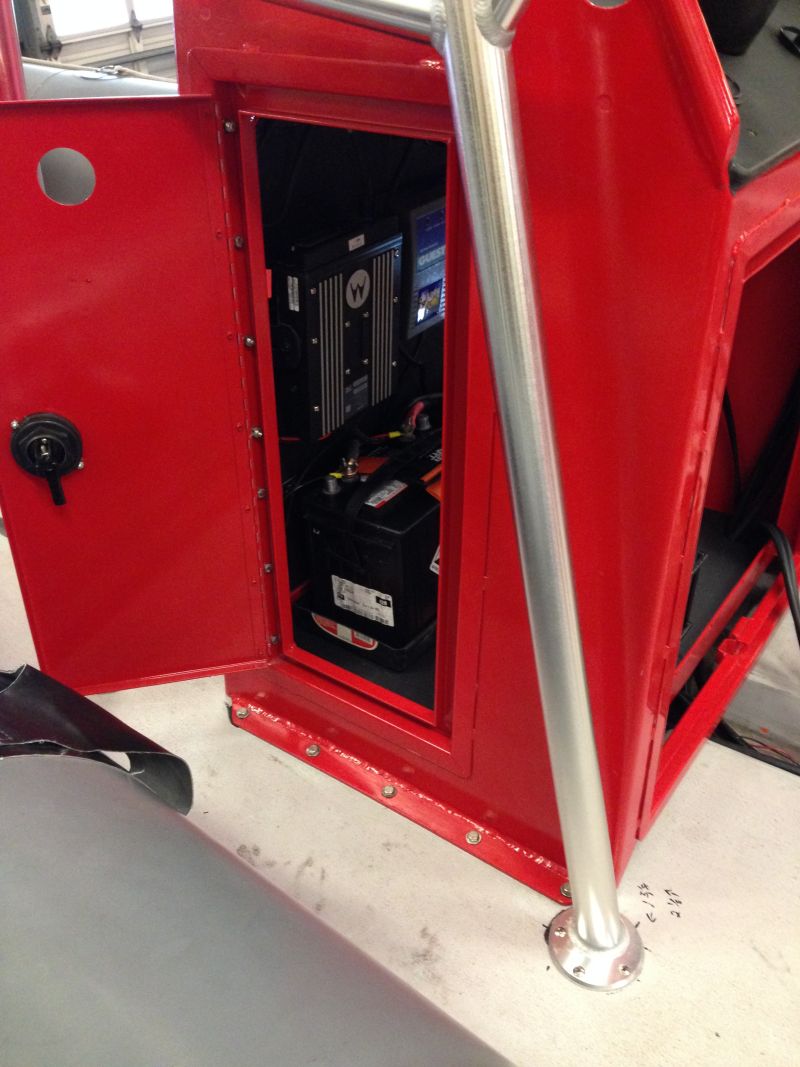
Battery 1
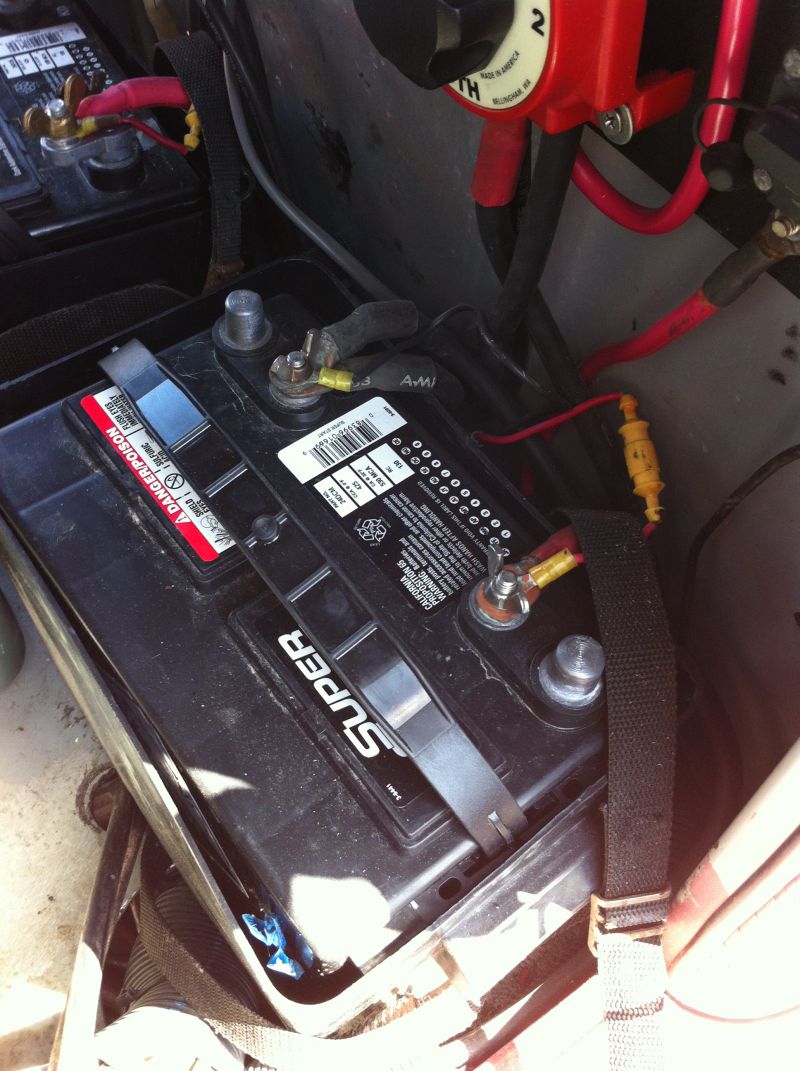
Battery 2
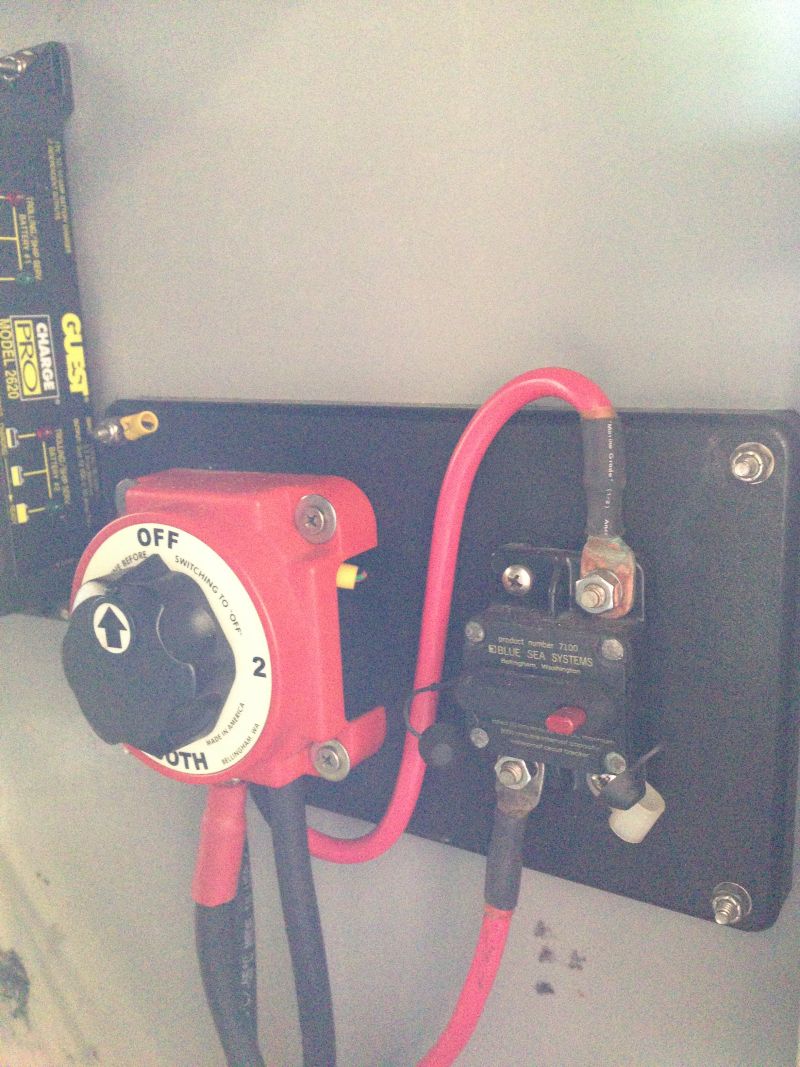
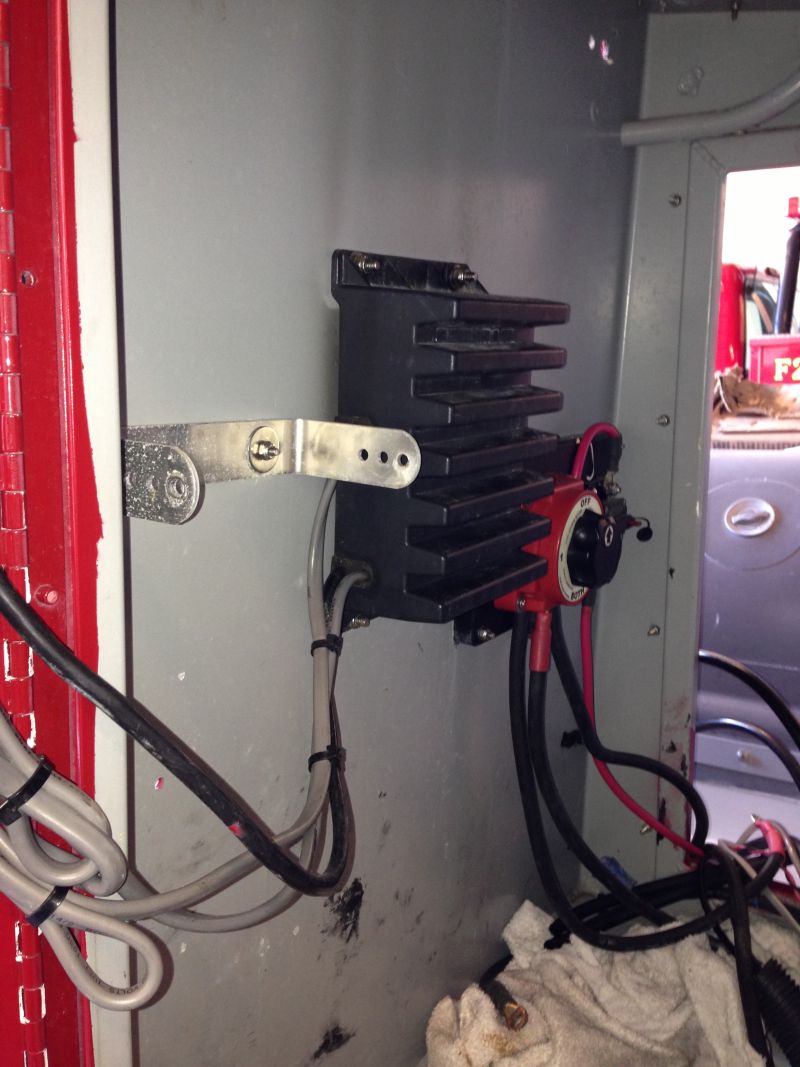
Battery Switch
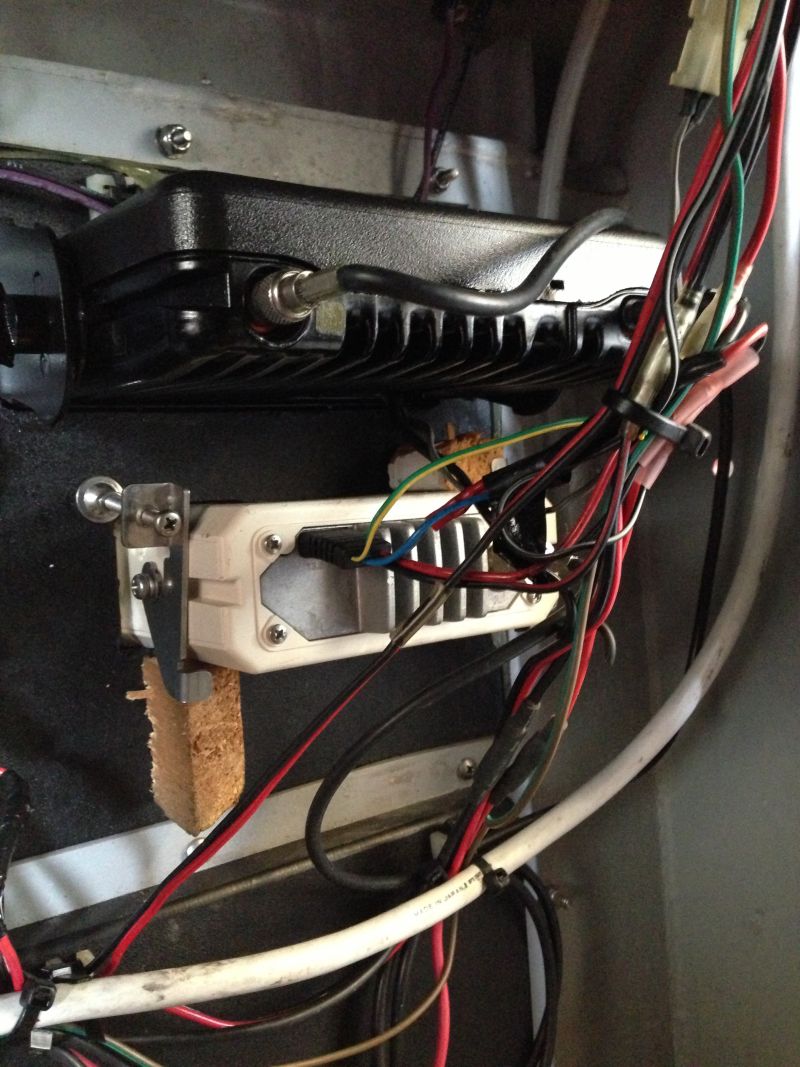
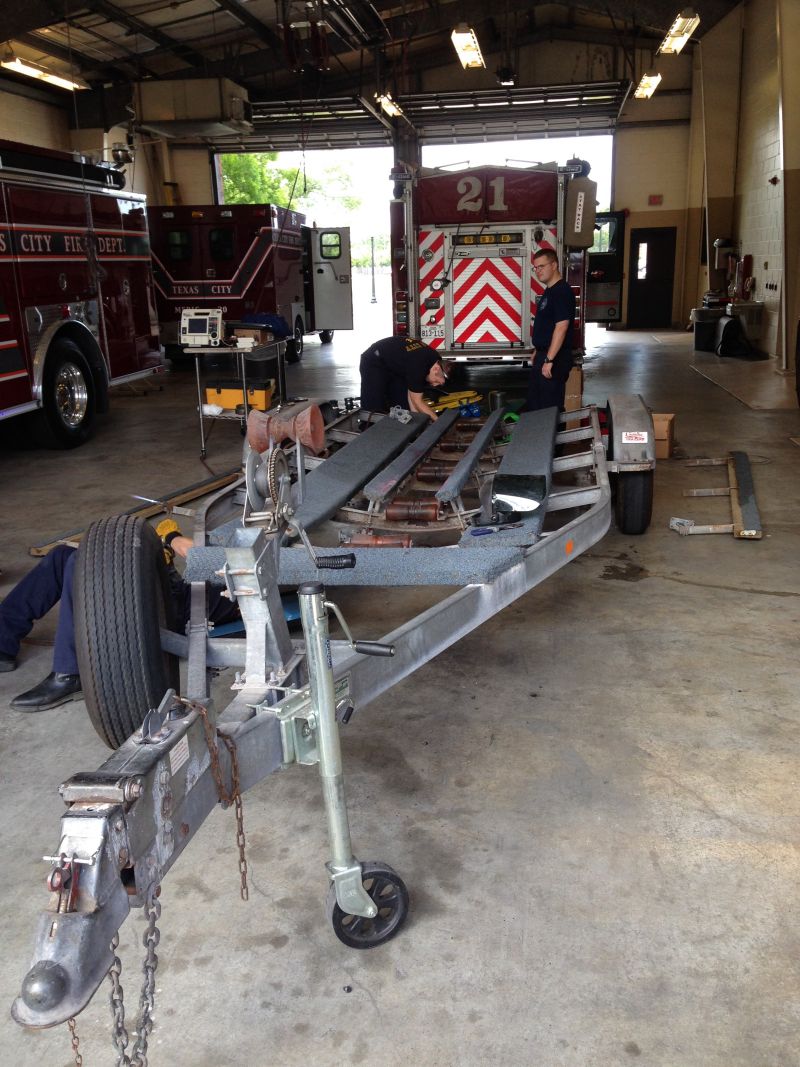
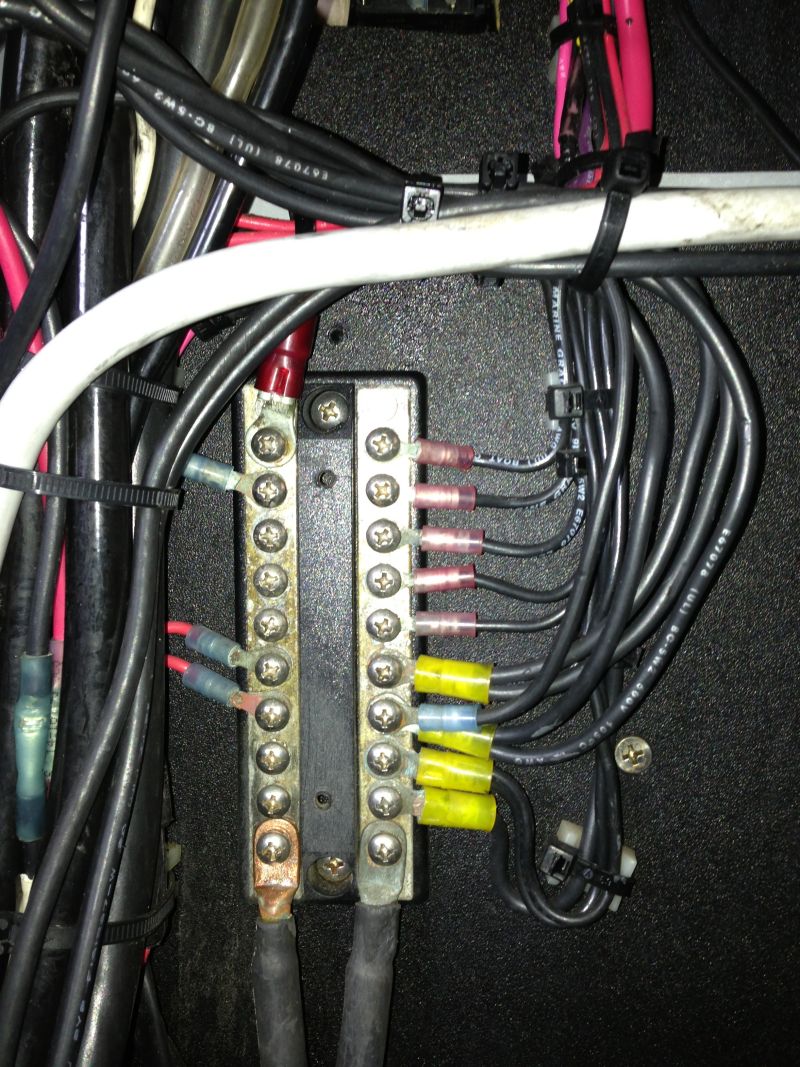
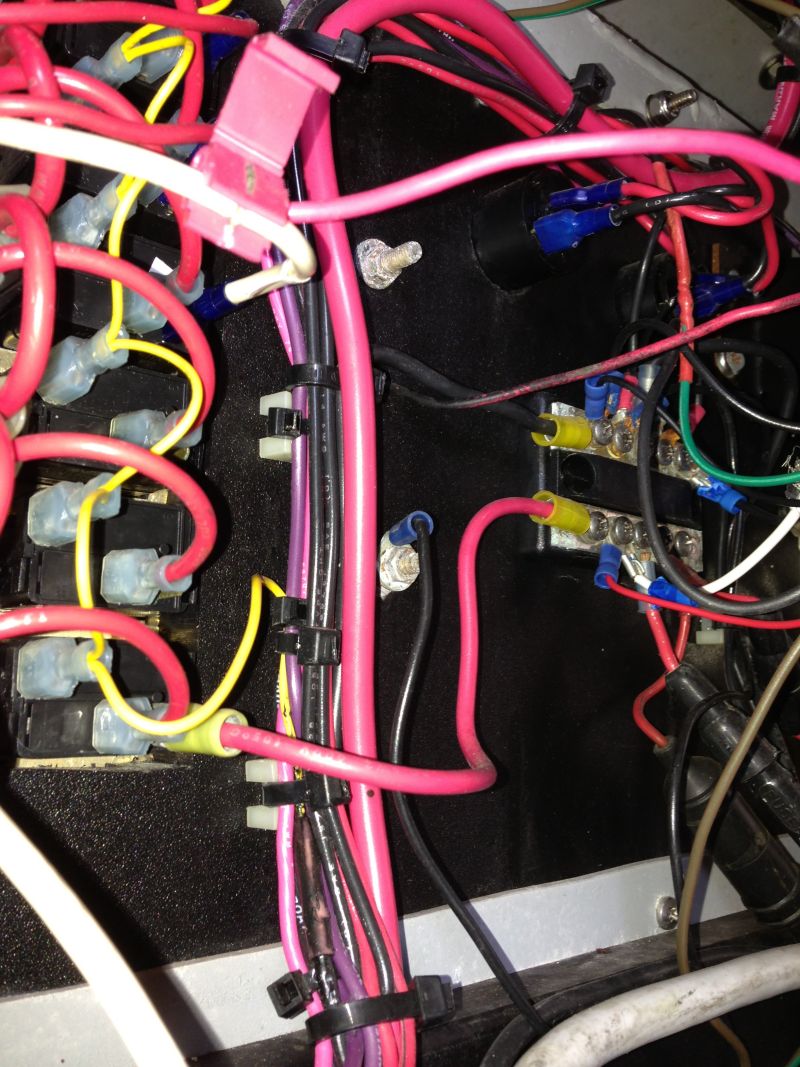
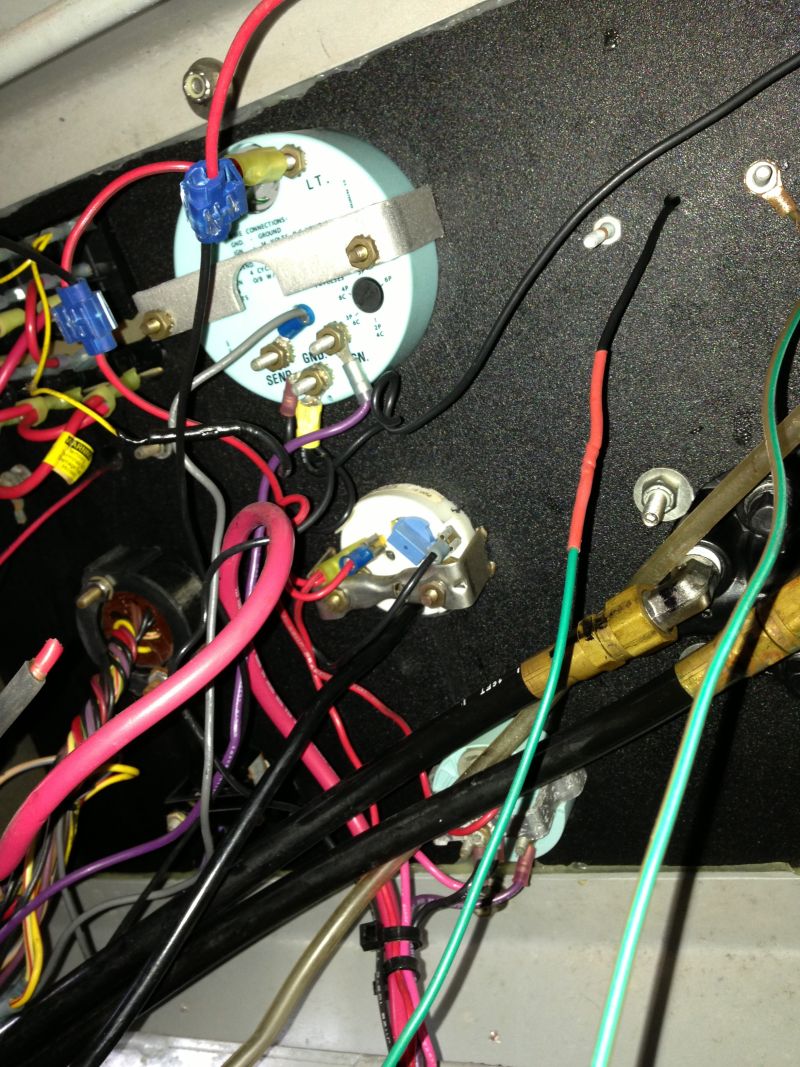
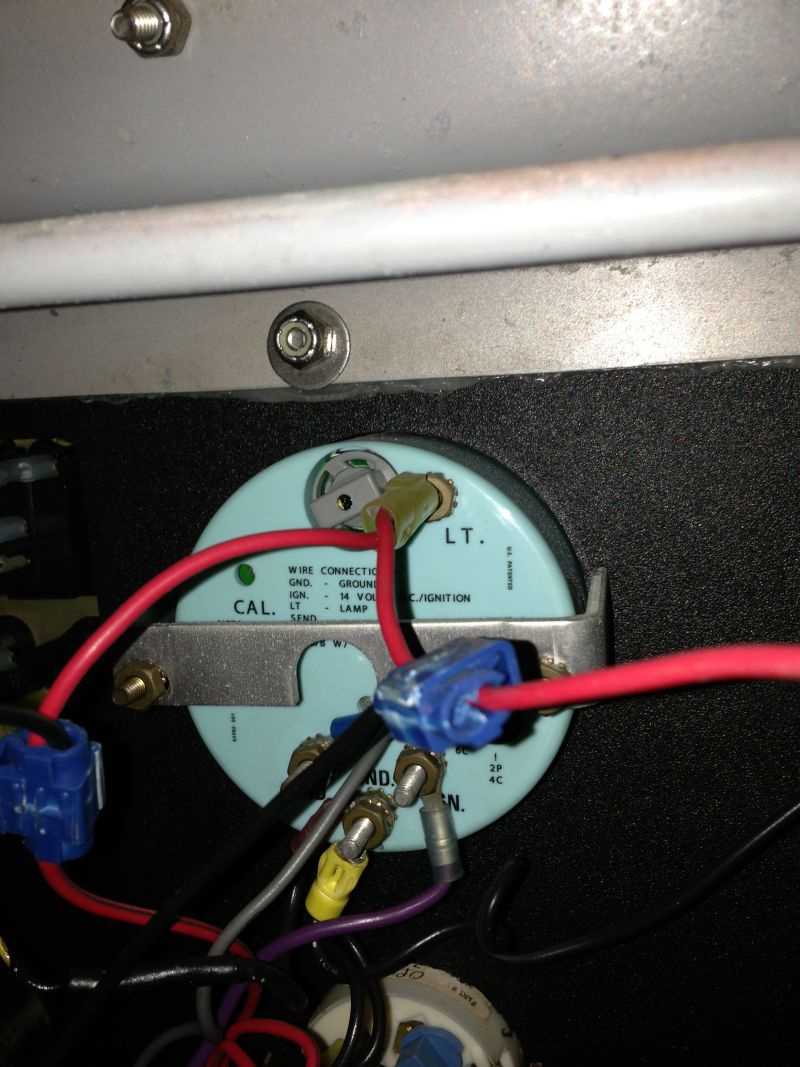
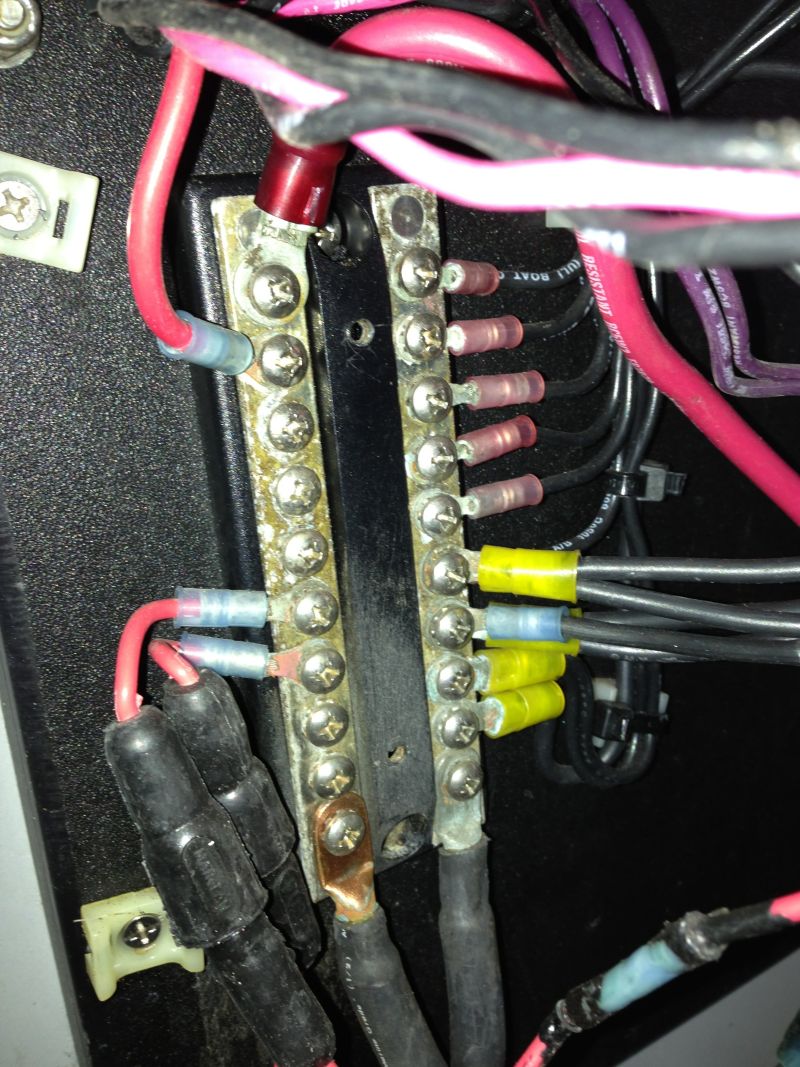
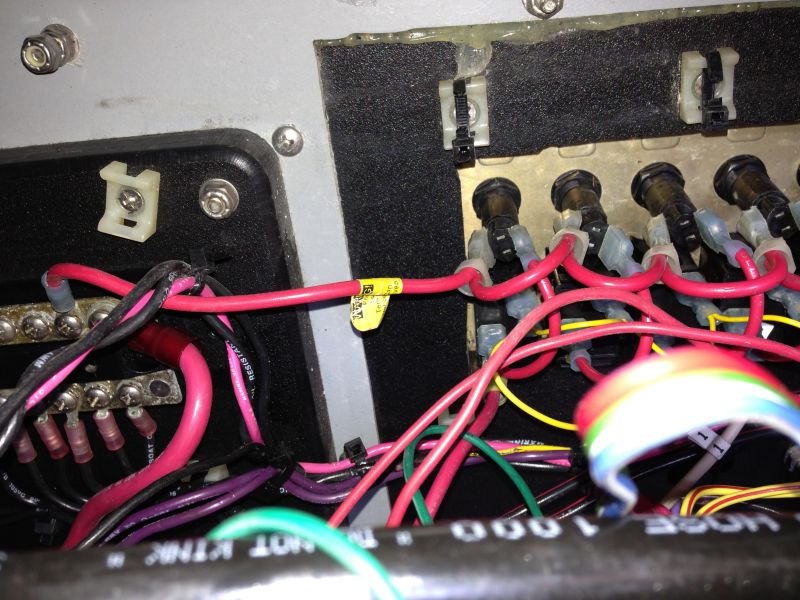
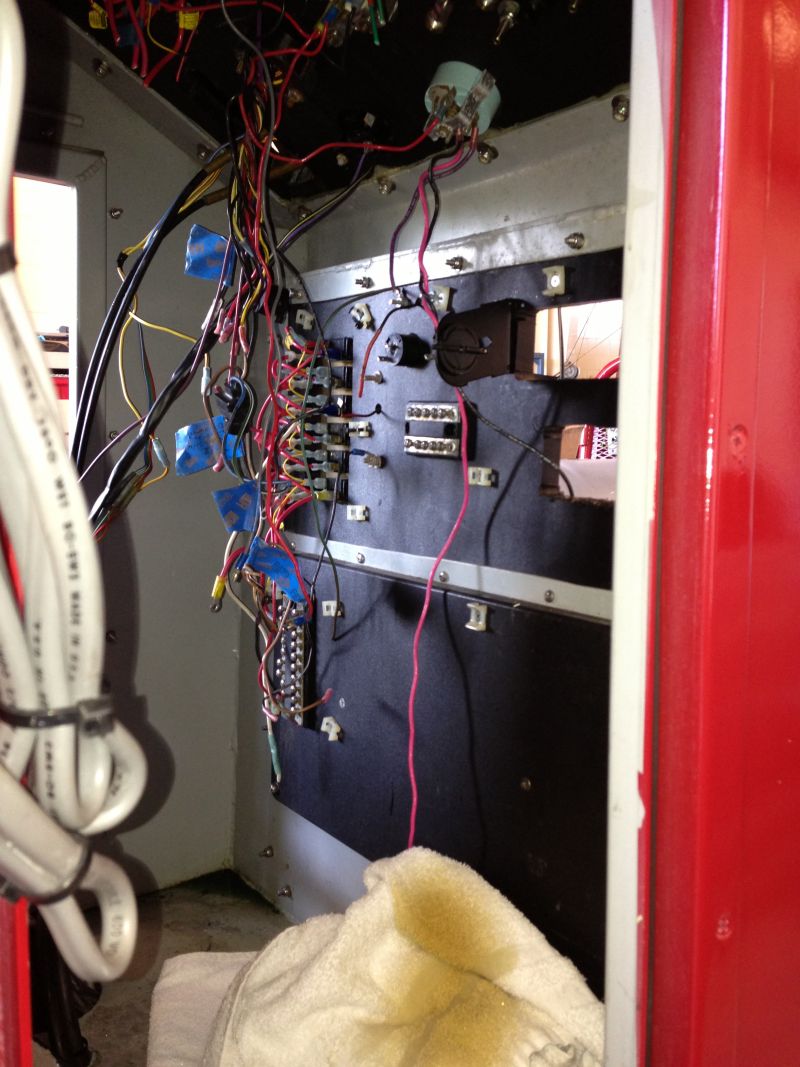
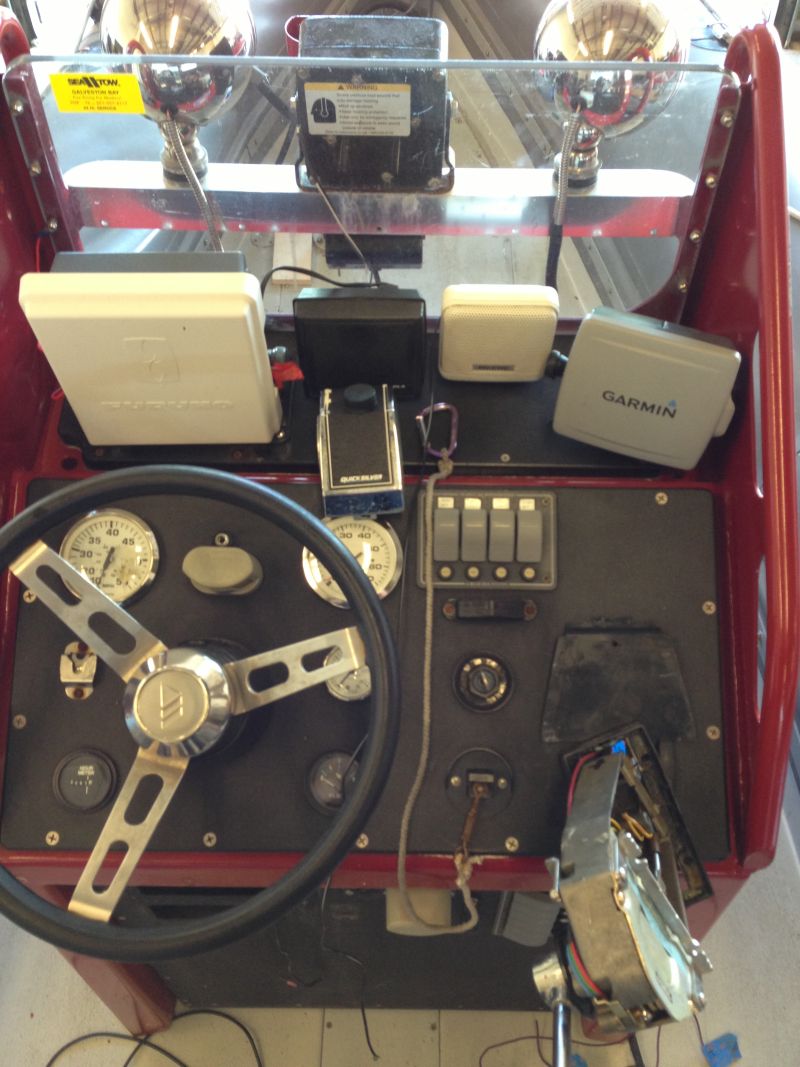
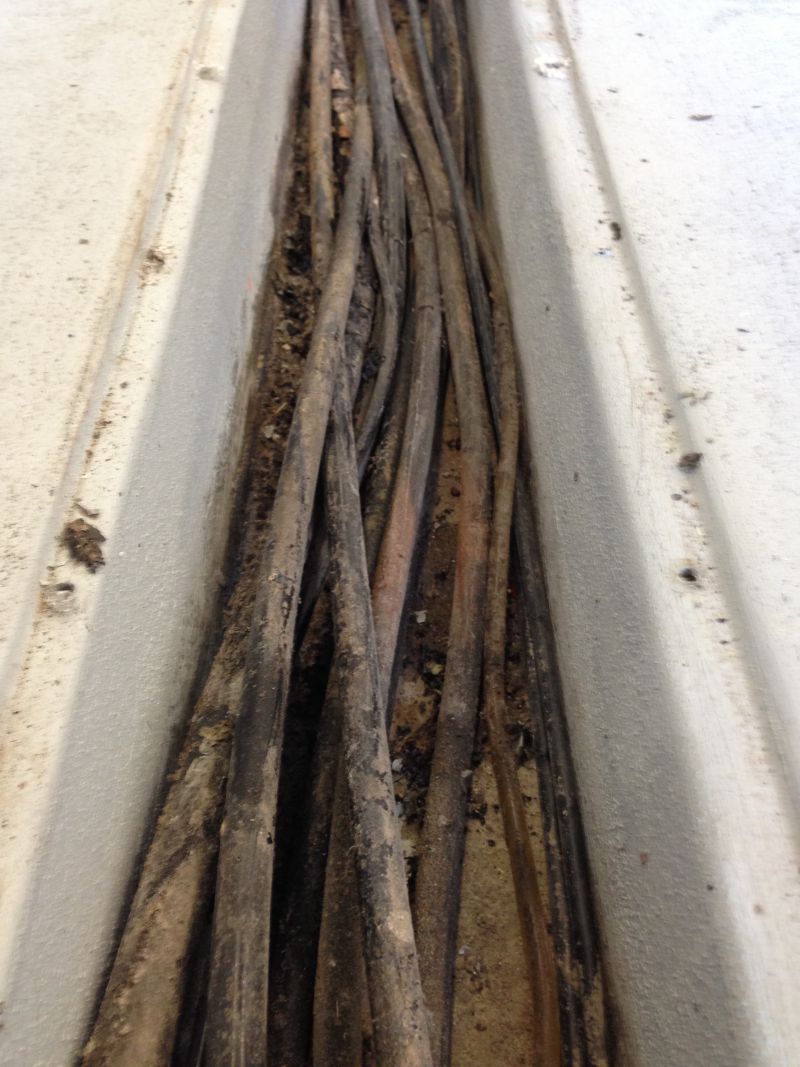
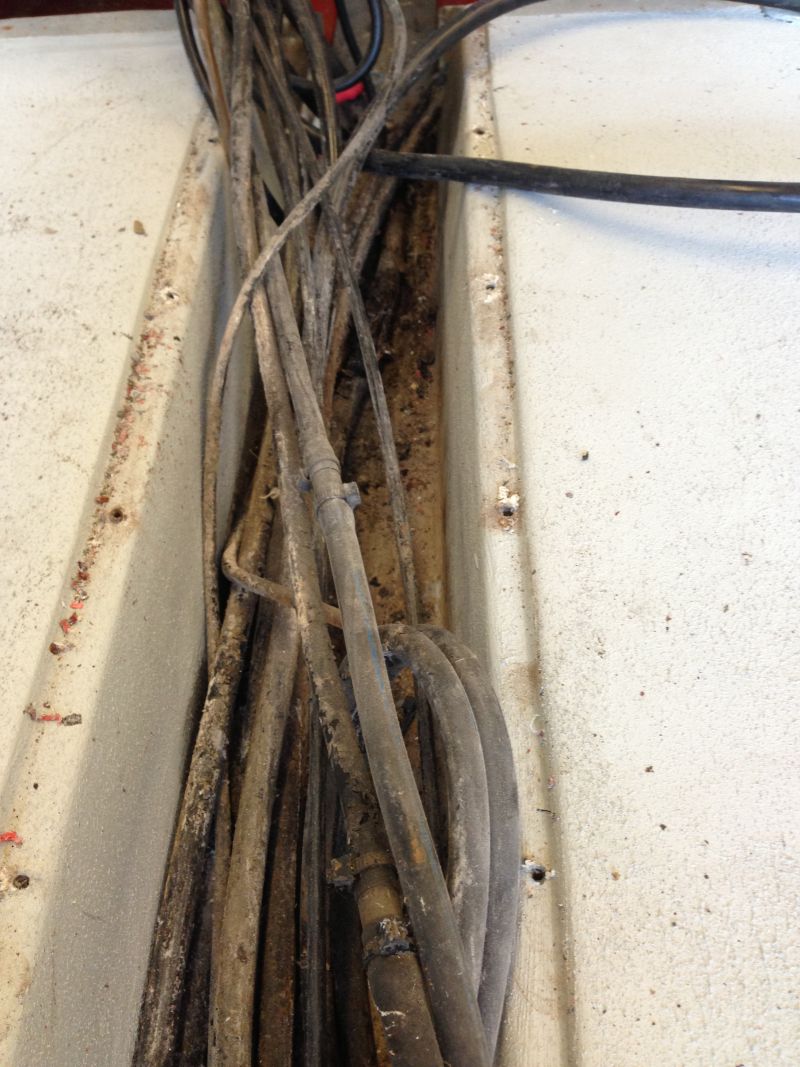
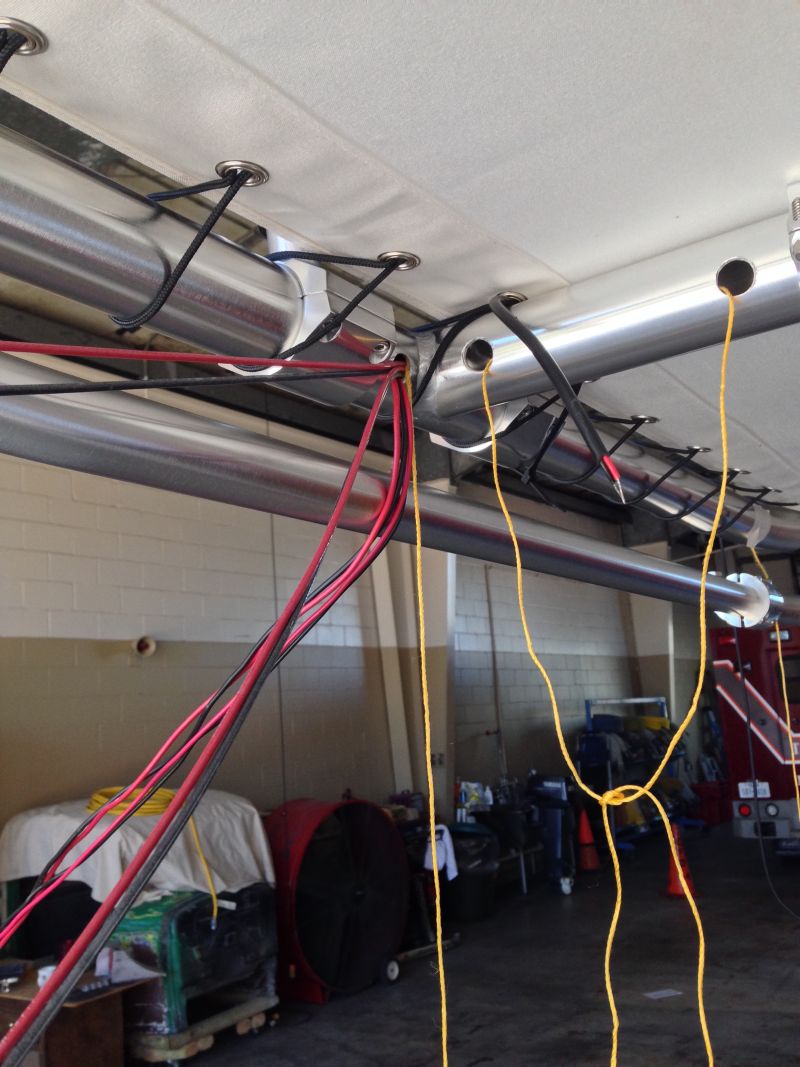
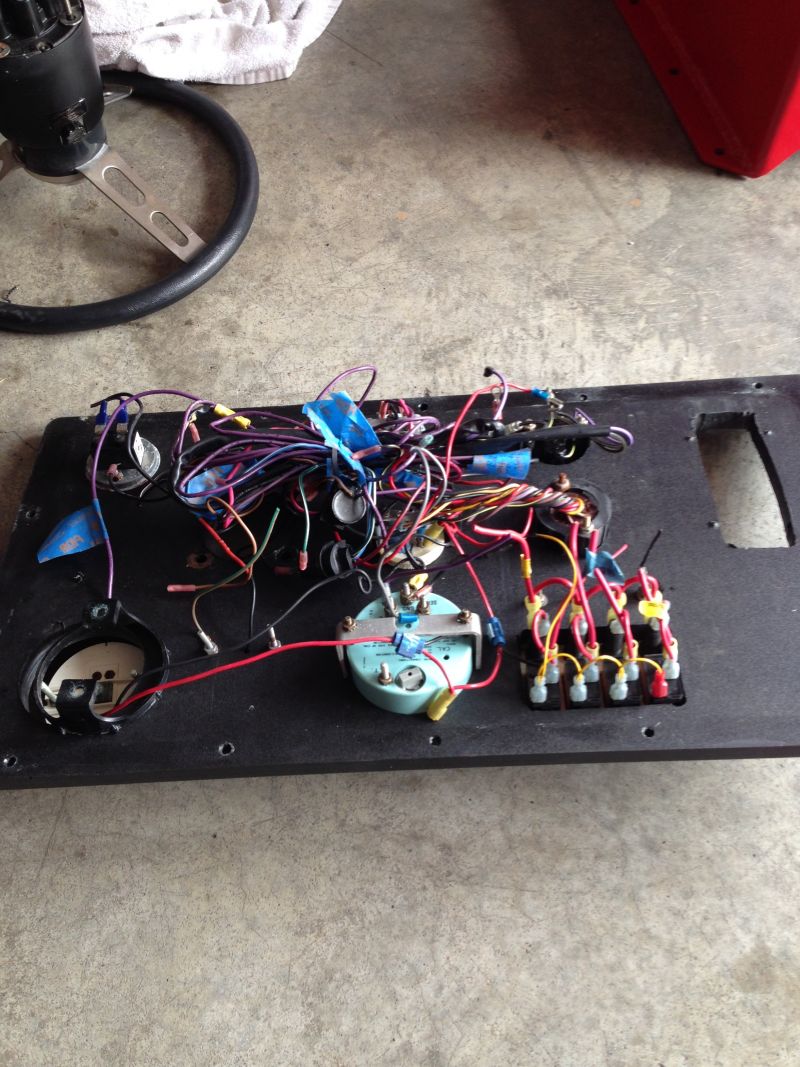
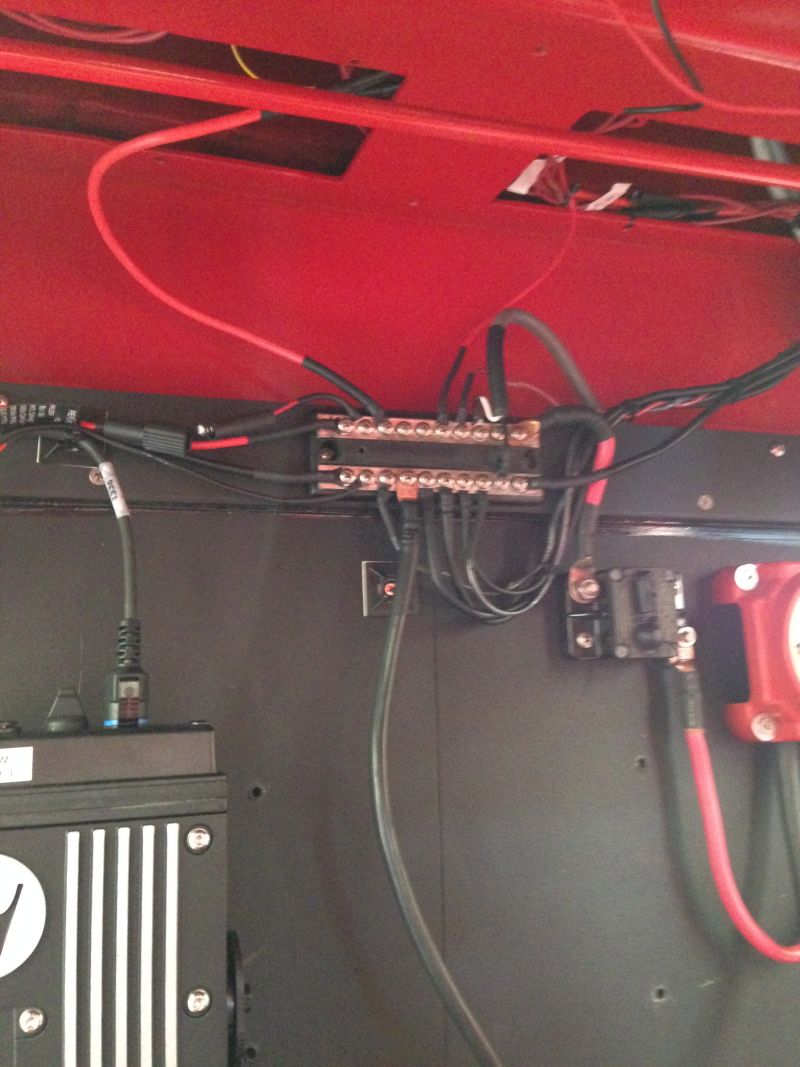
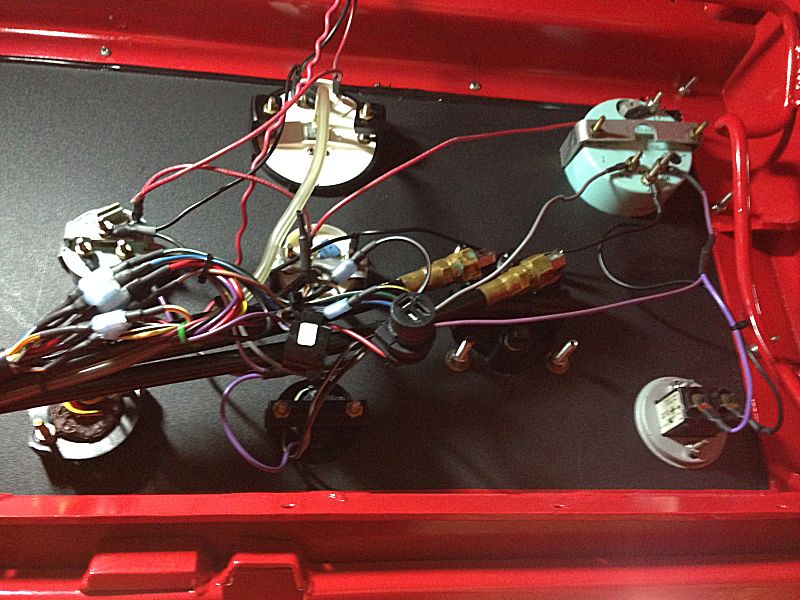
All the wiring was a mess
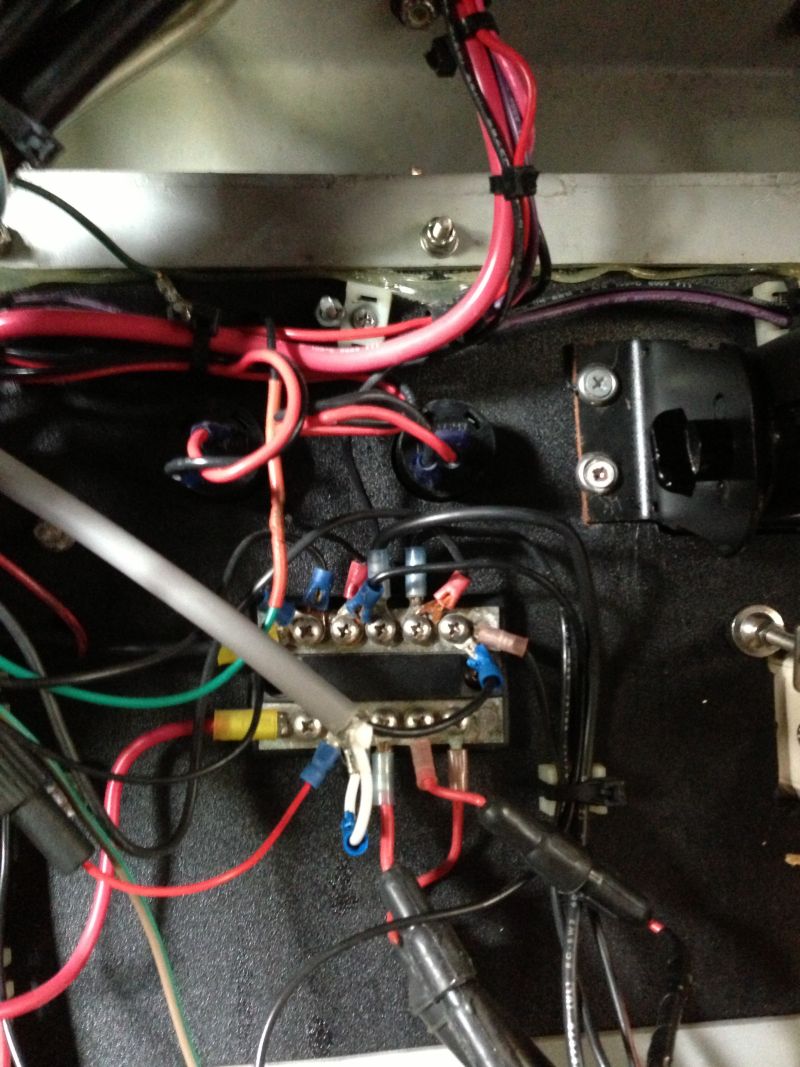
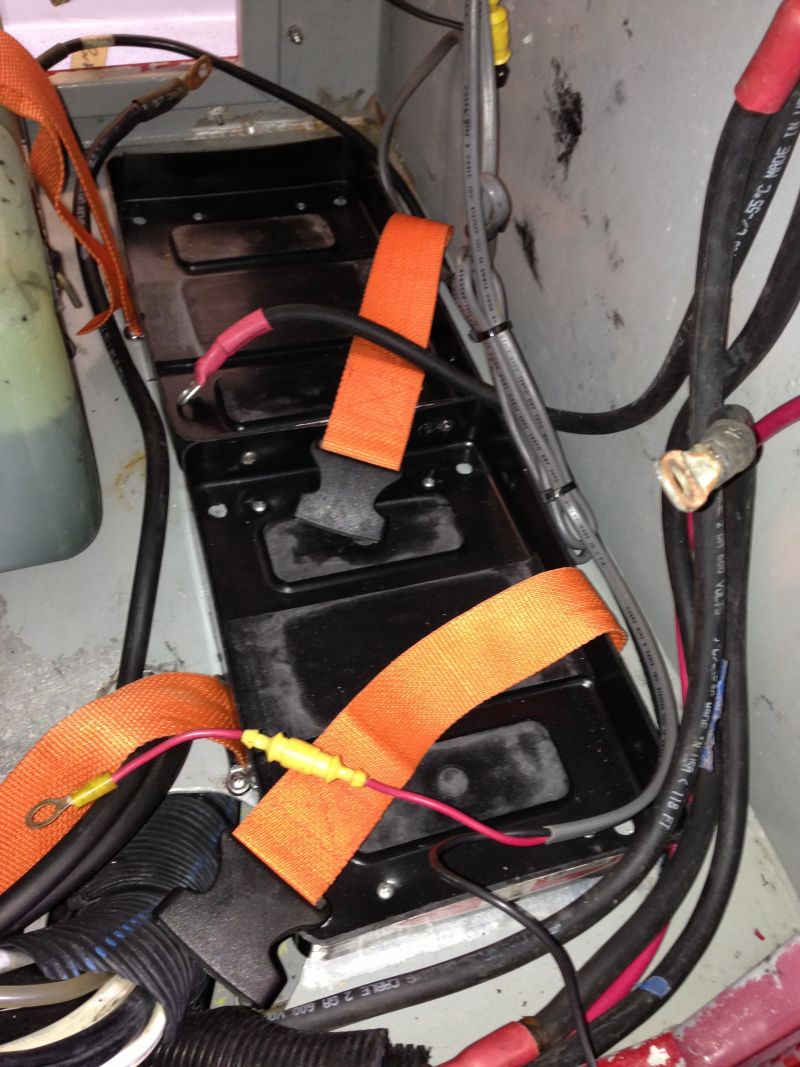
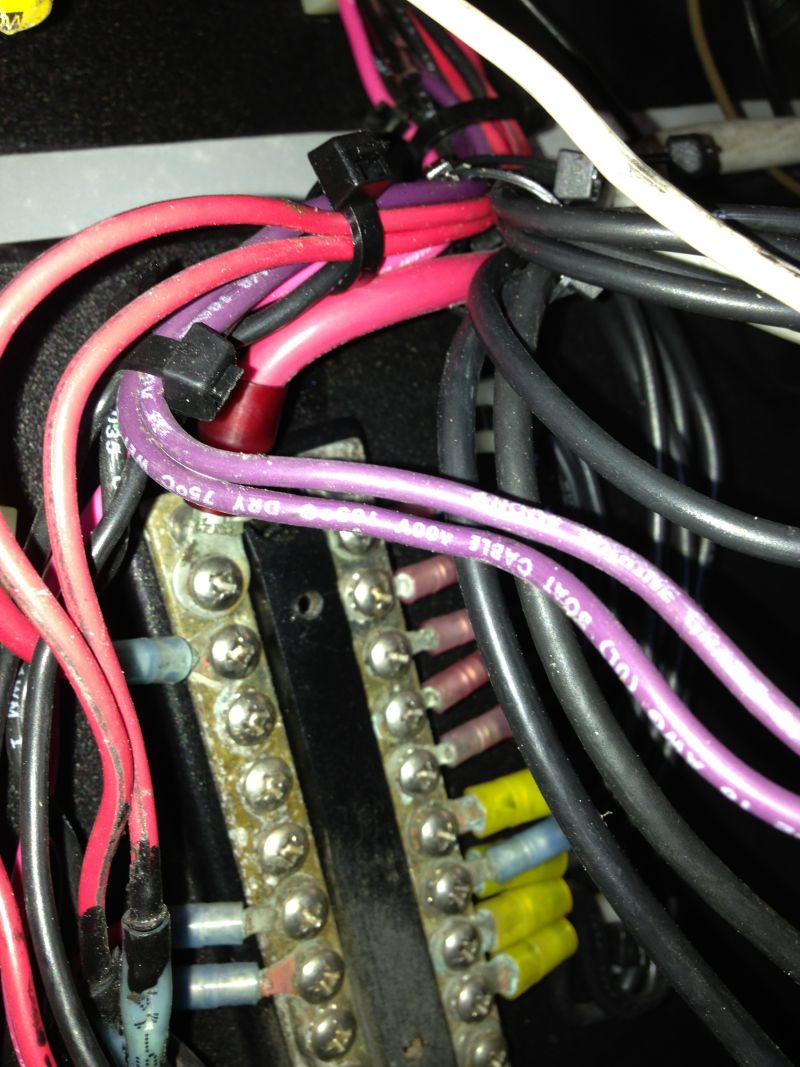
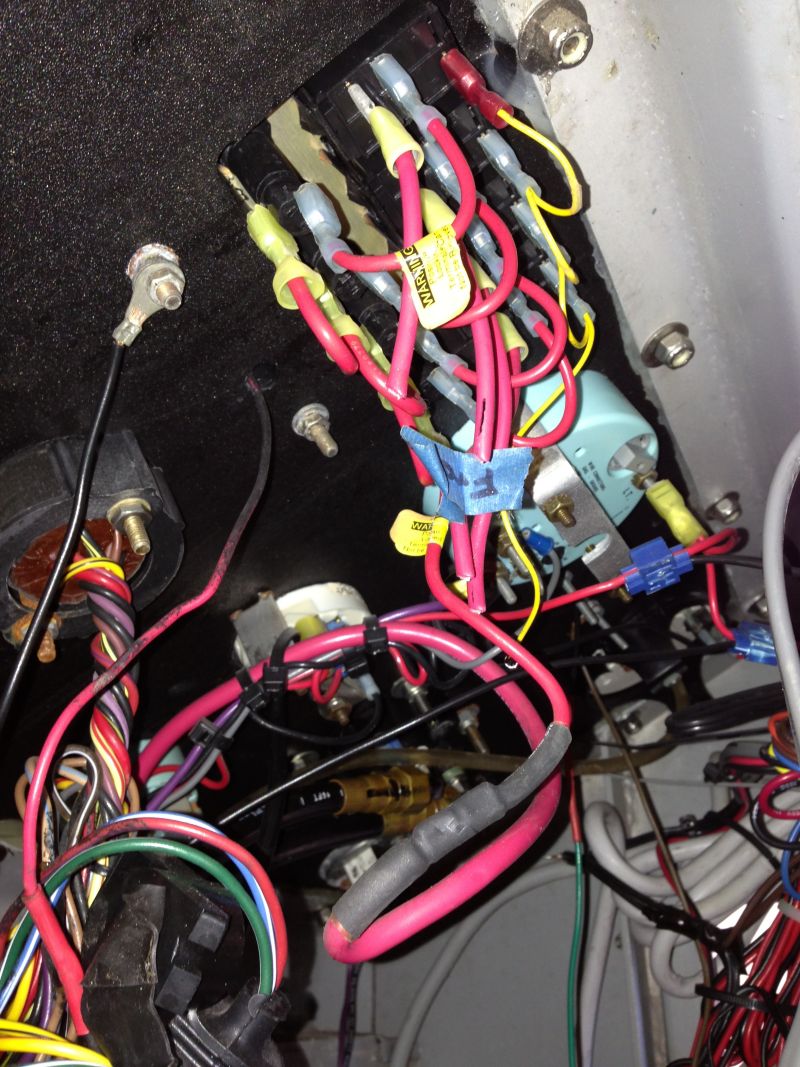
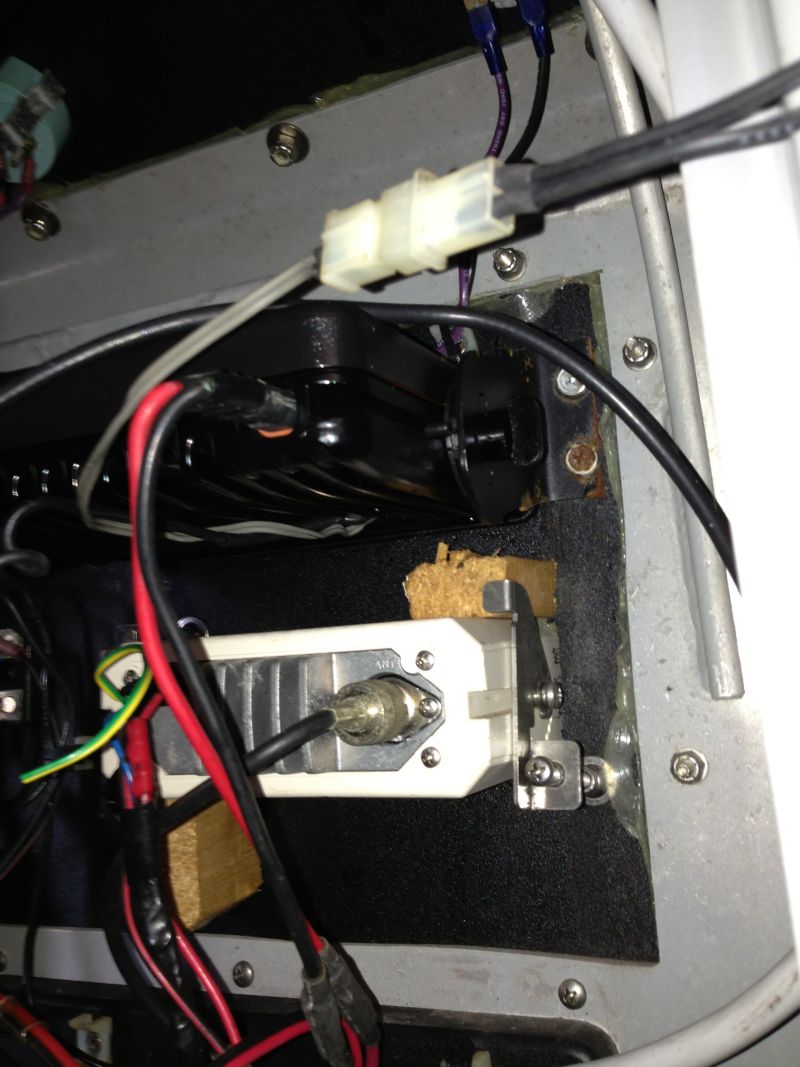
Blocks of wood holding equipment in, rust setting in on non-stainless hardware

Wiring tie wrapped together instead of being cut to length
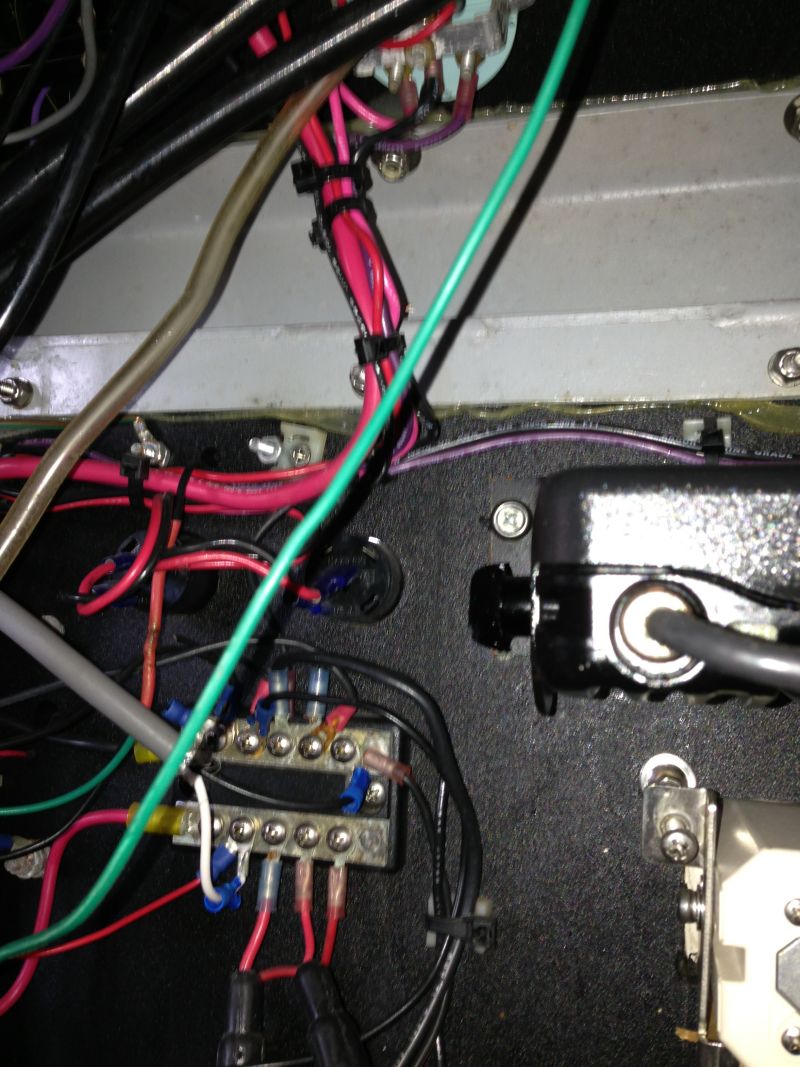

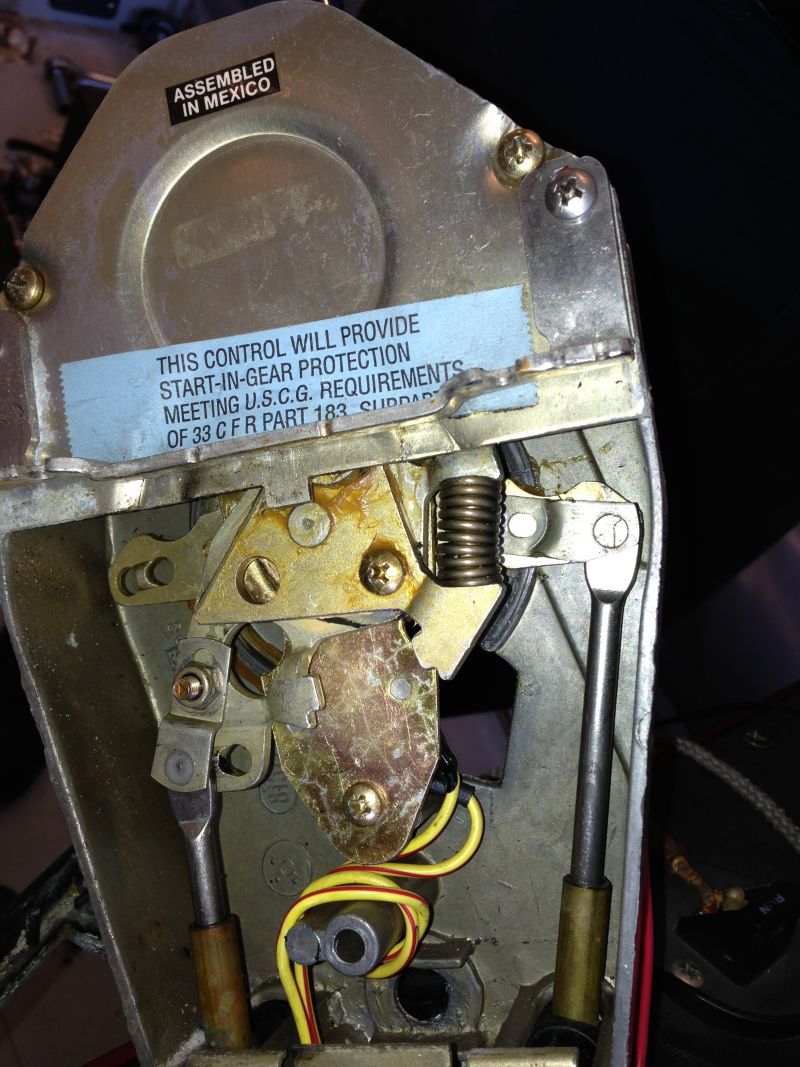
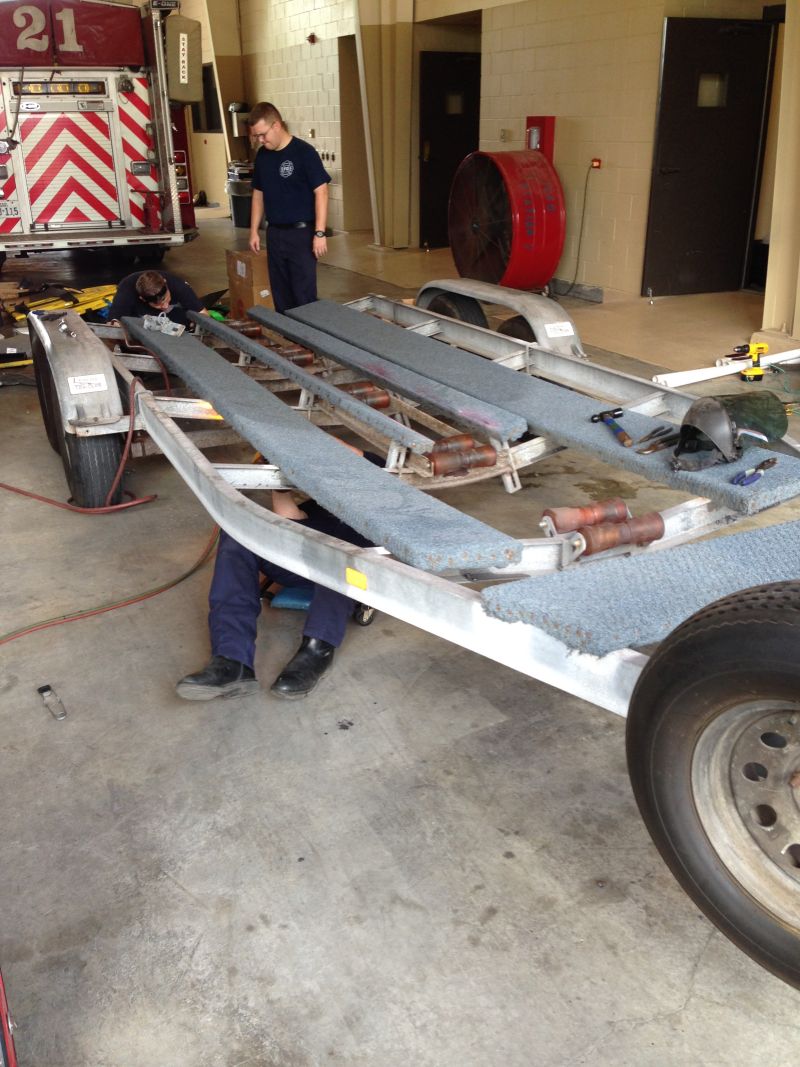
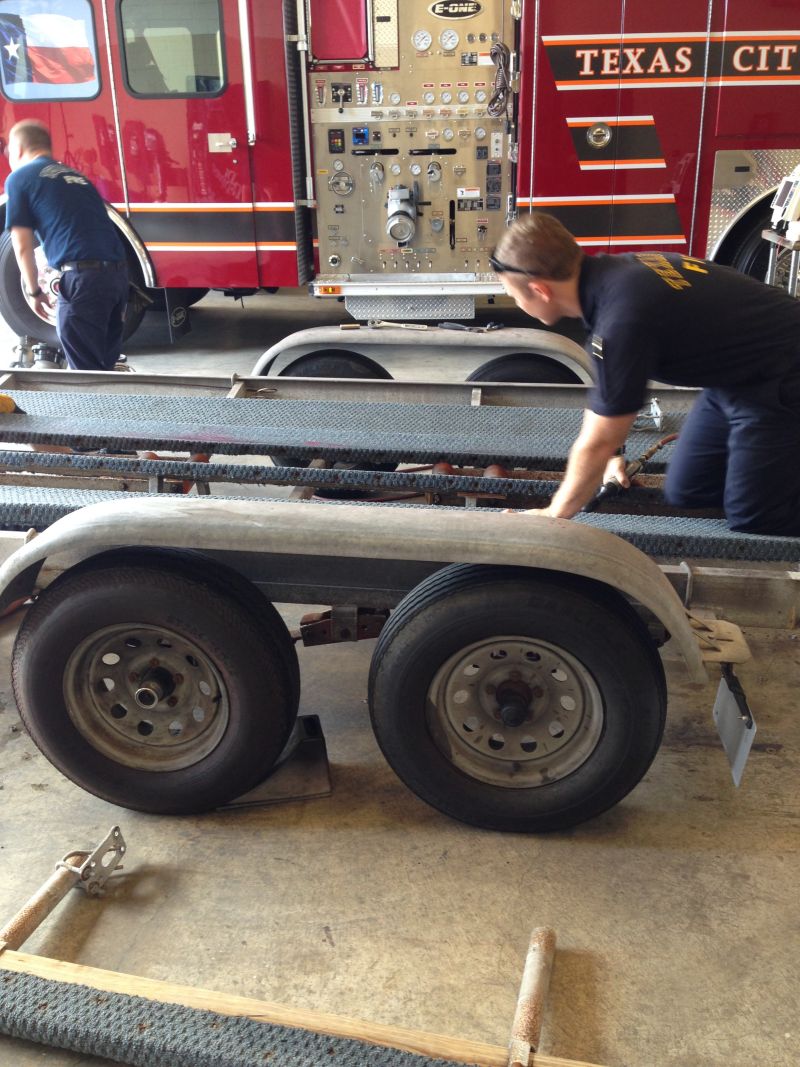
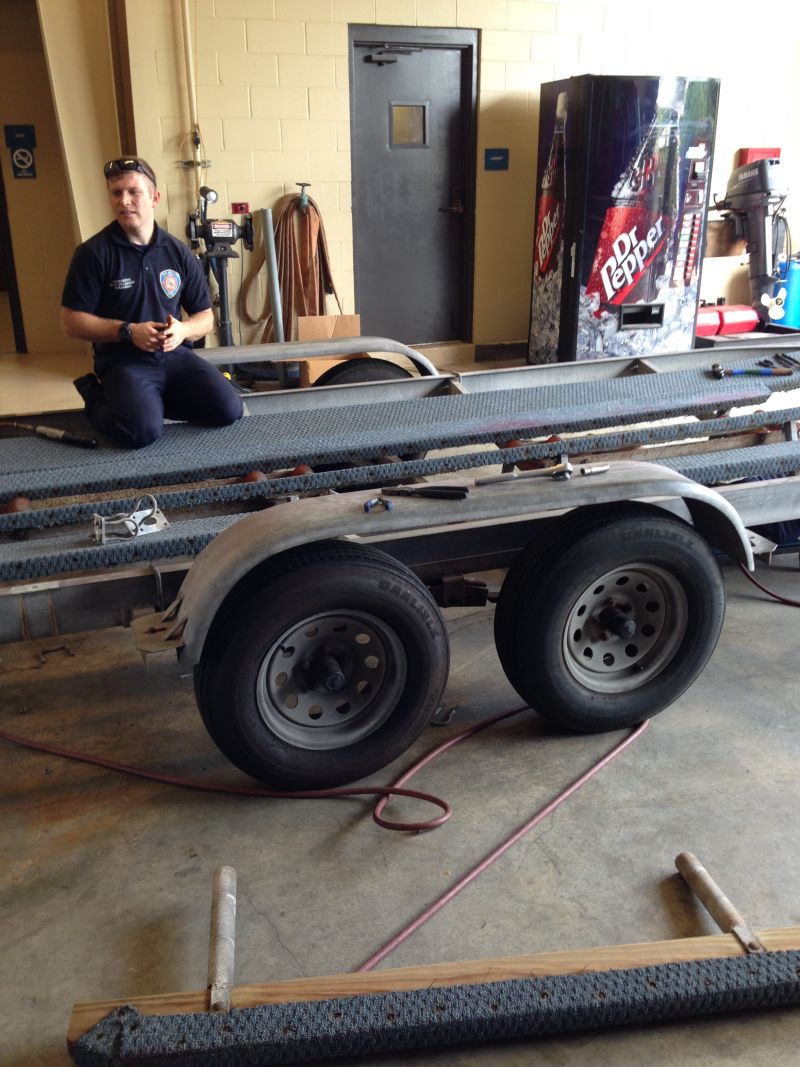
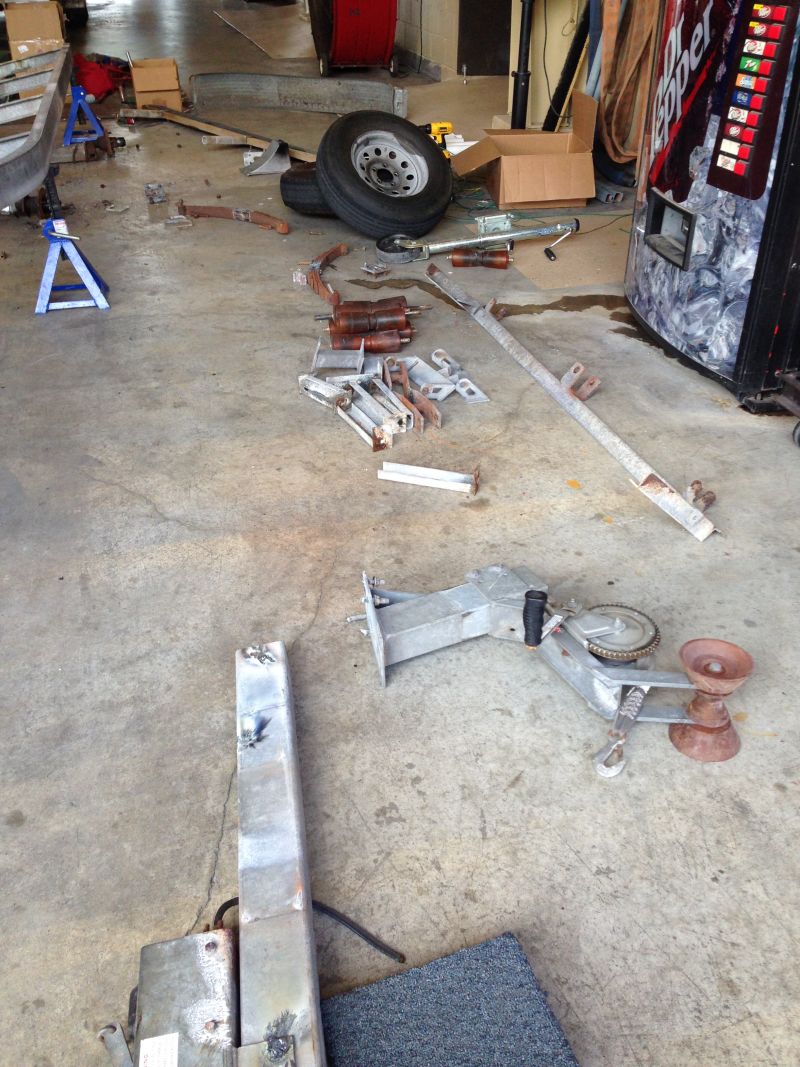
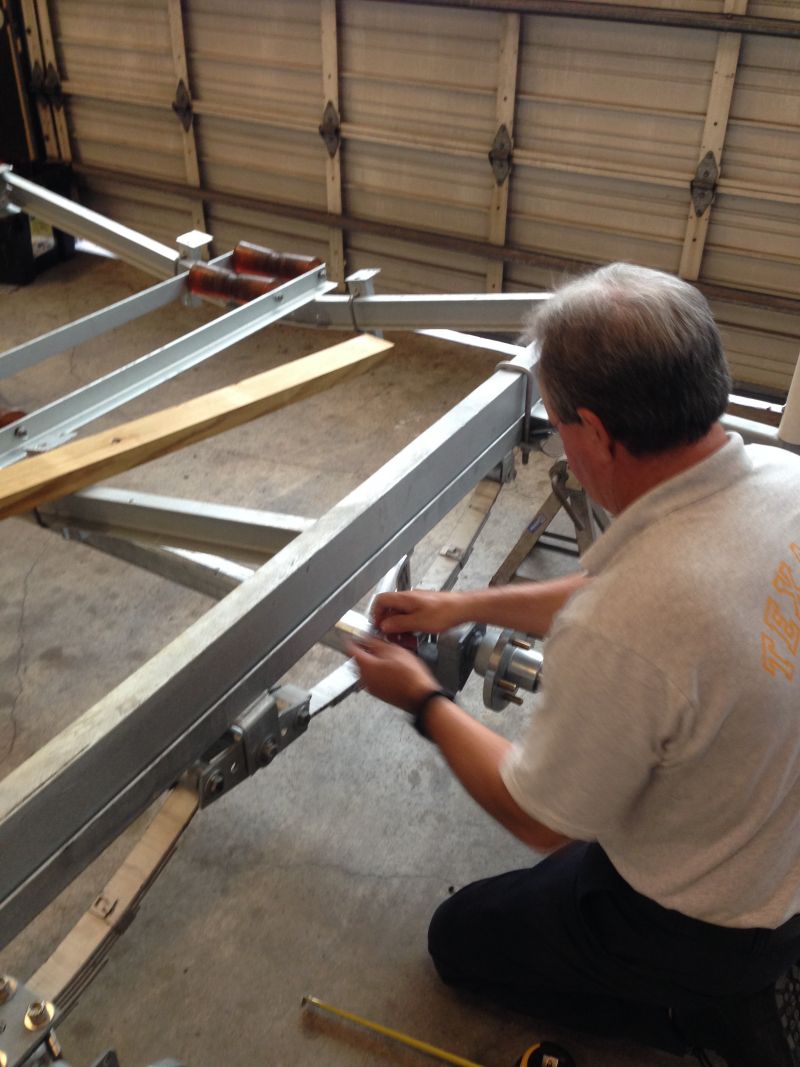
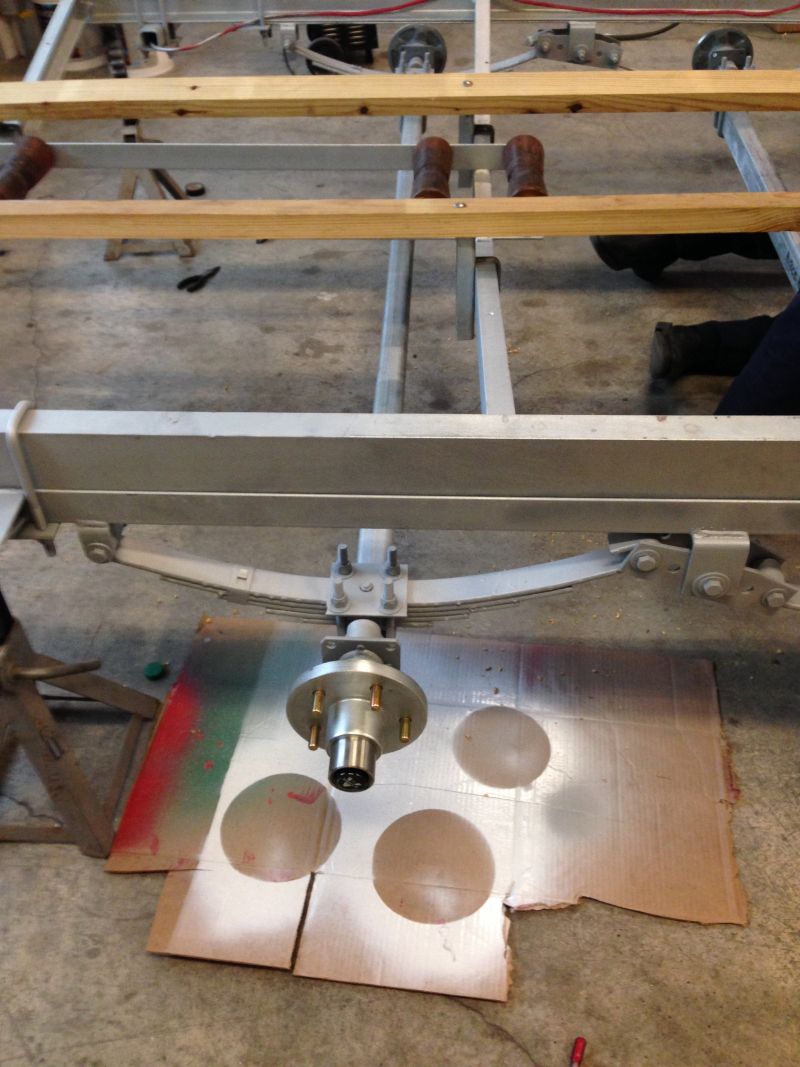
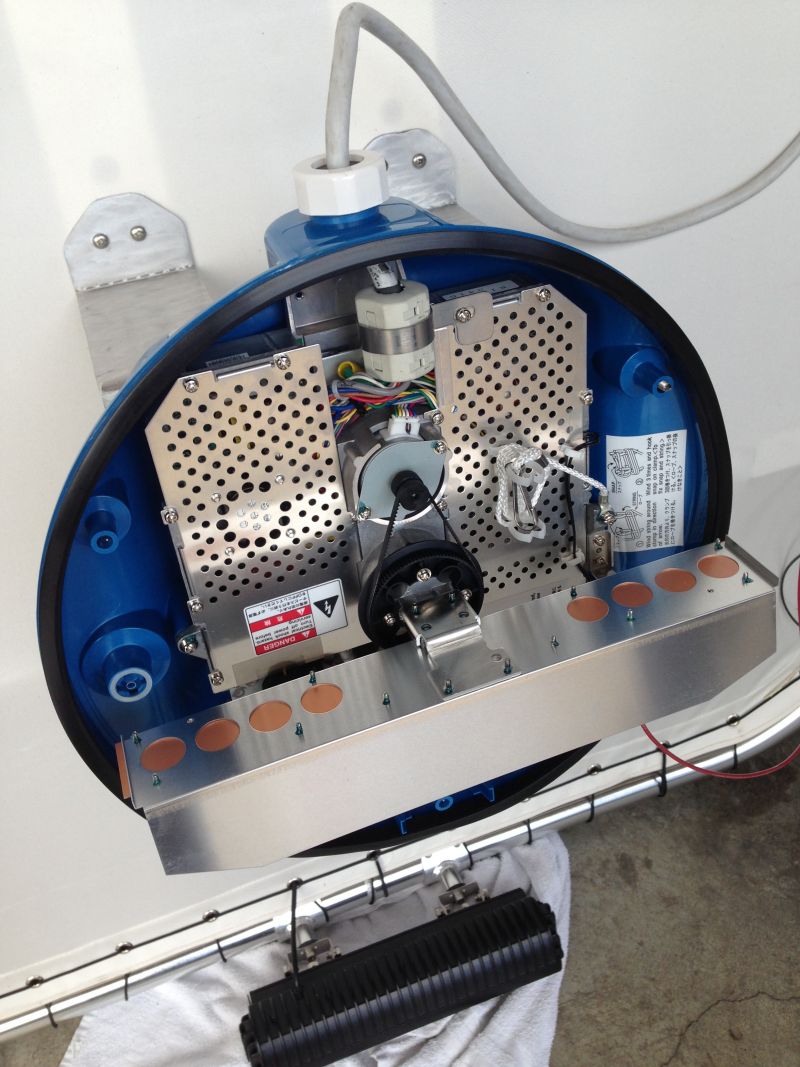
Will be dismantled, cleaned and re-greased for smoother operation
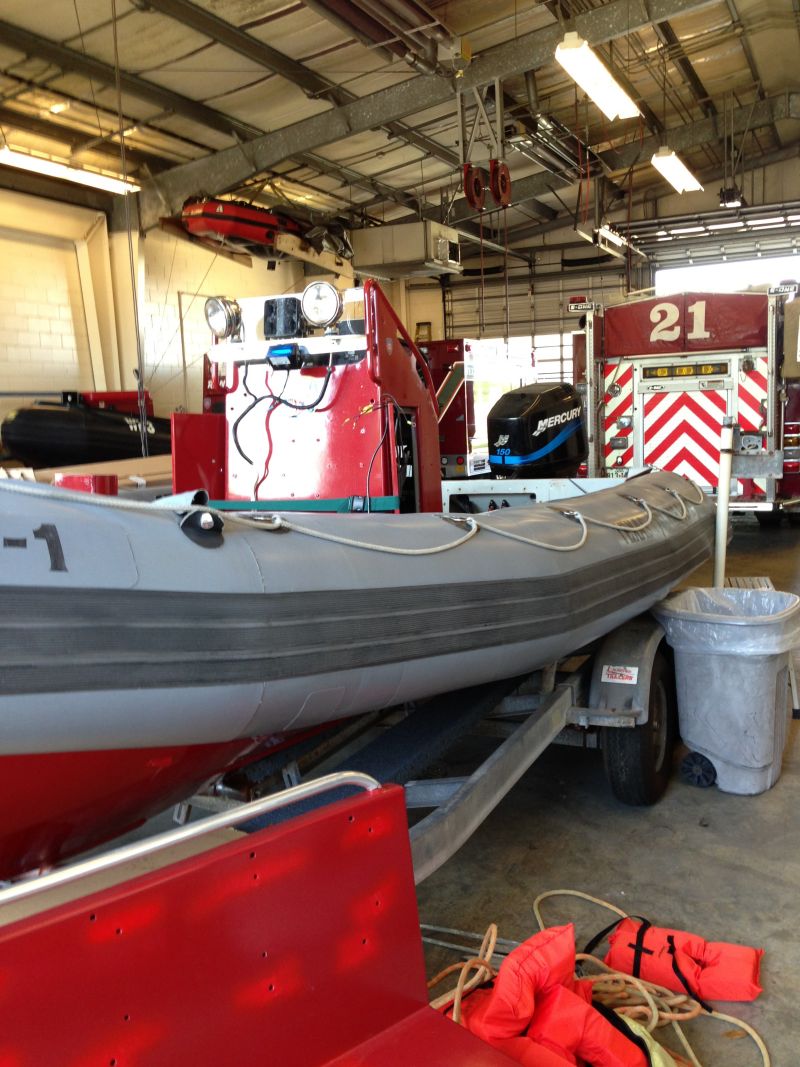
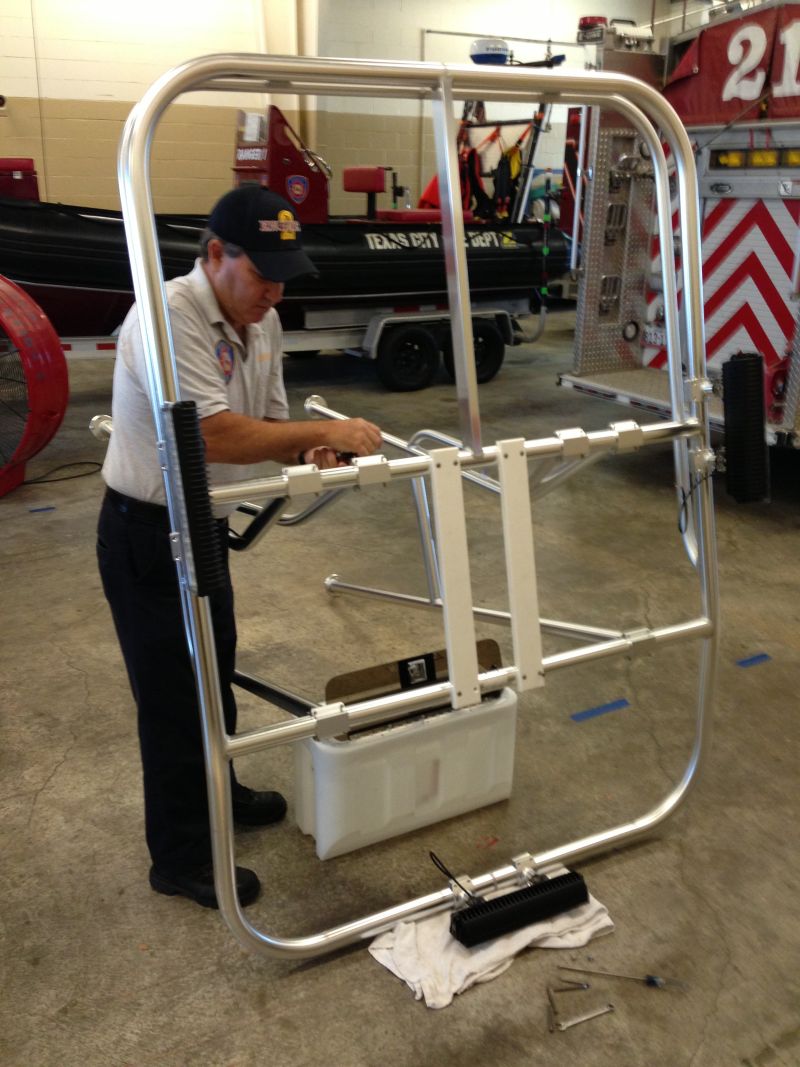
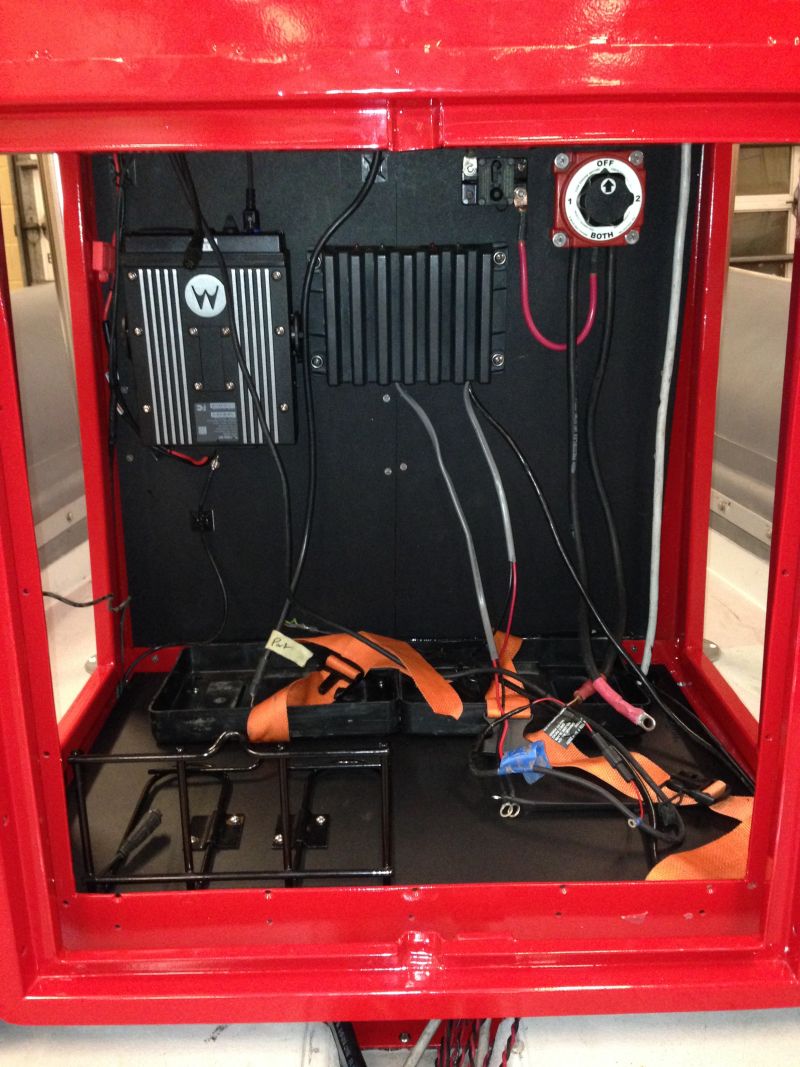
Dis-mantling the boat
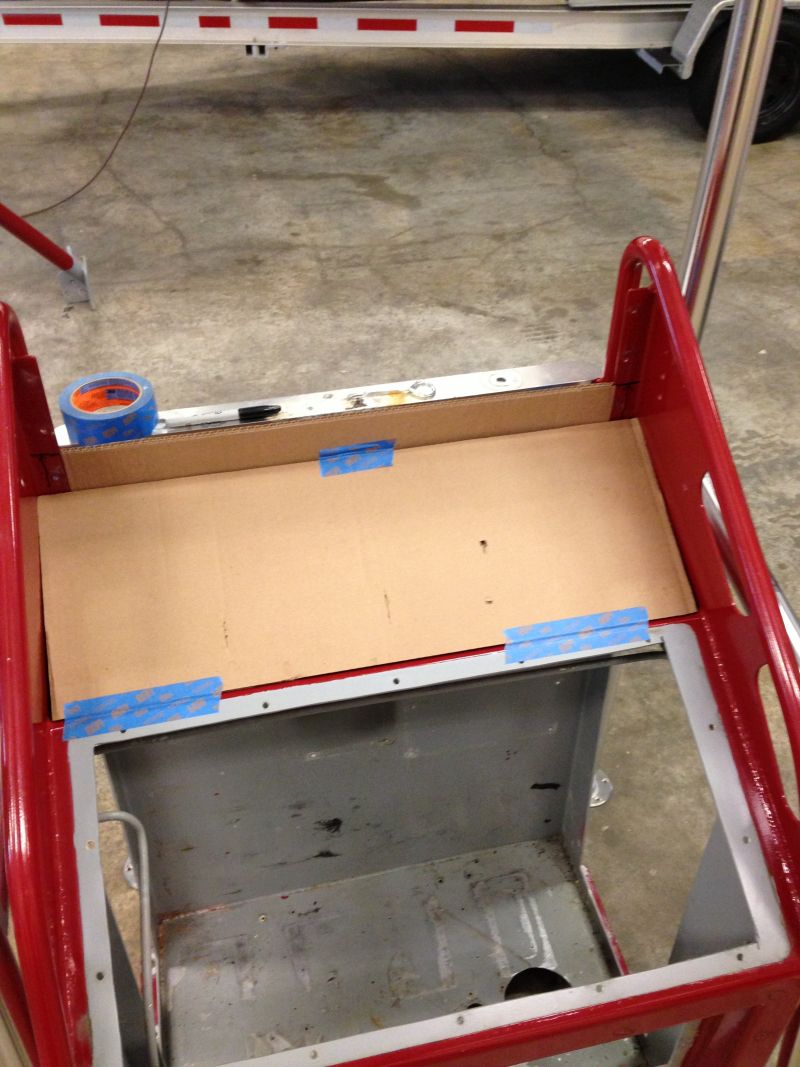
Pulled the front storage box
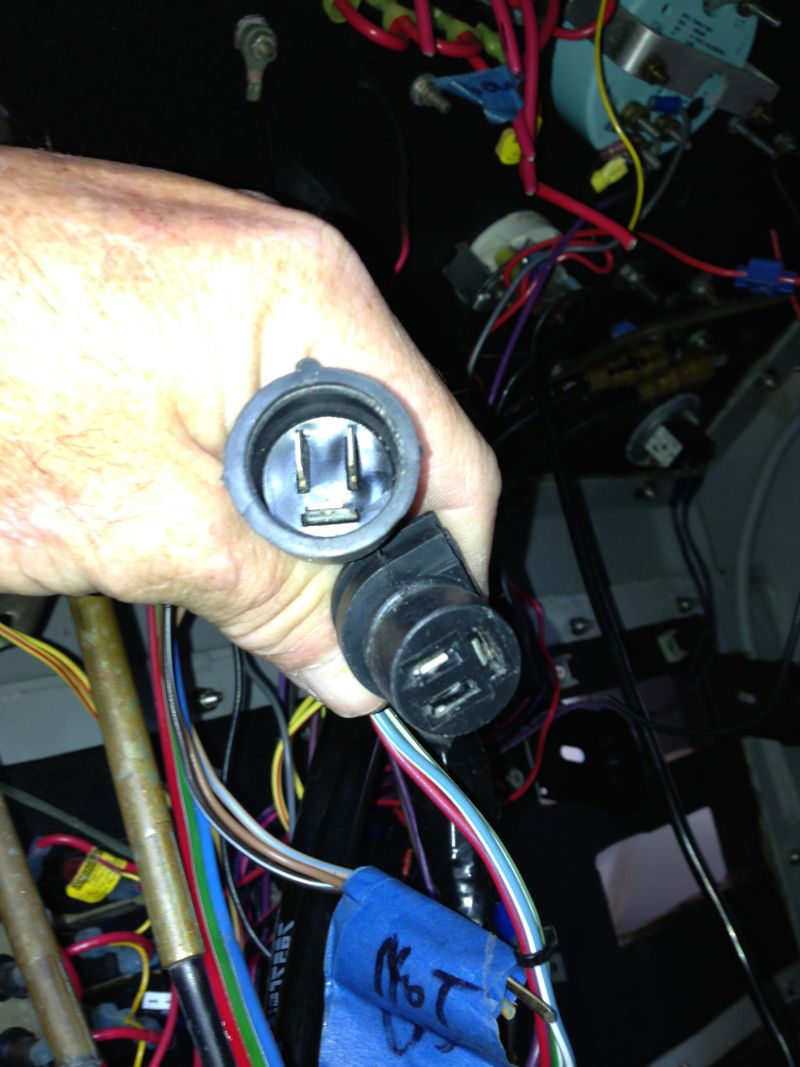
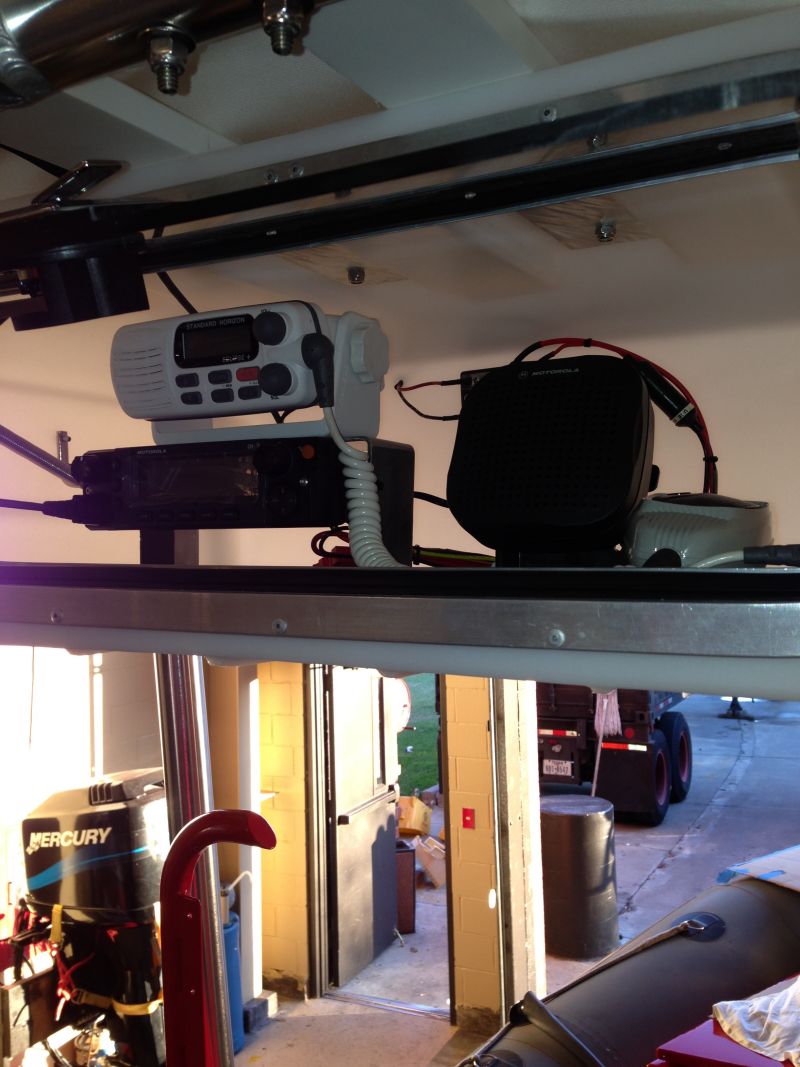
Labeling and removing electronics and wiring
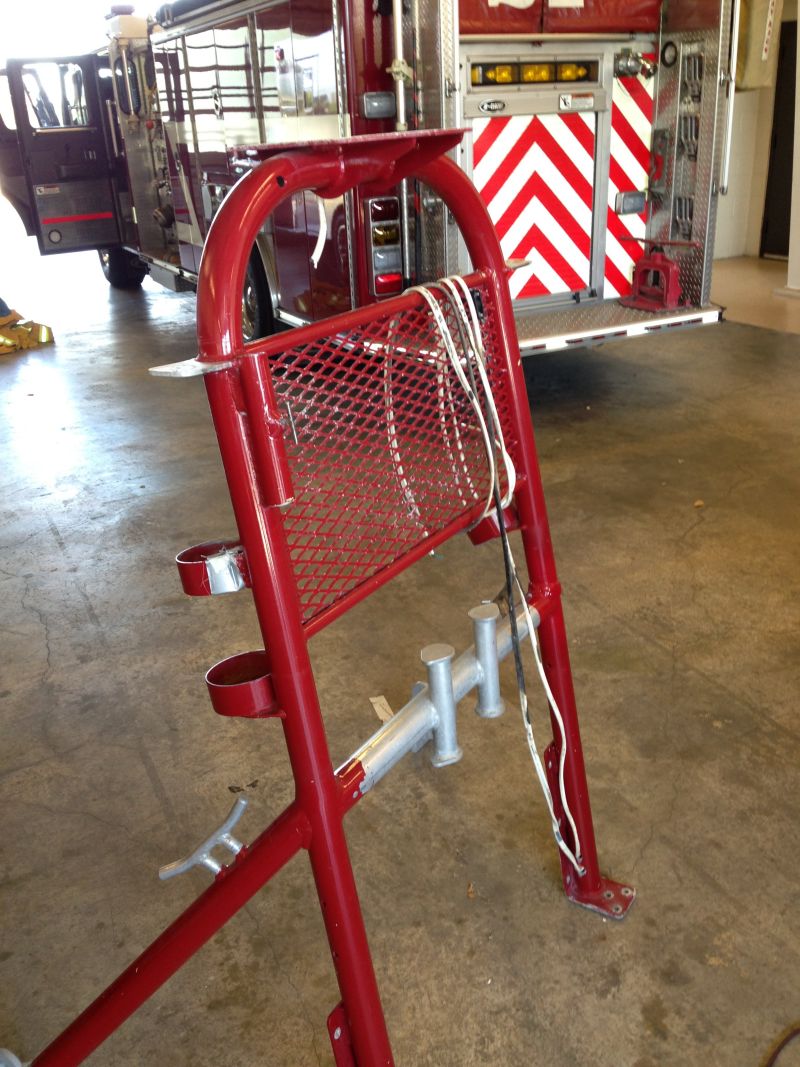
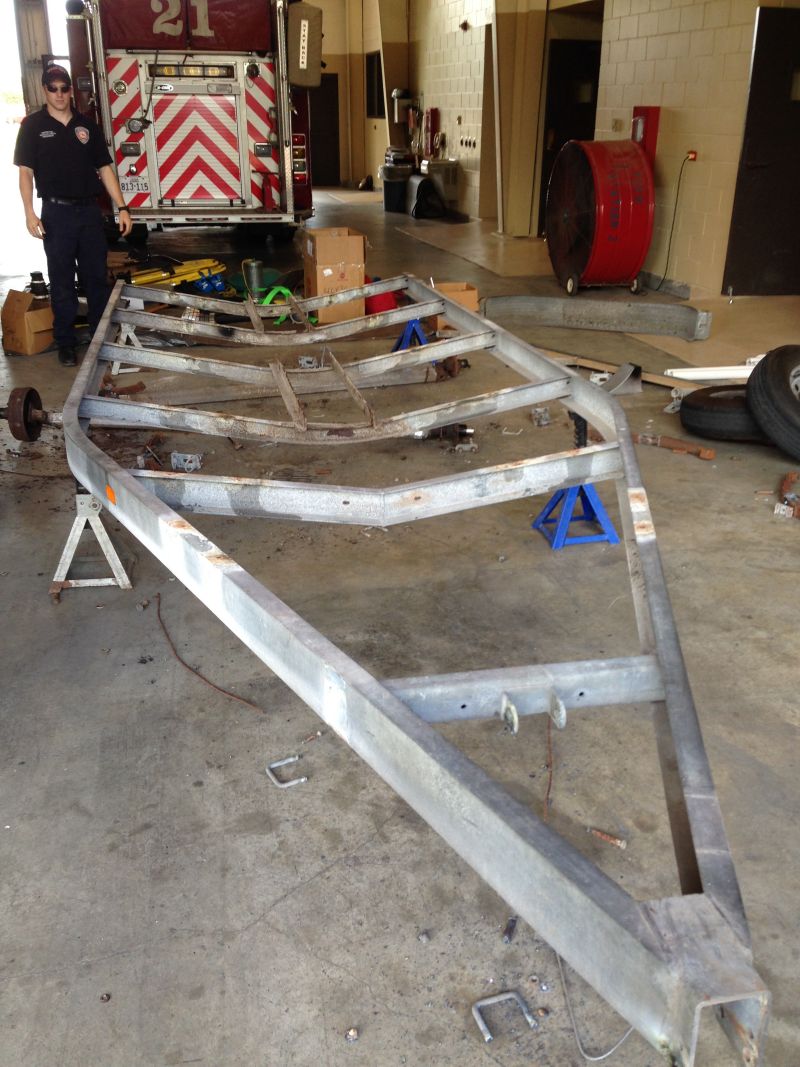
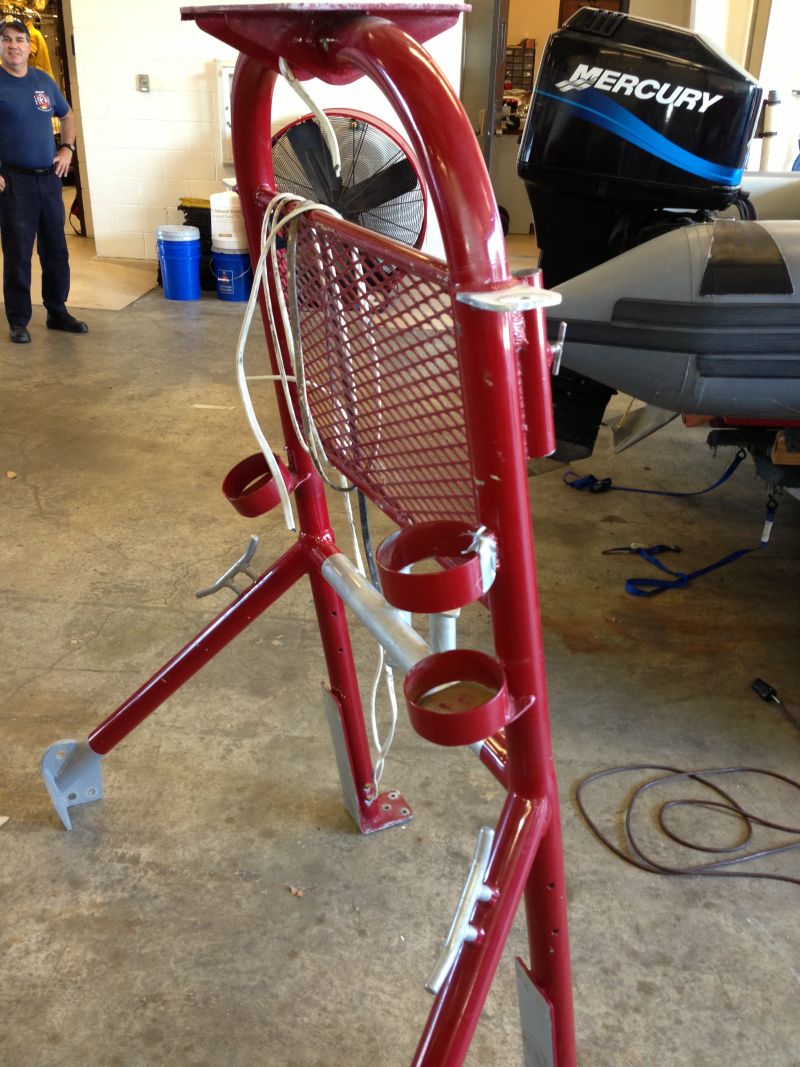
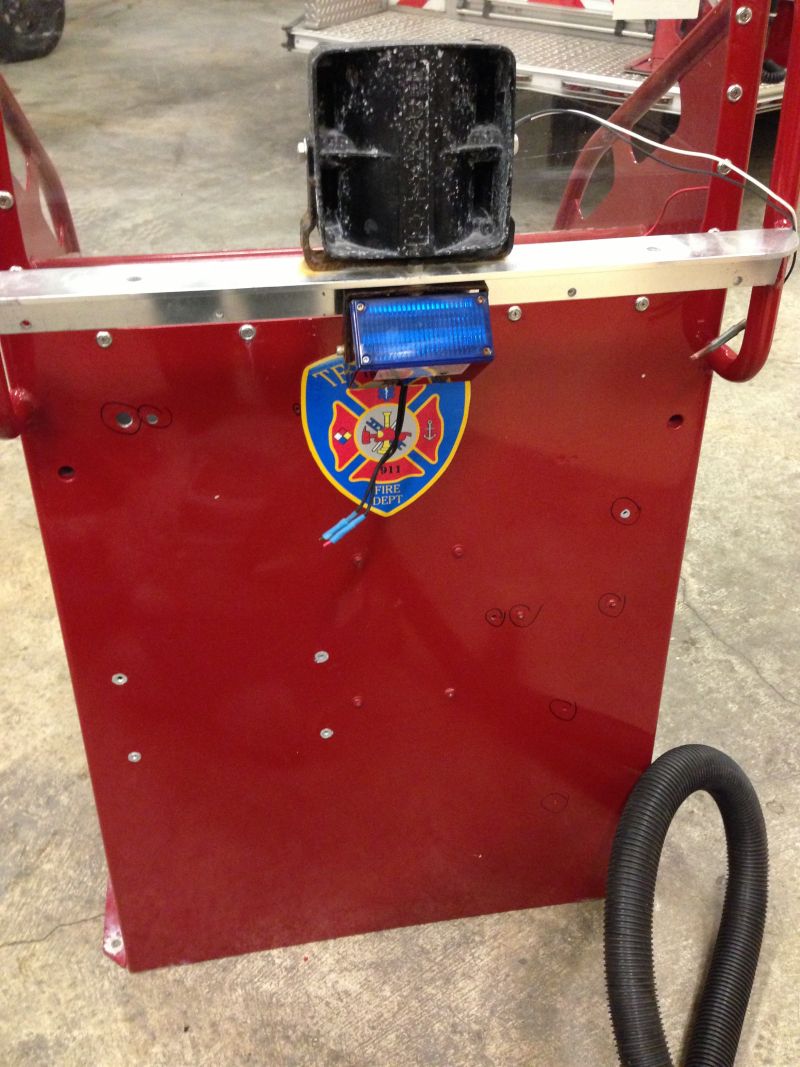
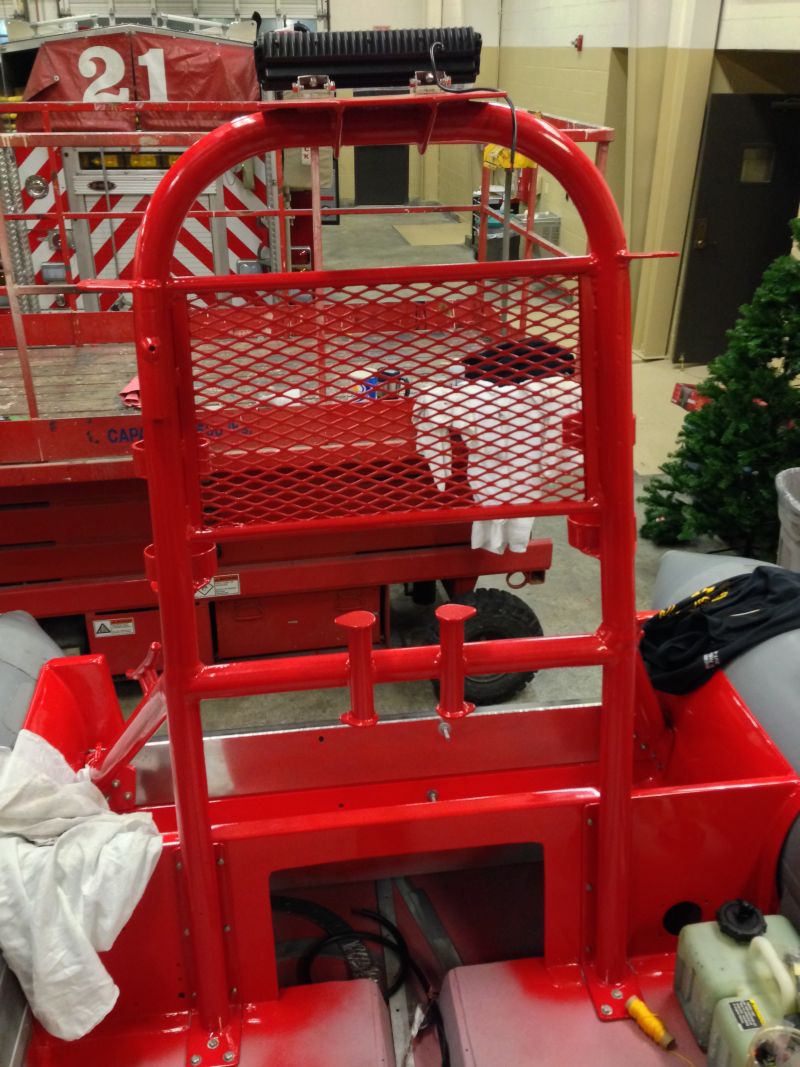
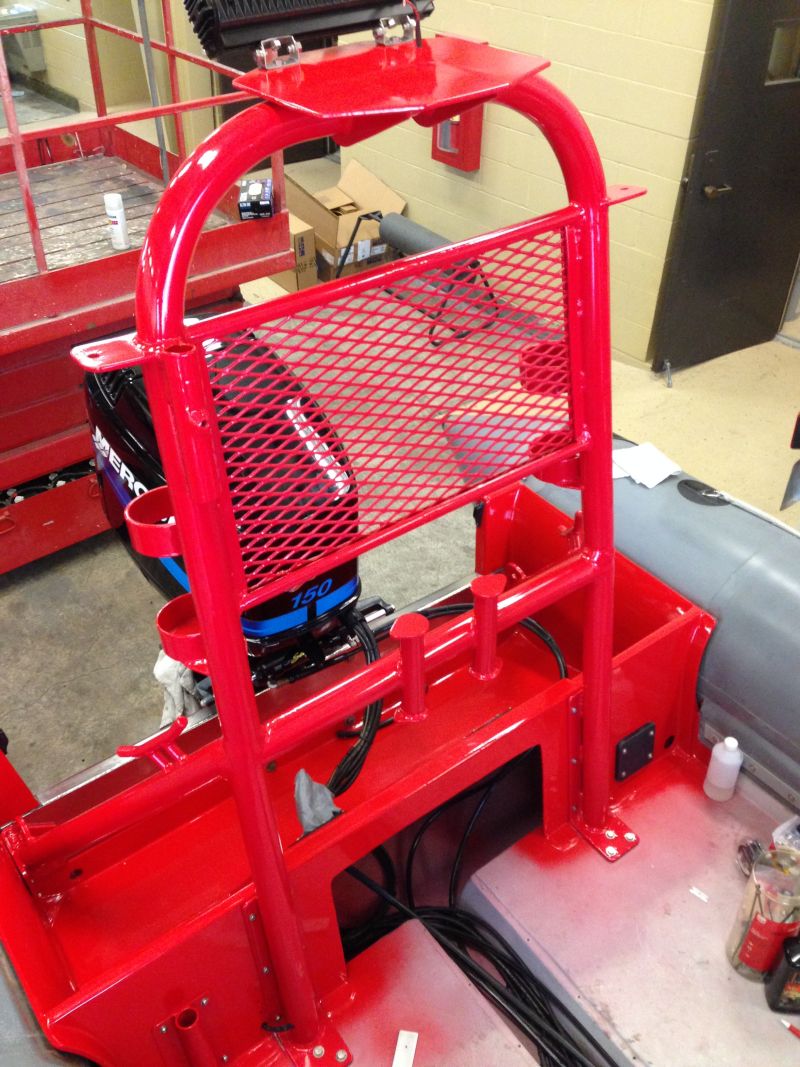
Removed the back rack to send to Tennille Fabricating for minor repairs, then to Texas Performance Coating to be powder coated.
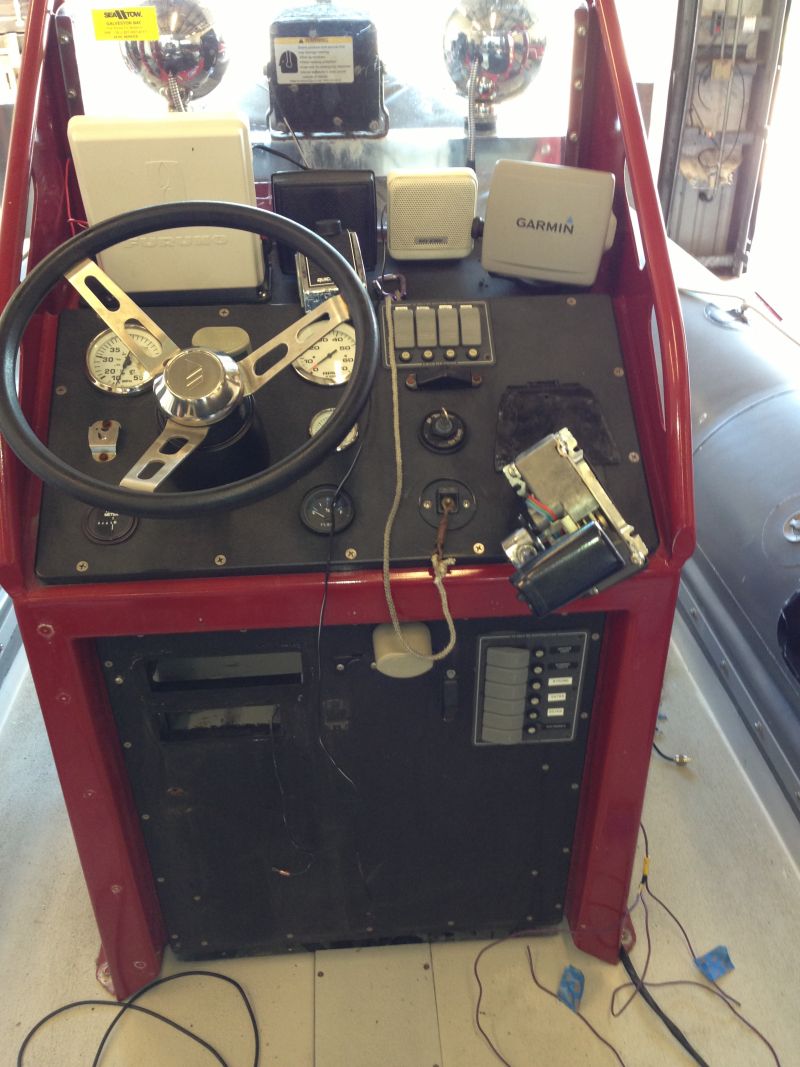
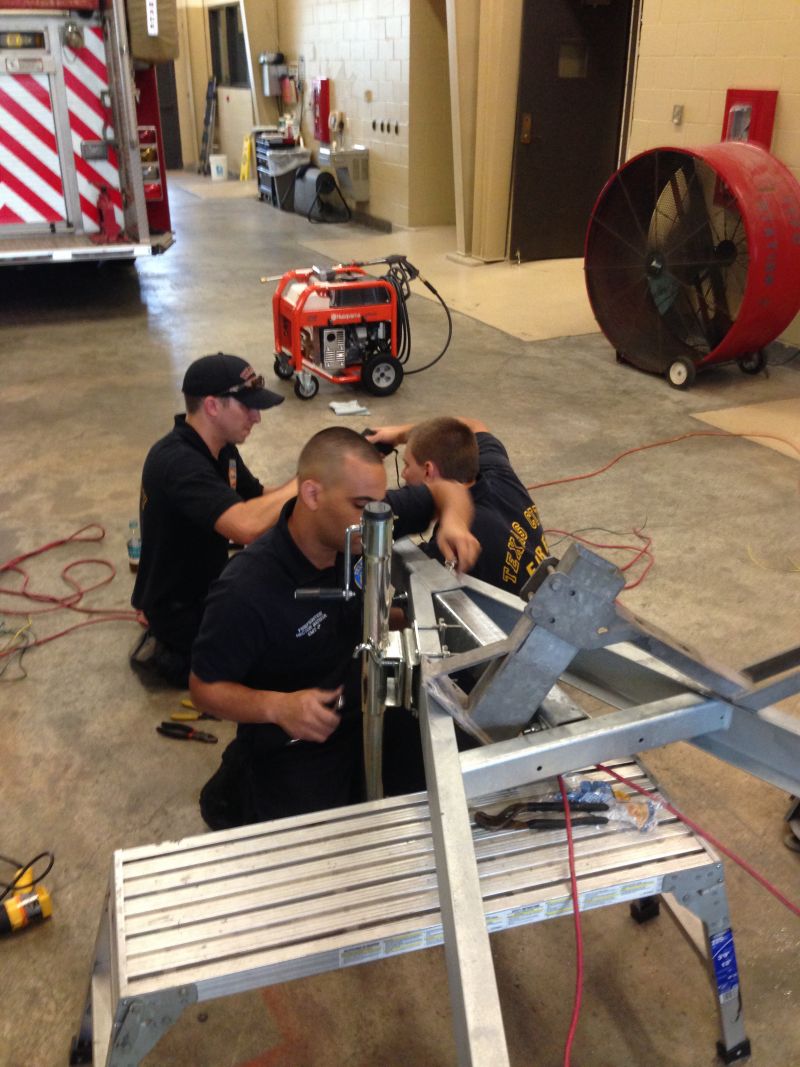
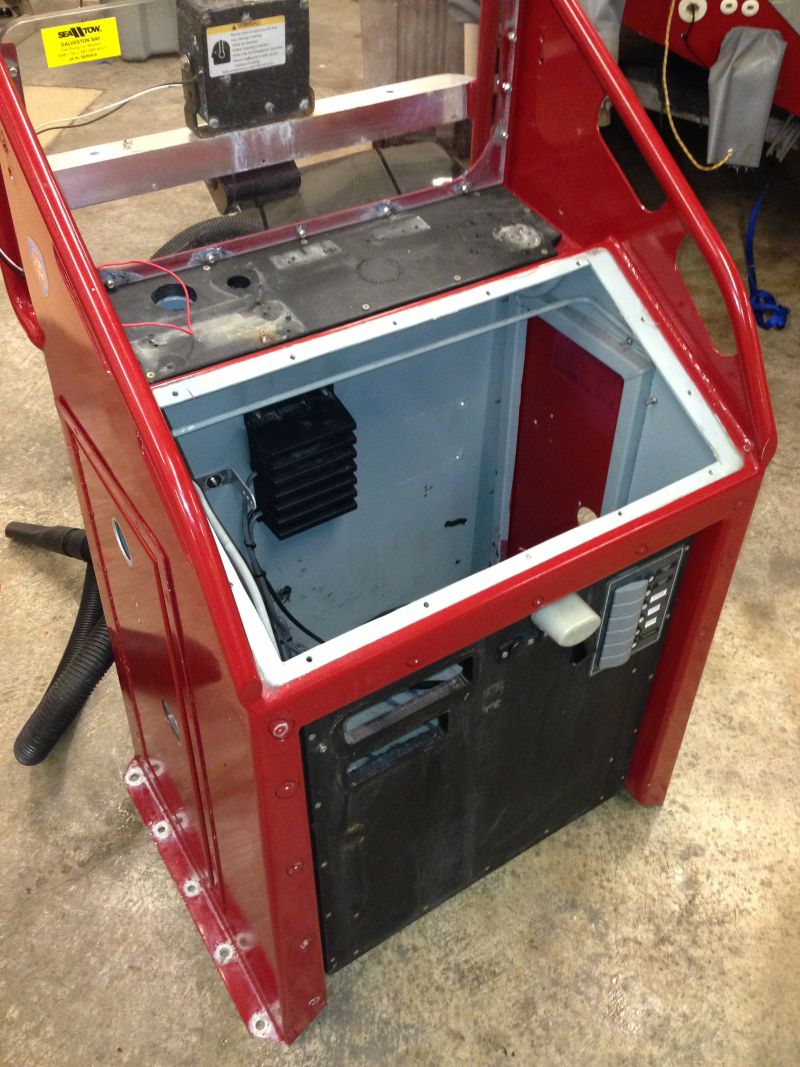
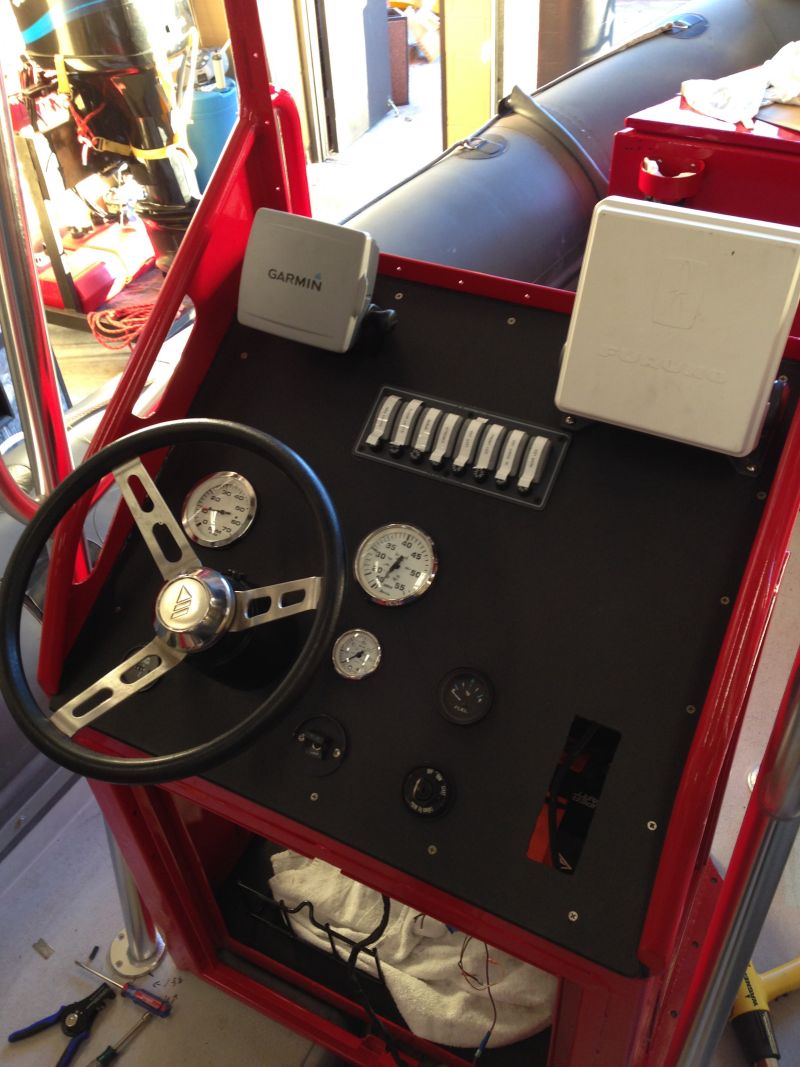
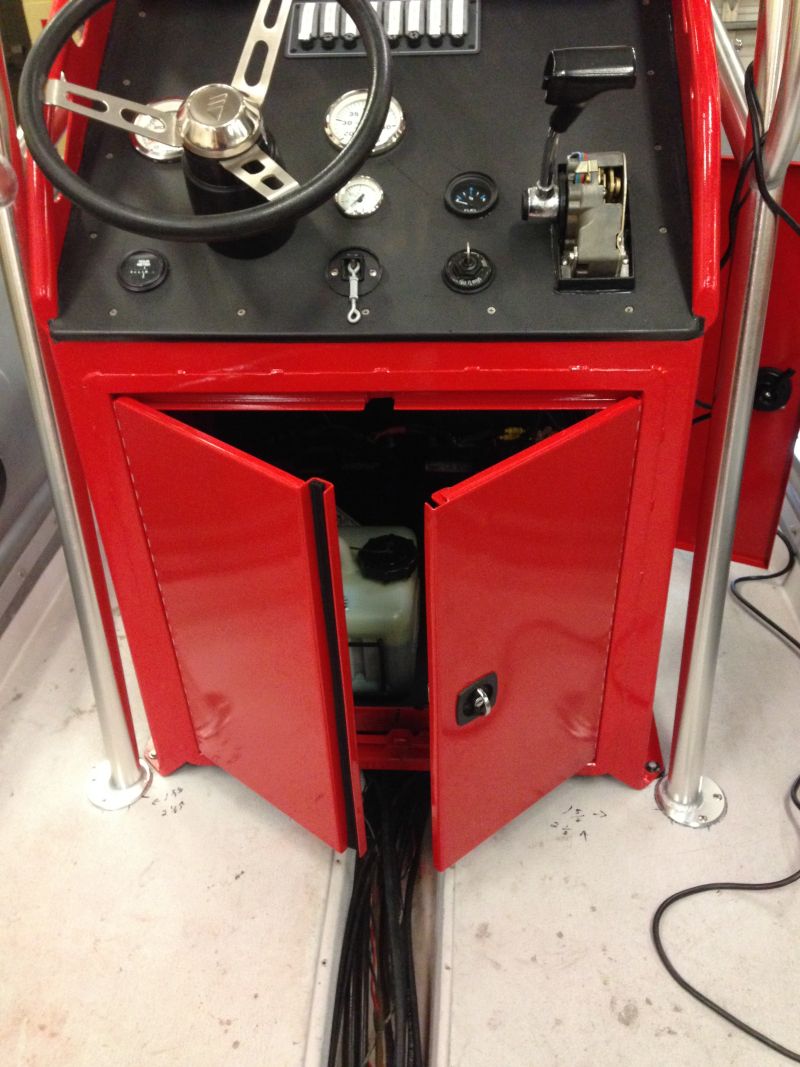
Time to remove everything from the center console, then pull it.
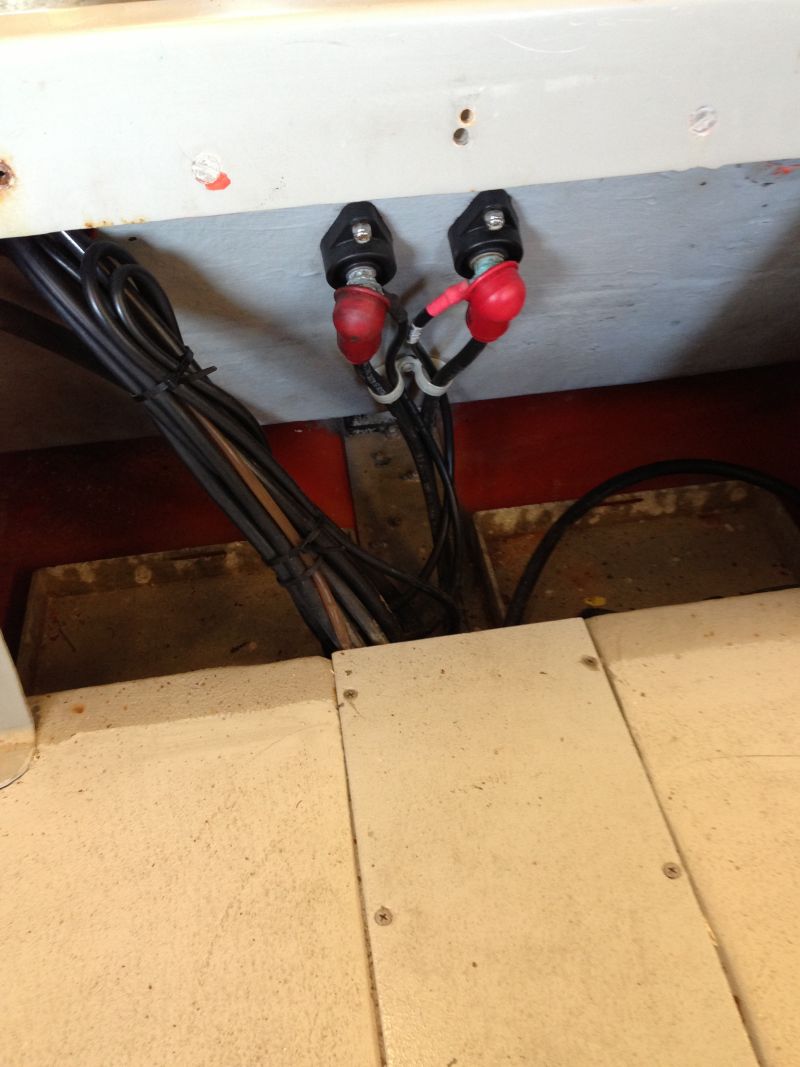
Going to remove the old battery trays, middle aluminum piece, old battery connectors and all wiring
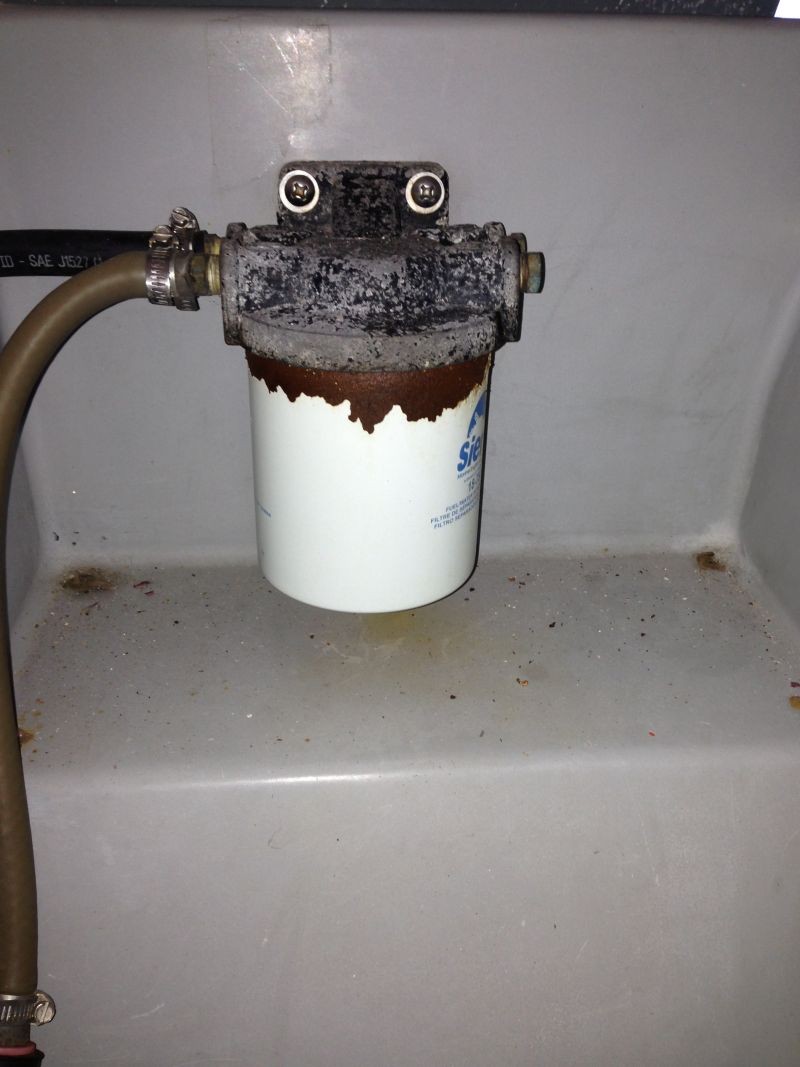
Removed old fuel filter and holder
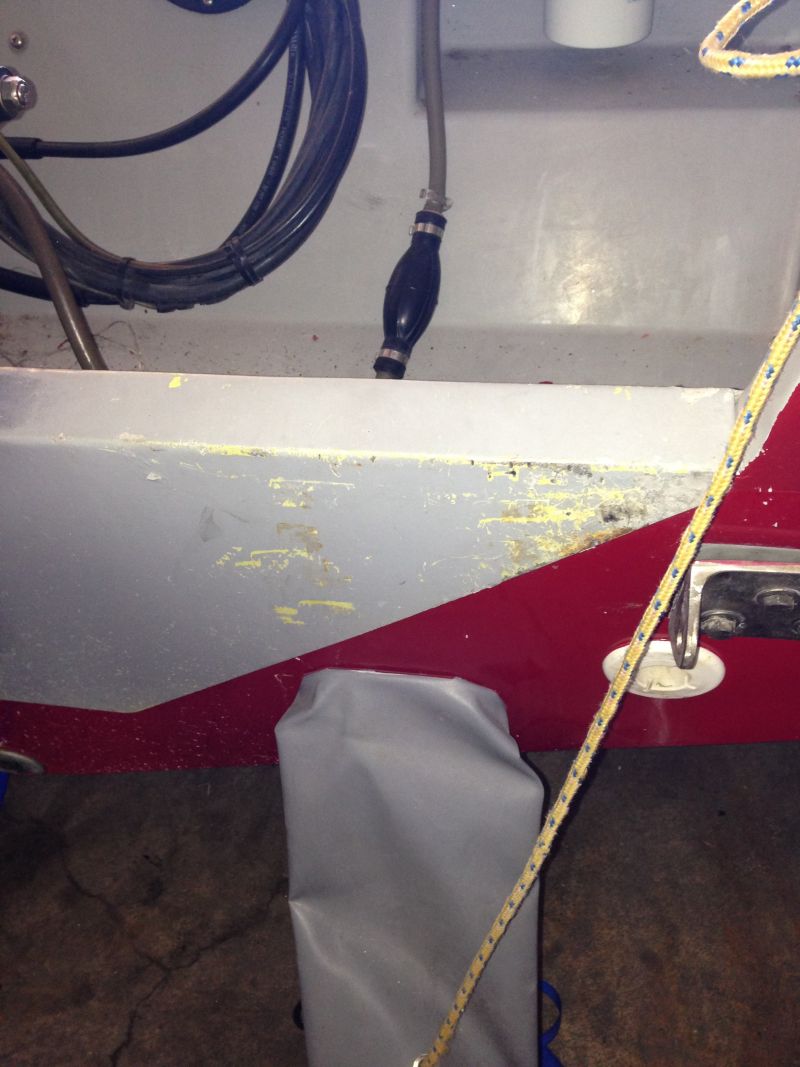
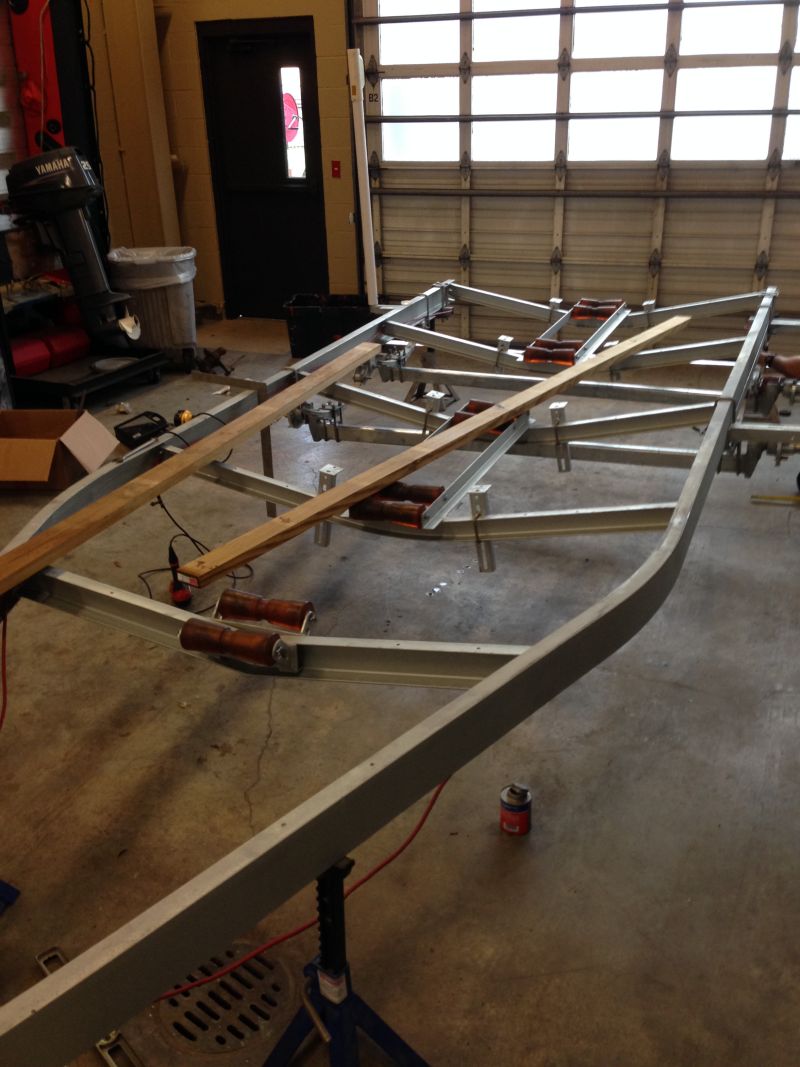
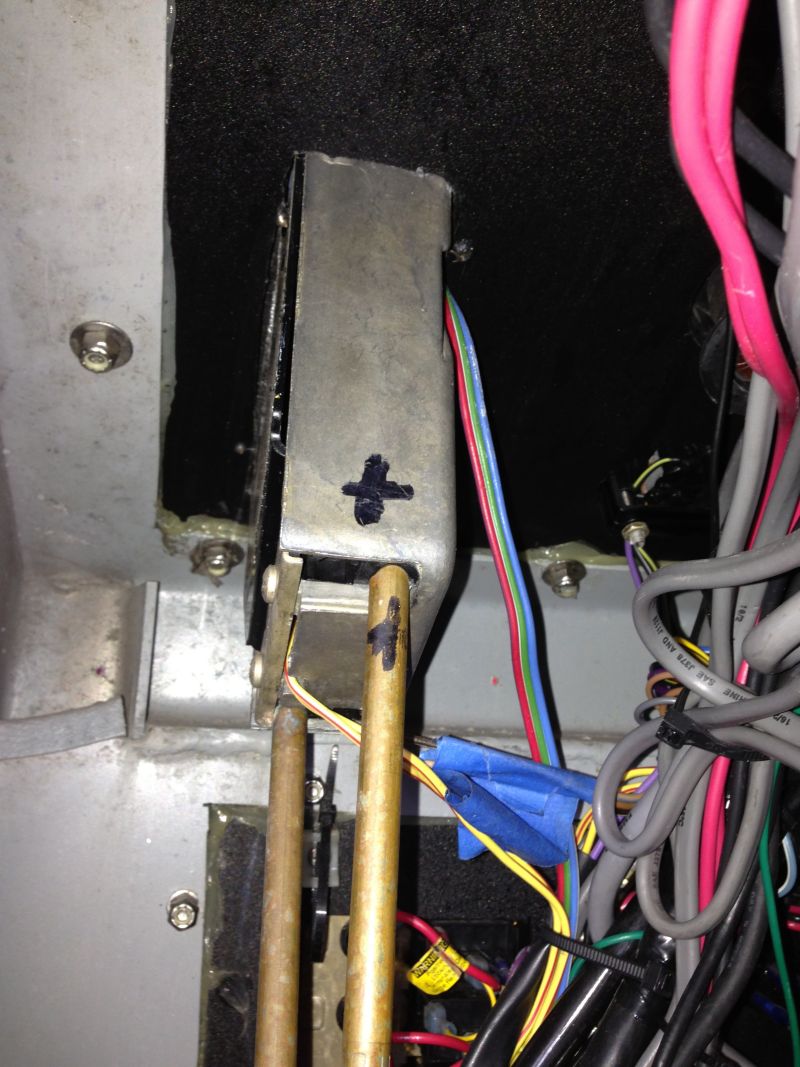
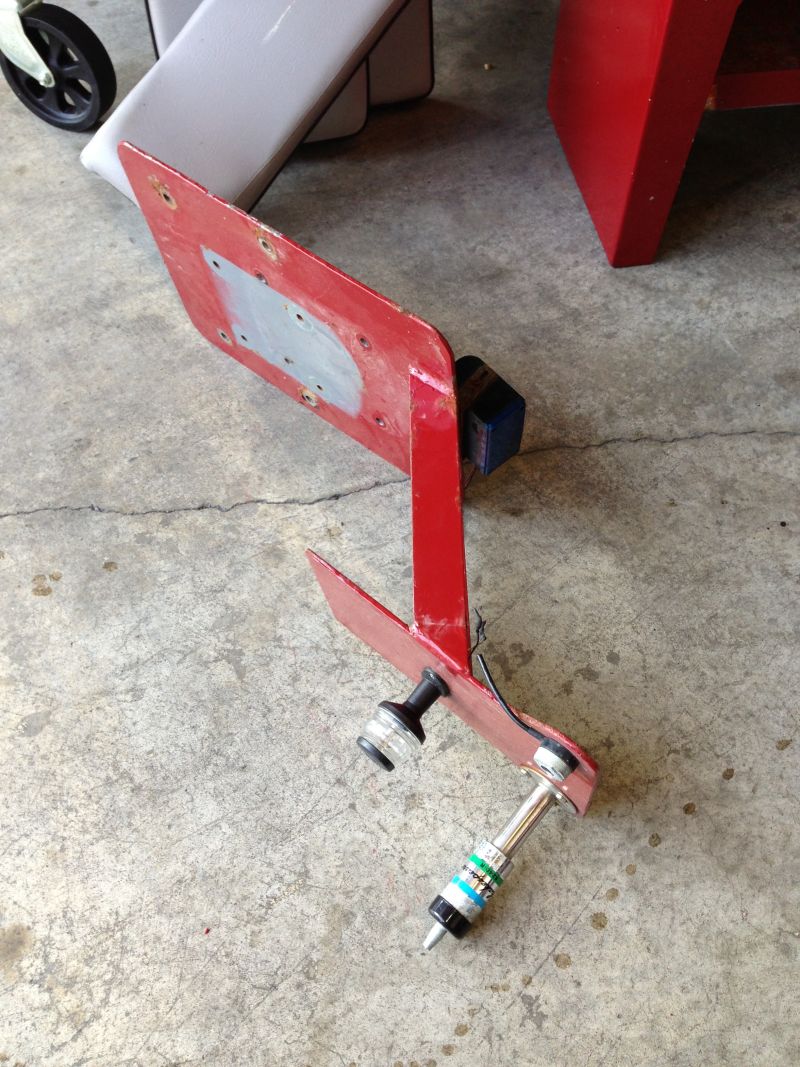
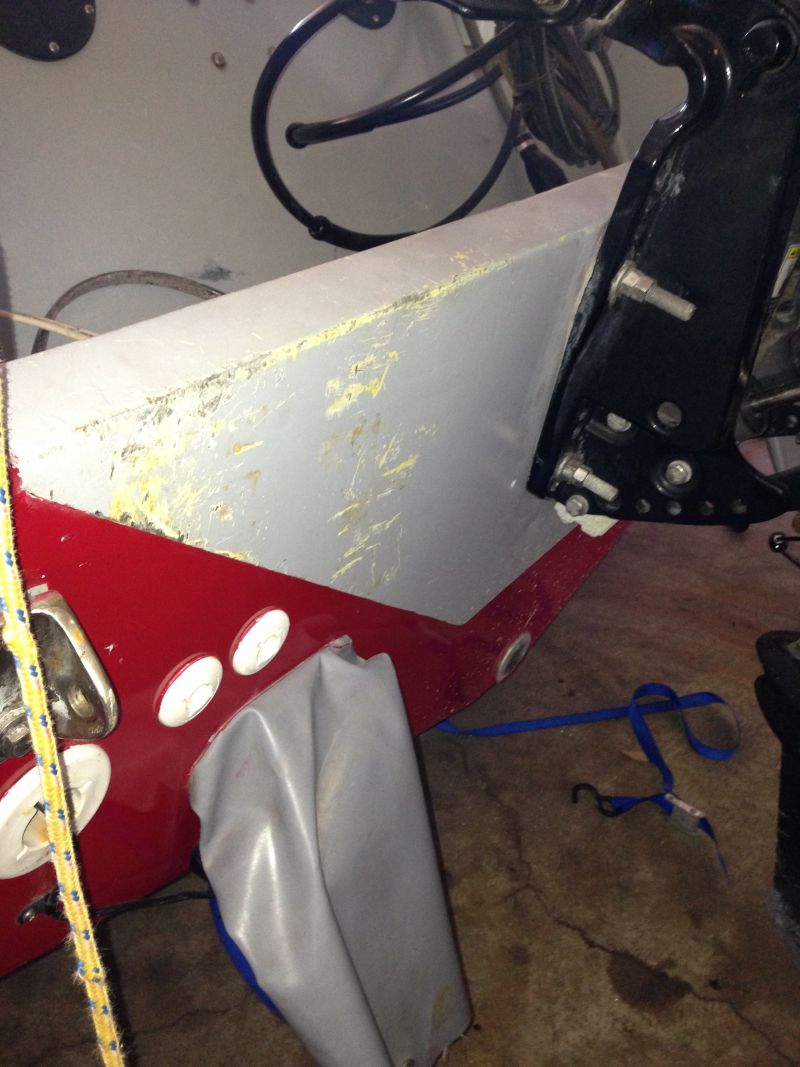
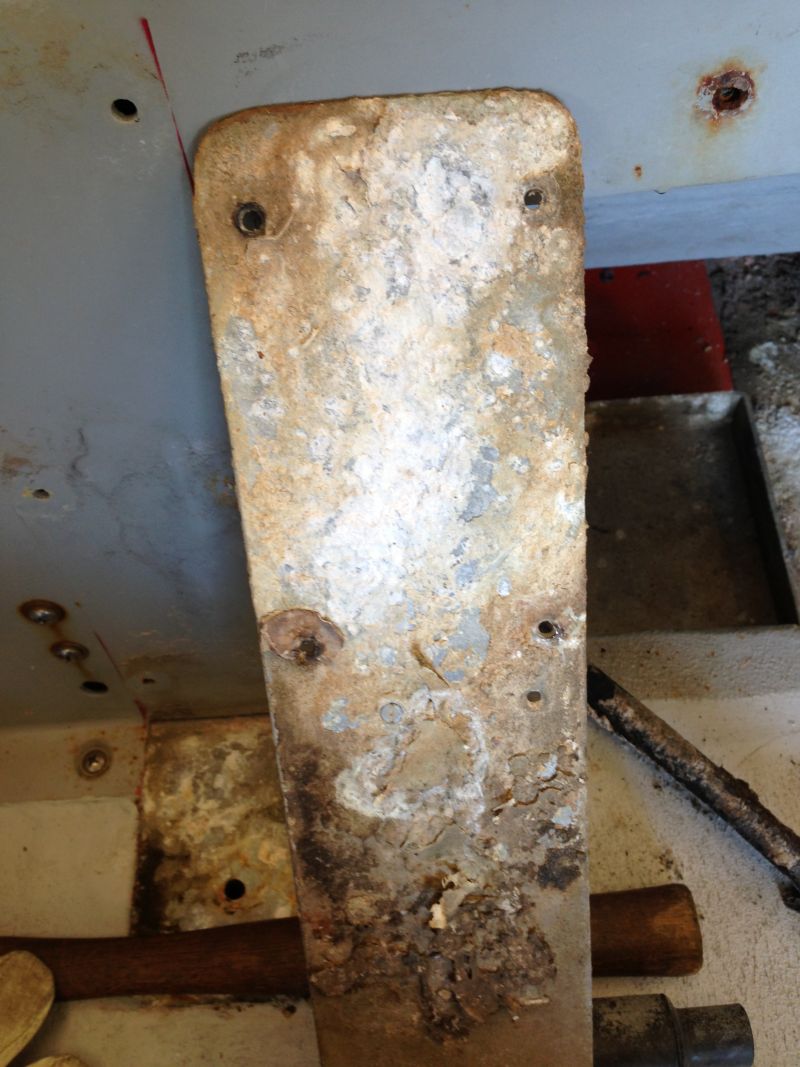
The Transom Saver was made out of a thin aluminum piece, which was pretty beat up and had stress cracks. It was removed.
Center Console is out
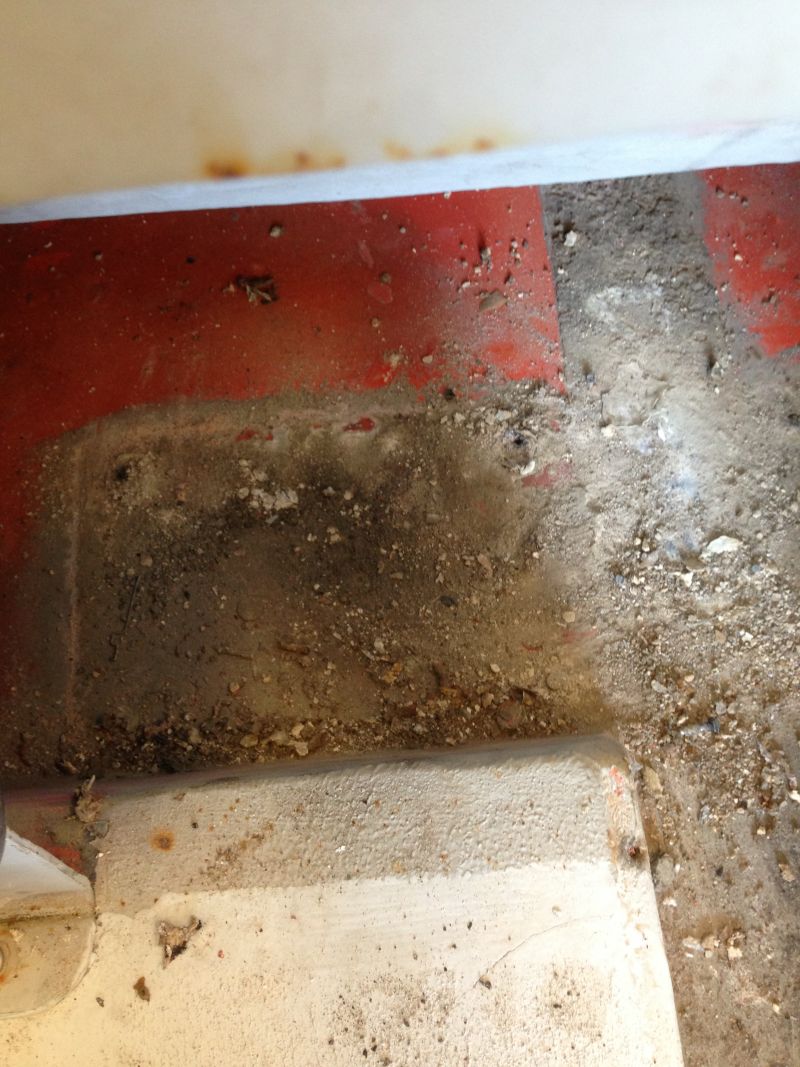
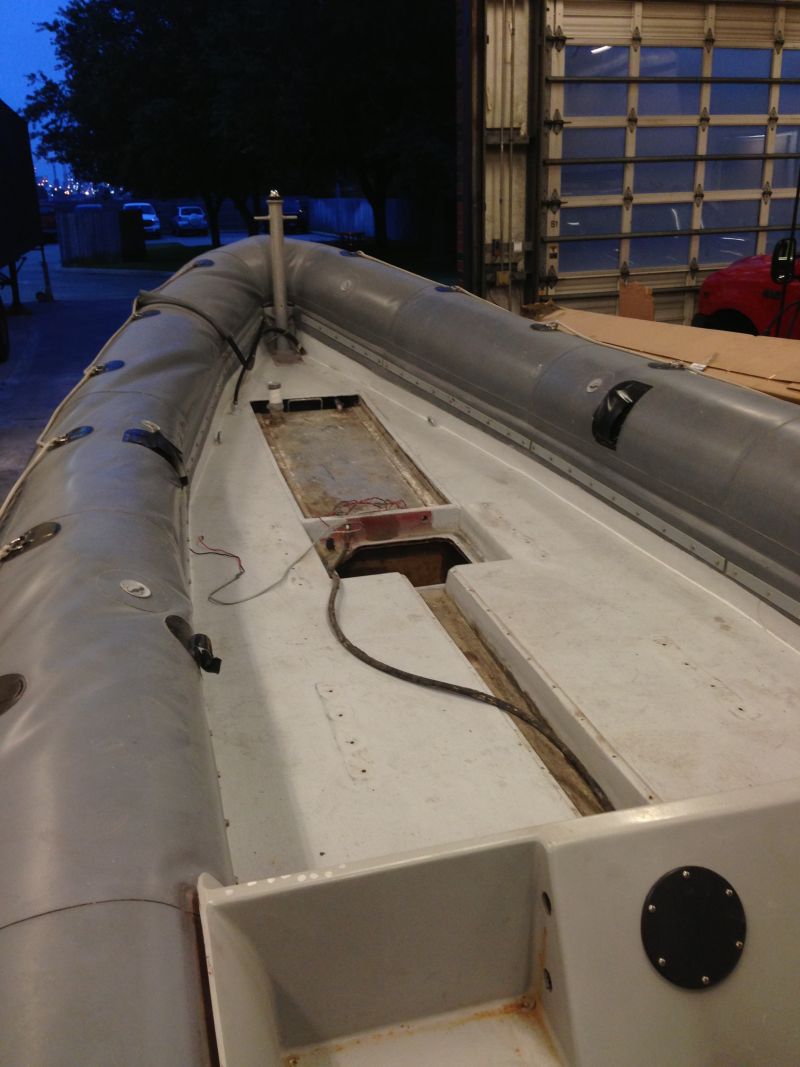
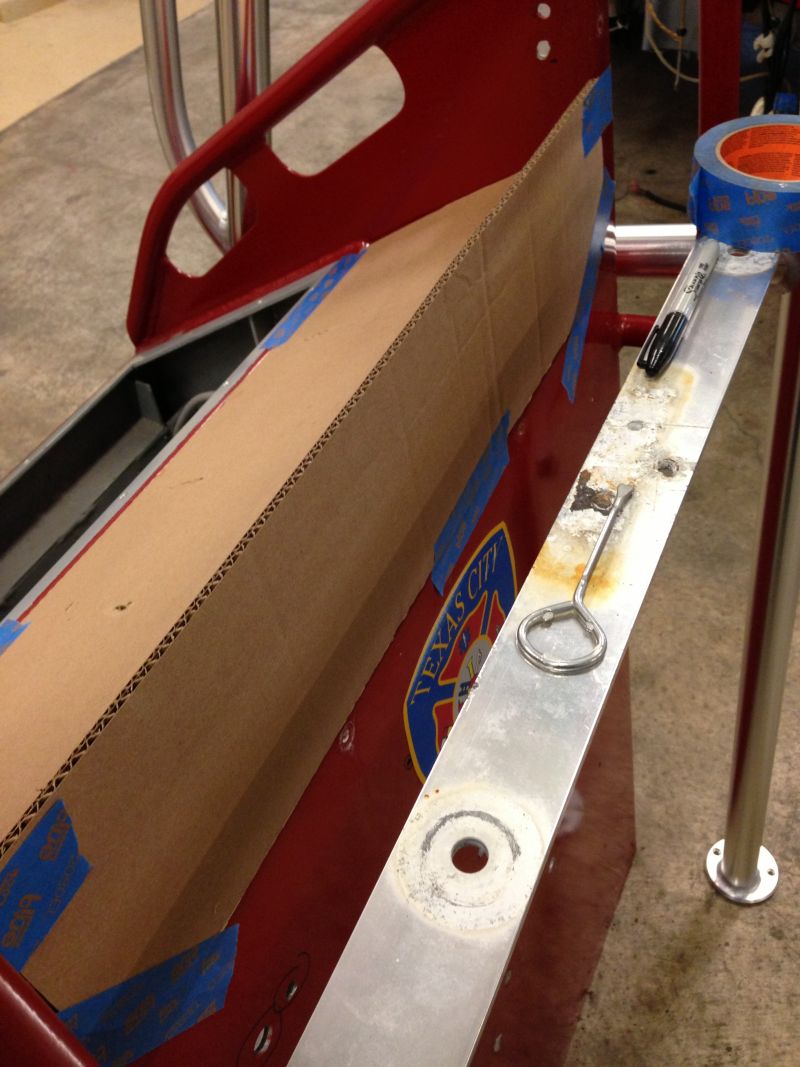
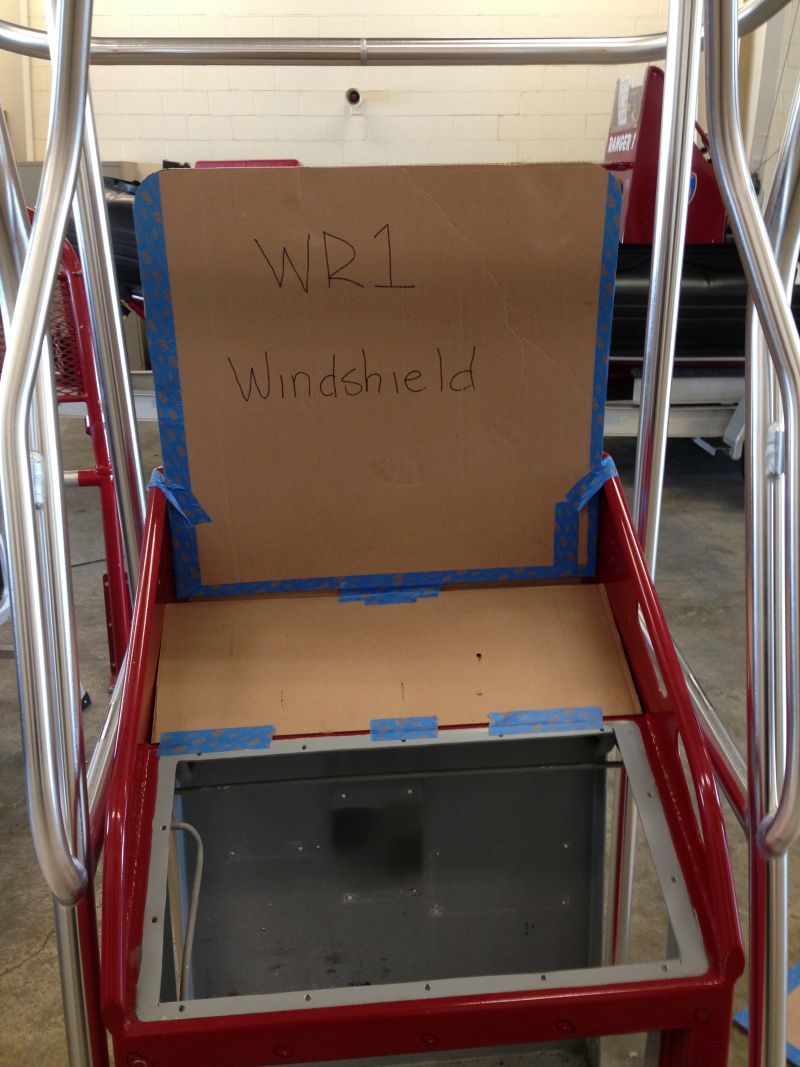
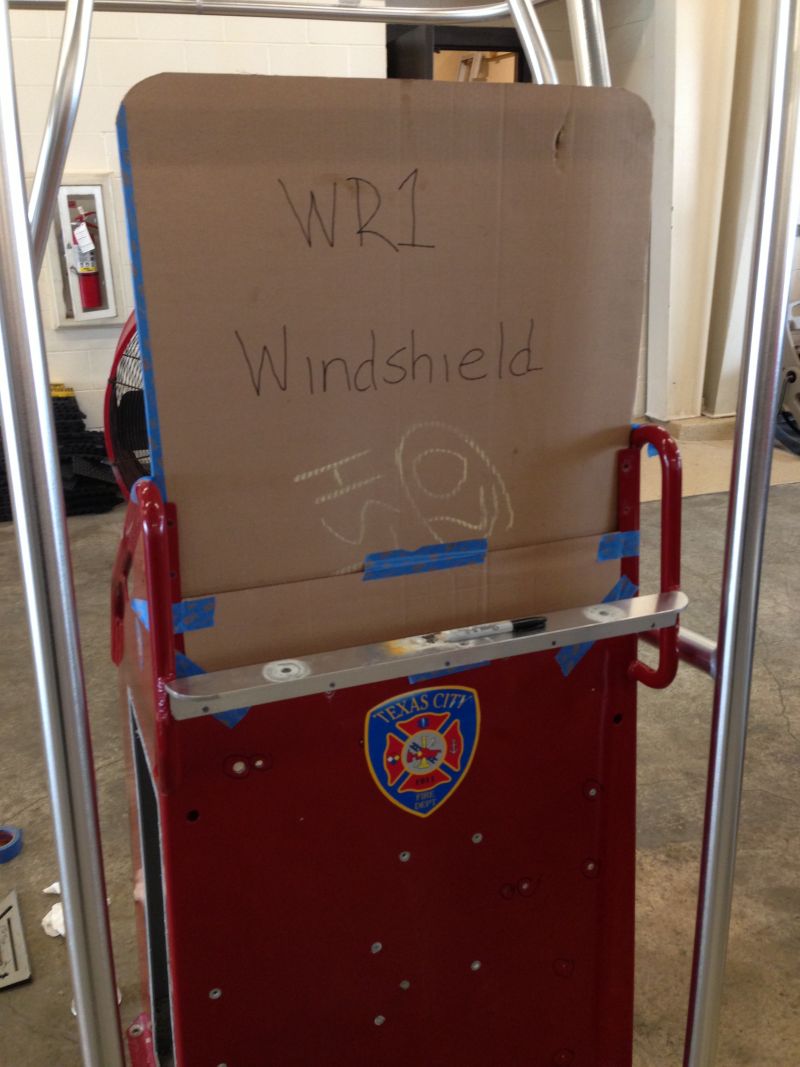
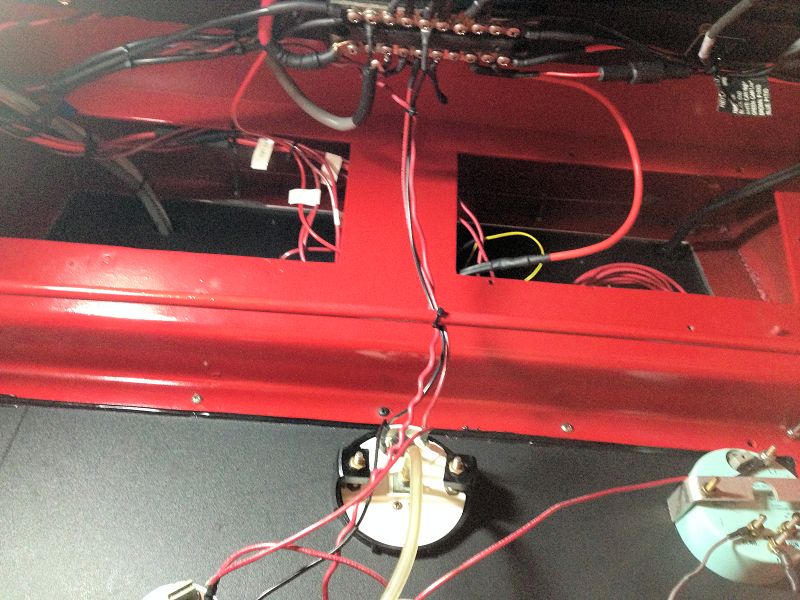
Deck is cleared, time to remove cover plates
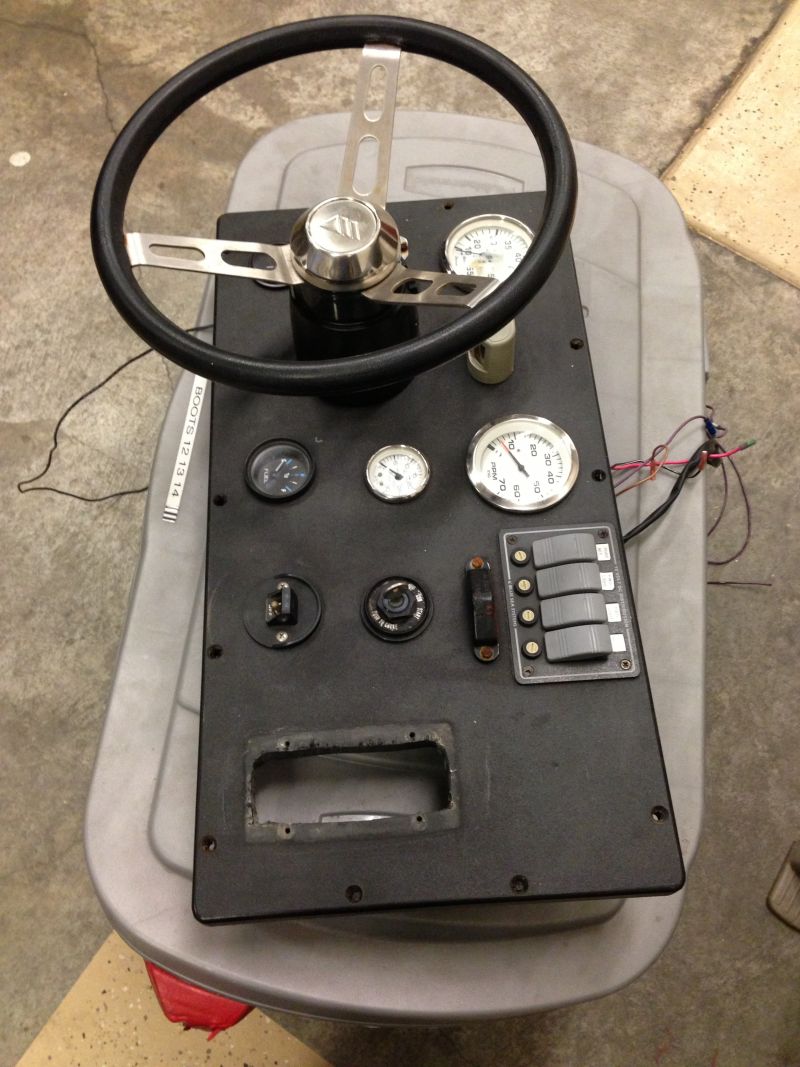
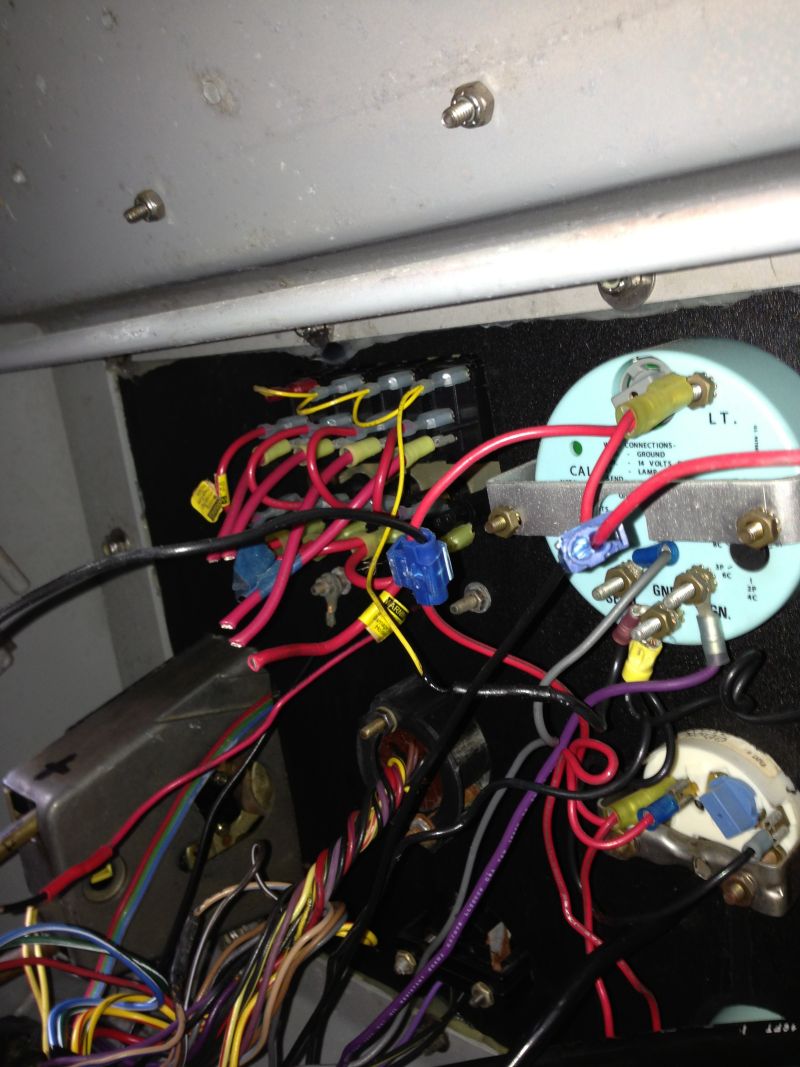
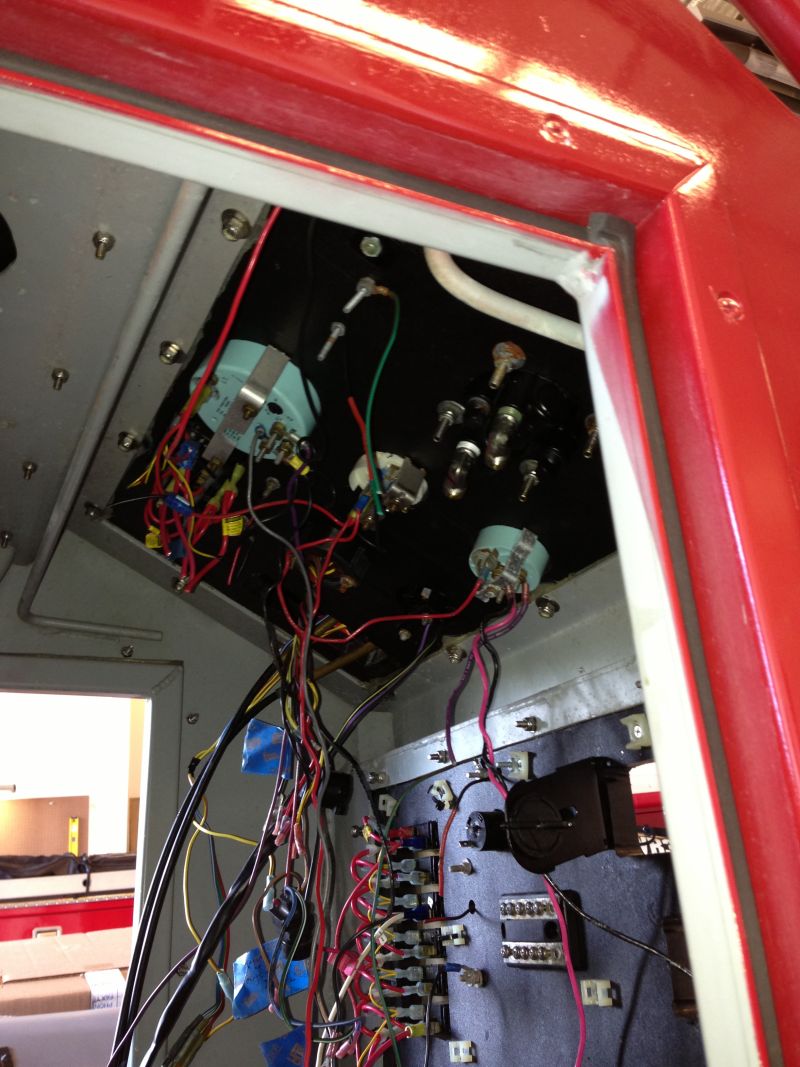
Removing everything from old dash
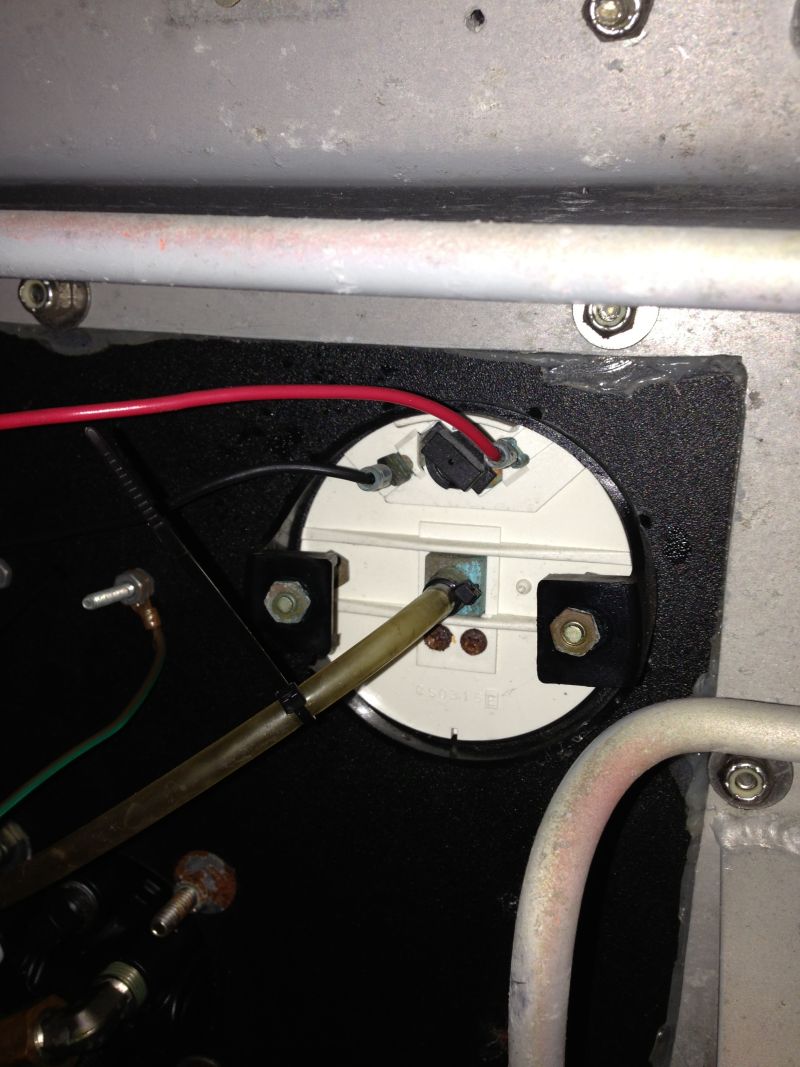
With center plate removed, wires are next
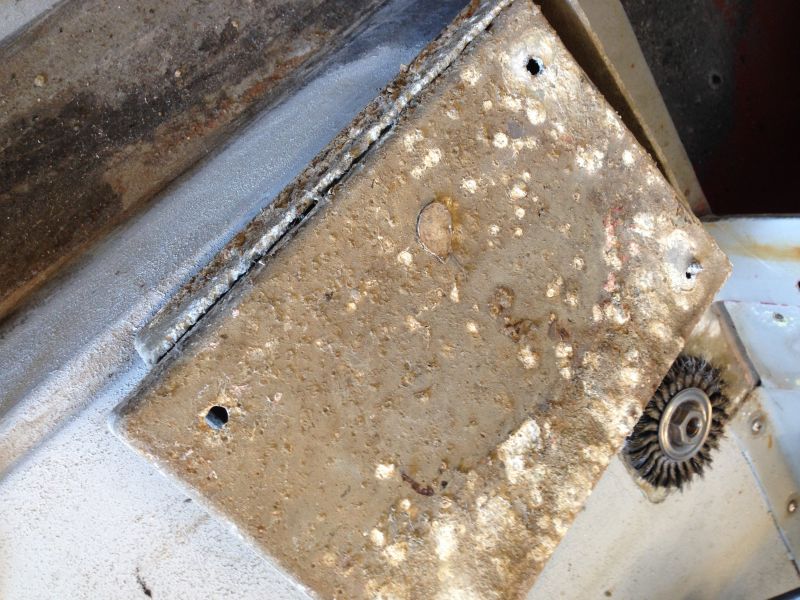
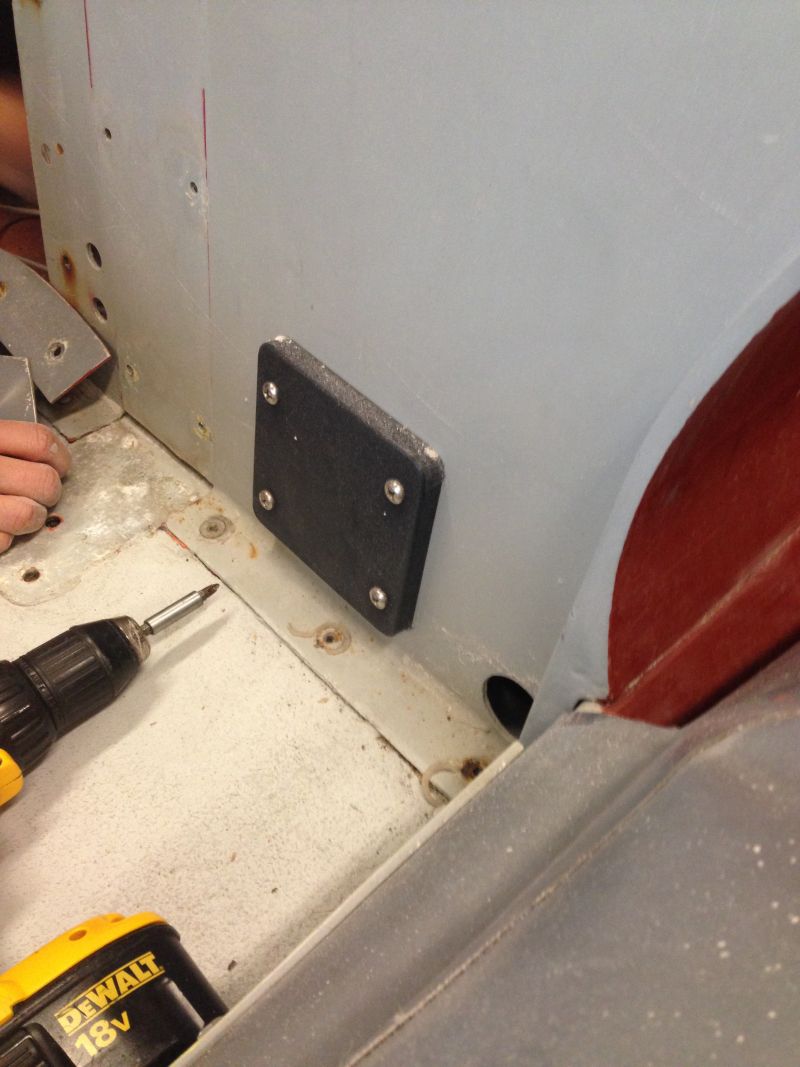
An old mounting plate removed
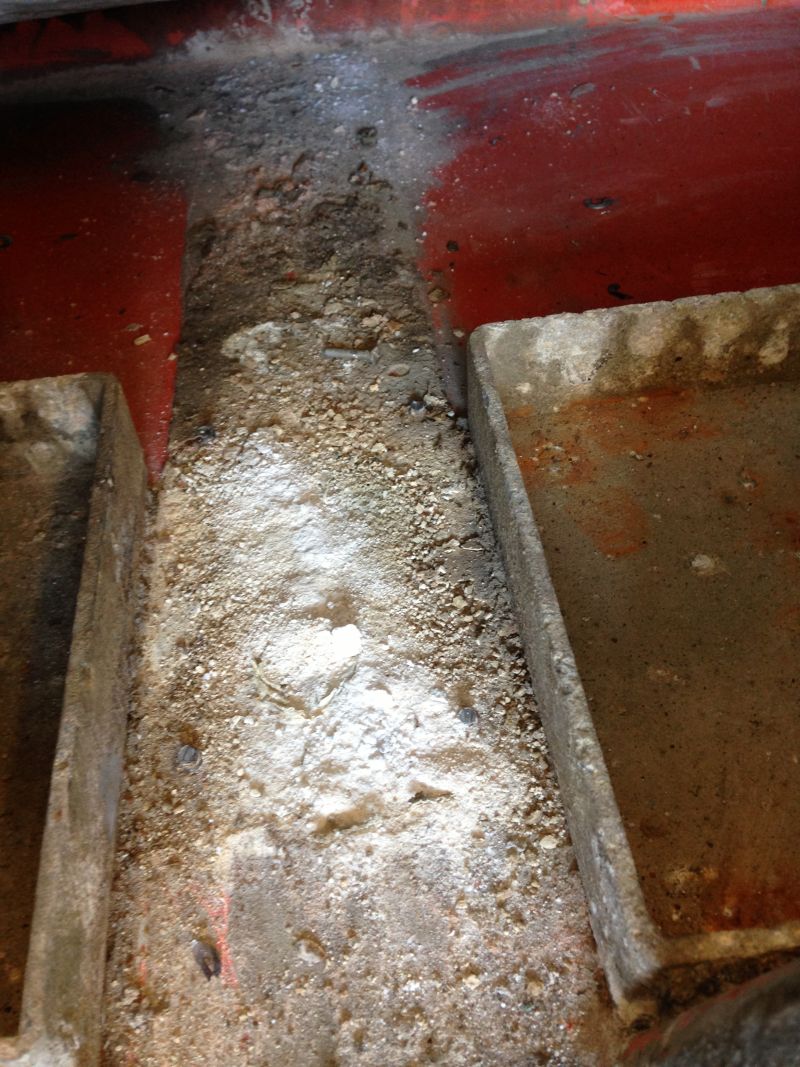
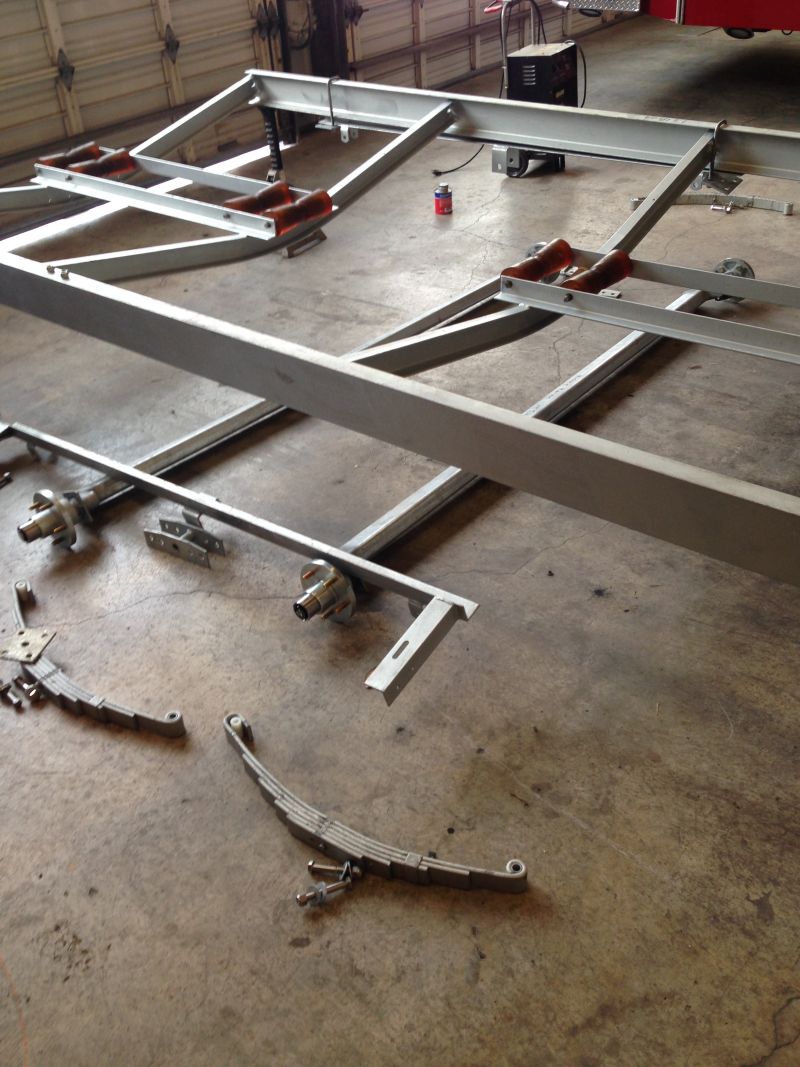
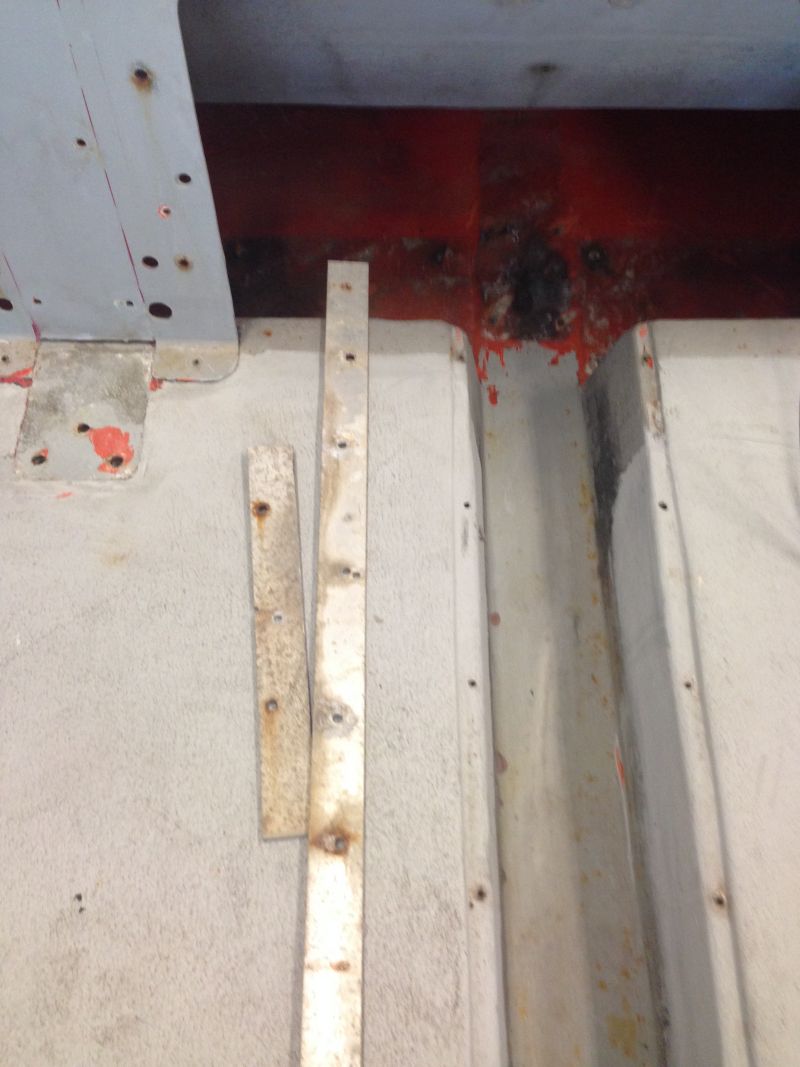
Old Battery Trays were next
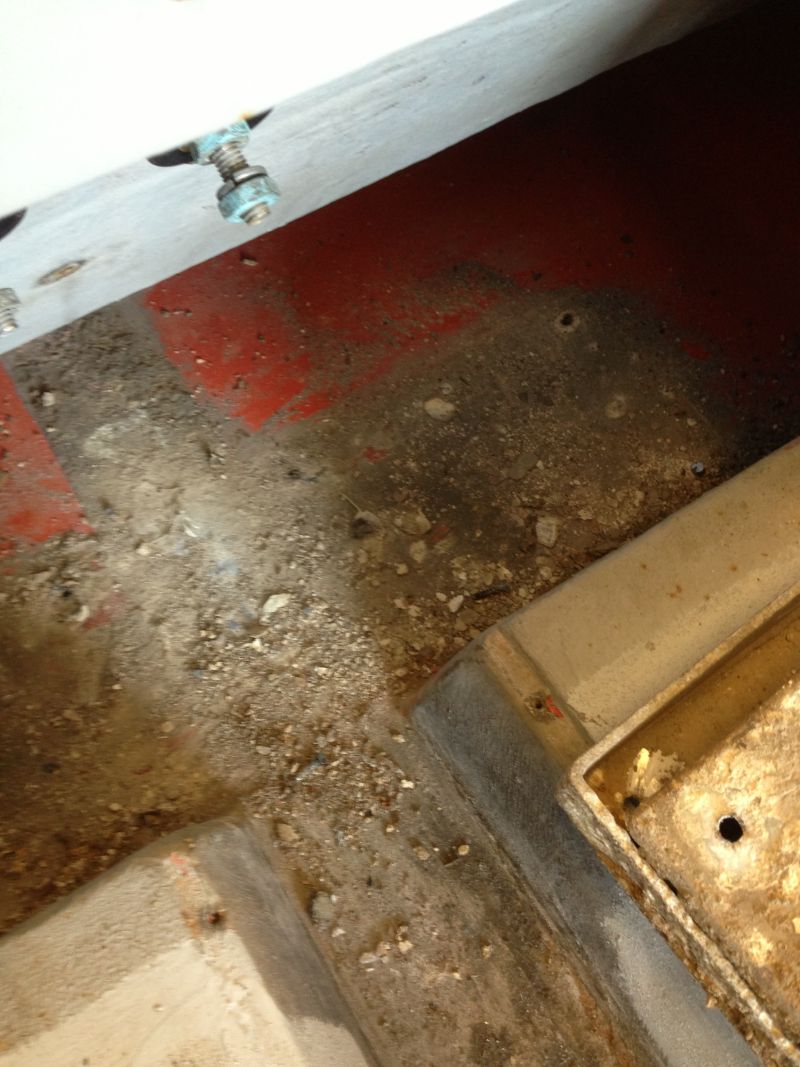
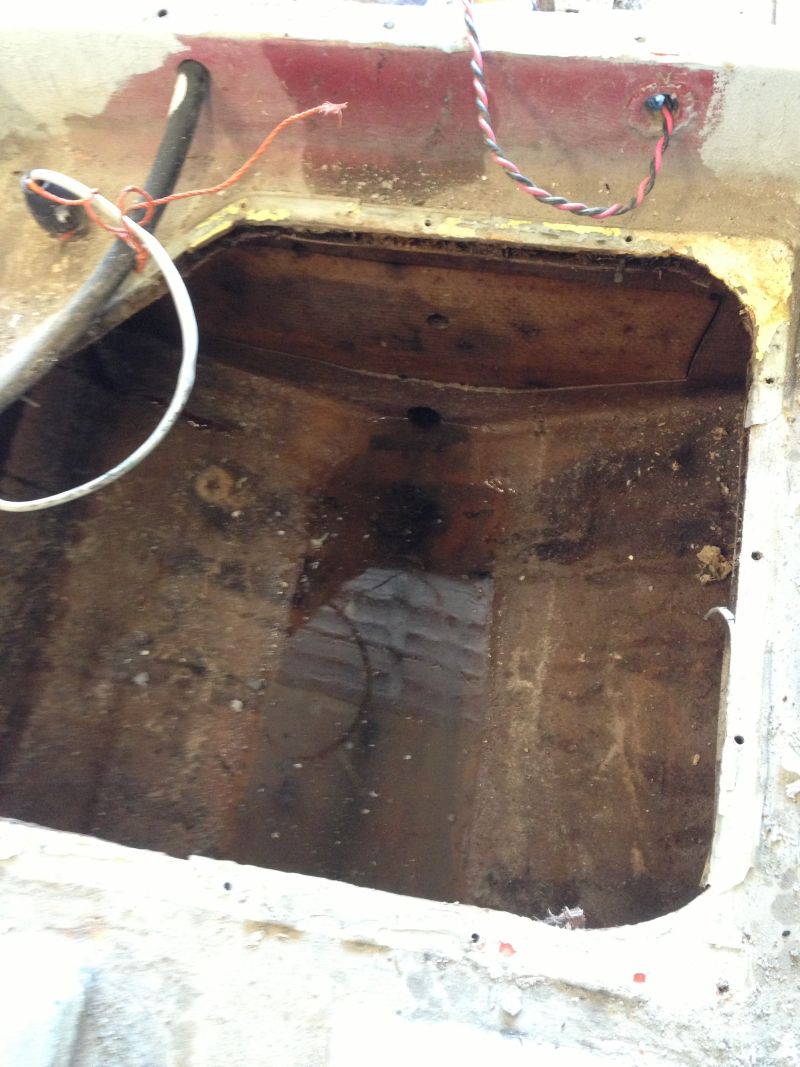
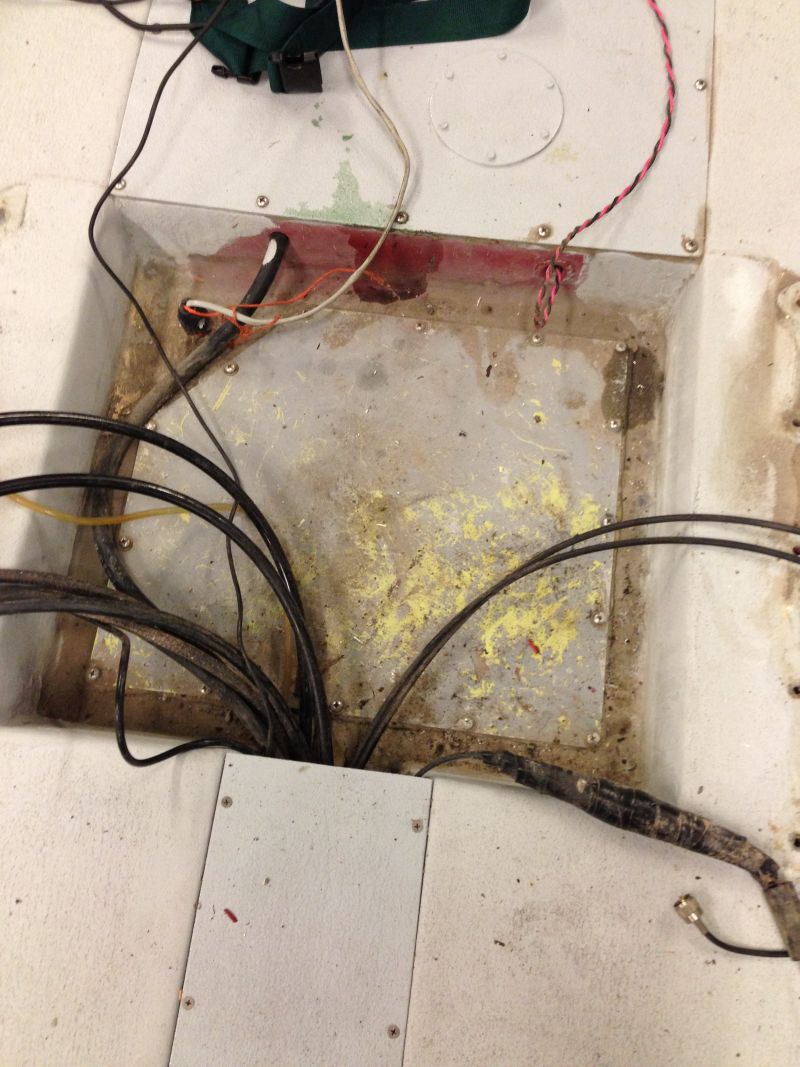
Center hatch was opened and revealed stagnant water. The drain holes through the hull brackets to the back of the boat were clogged up with debris.
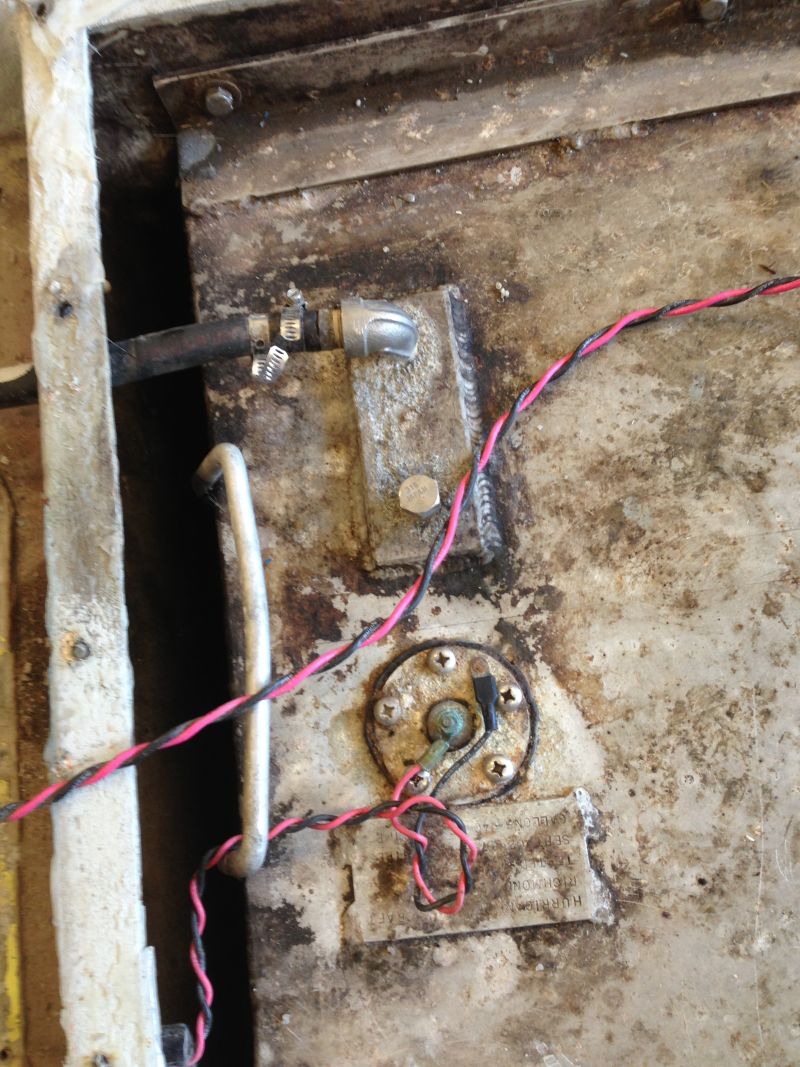
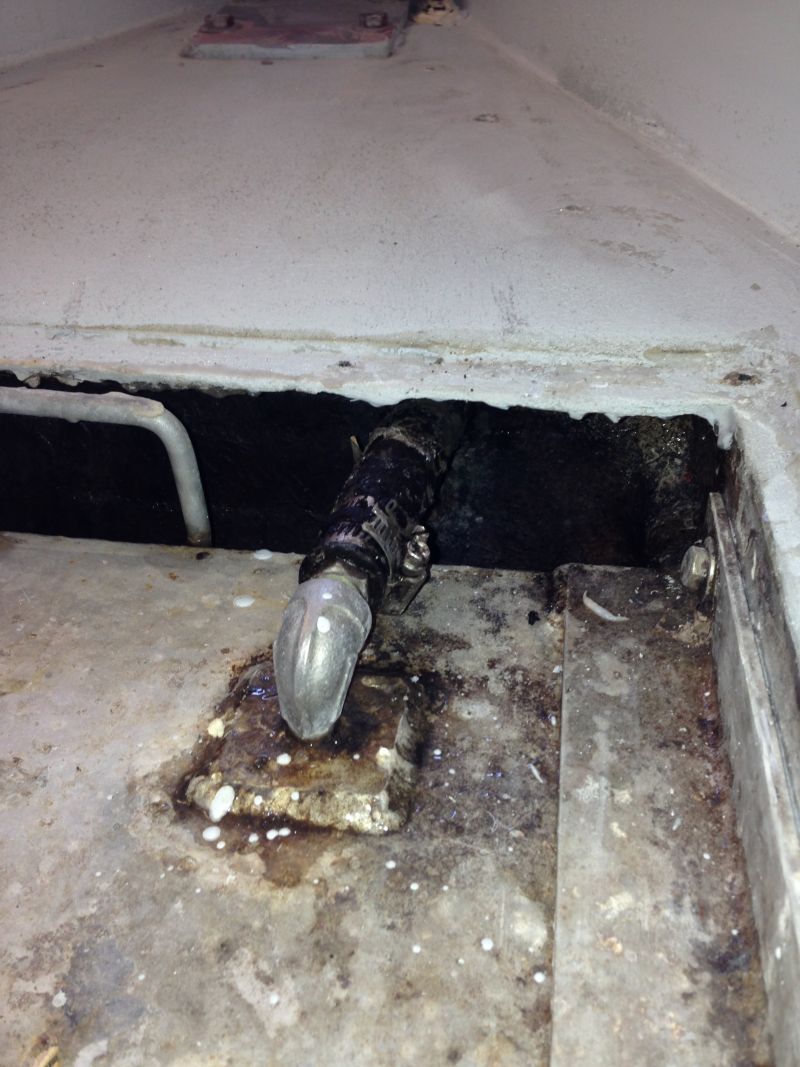
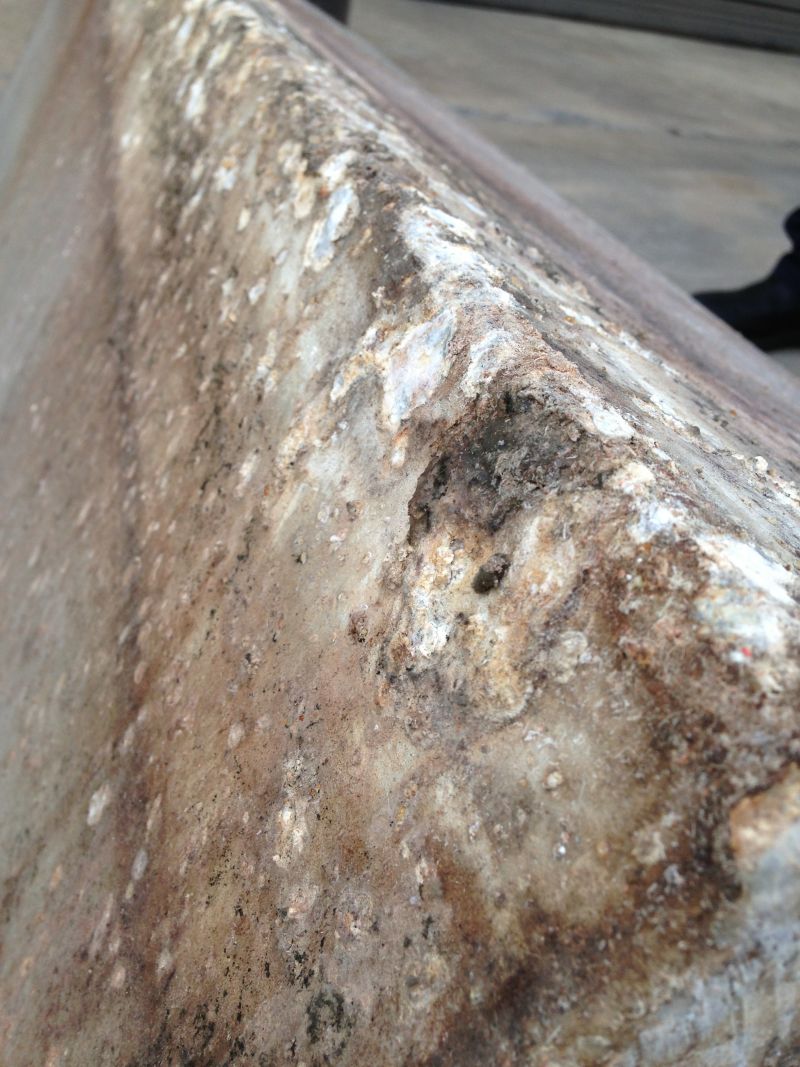
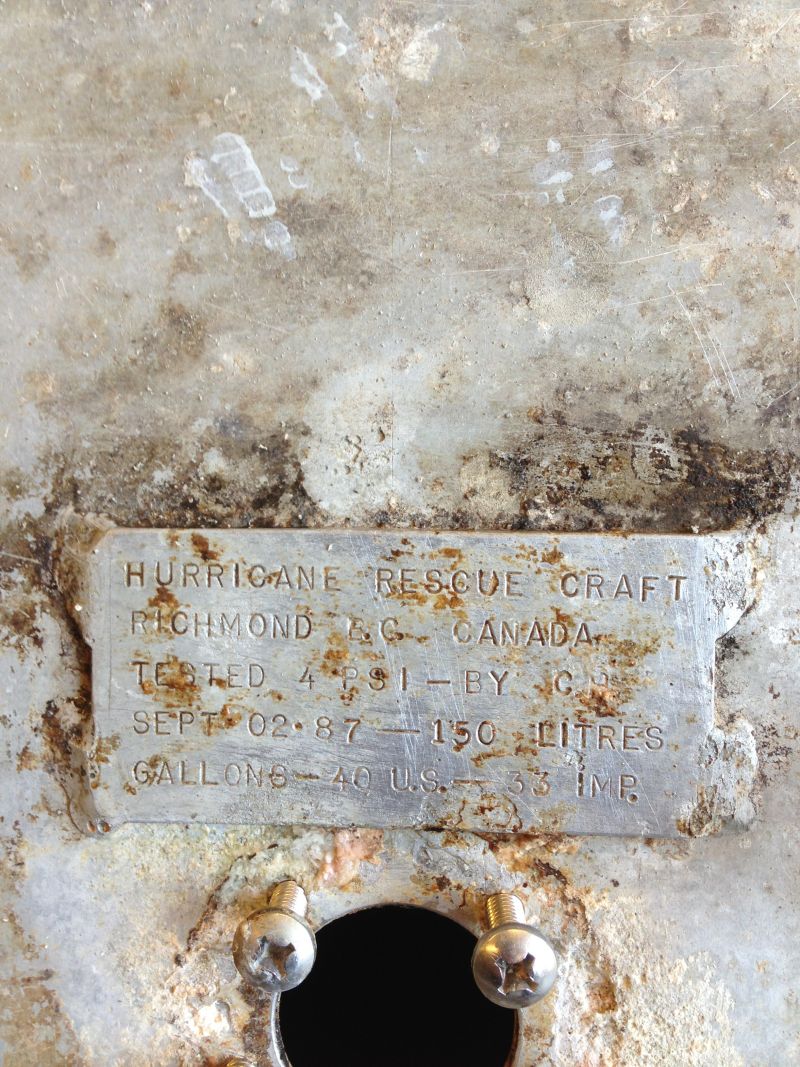
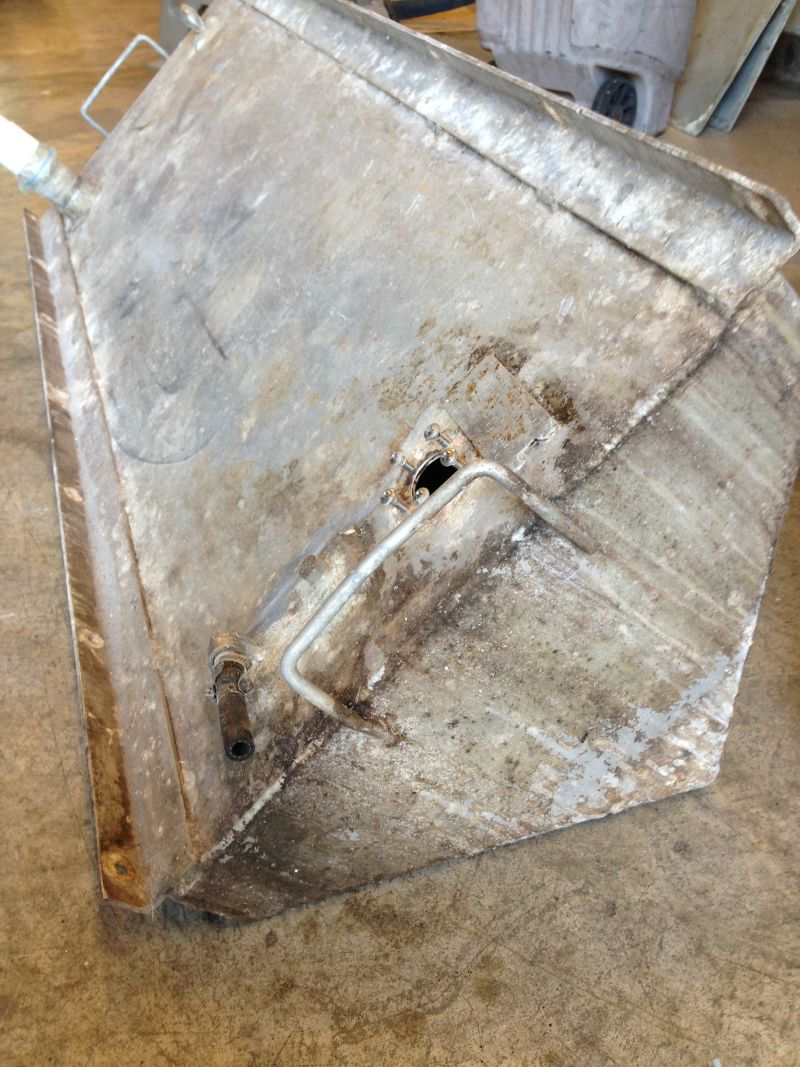
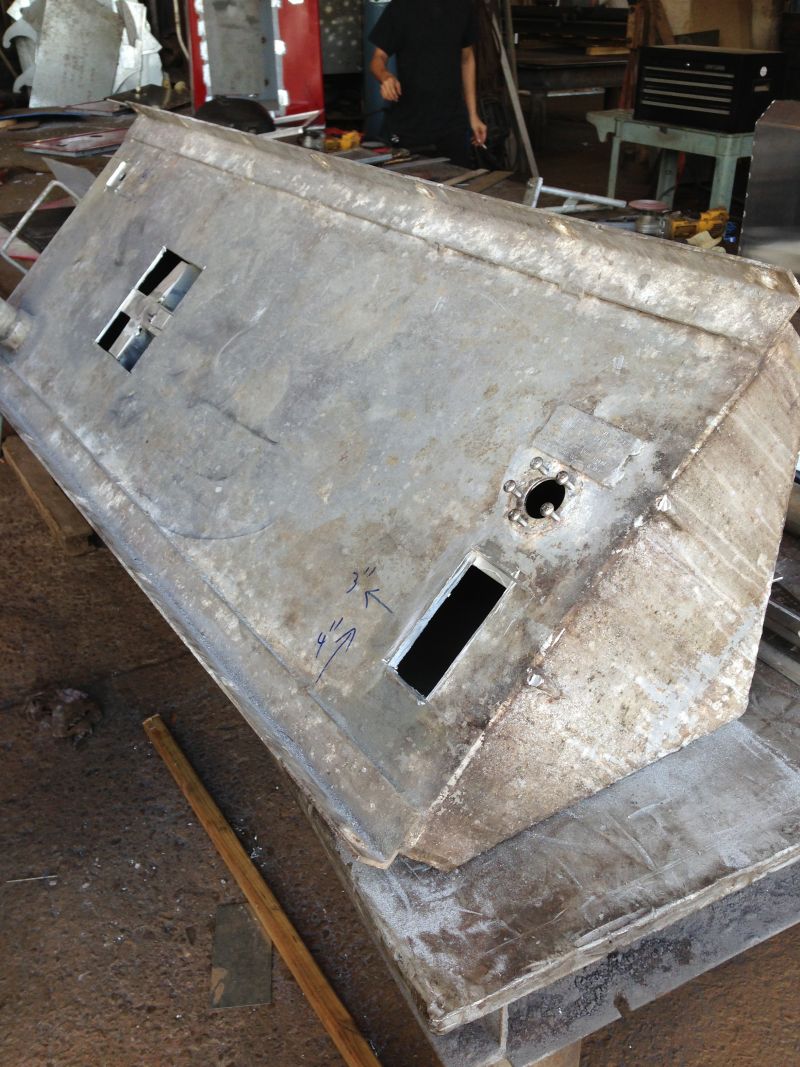
Fuel tank hatch was removed to reveal a badly corroded tank
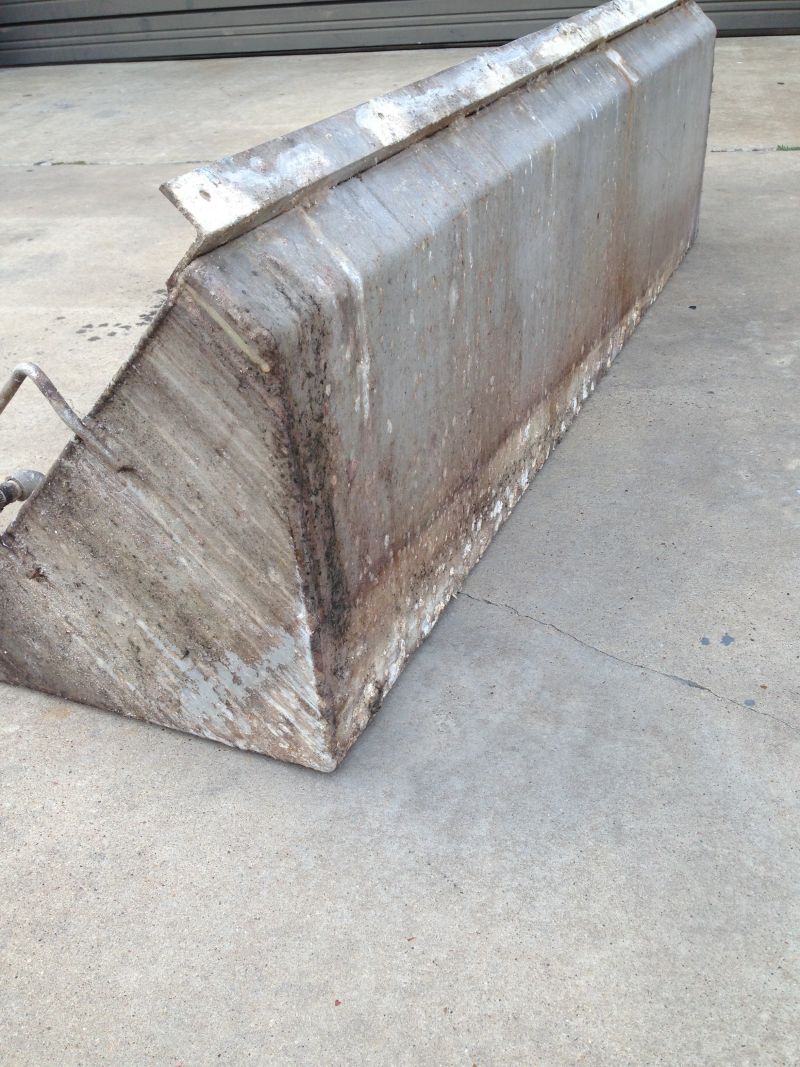
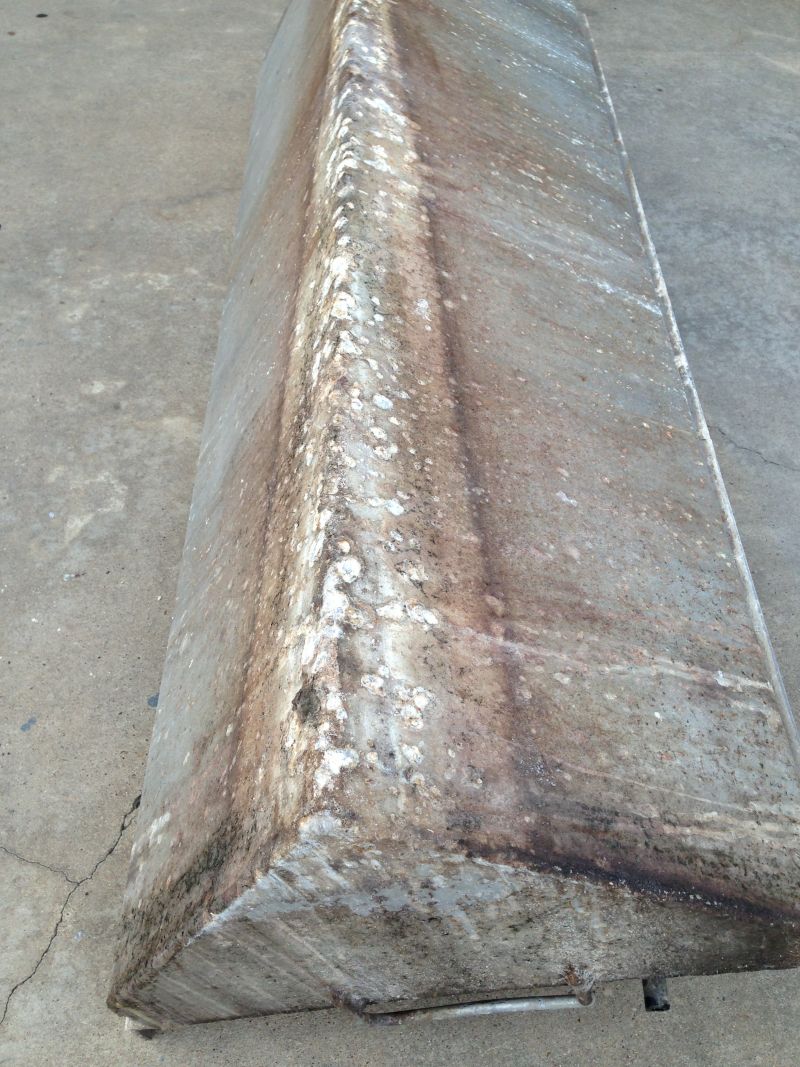
Took it to Tennille Fabricating to have a new one built
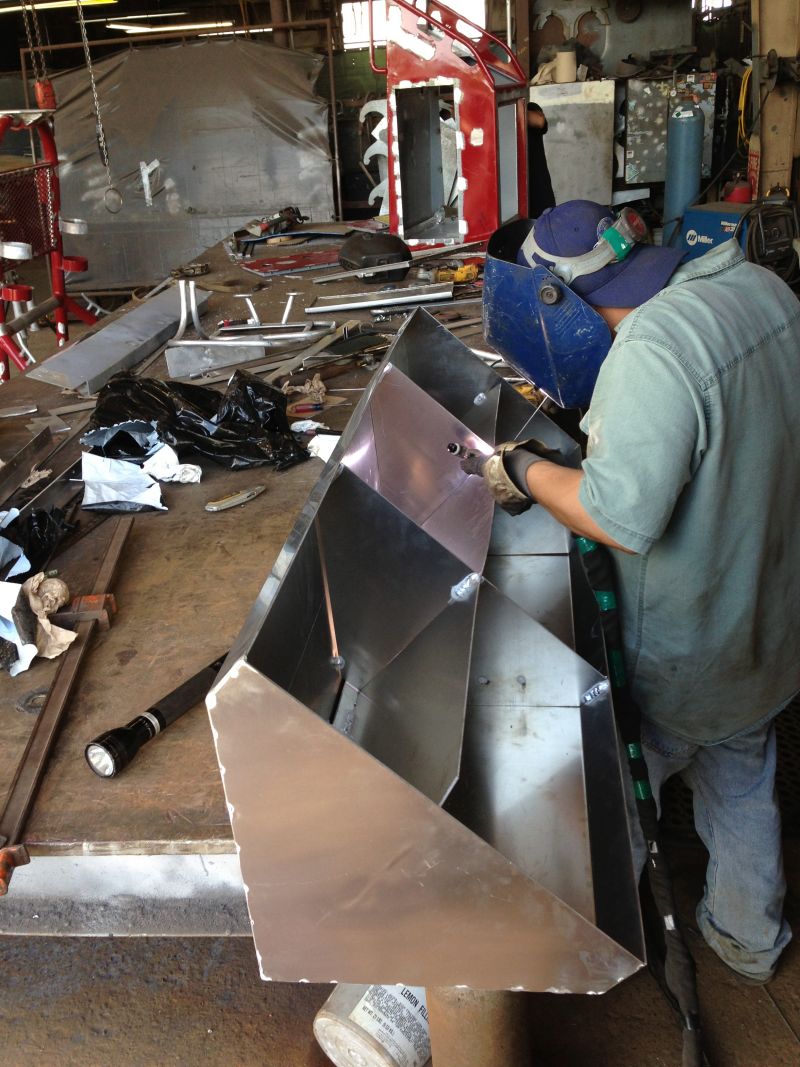
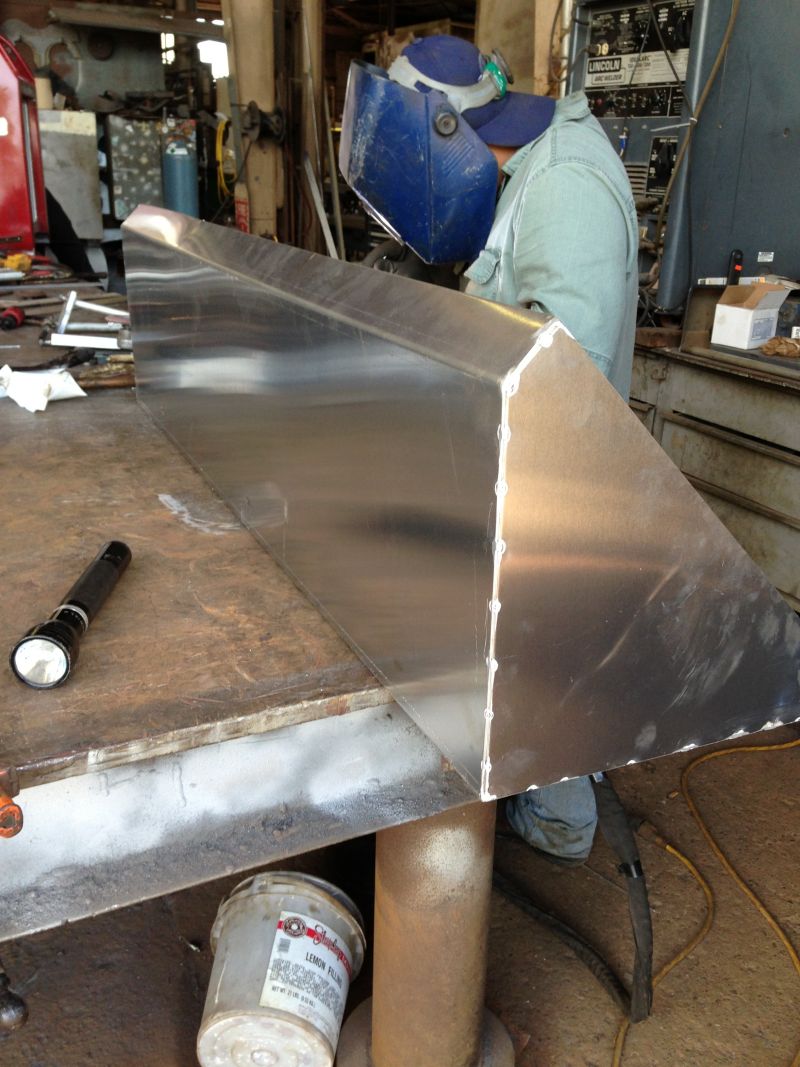
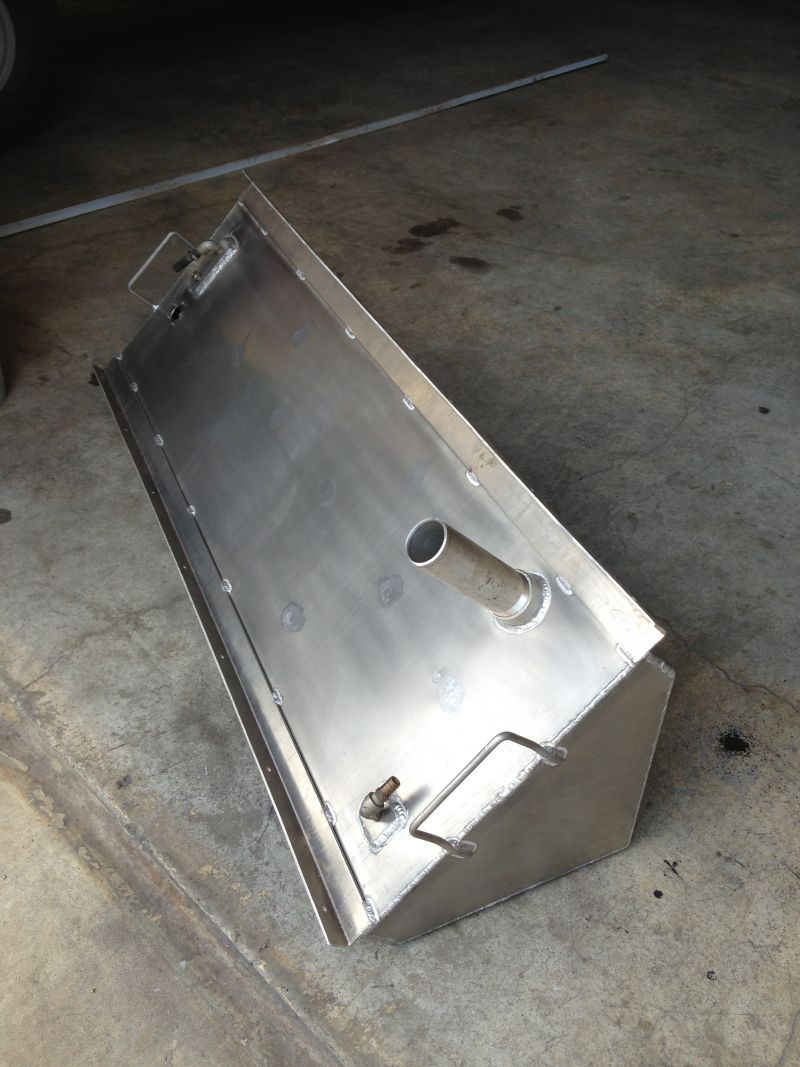

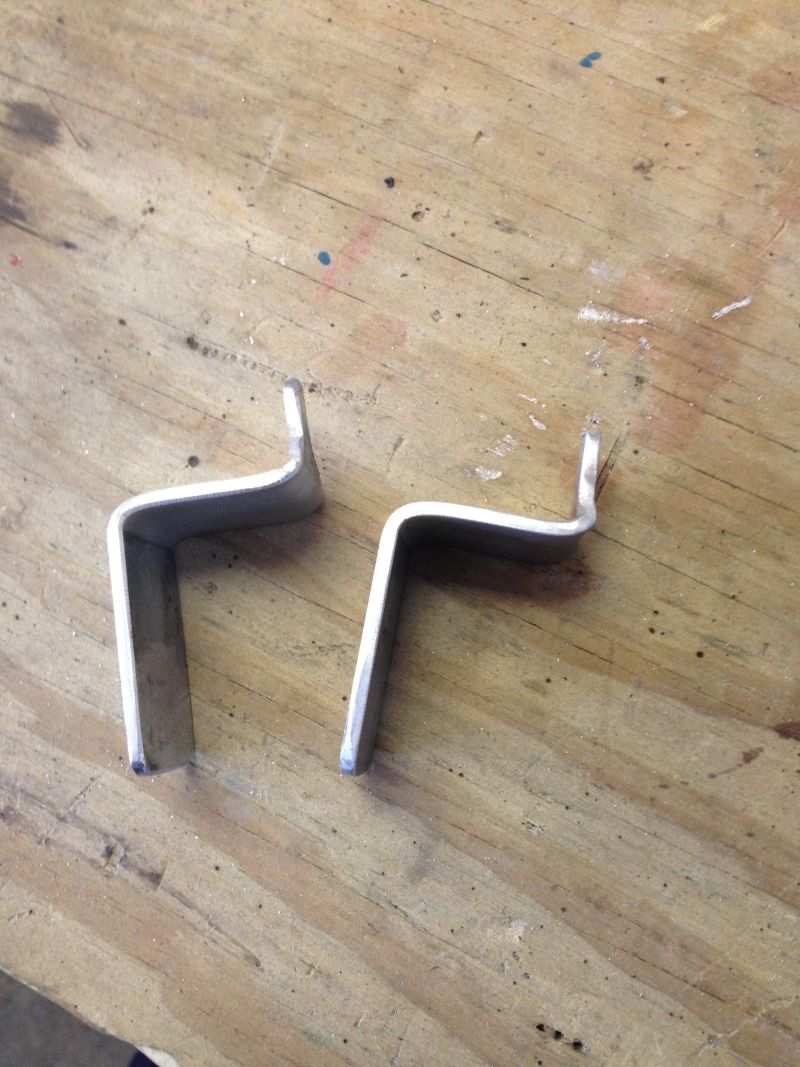
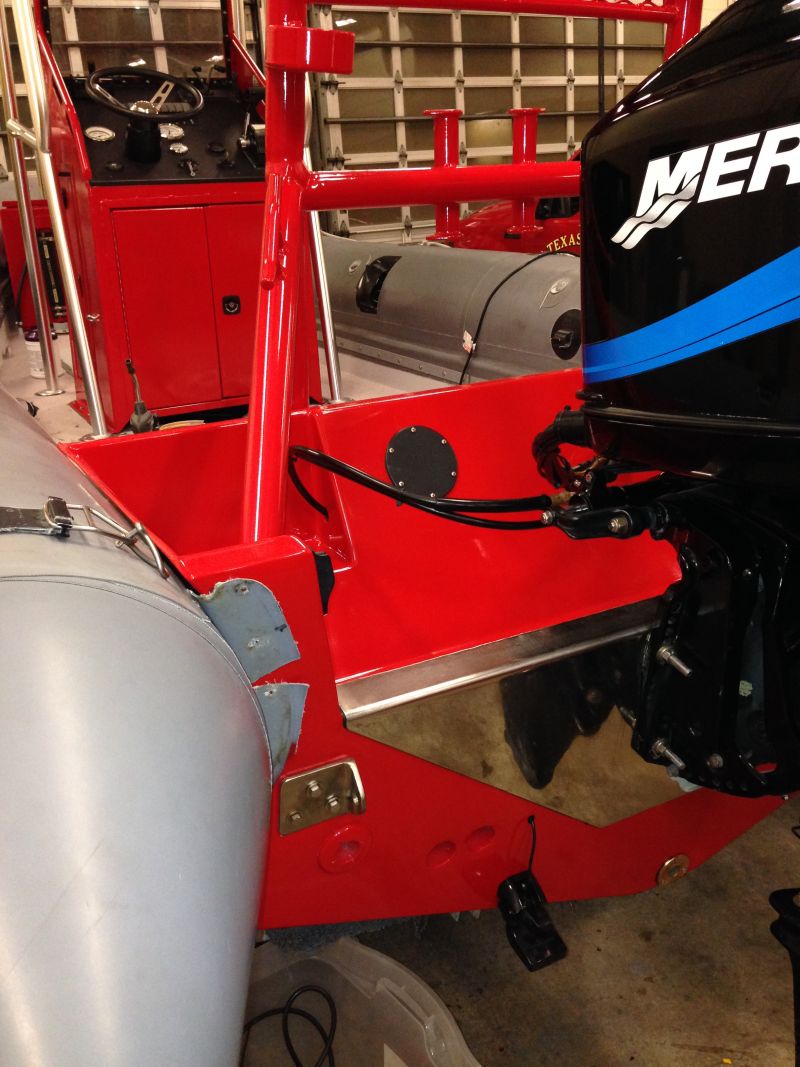
Tennille's also fabricated a new heavy duty stainless Transom Saver. Doesn't look like much now, but wait...

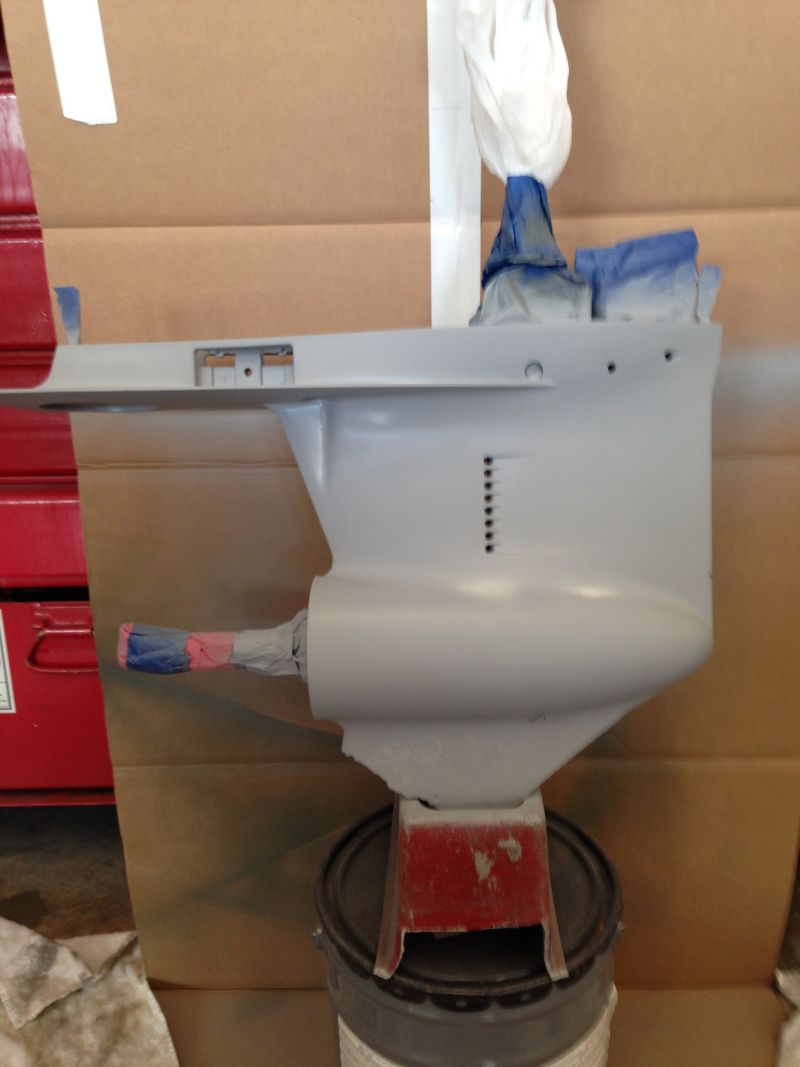
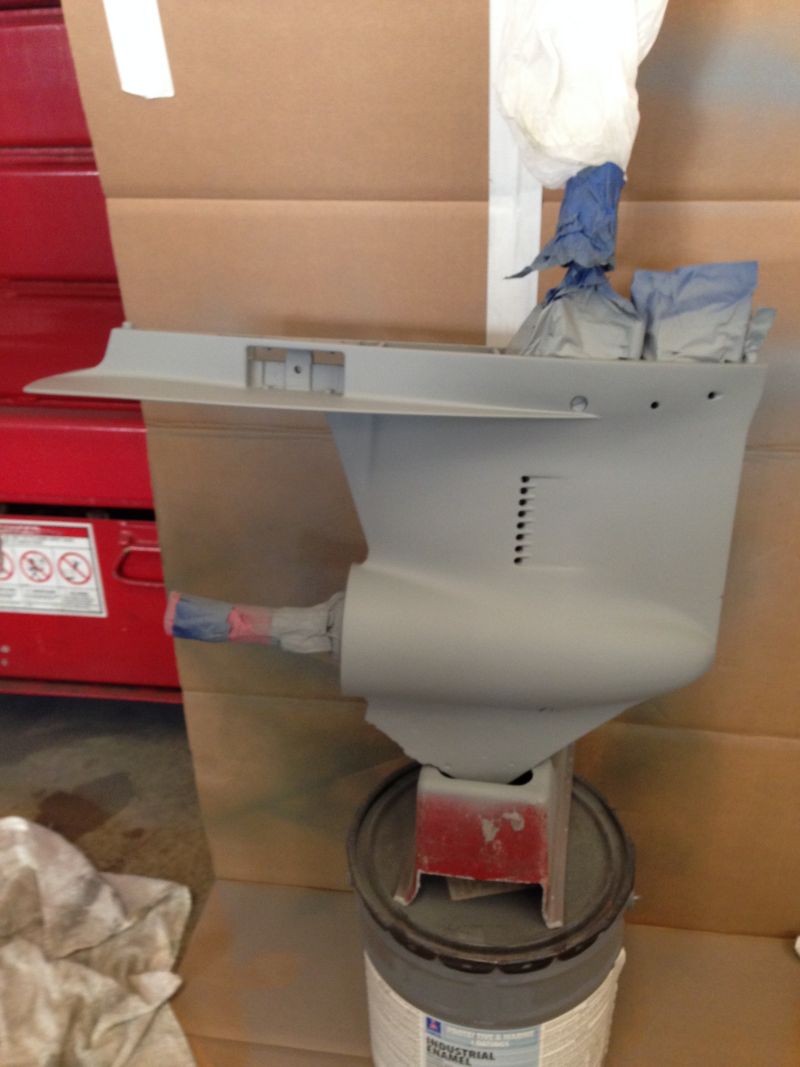
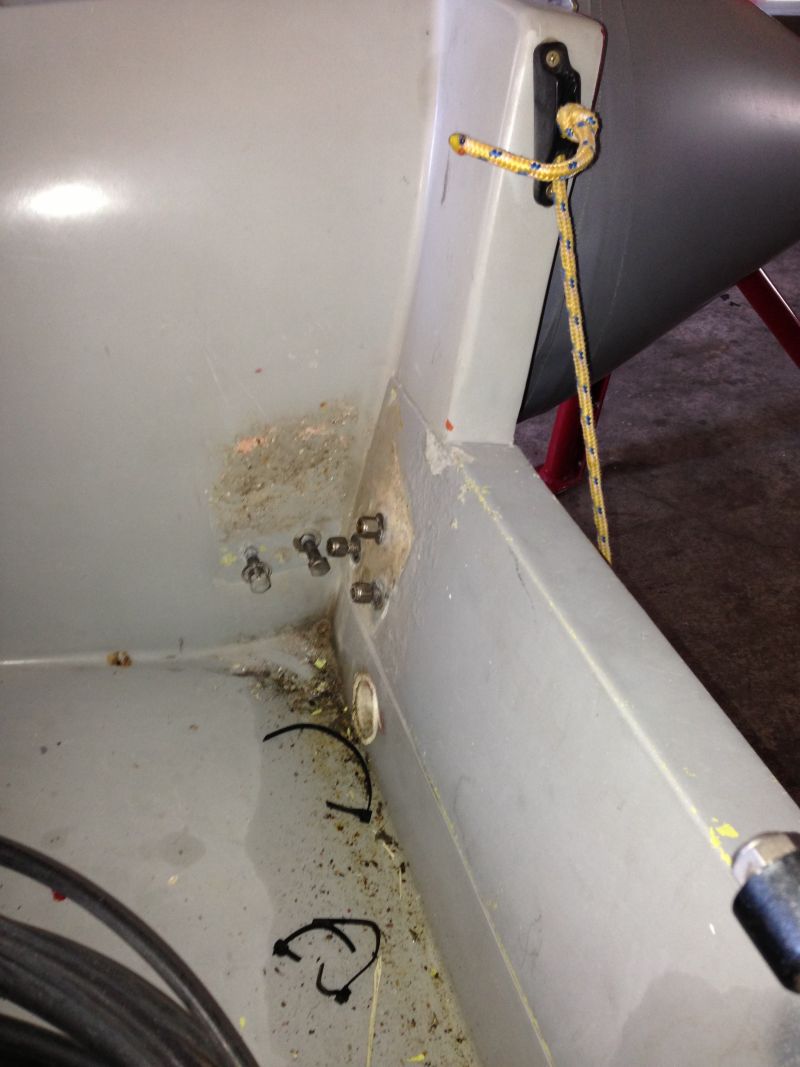
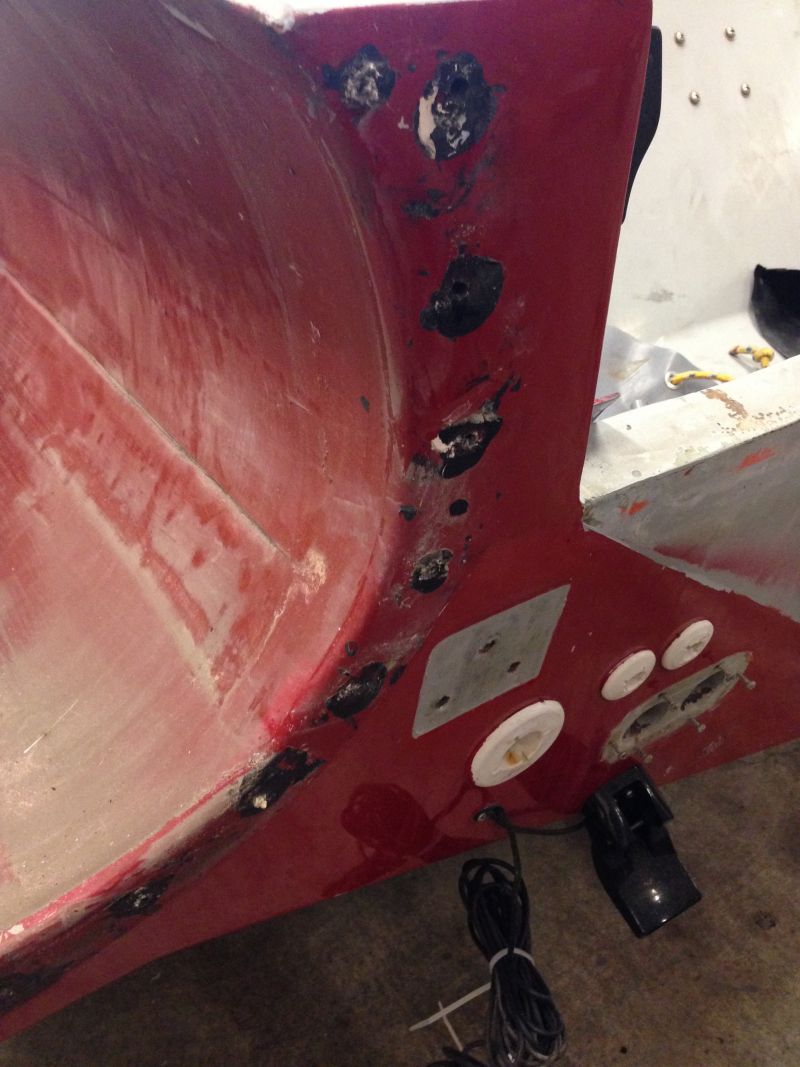
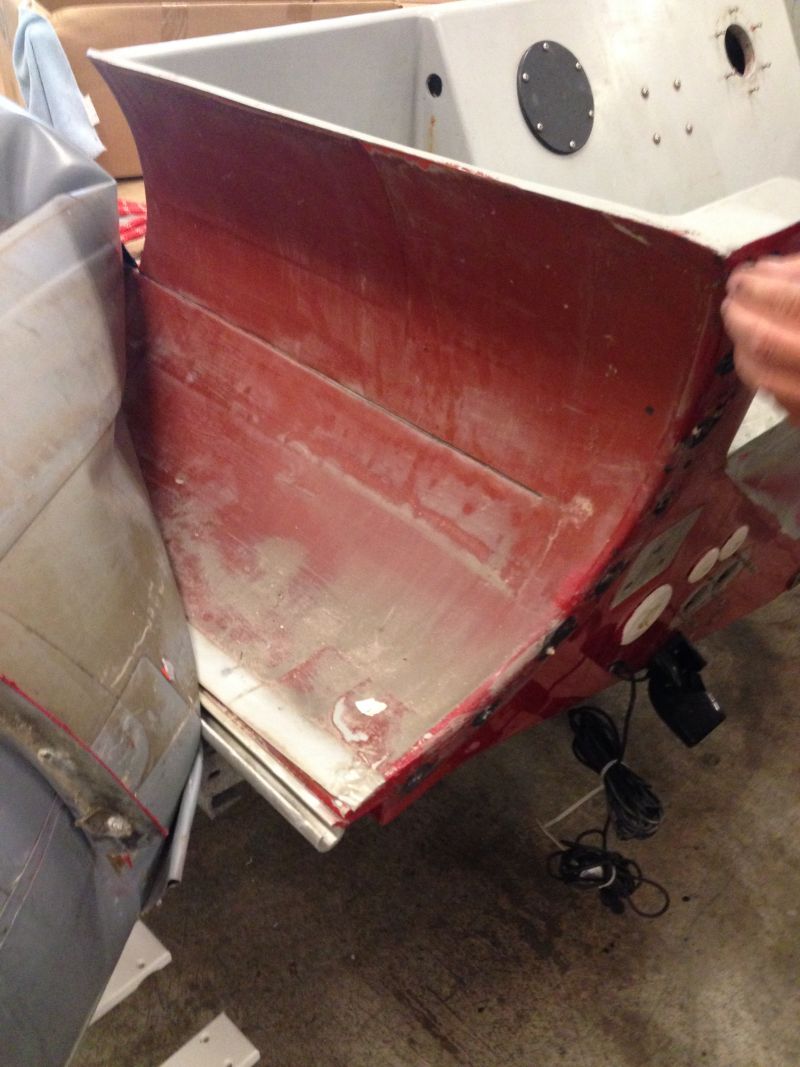
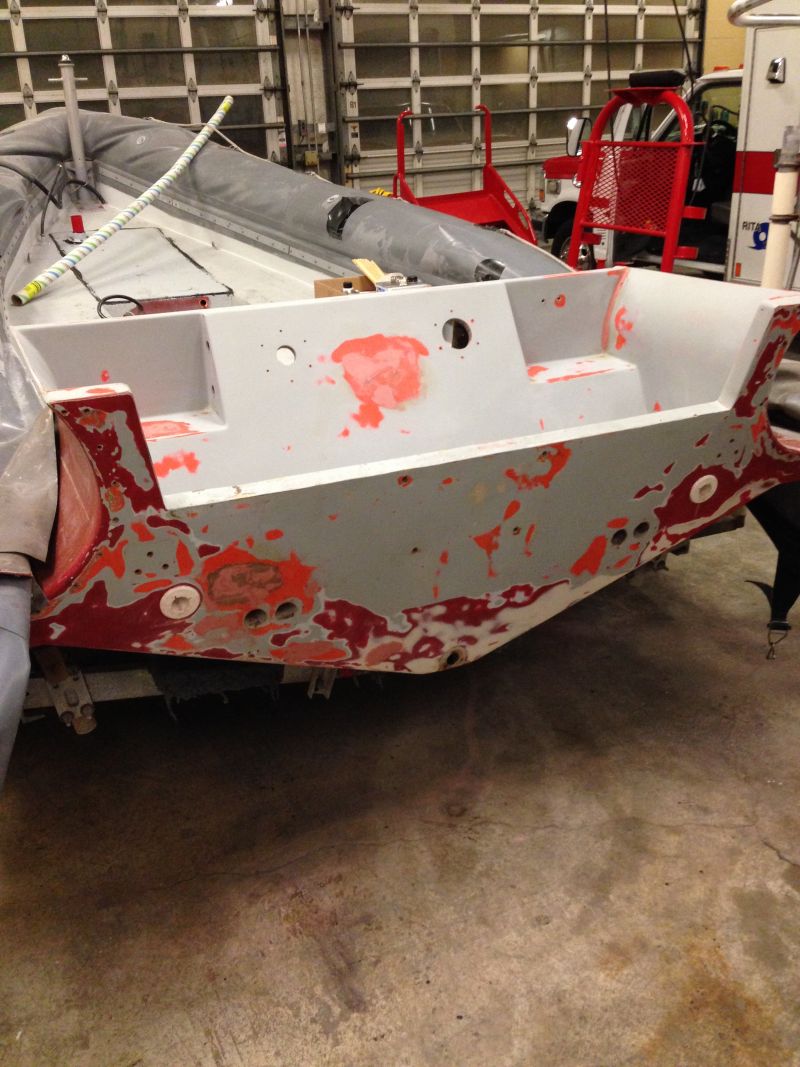
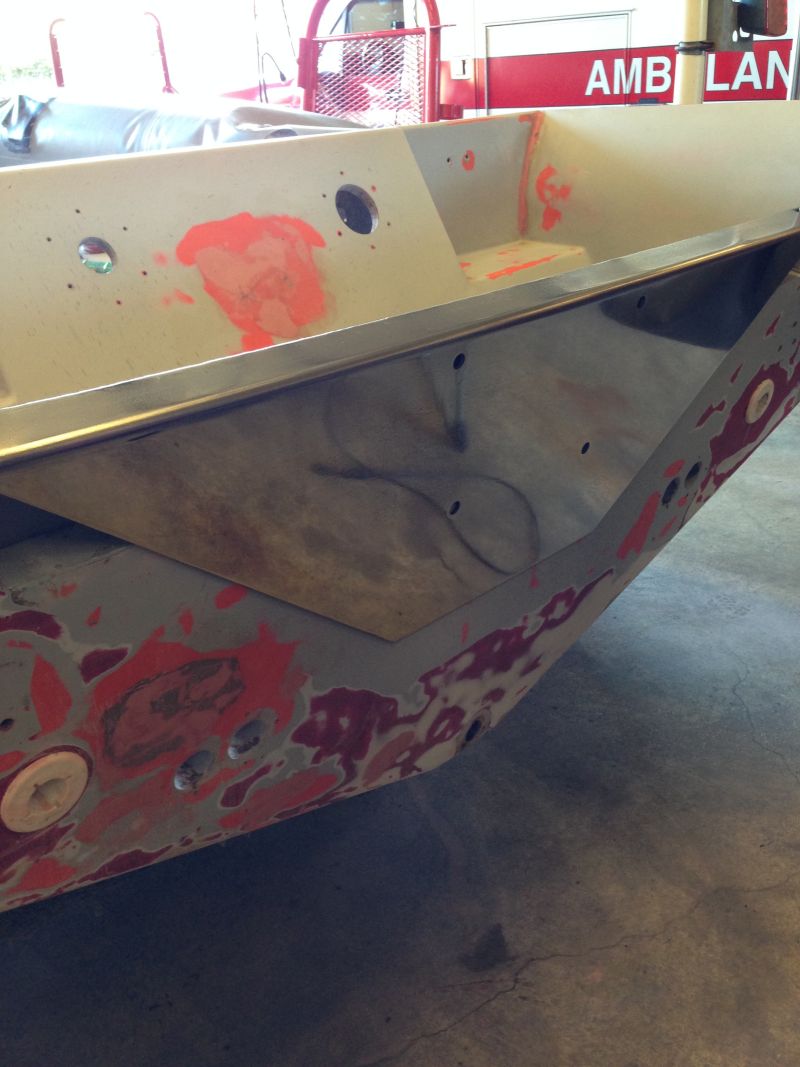
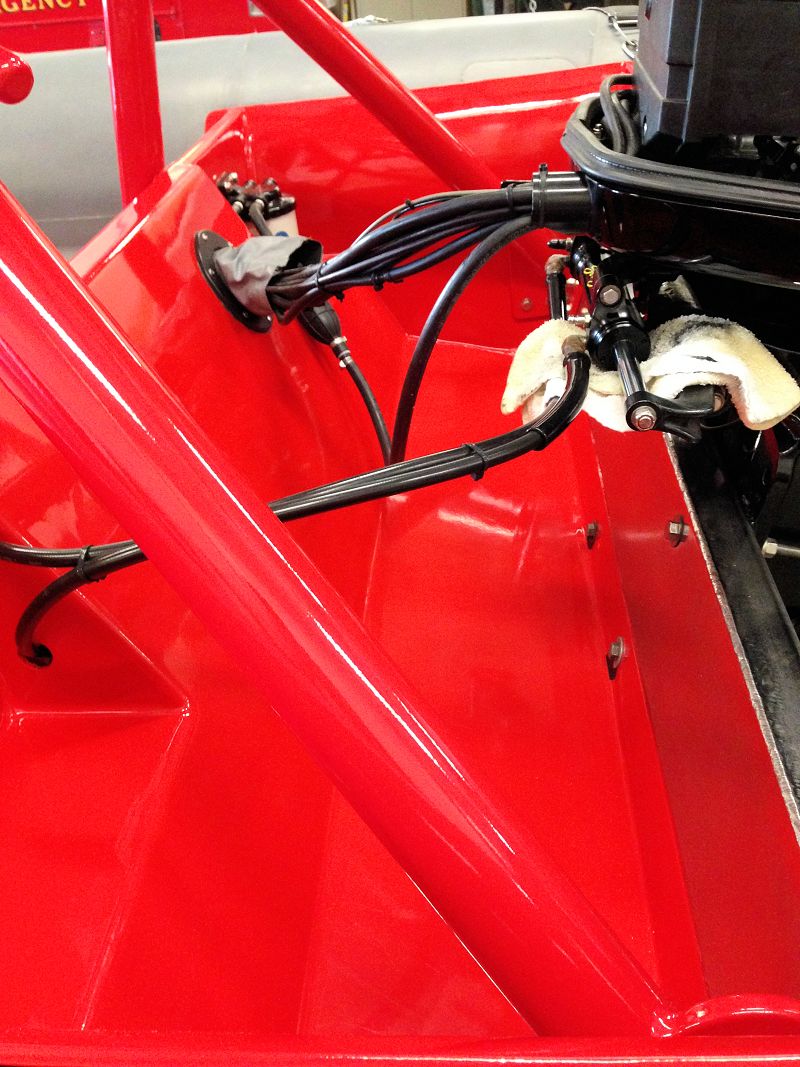
Everything else on the transom was removed to prepare it for paint.
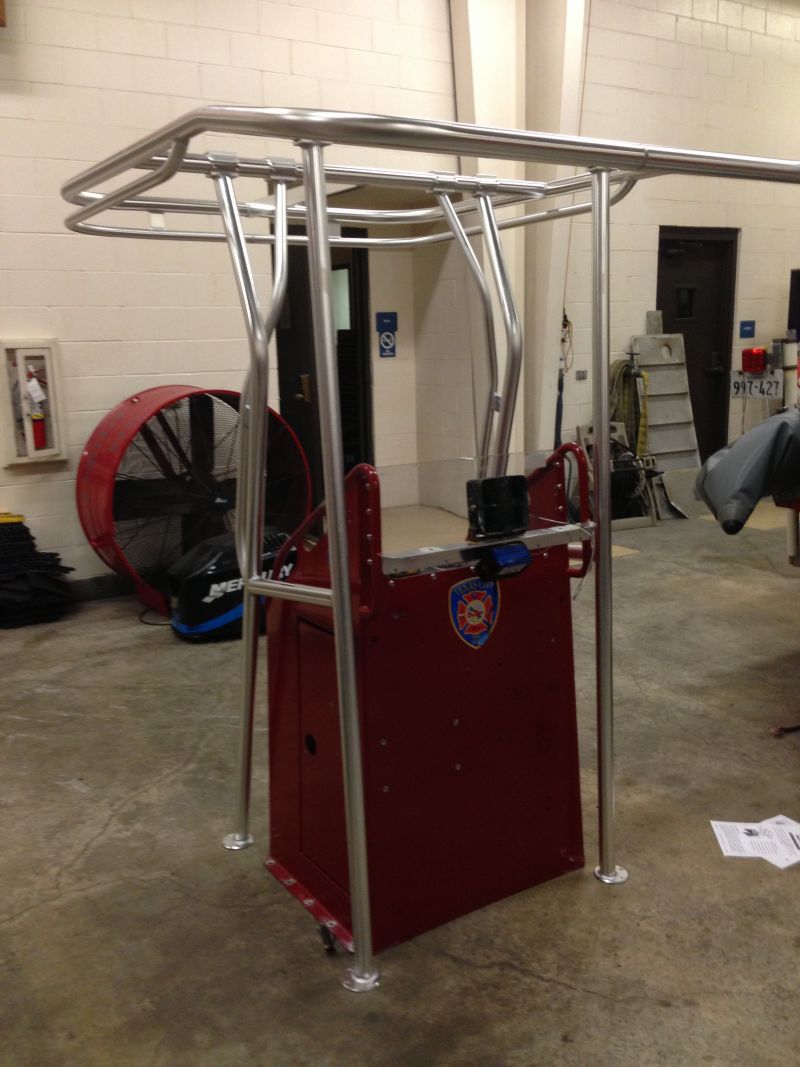
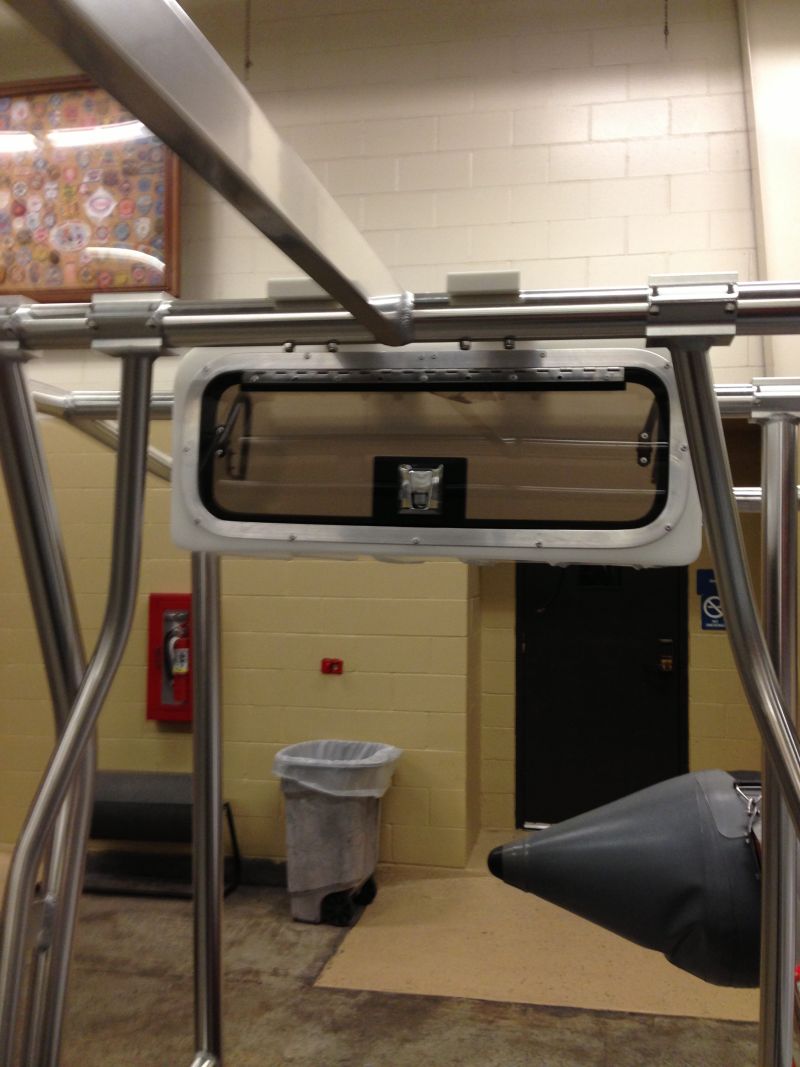
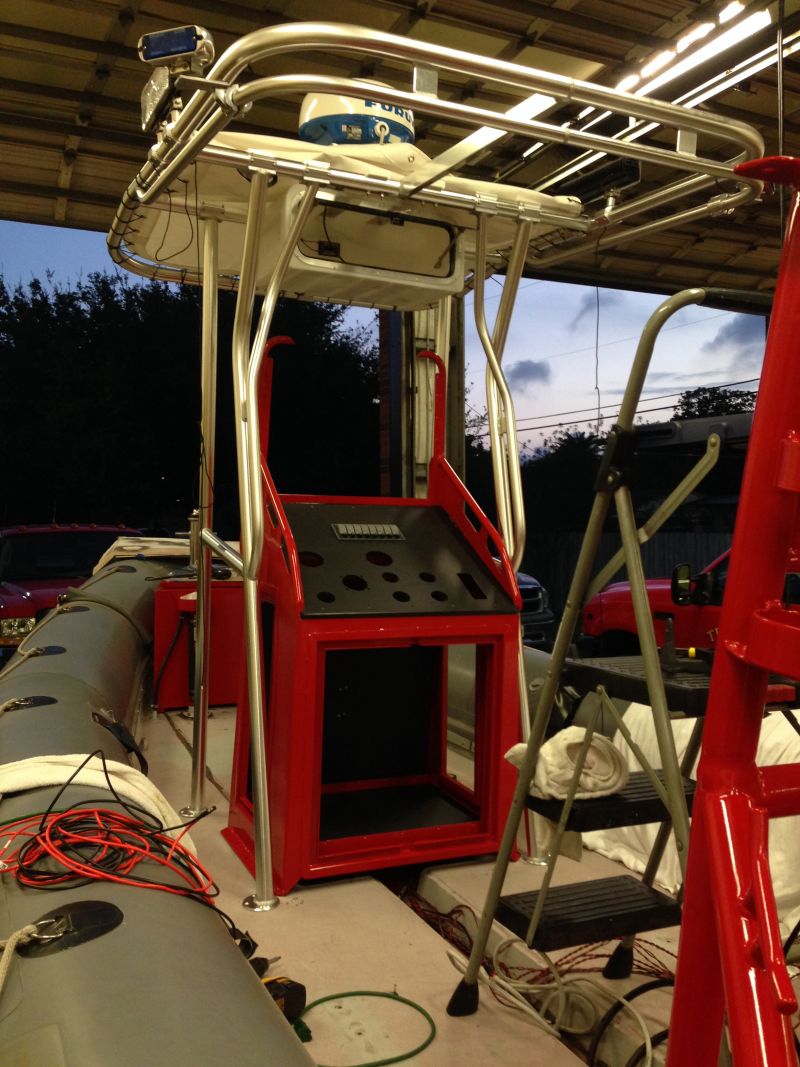
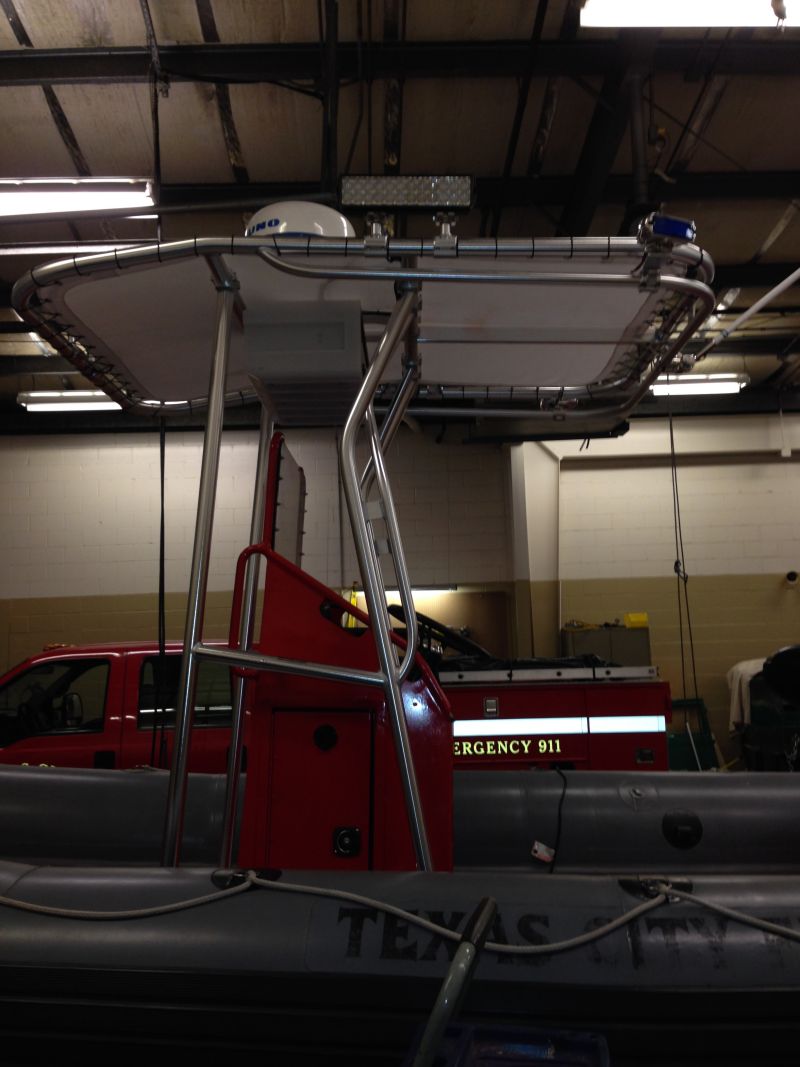
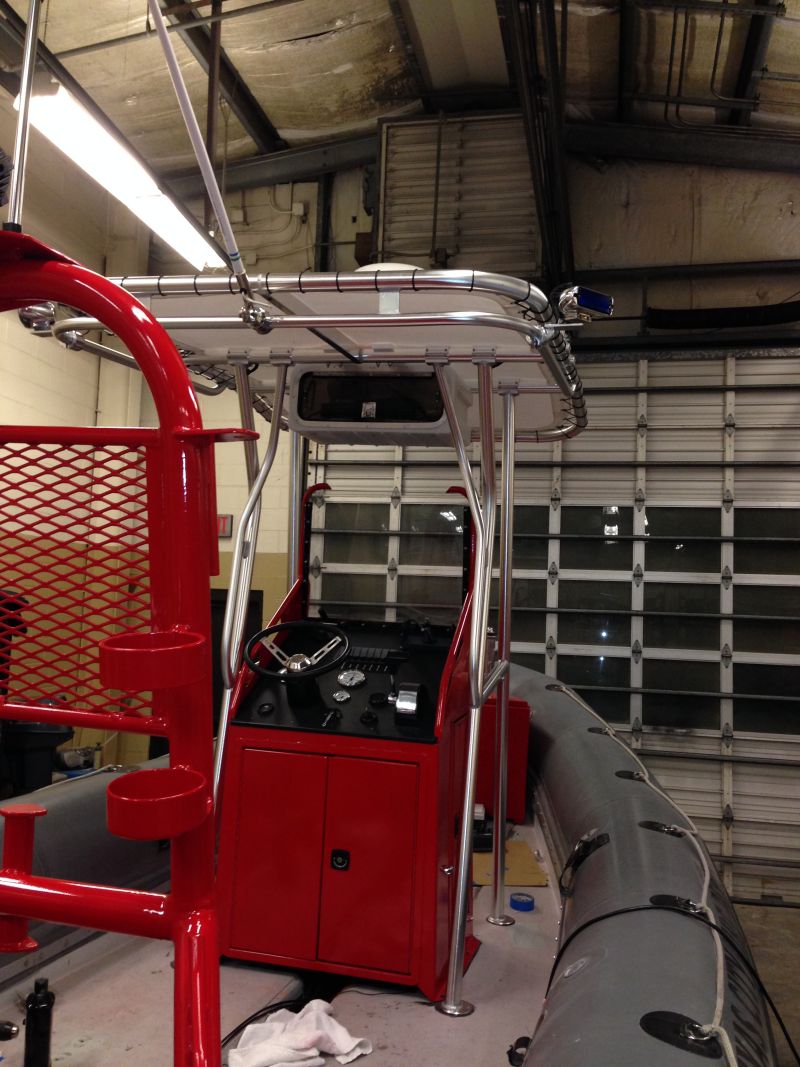
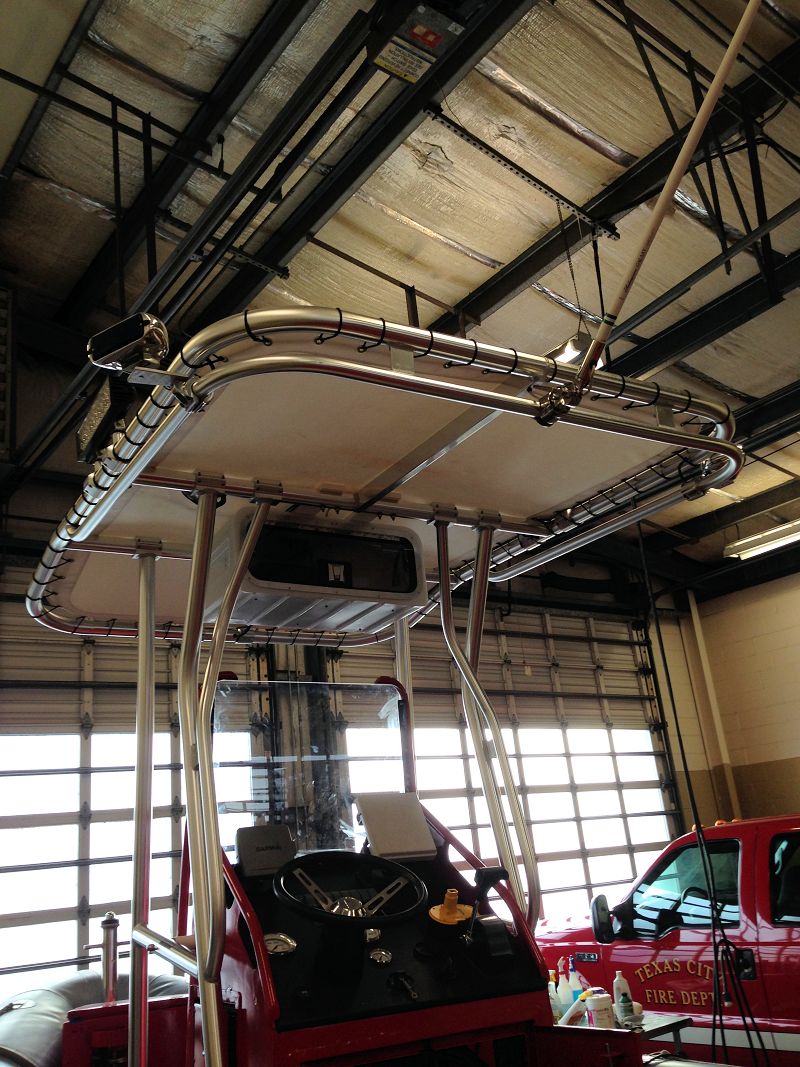
The new T-Top came in and was fitted to mount over the Center Console later
Then we started on the Center Console to prepare it to go to Tennille's and then powder coating
Mocking up the new look
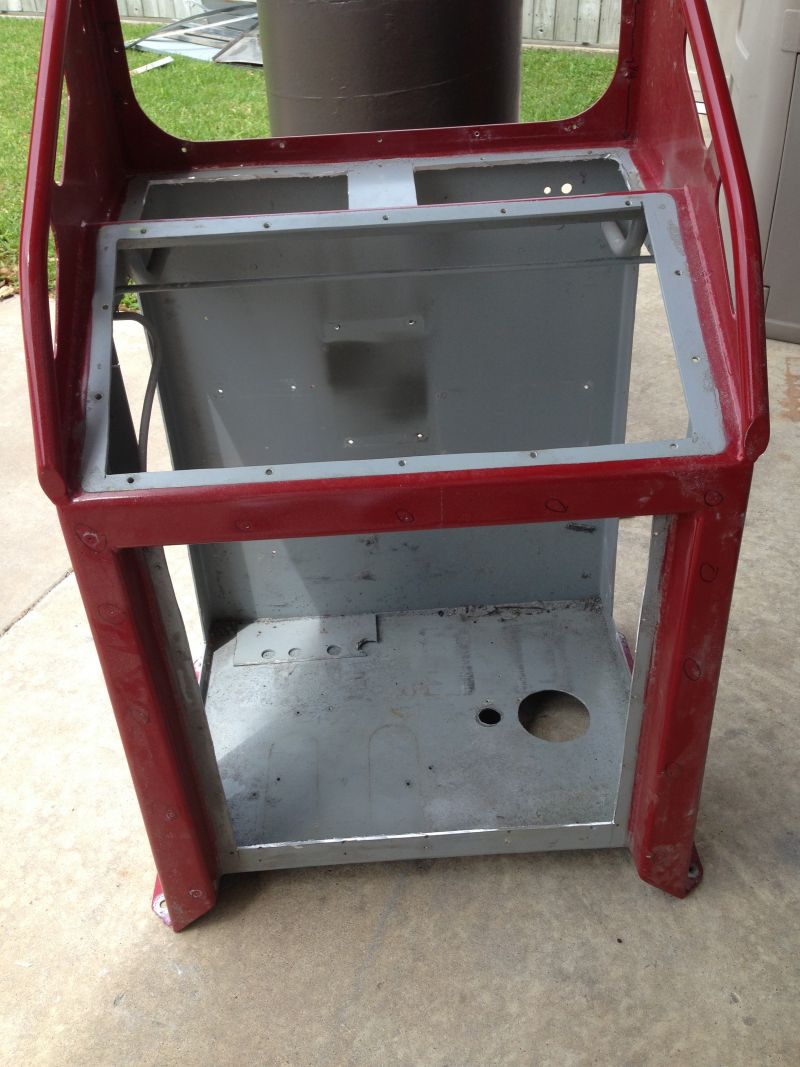
Then we removed the side doors, cut out the main dash area, the front bar and the lower front so two doors could be made. That way we would have two side doors and two front doors.
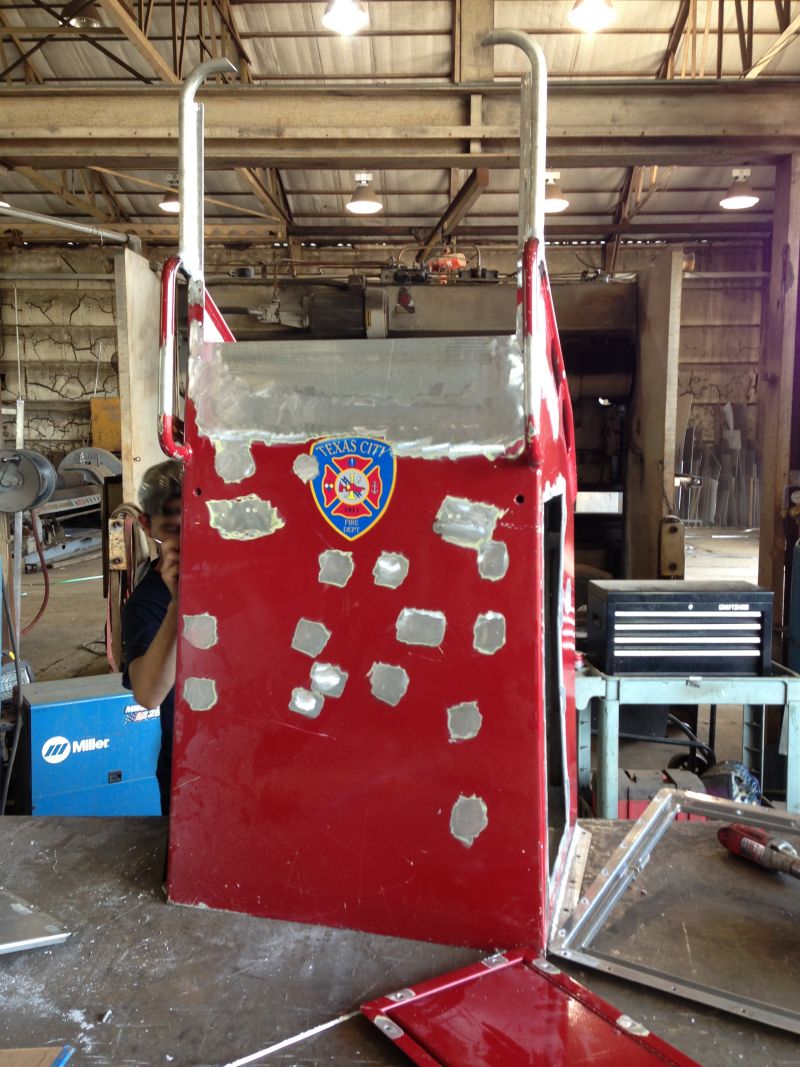
Then off to Tennille's

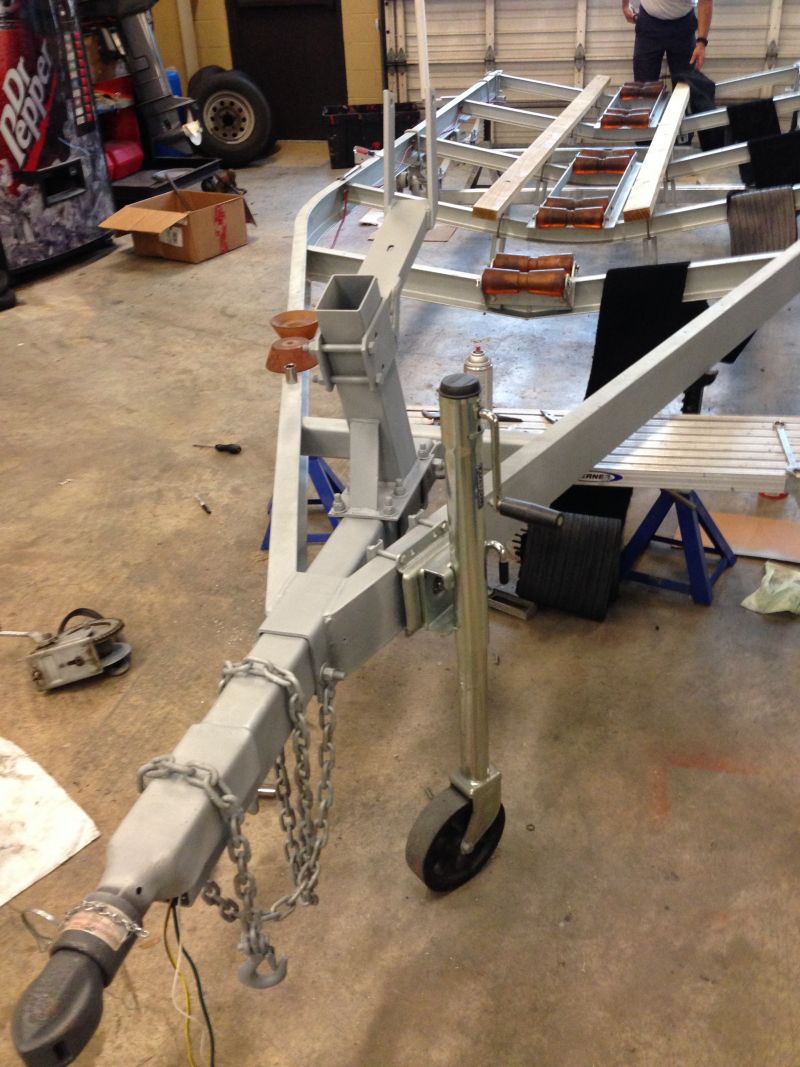
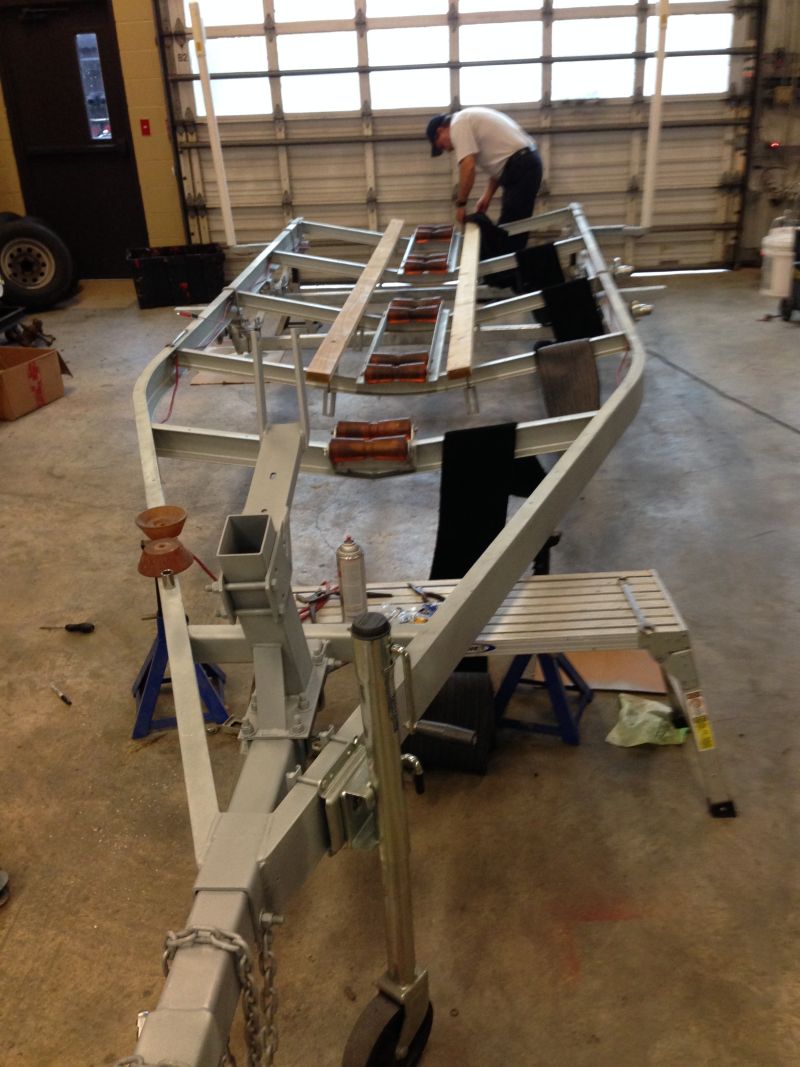
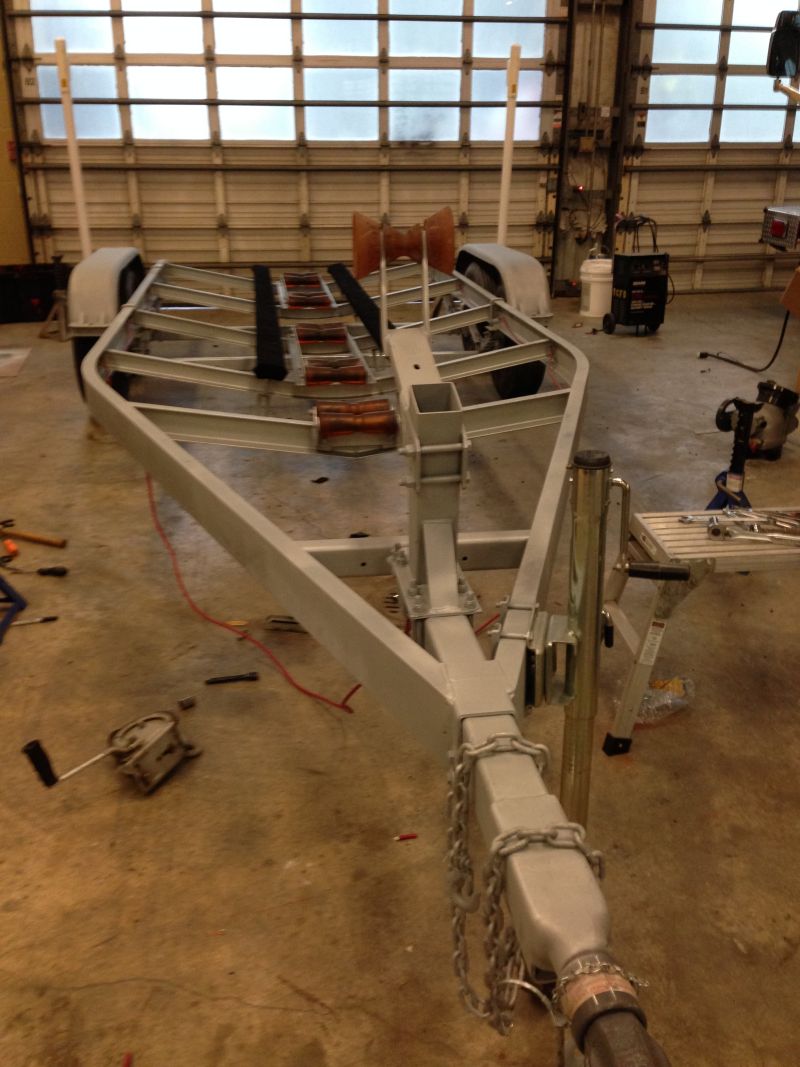
Ready to go to Texas Performance Coatings
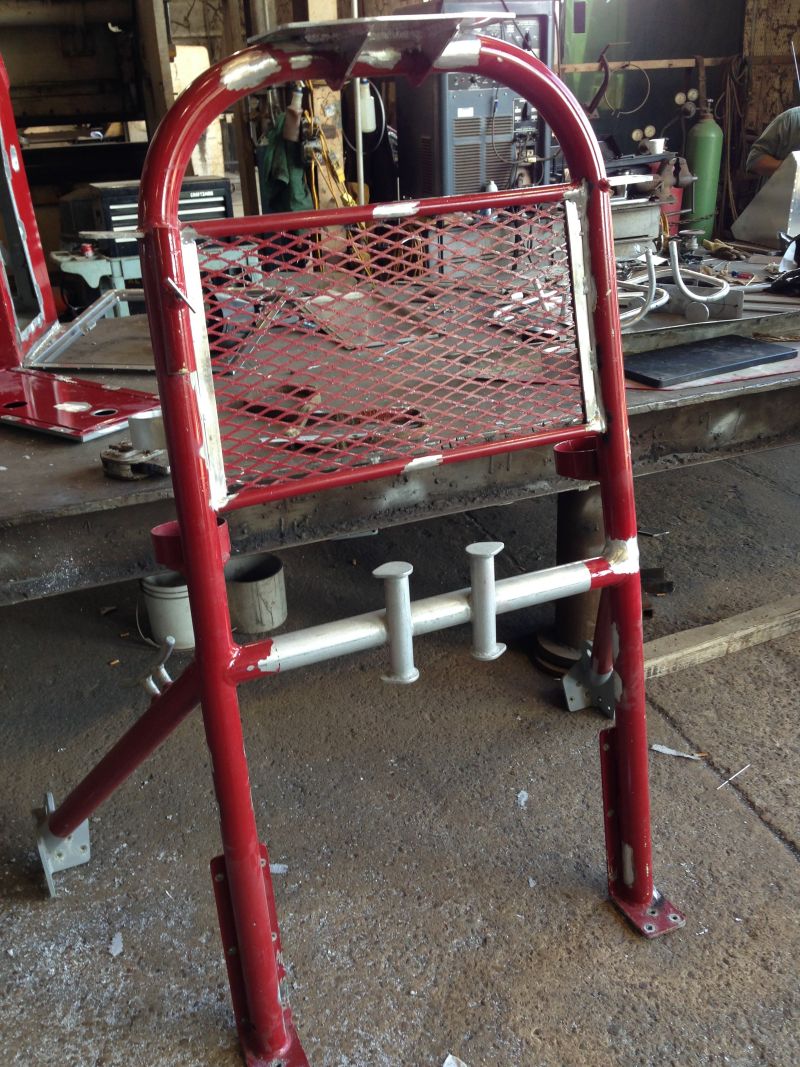
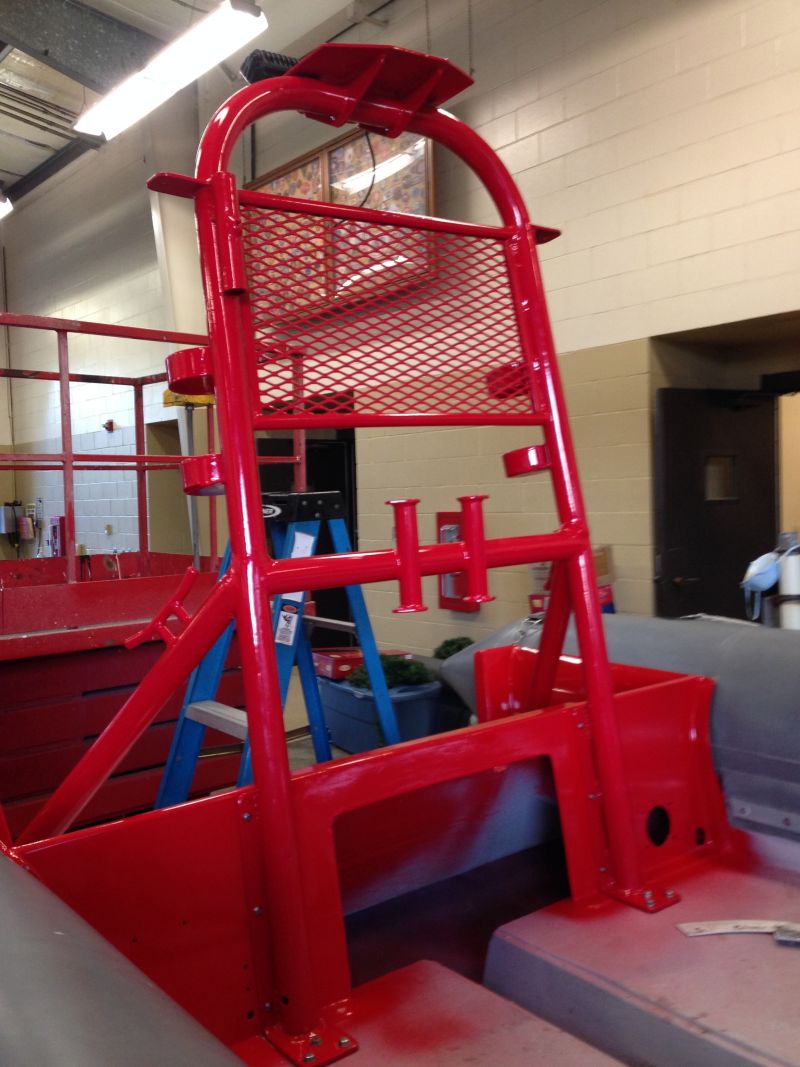
The back rack being repaired at Tennille's
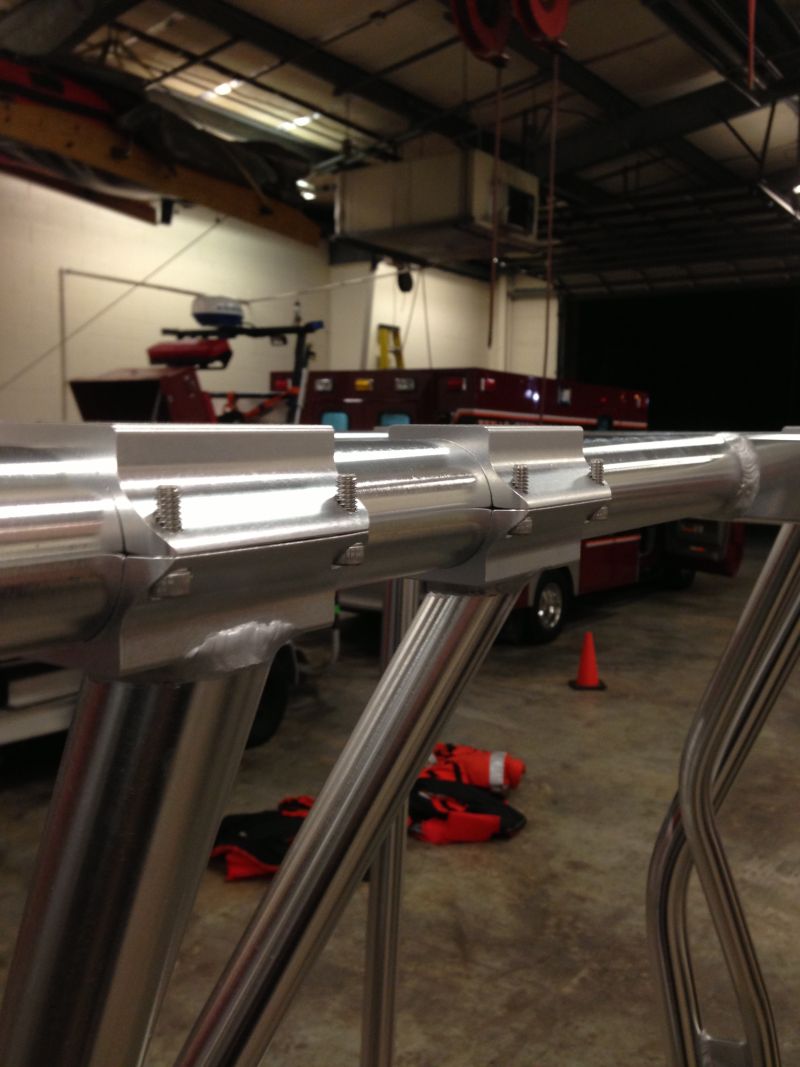
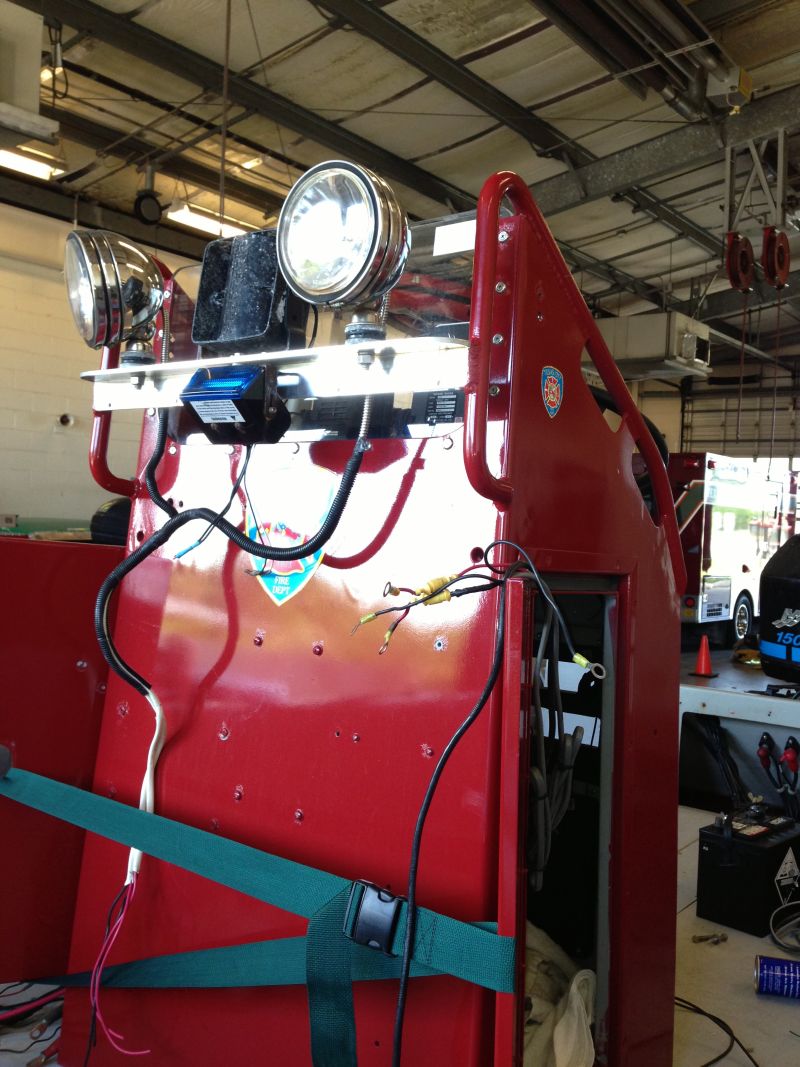
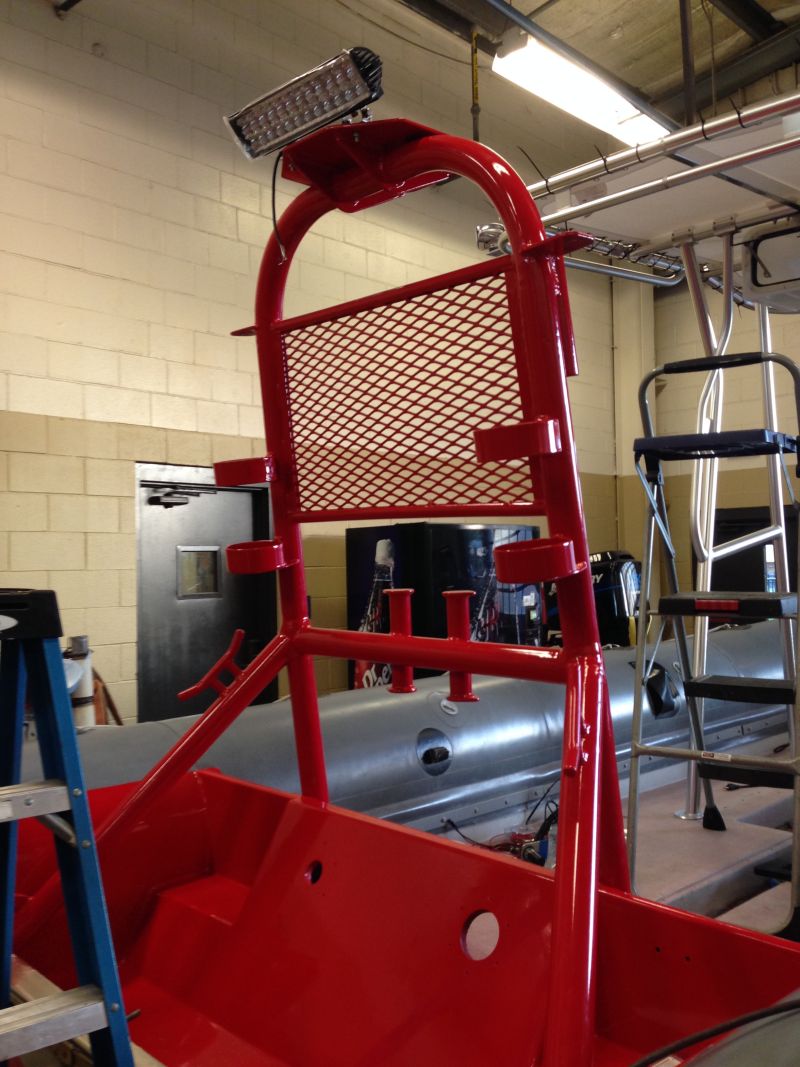
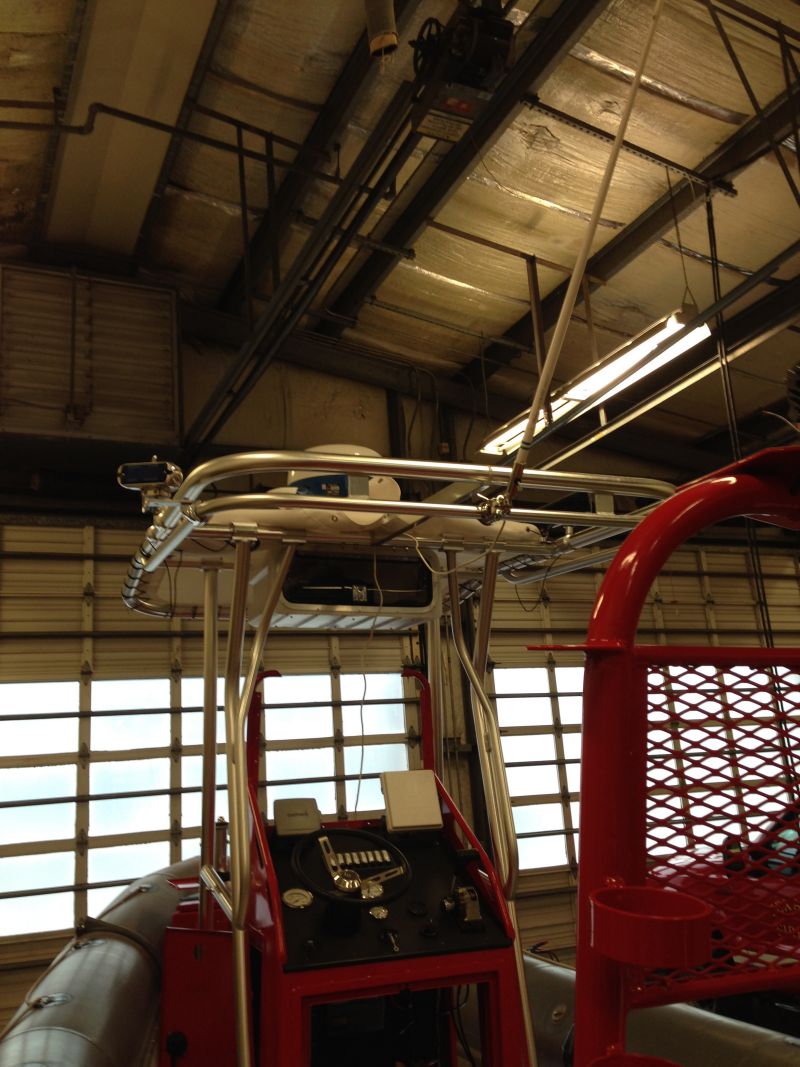
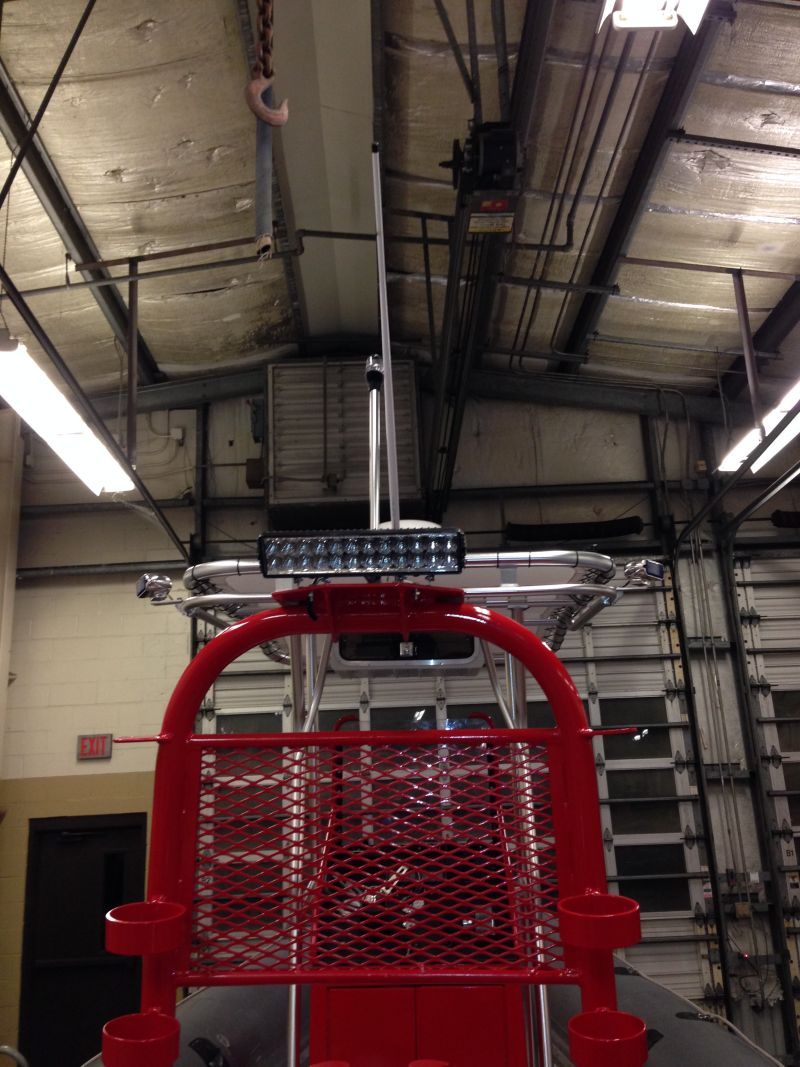
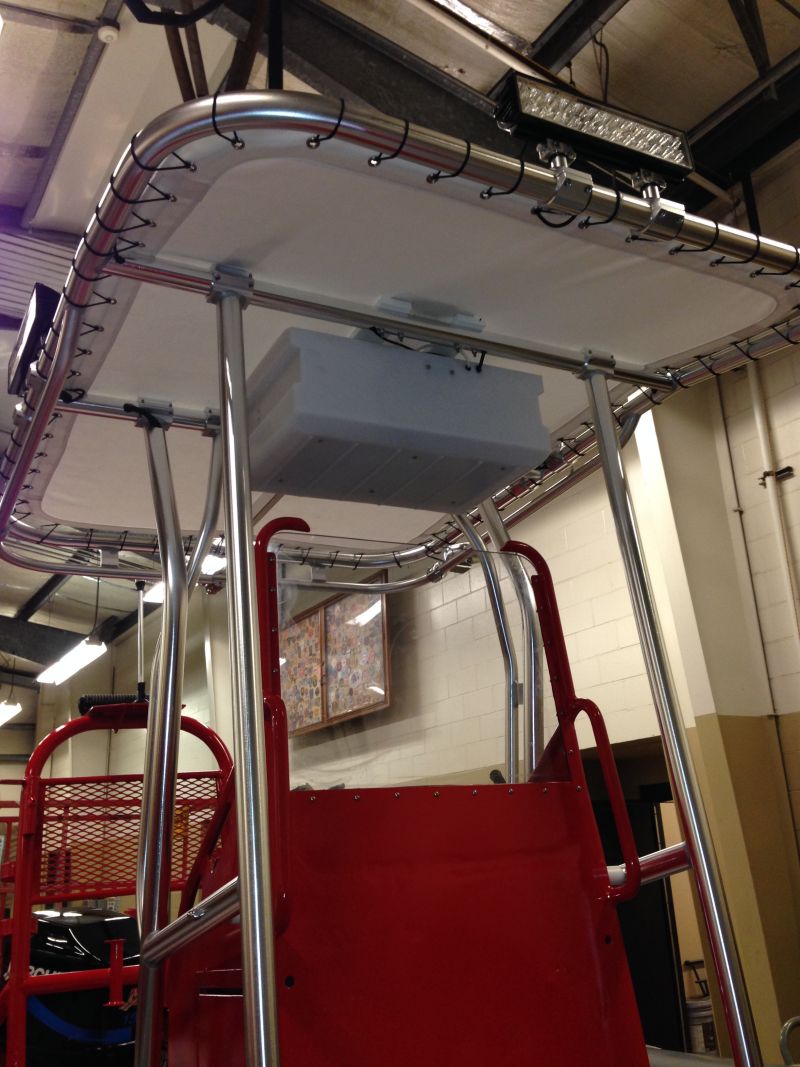
Working on the new T-Top, installing everything on it.
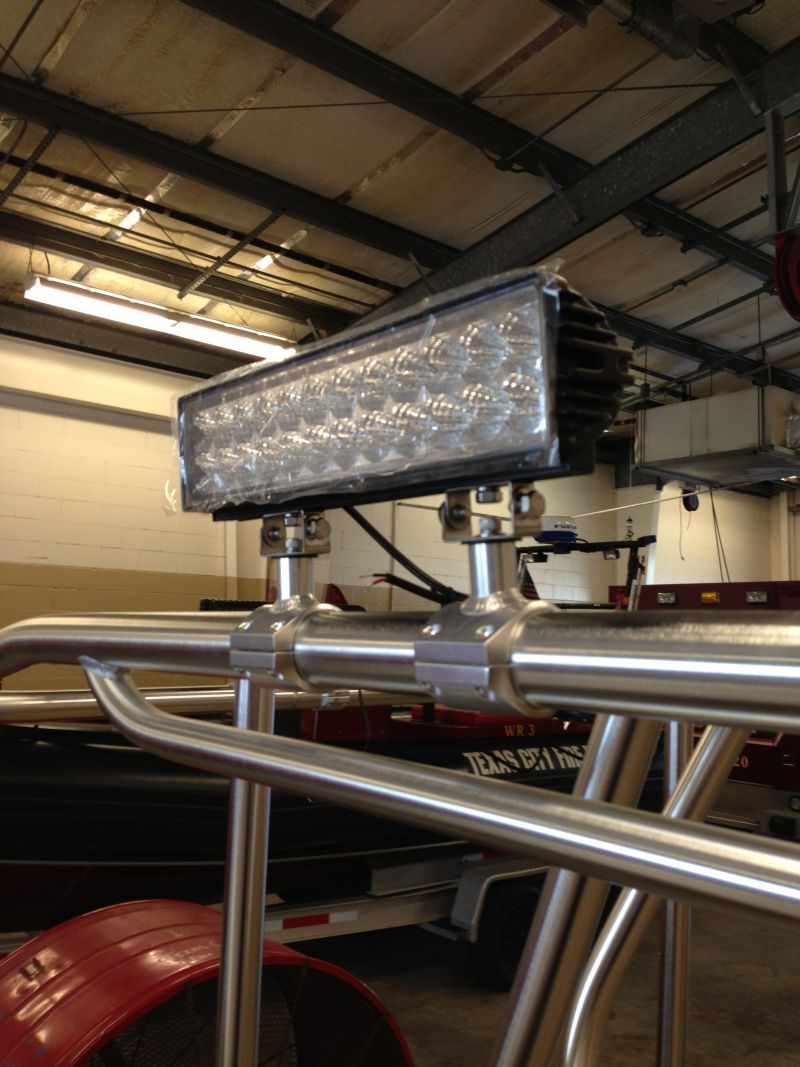
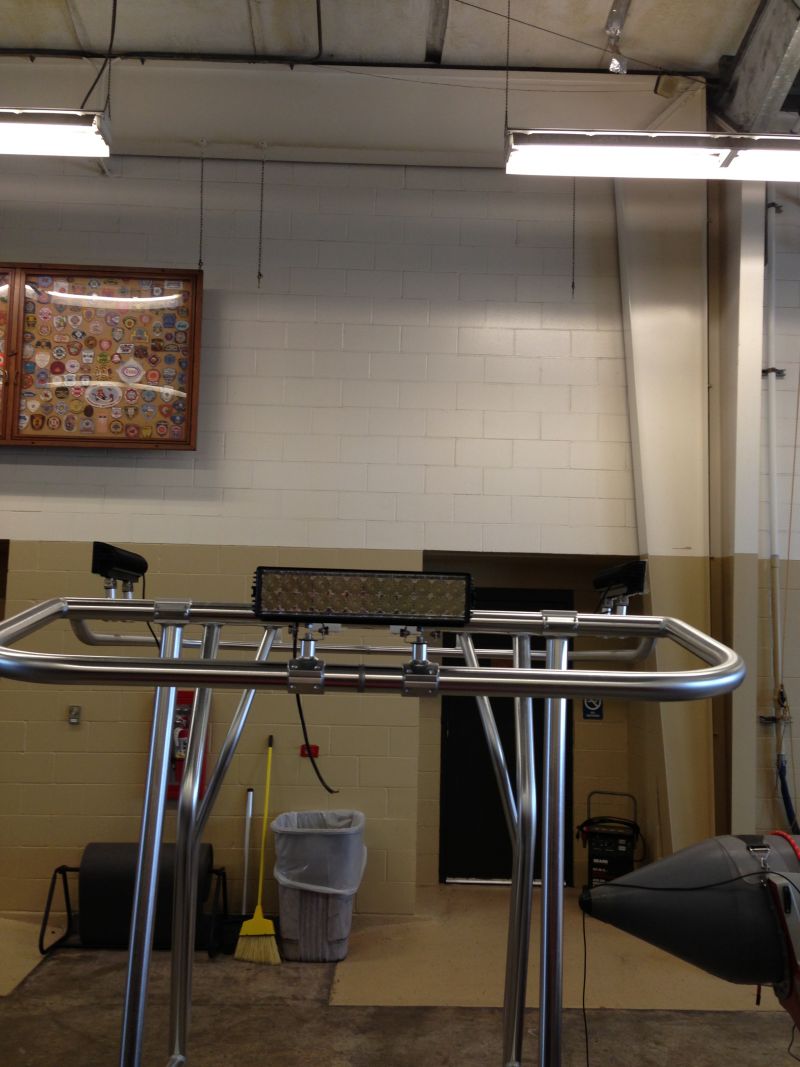
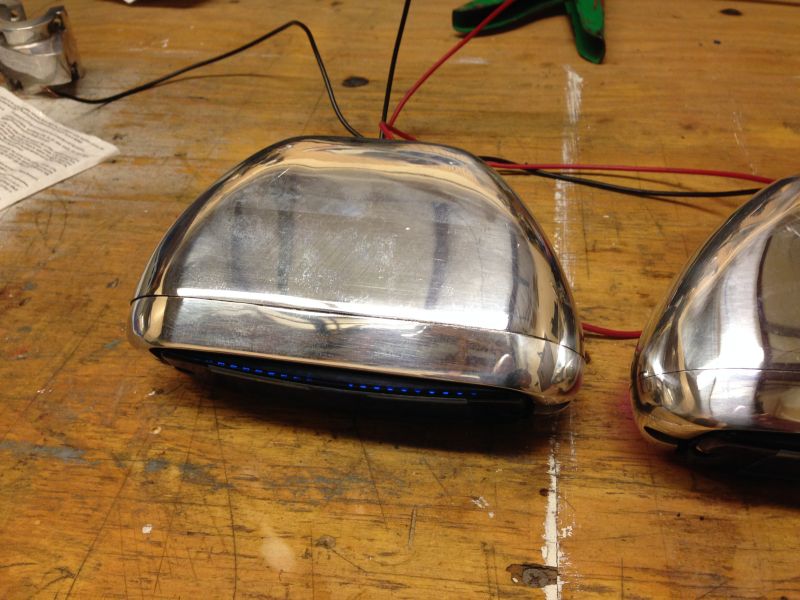
LED lights on front and sides
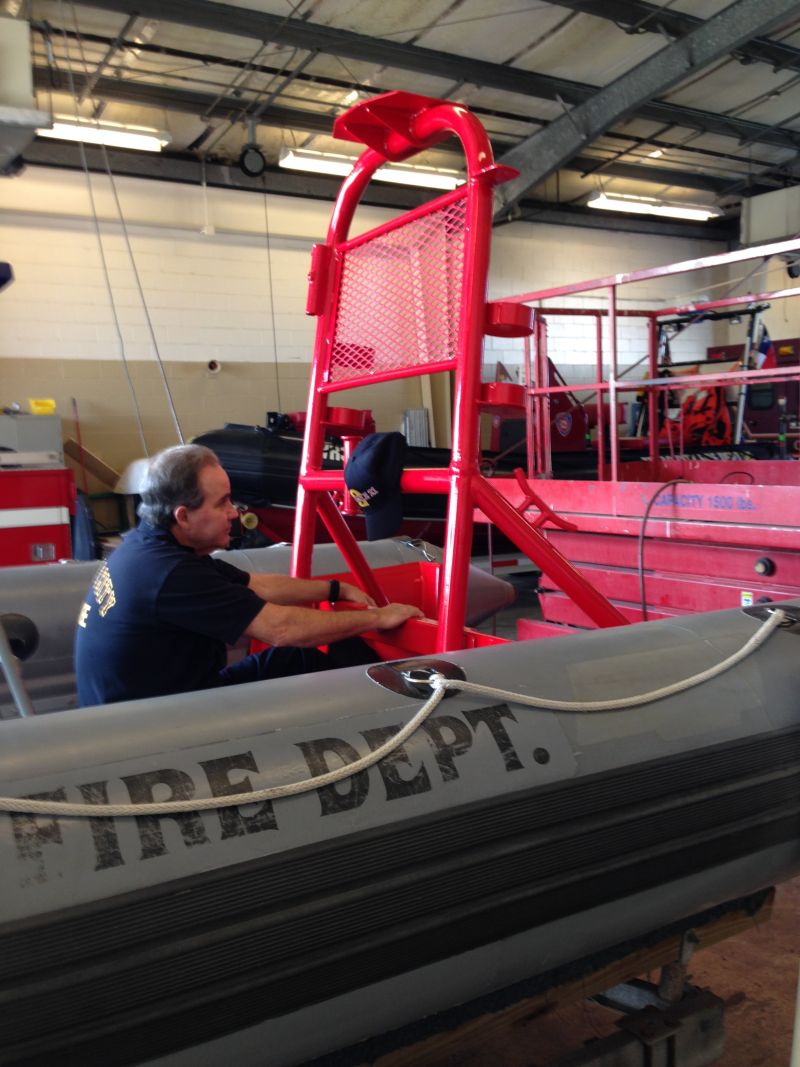
Captain Strickhausen
Dry box mounted
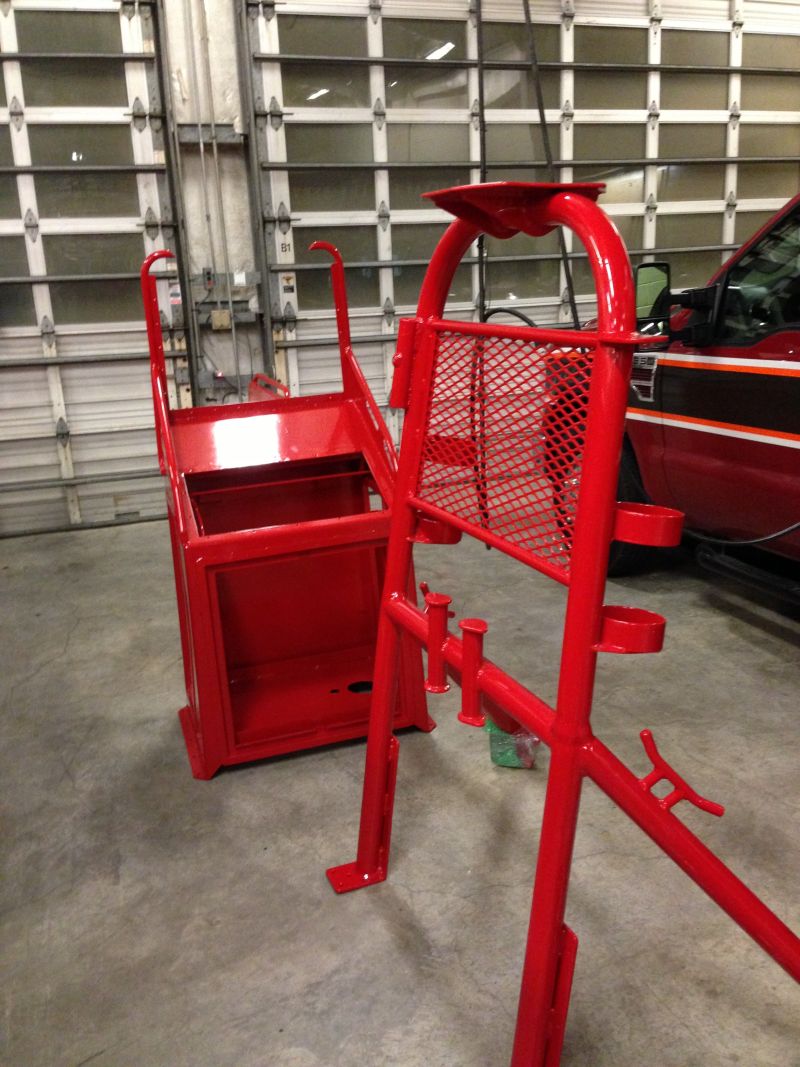
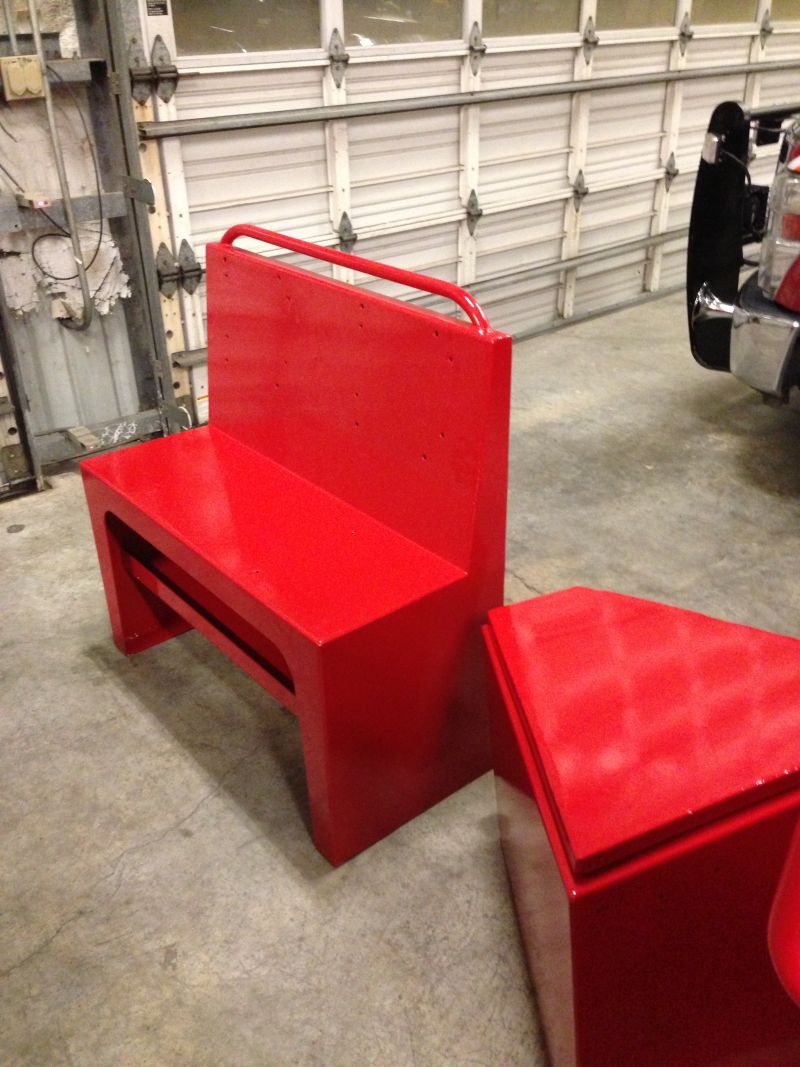
Pieces are back from powdercoating
.jpg)
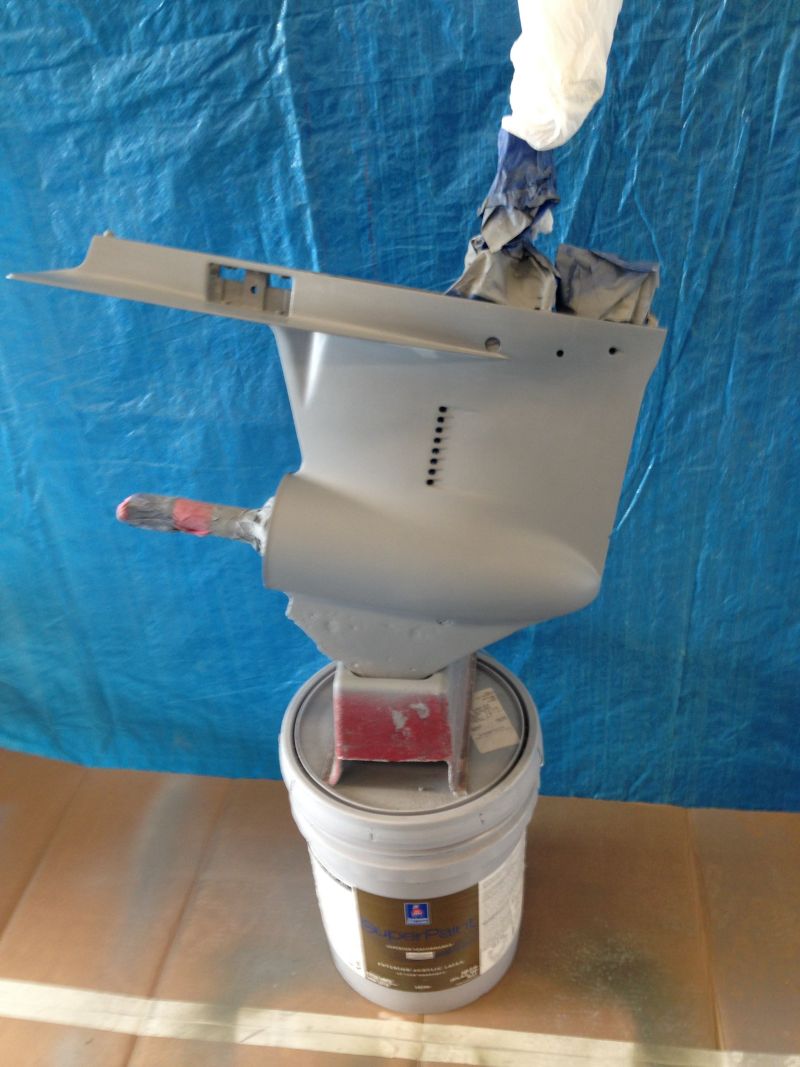
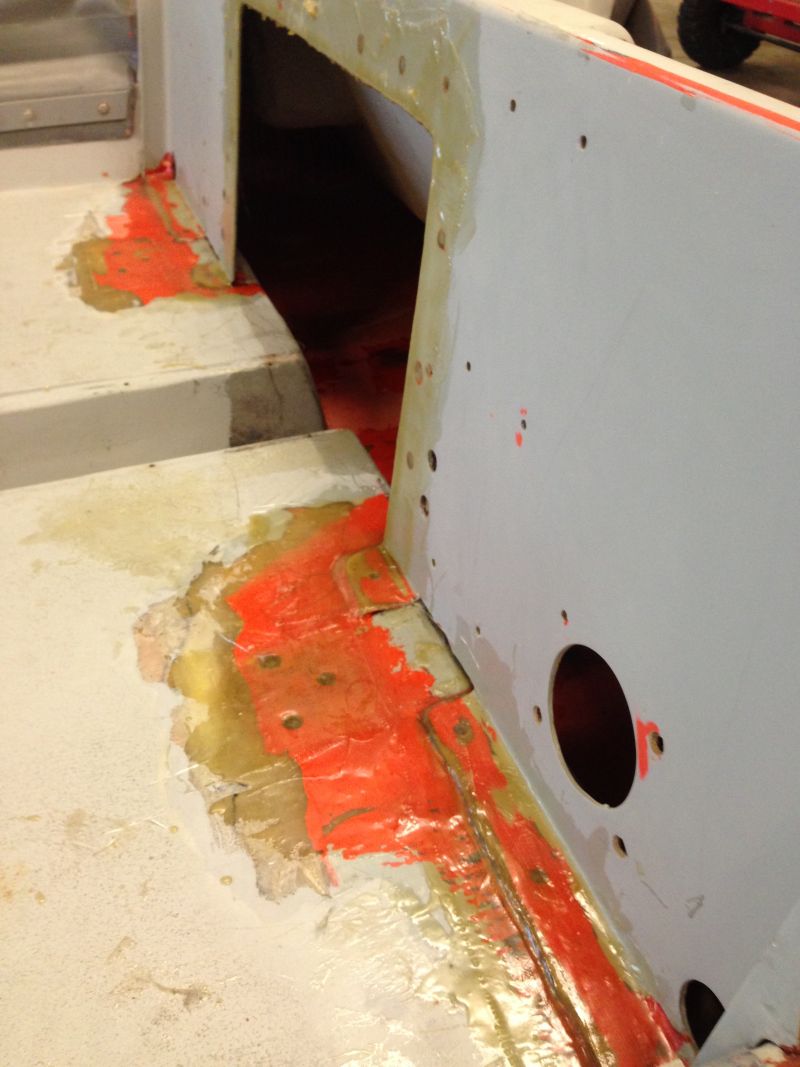
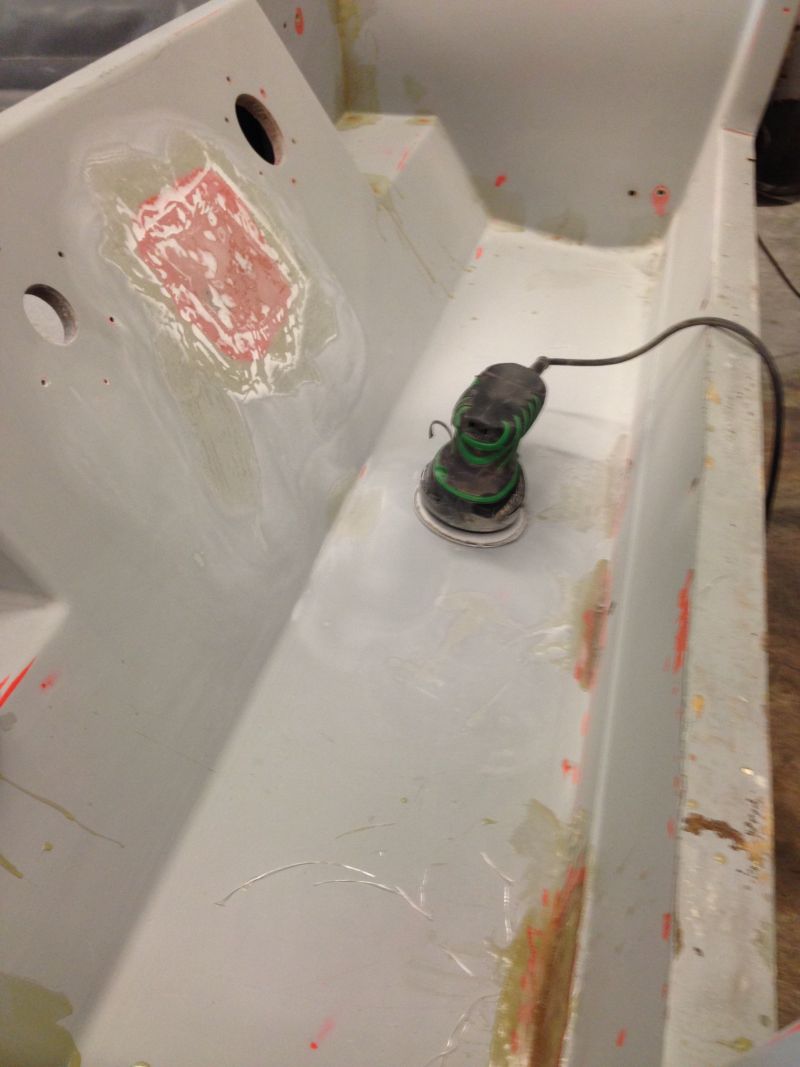
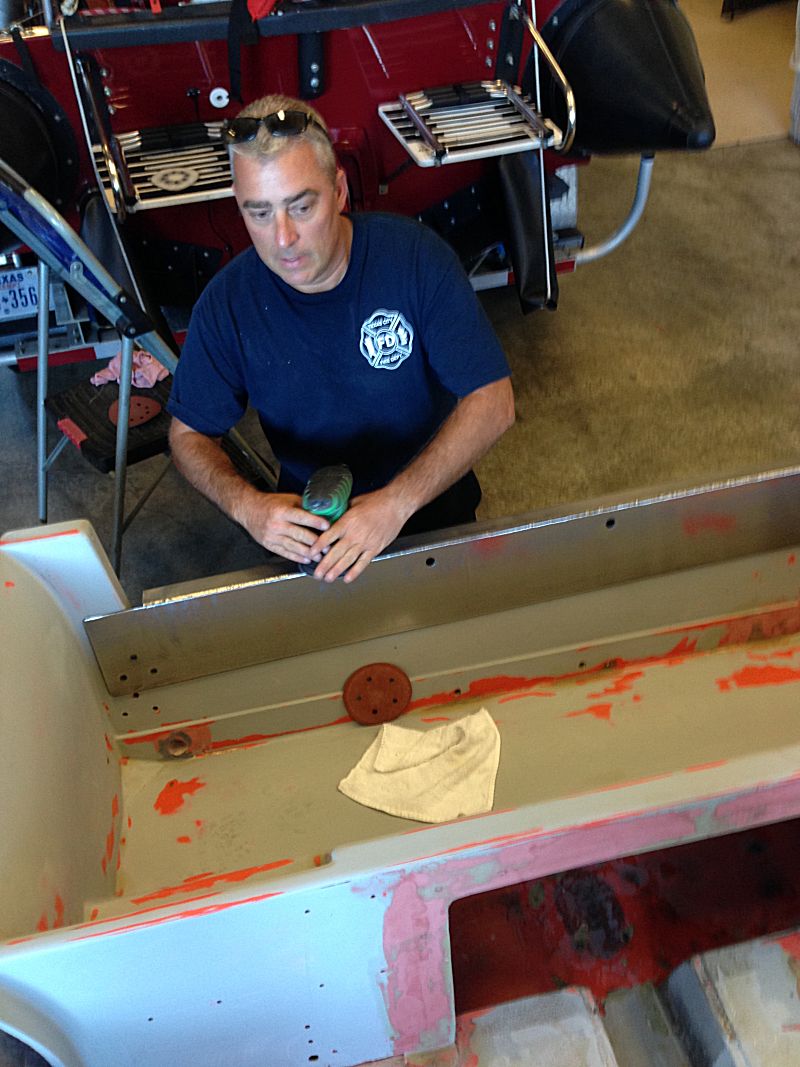
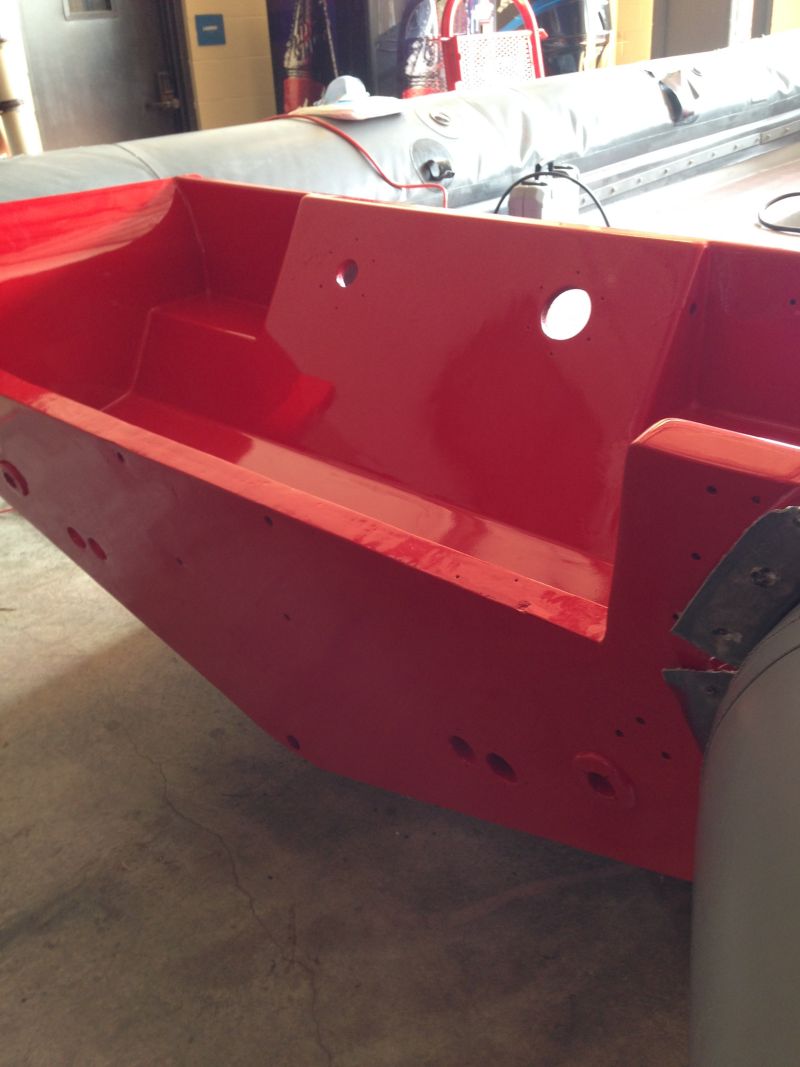
Started preparing rear hull area so Captain Martin could paint it
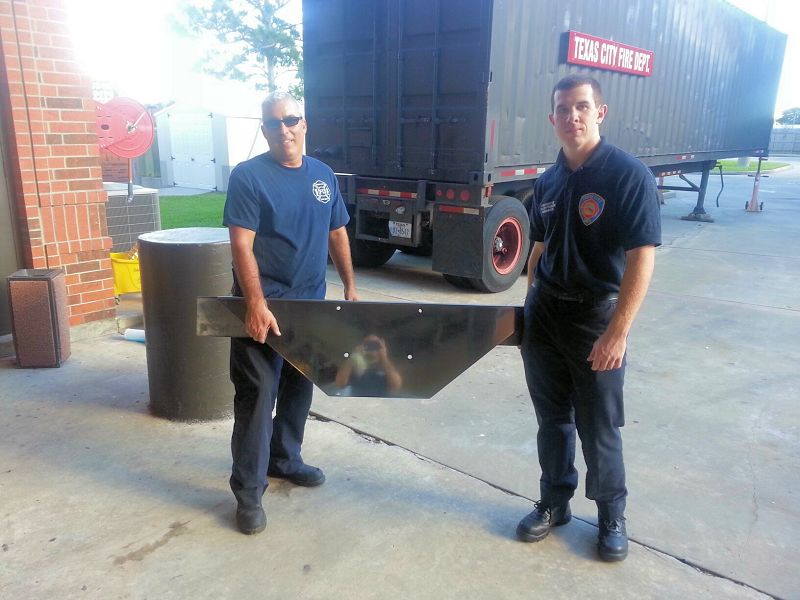
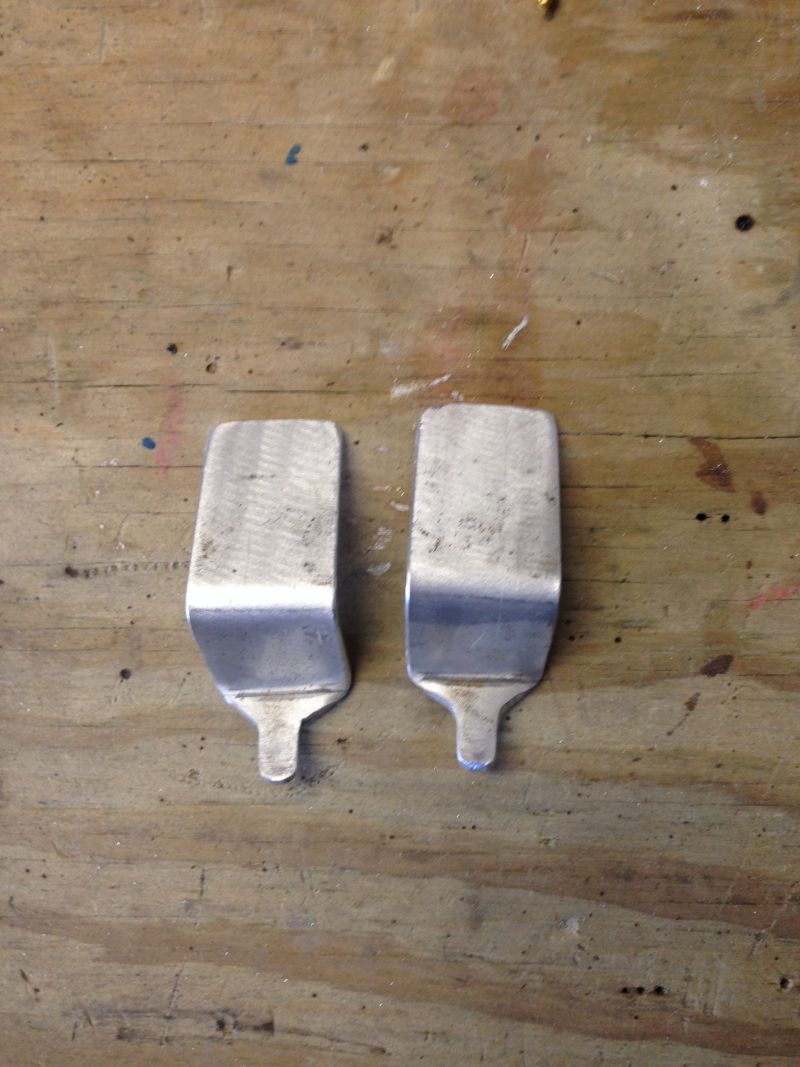
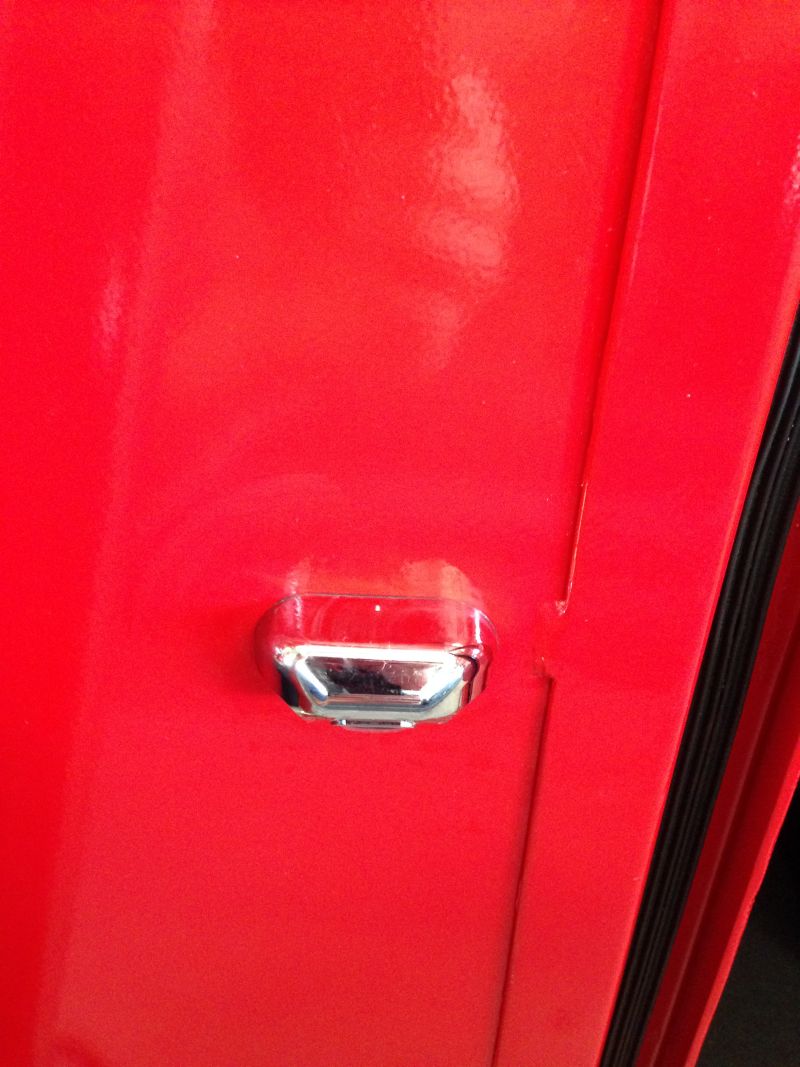
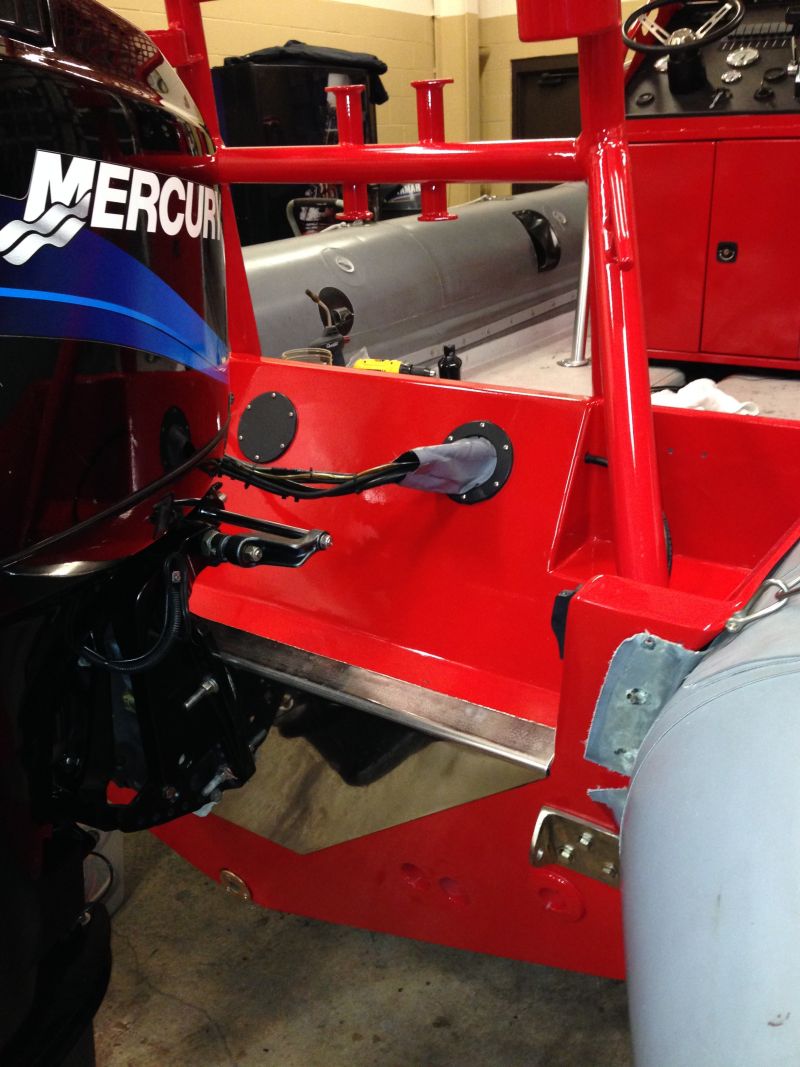
Engineer Garrett (left) and Engineer Ponder (right) with the Transom Guard they polished out.
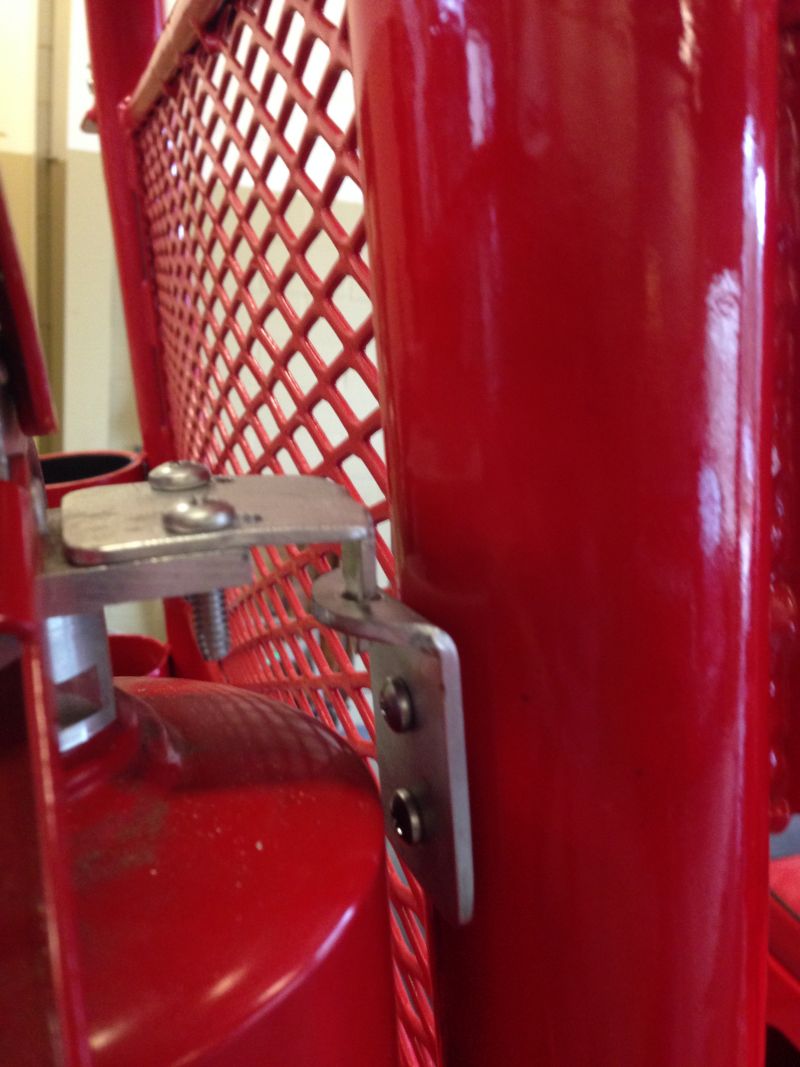
Placed on transom, but not pushed into place just yet.
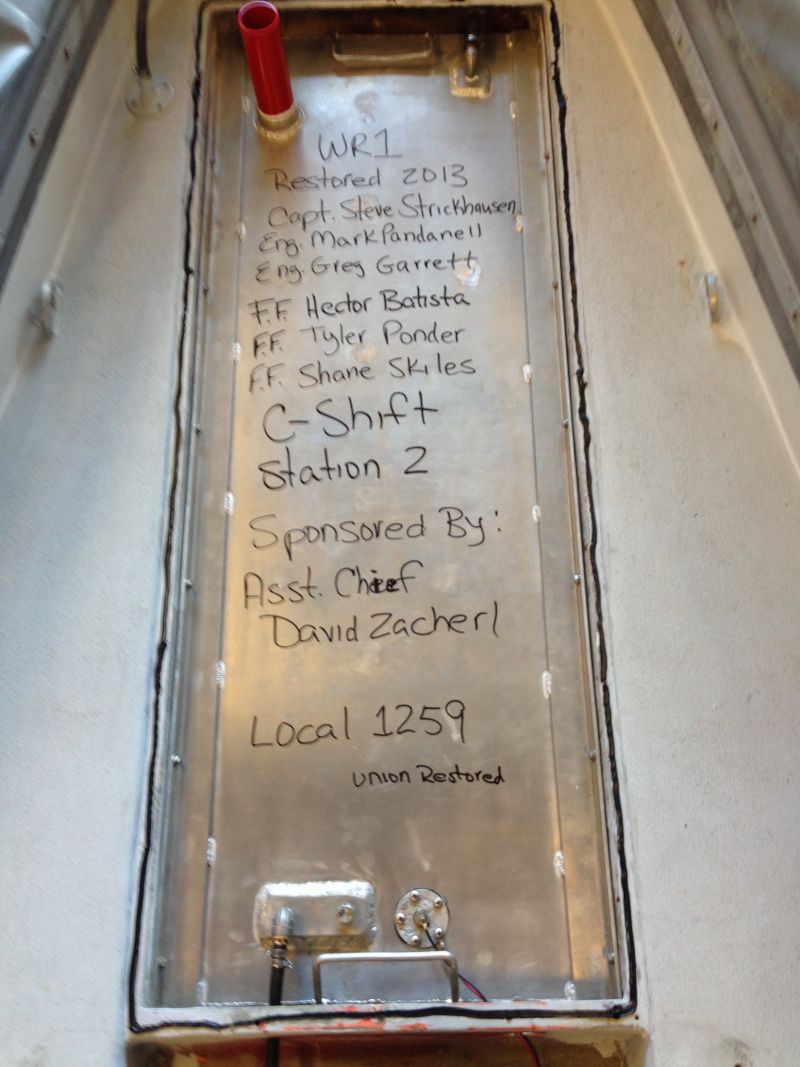
New fuel tank set back in. Then a little message written on it for anyone who might open the deck up in the future.
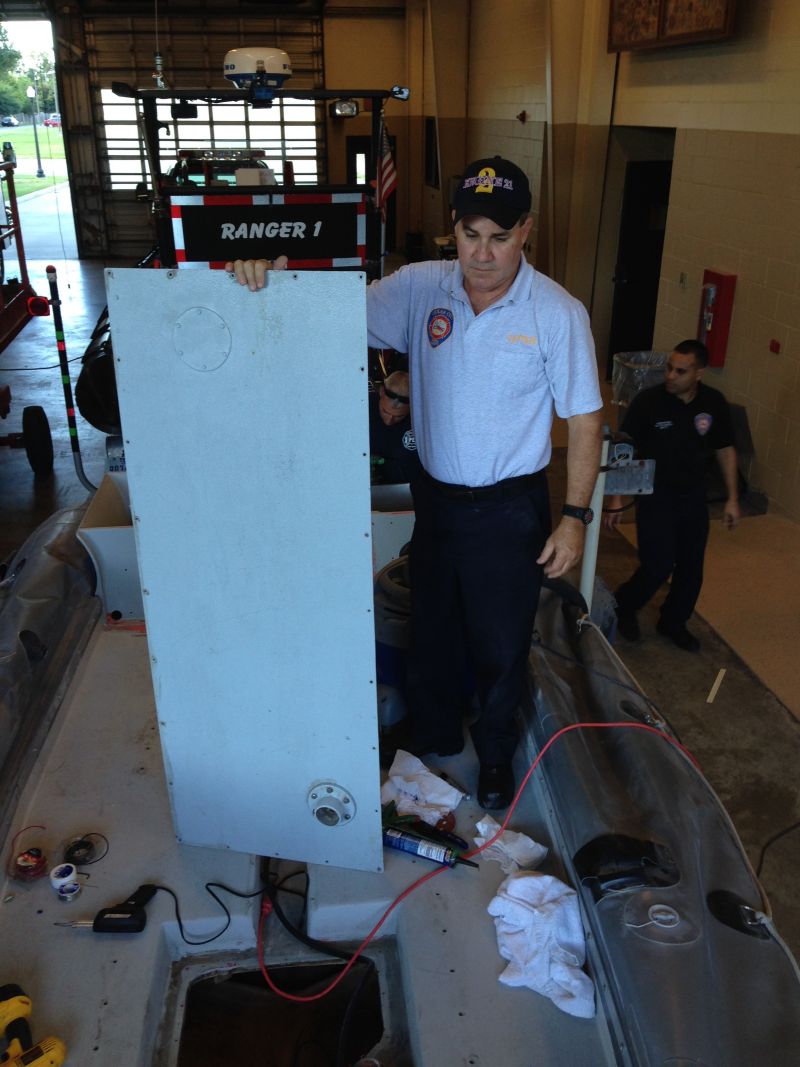
Getting ready to put the cover back over the fuel tank.
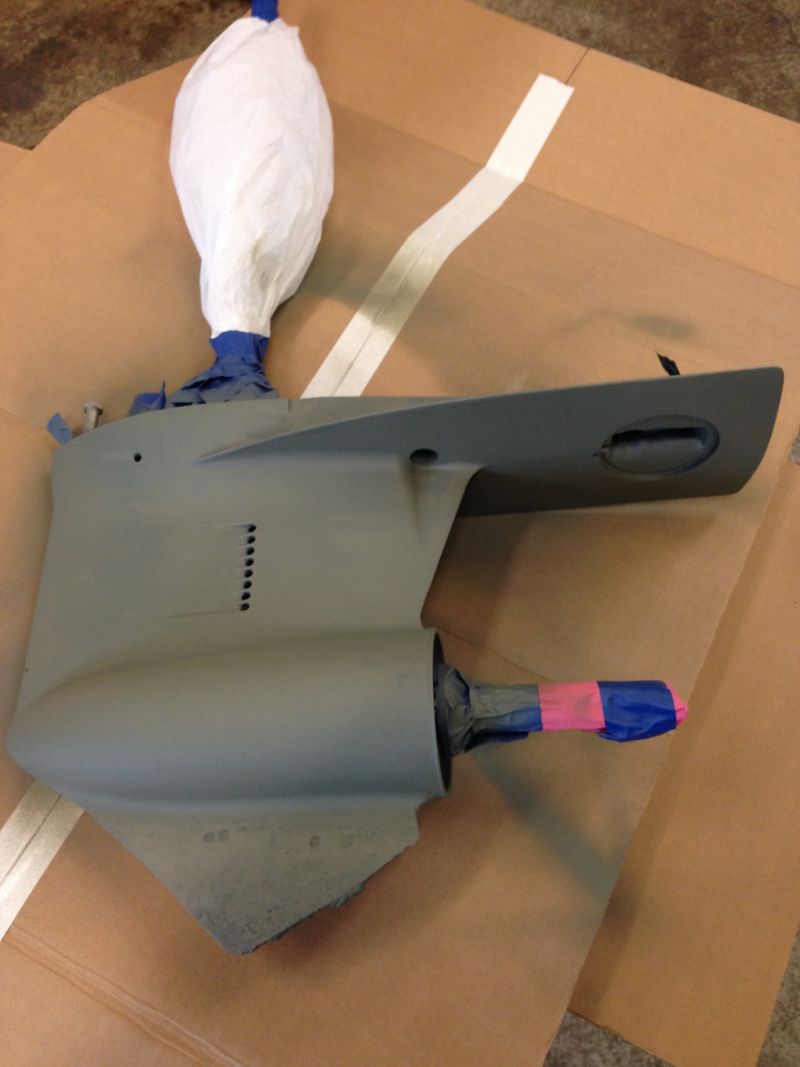
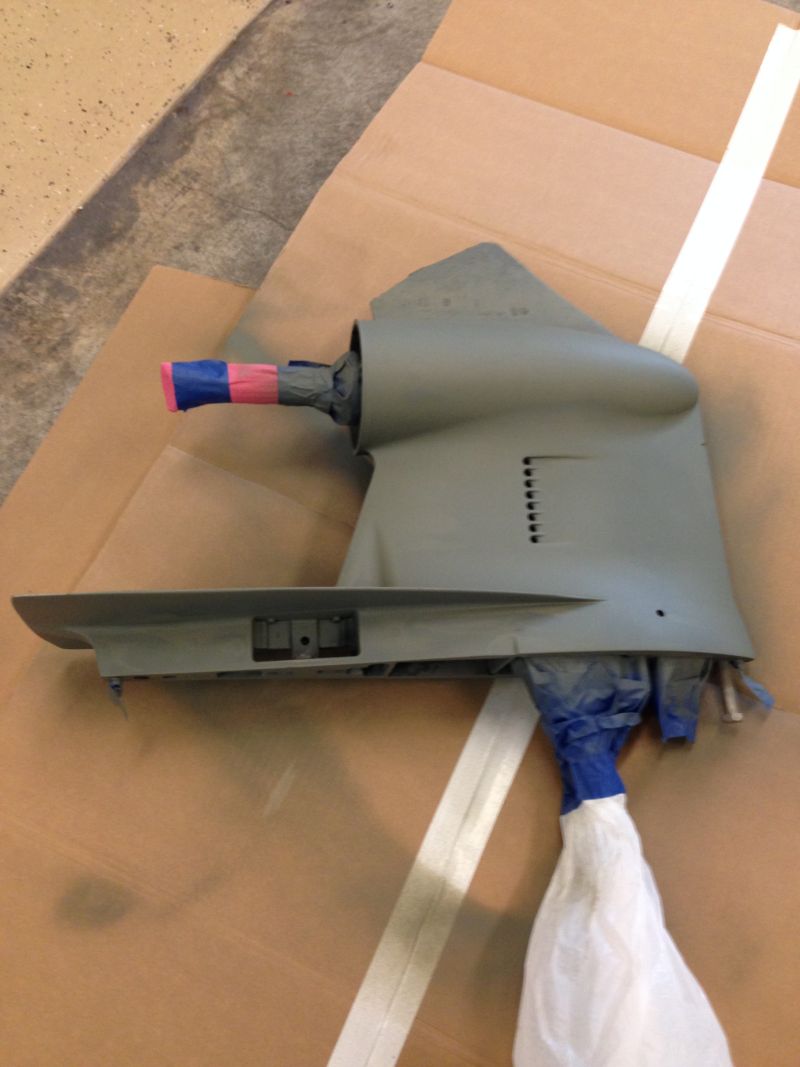
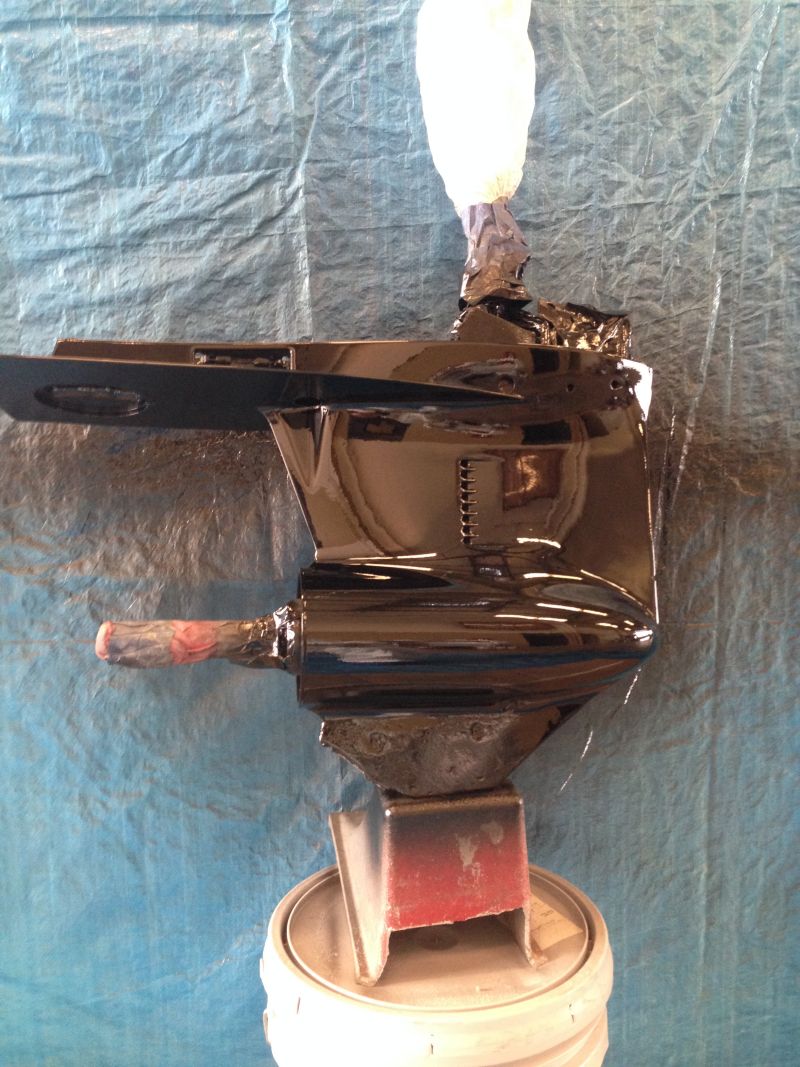
Painted
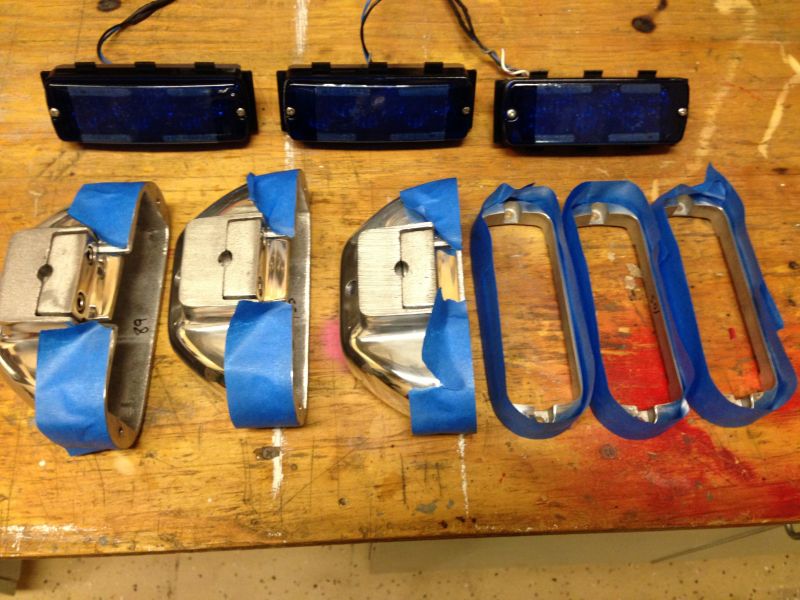
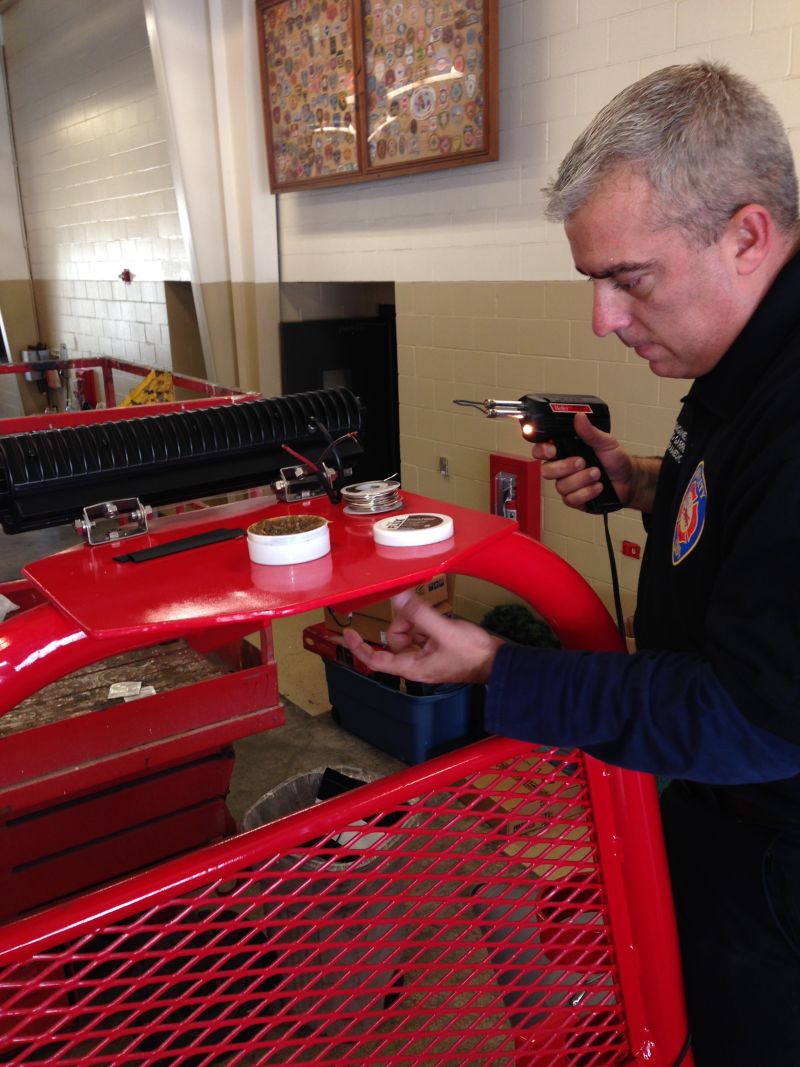
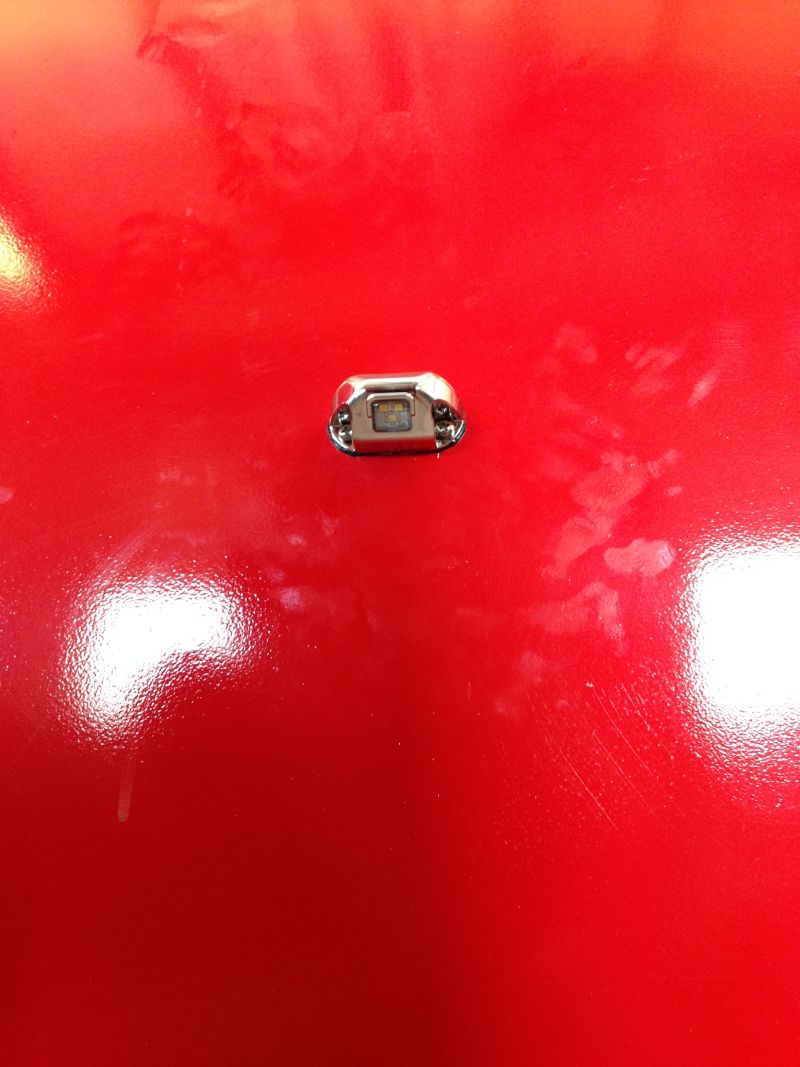
Preparing the new LED Strobes to be waterproofed.
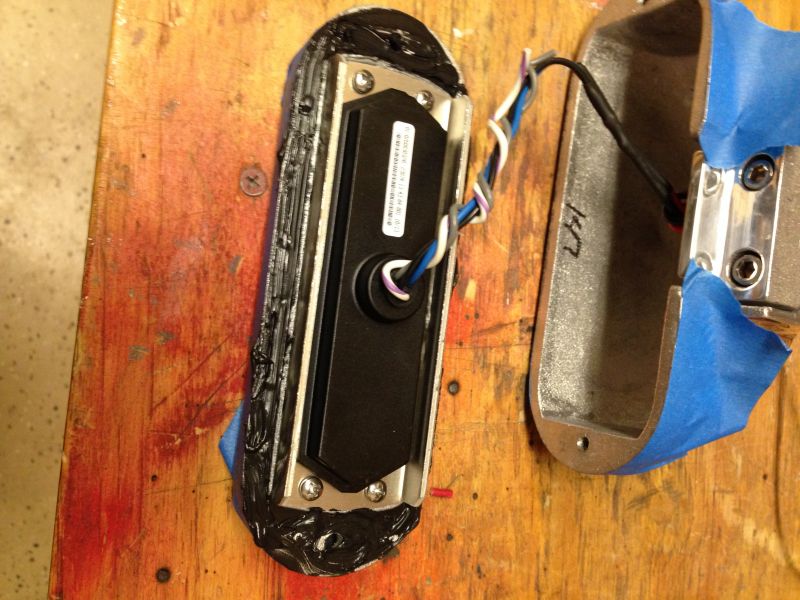 A good coating of Polyureathane
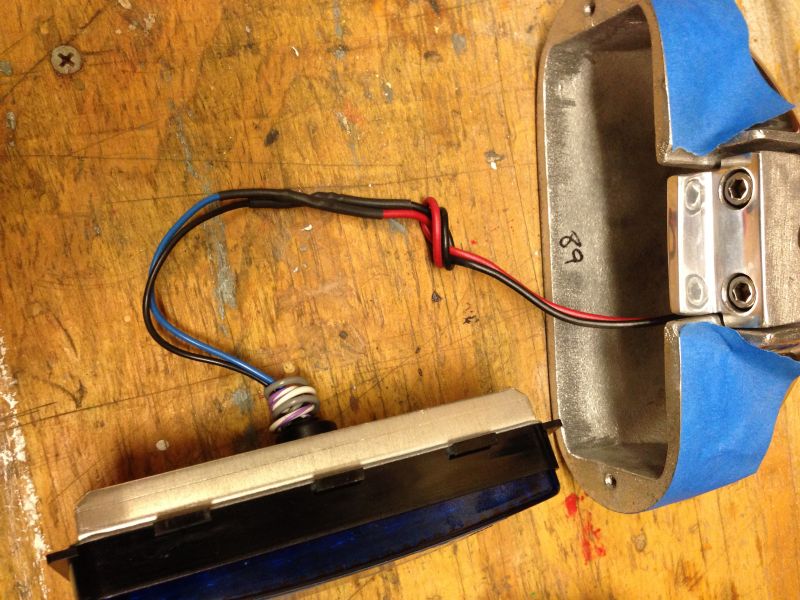
Fitted them together
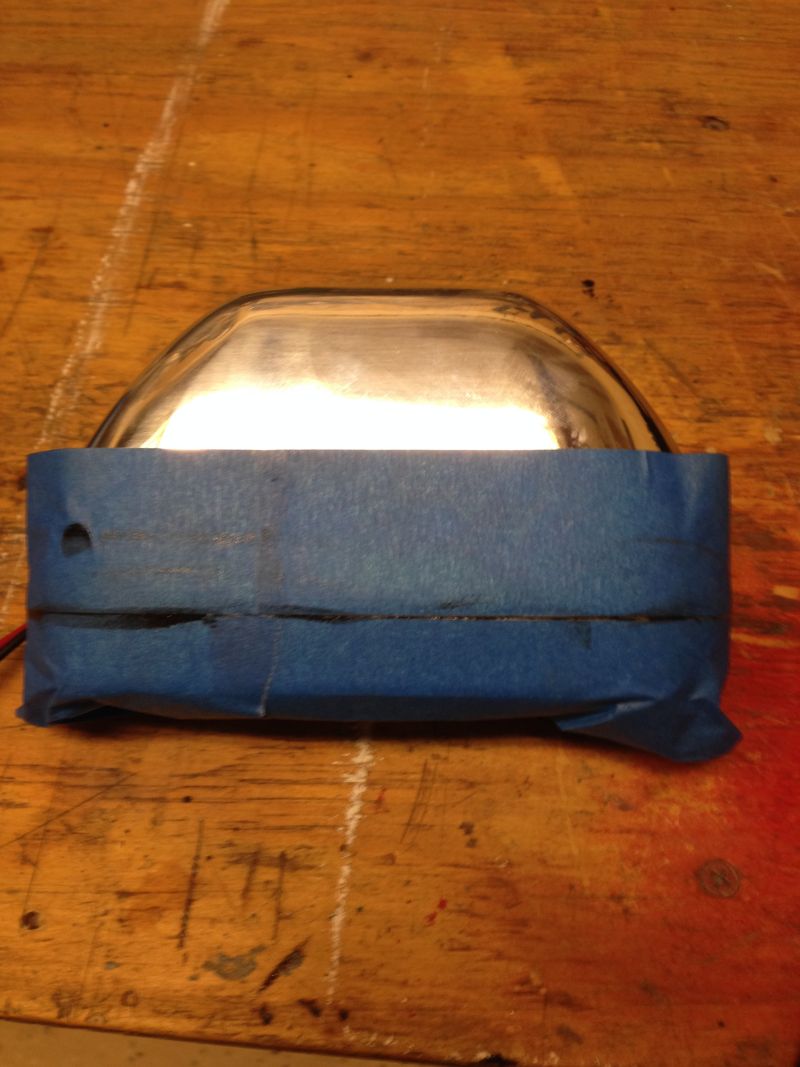
Wiped away the excess
Removed tape and they are sealed

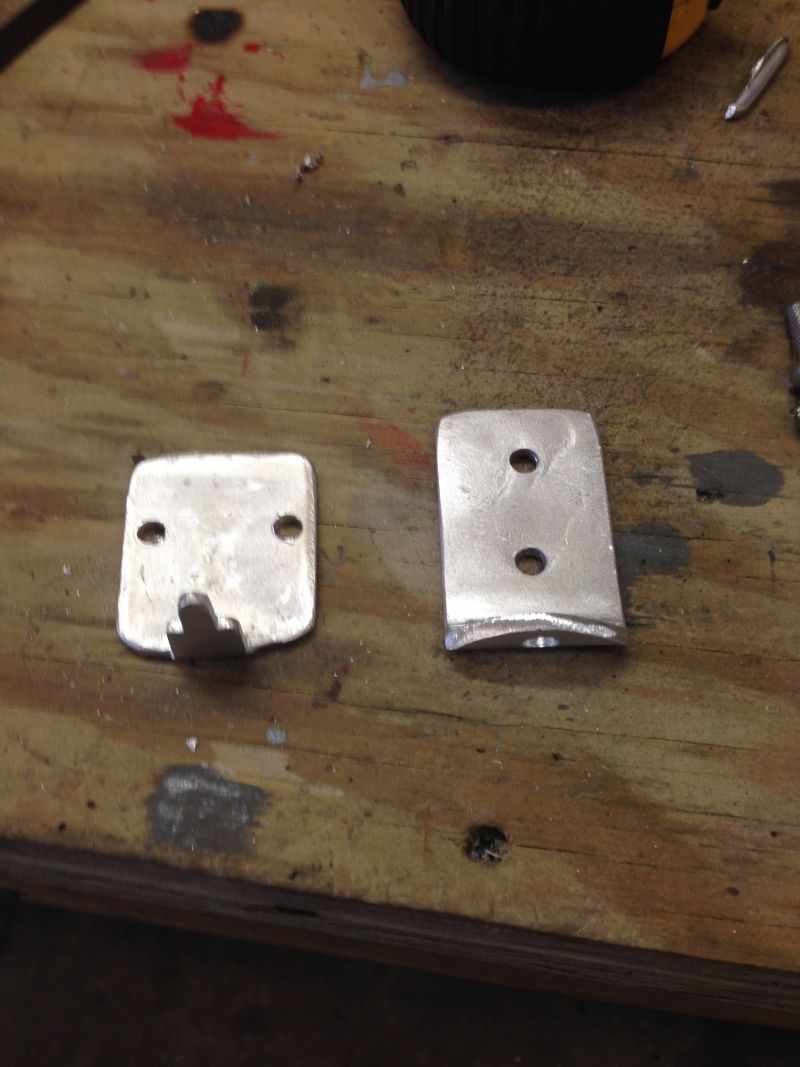
Then mocked up some brackets to fabricate, then mount them to the T-Top
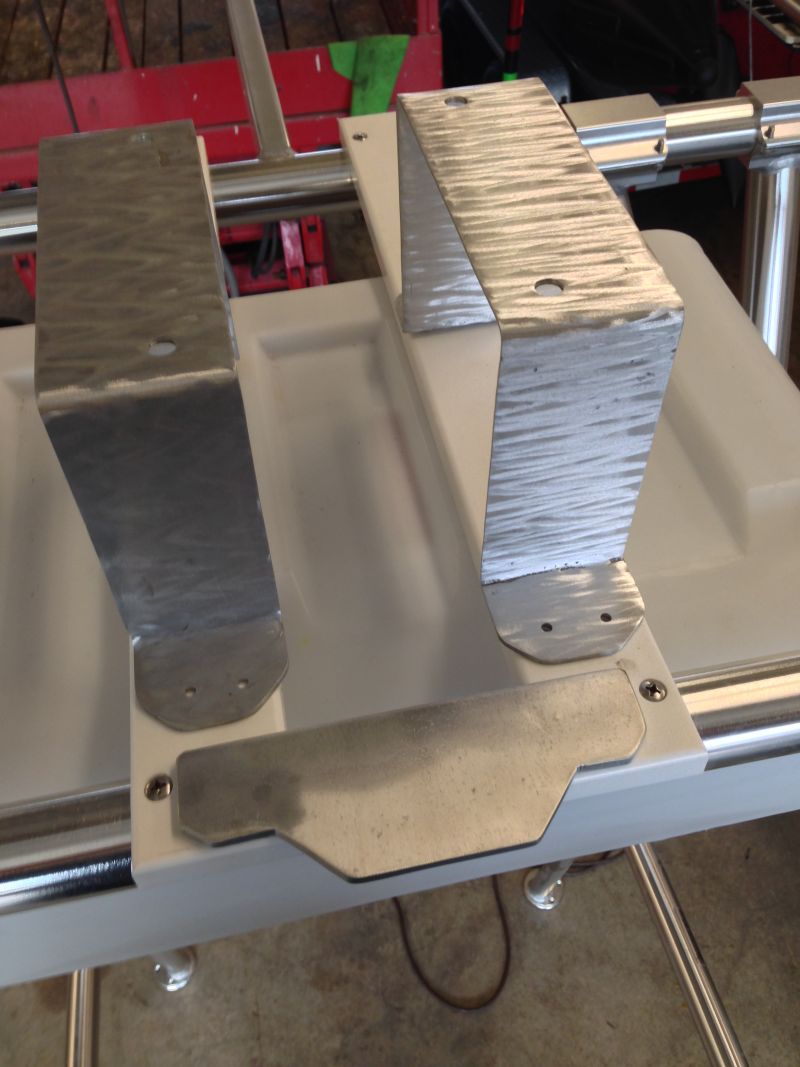
The two large pieces we fabricated up to mount the radar to. The smaller front piece is the mount for one of the LED strobes.
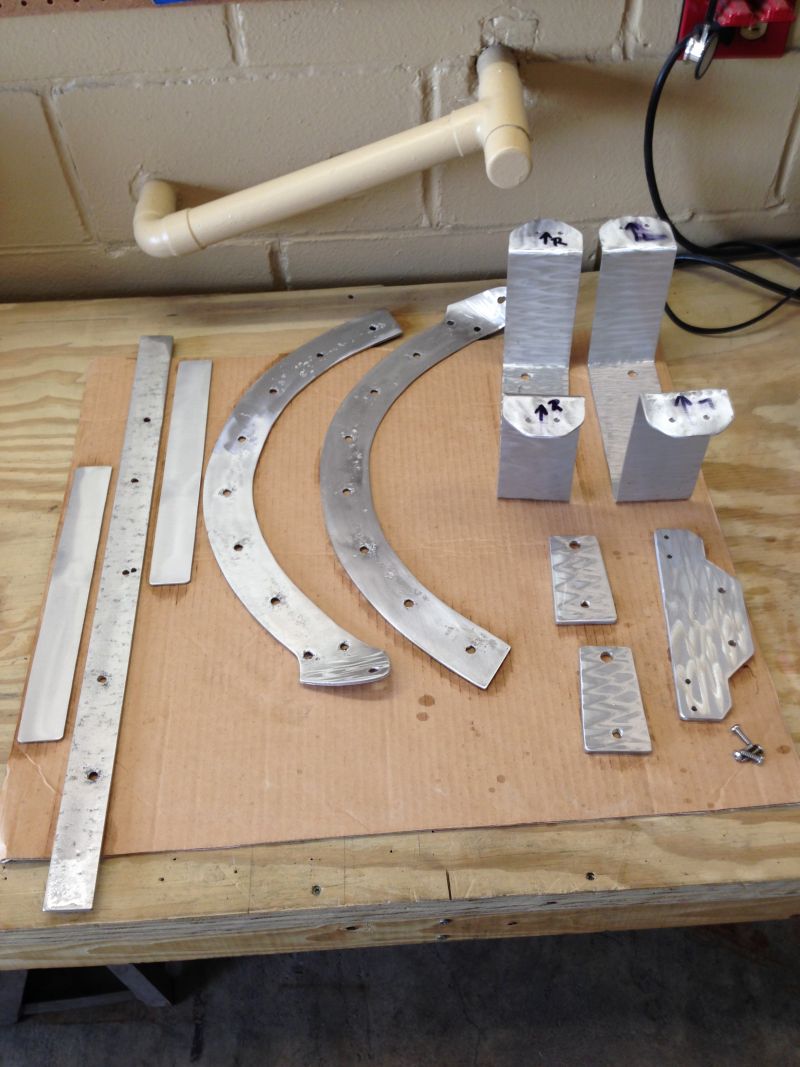
Clear coated all the mounts
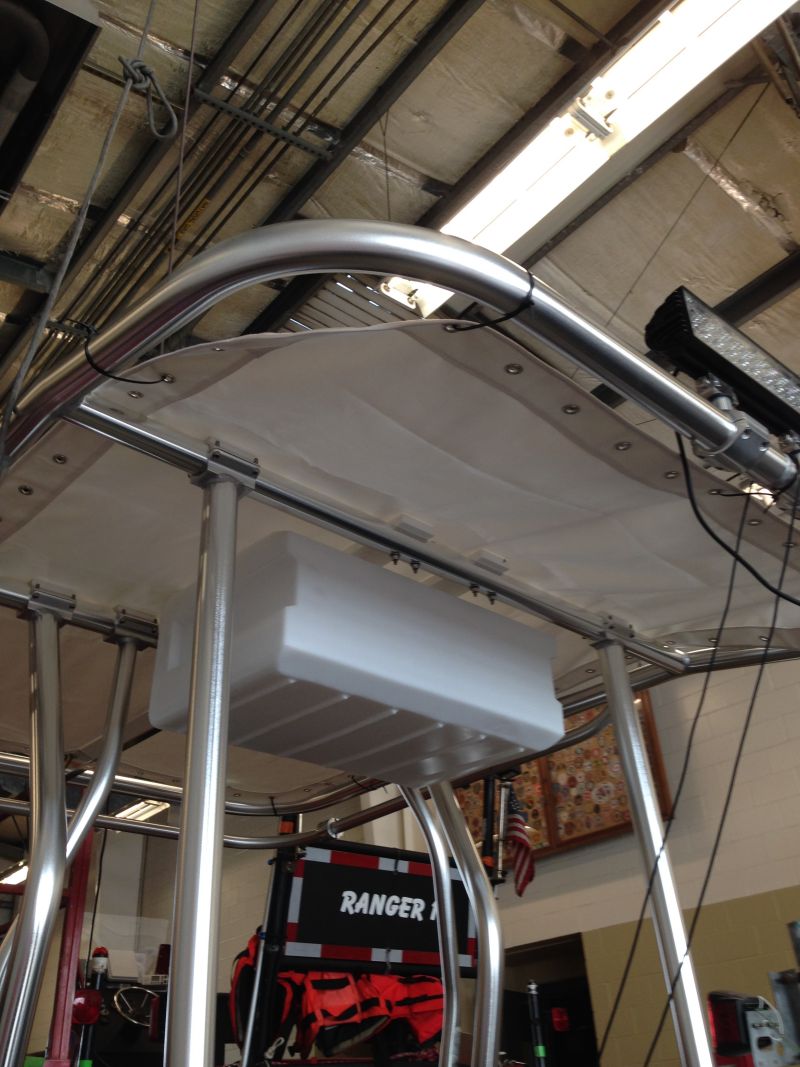
Installing the fabric
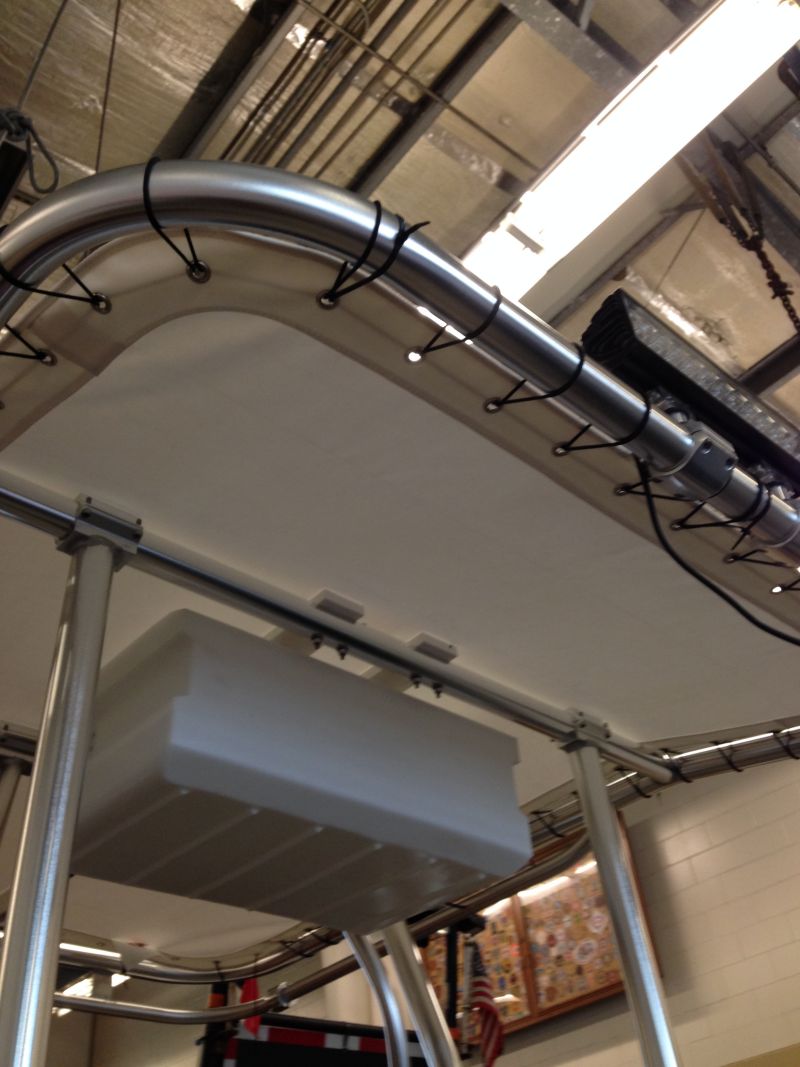

Then started running the new wires throughout the T-Top after drilling holes.
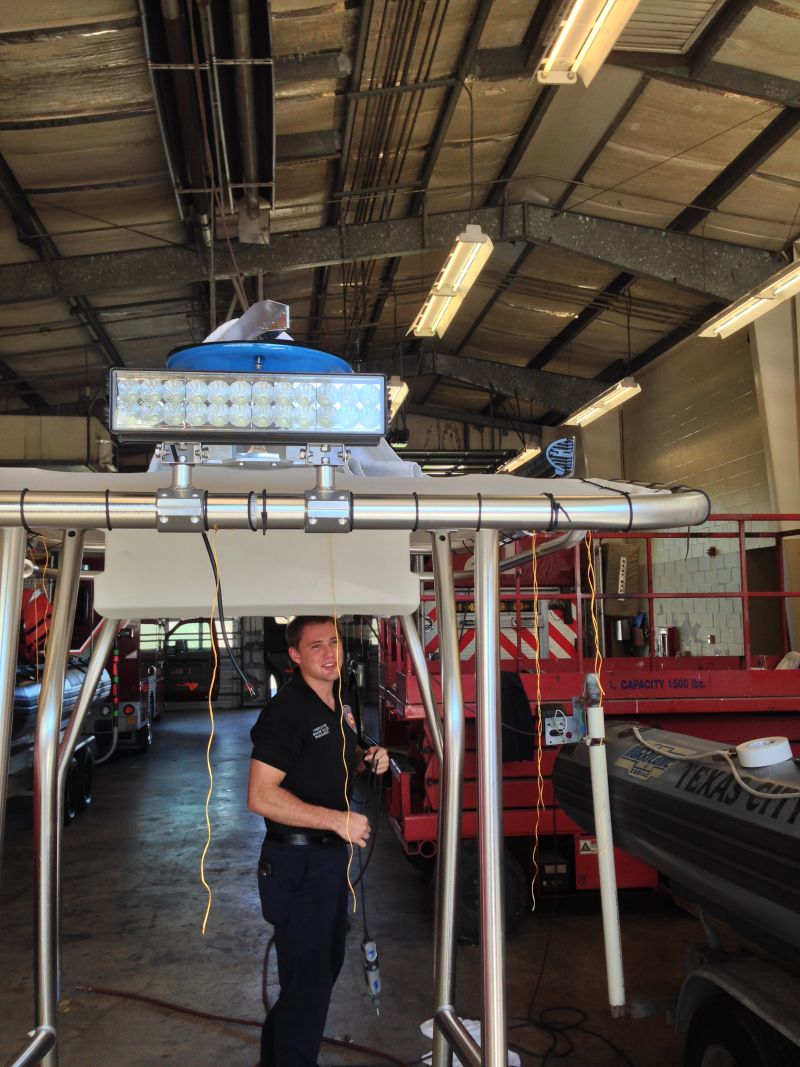
Firefighter Skiles
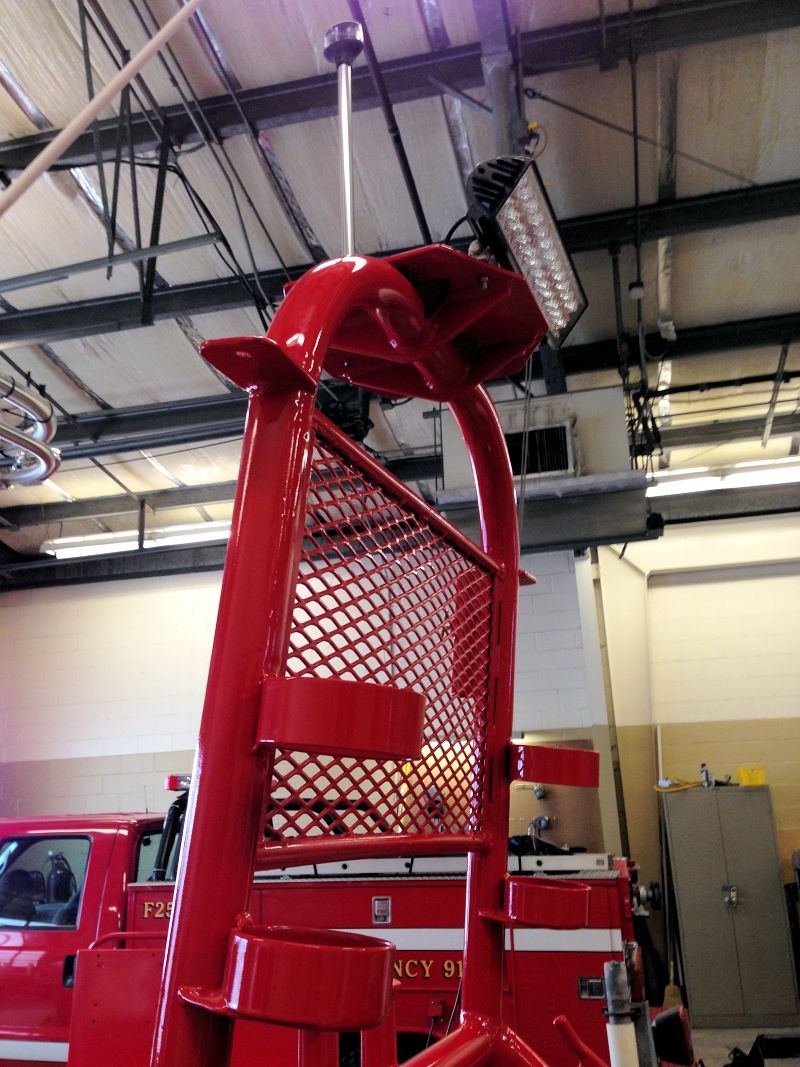
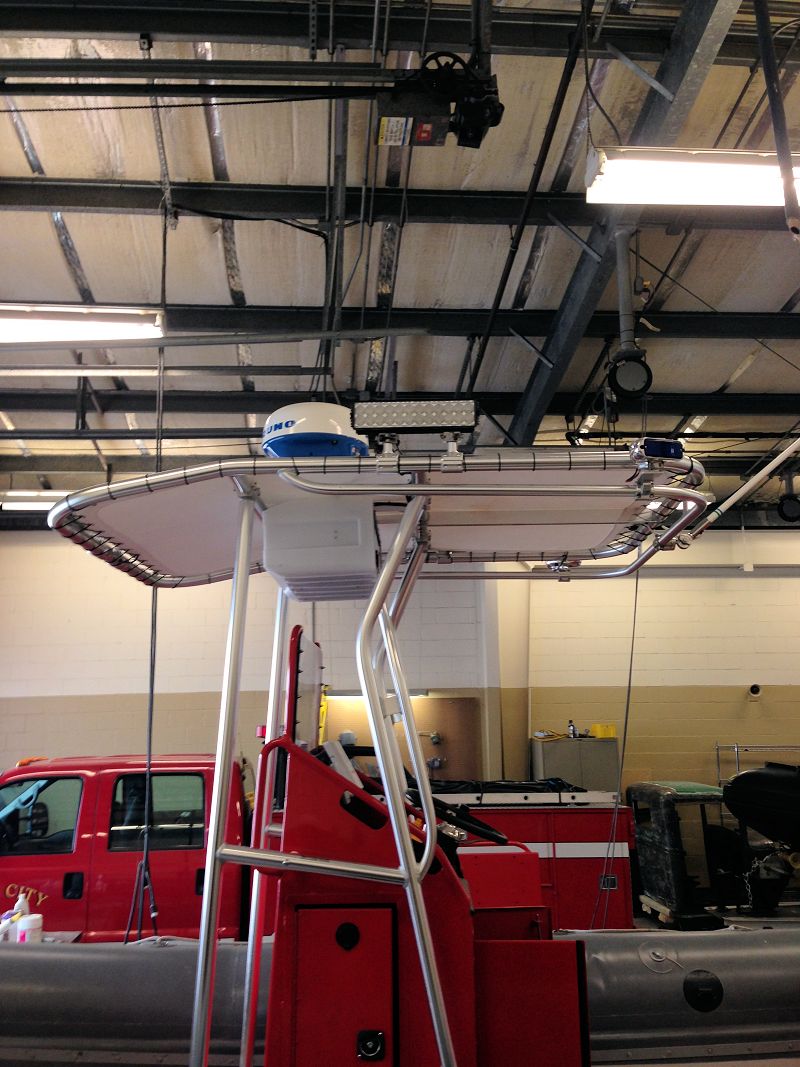
Mounting and wiring the radar
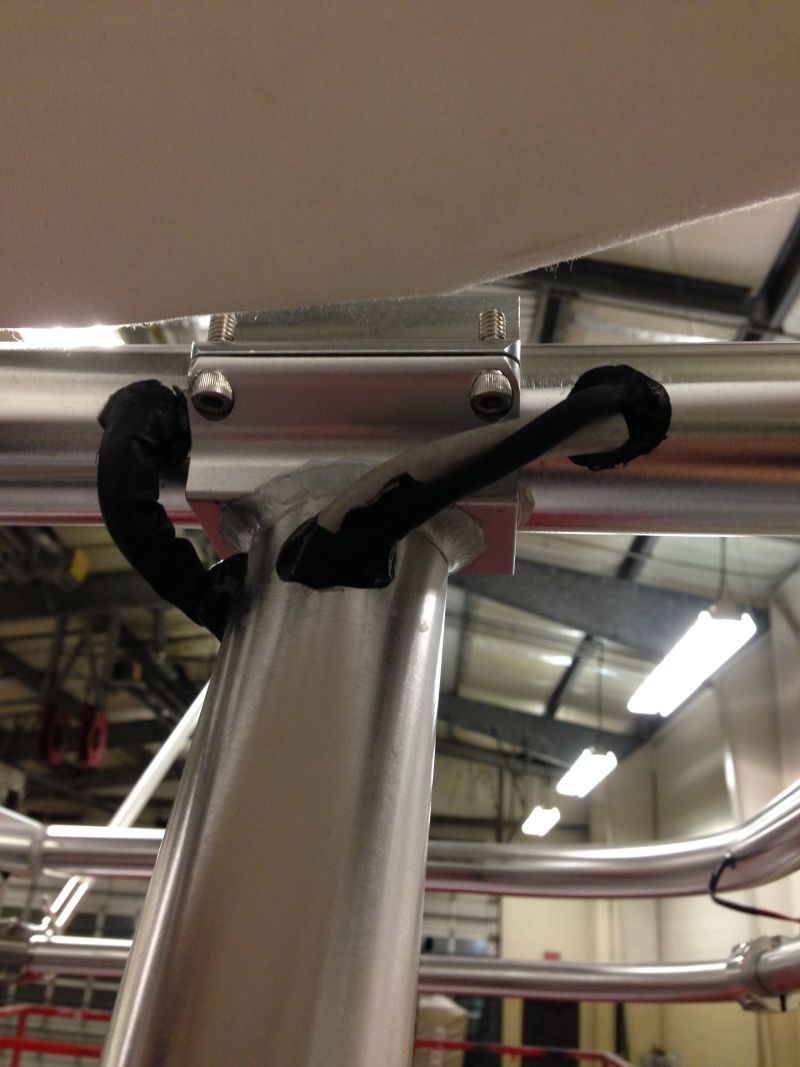
This shows that after finishing up with the wiring, we used polyureathane to seal off the holes.
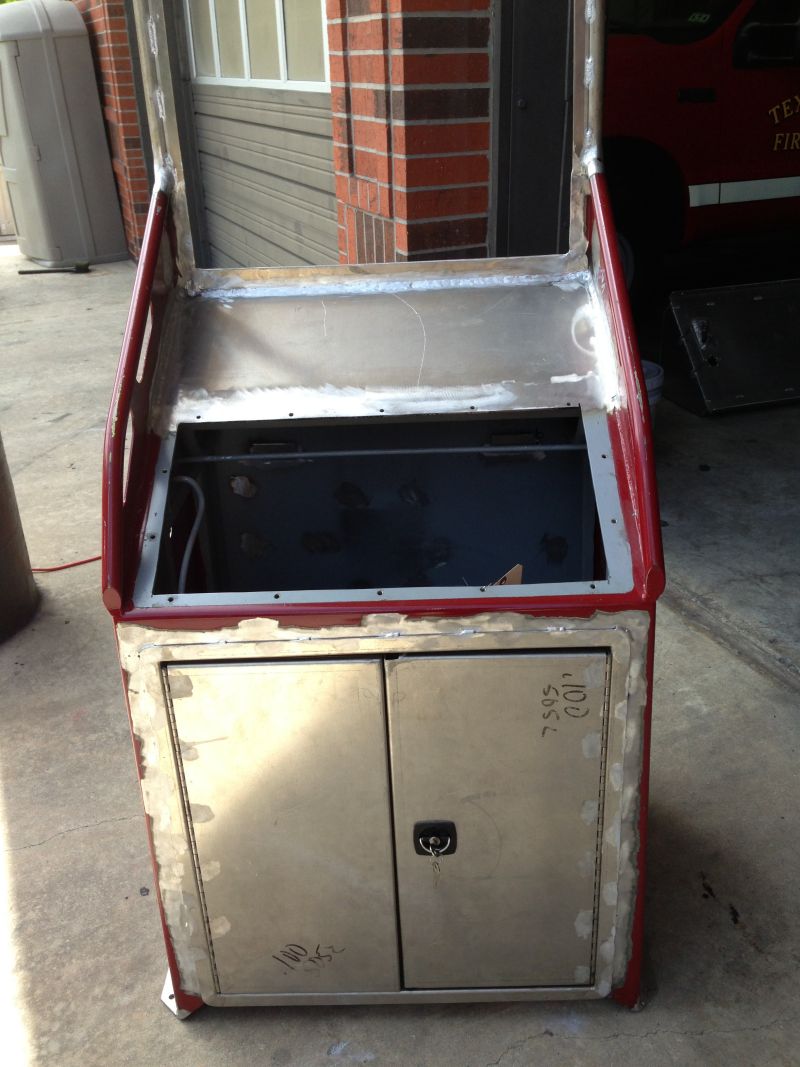
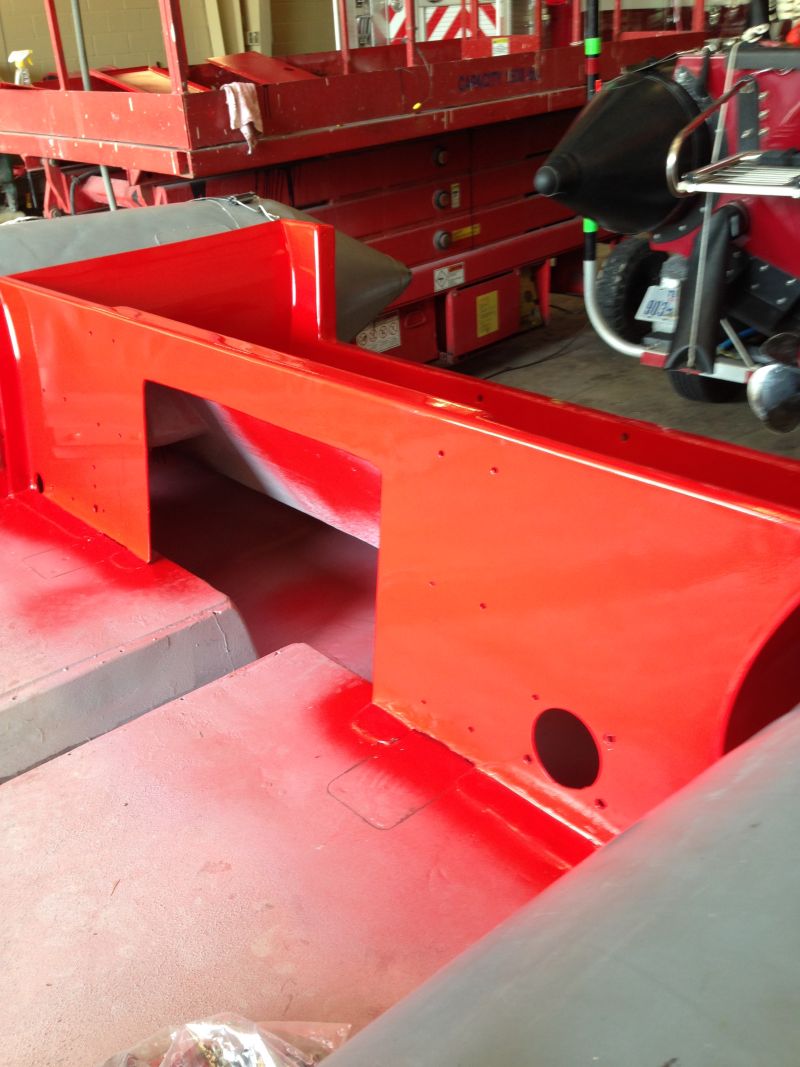
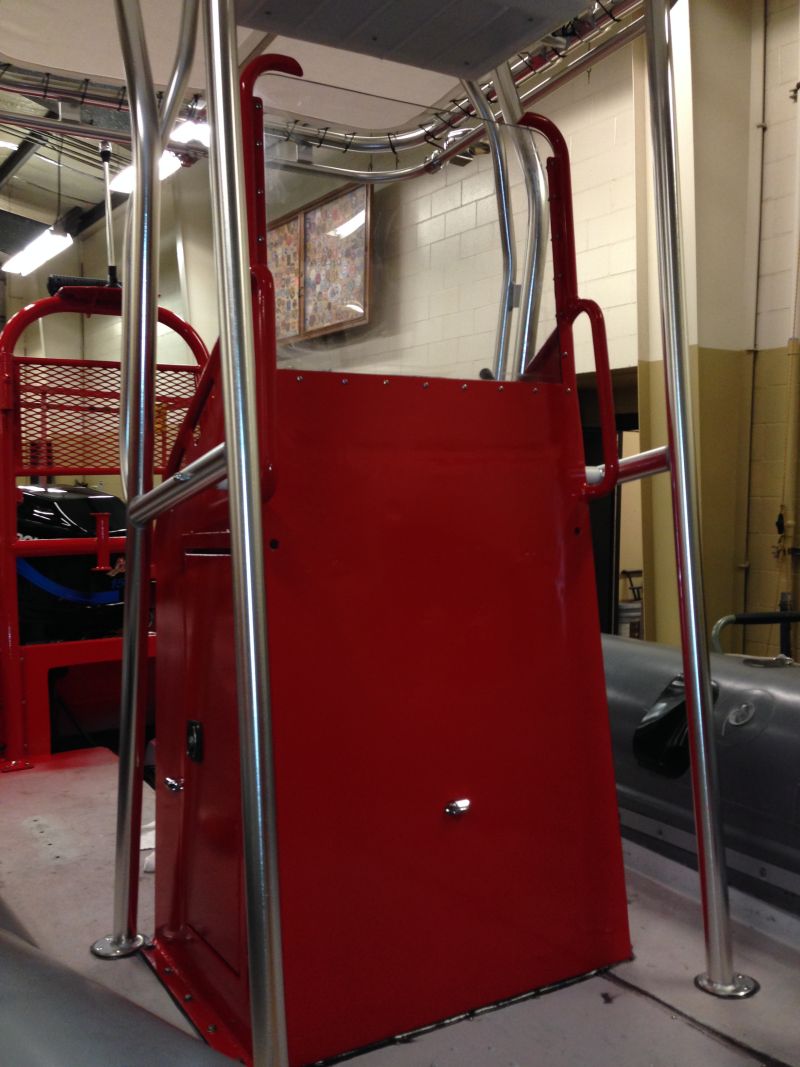
The new flat look
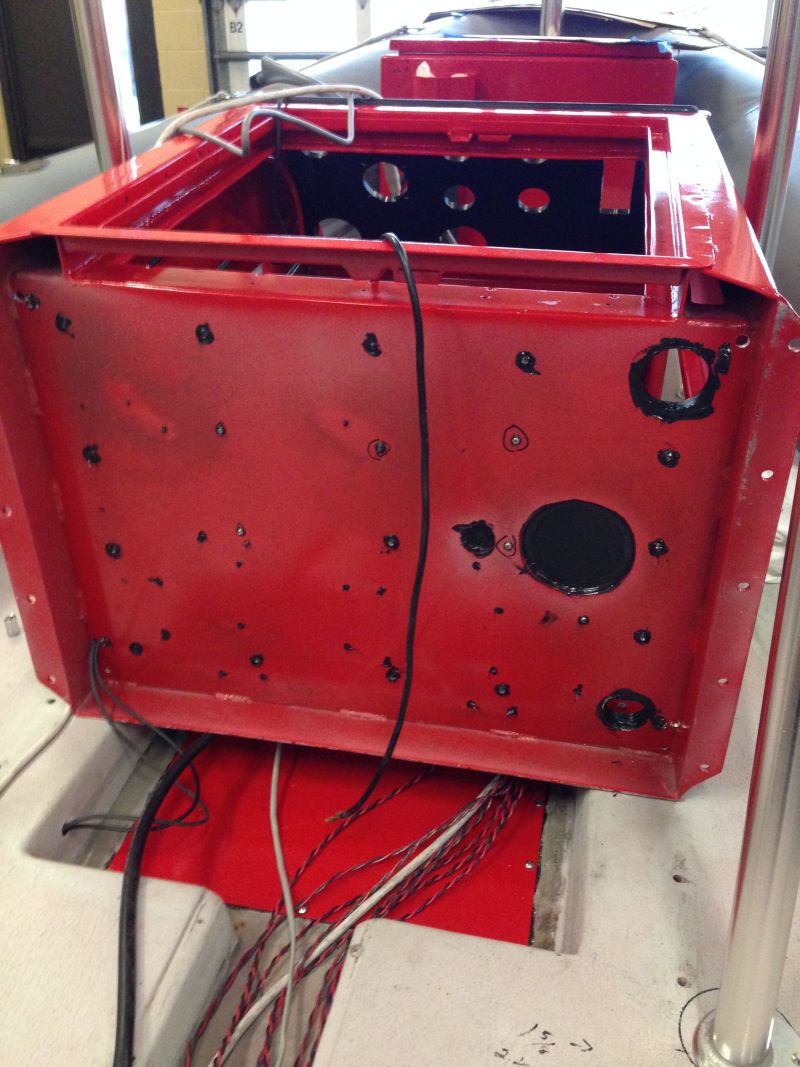
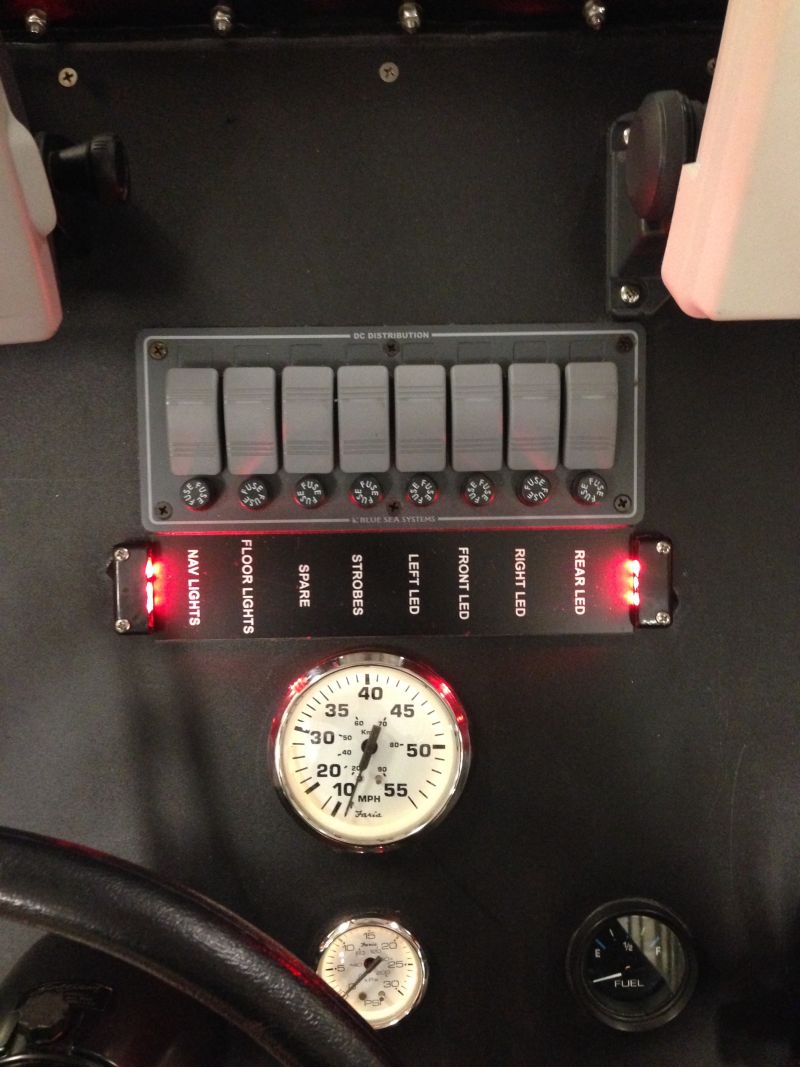
We need to remove all this and install it on the new console
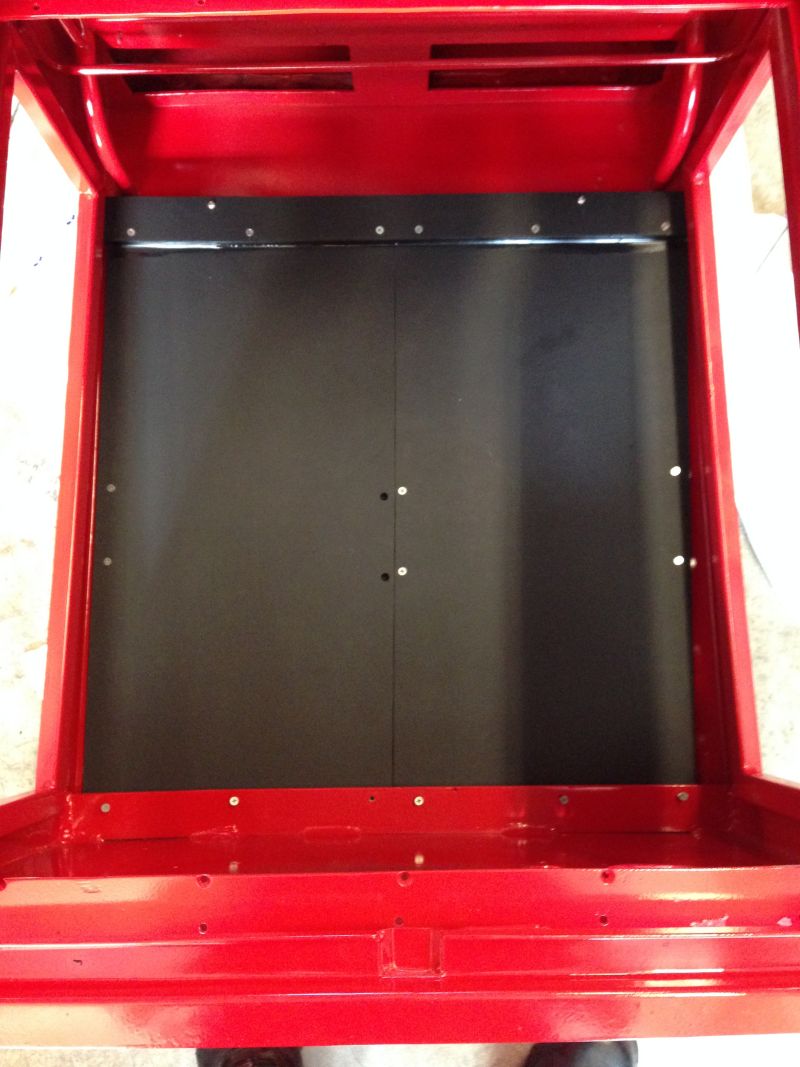
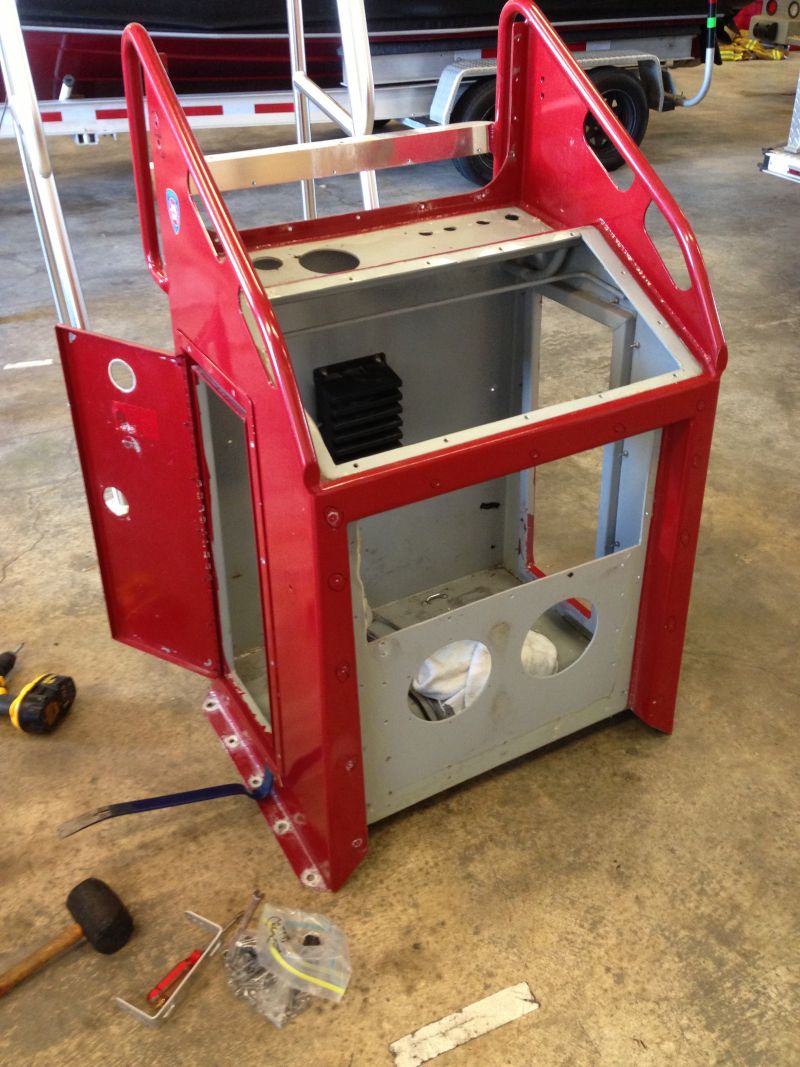
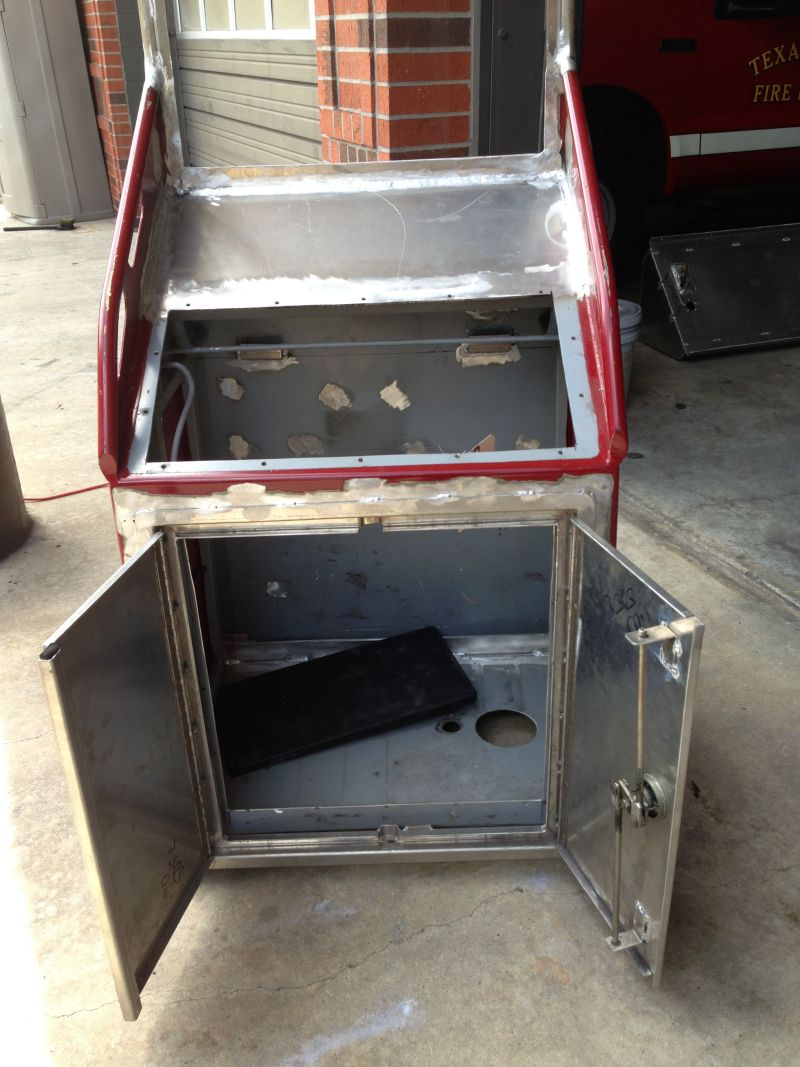
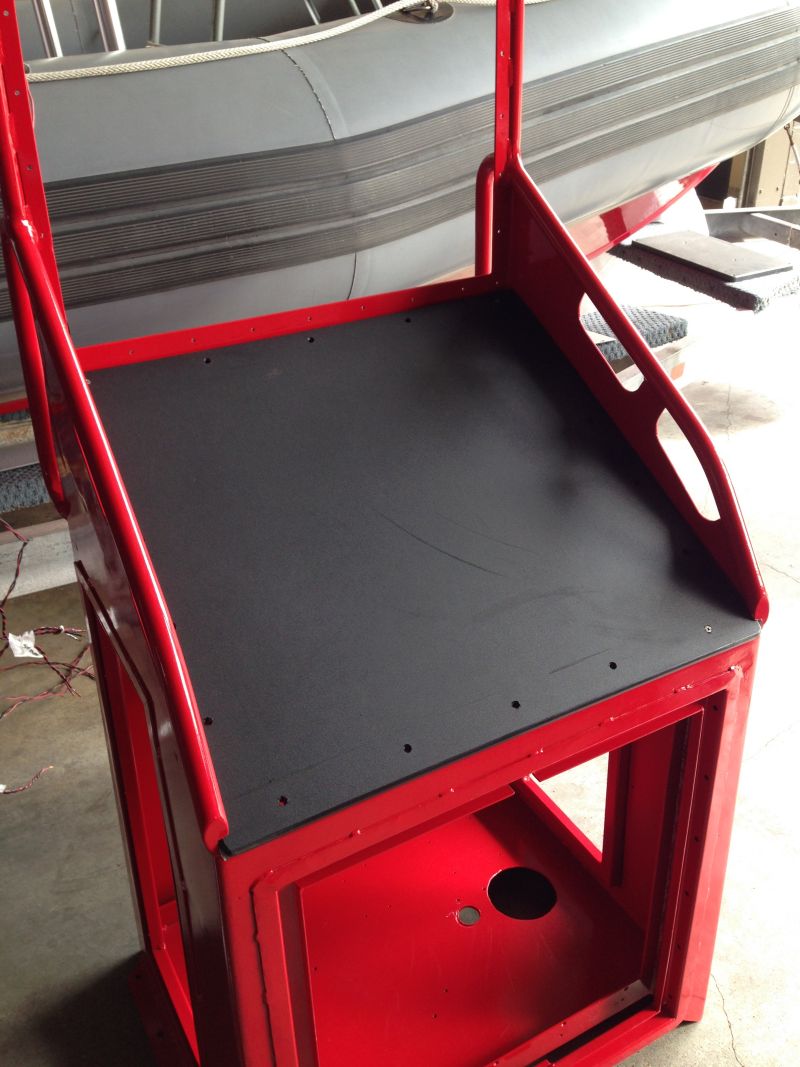
Looking in through the front two doors. This is the new back wall that everything will mount to. With this, holes do not have to be drilled through the center console as before.
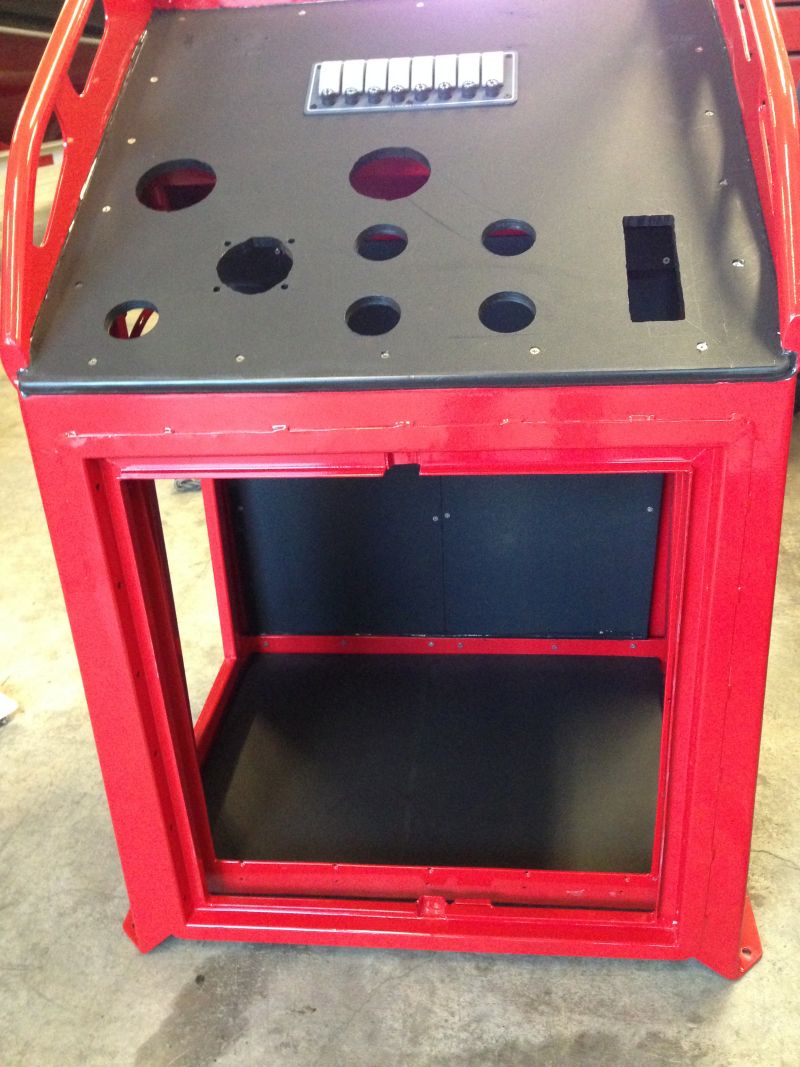
Holes cut out for the gauges, steering wheel and shifter, you can see we also installed a new floor piece in it to mount to.
Mounting the back bar first
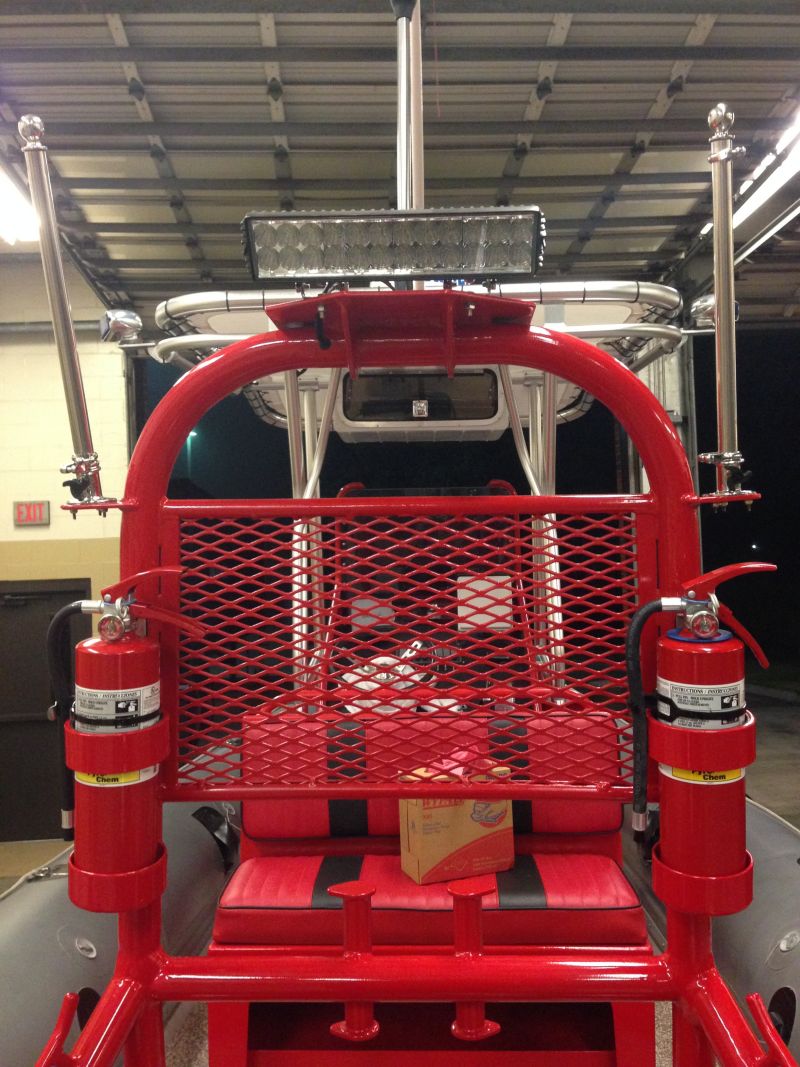
LED light mounted on top
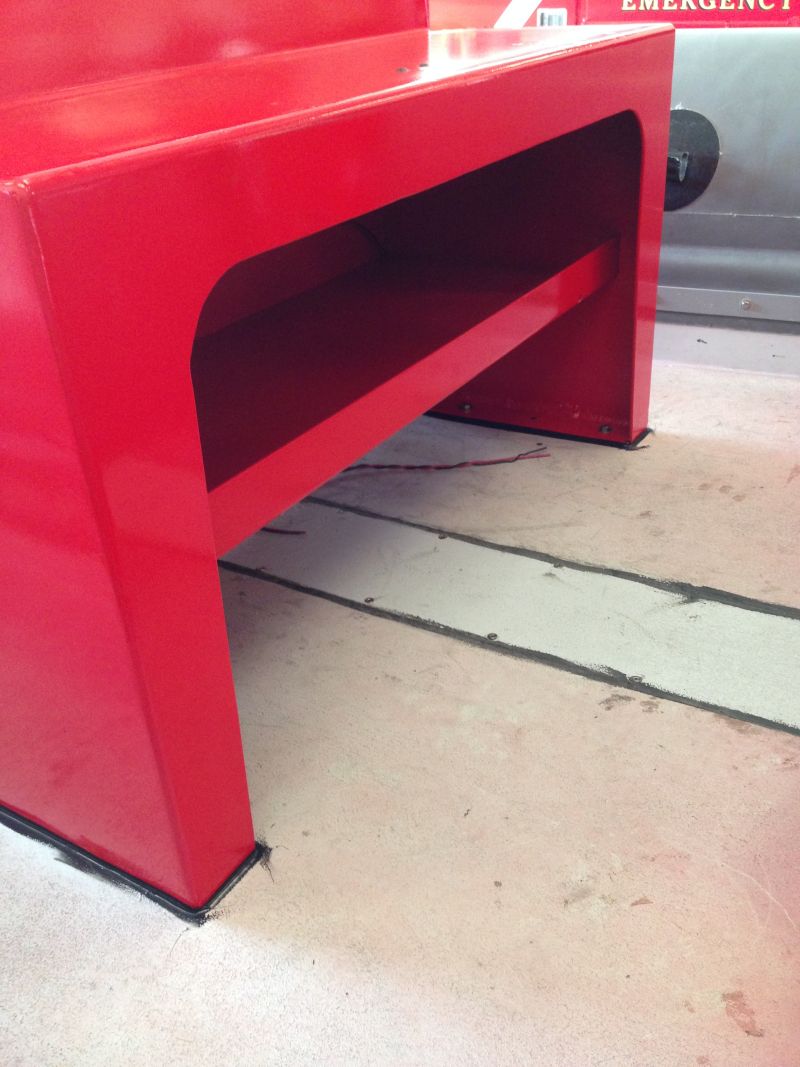
Then placed the center console in
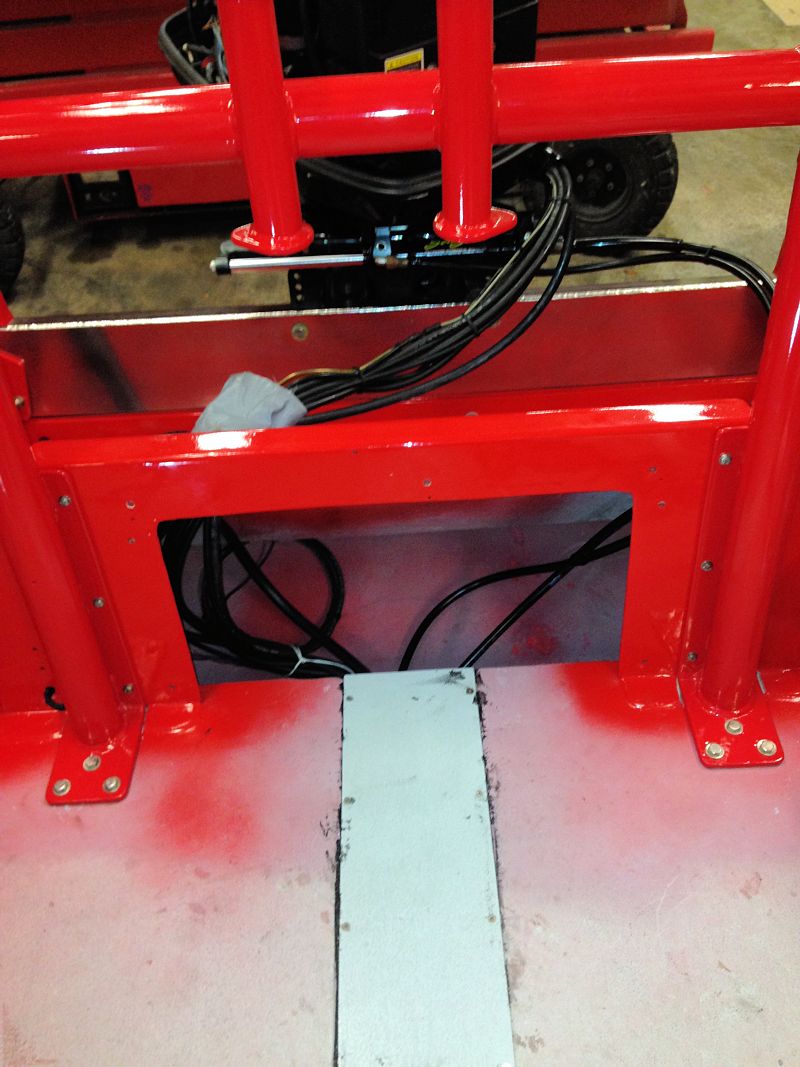
Running wires from underneath

Running wires to back bar
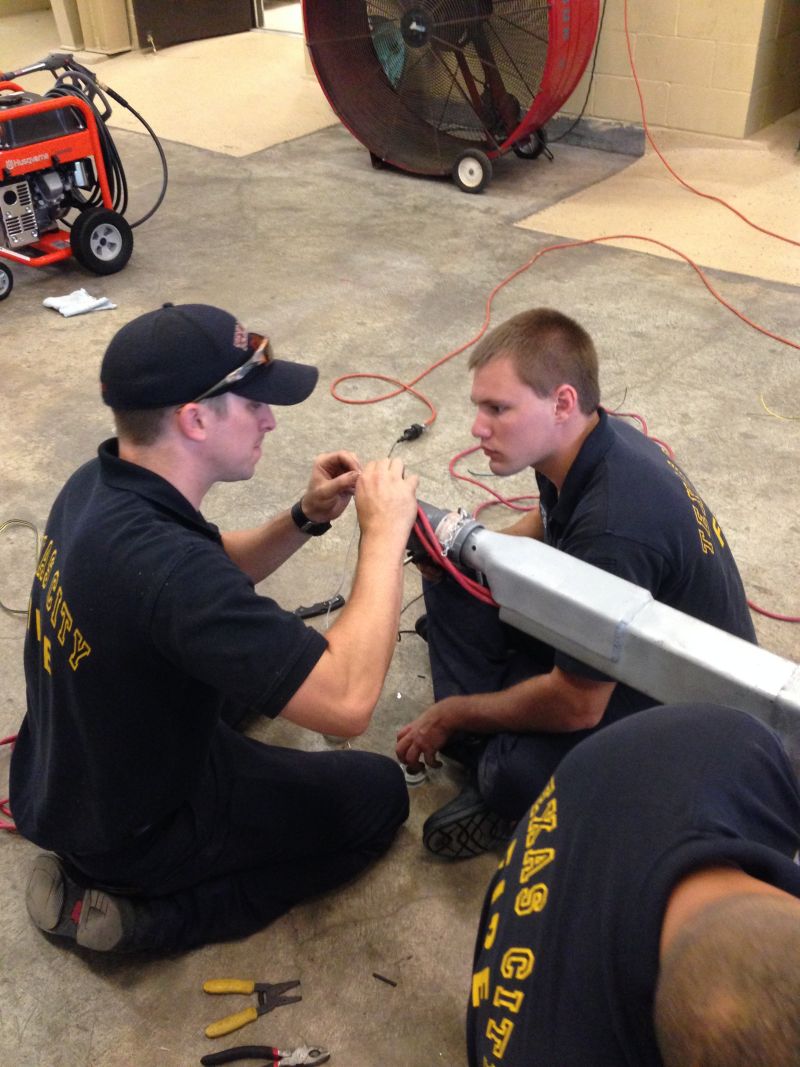
Every wire throughout boat was soldered then heat shrink placed on it.
Soldered with heat shrink
Doors put back on

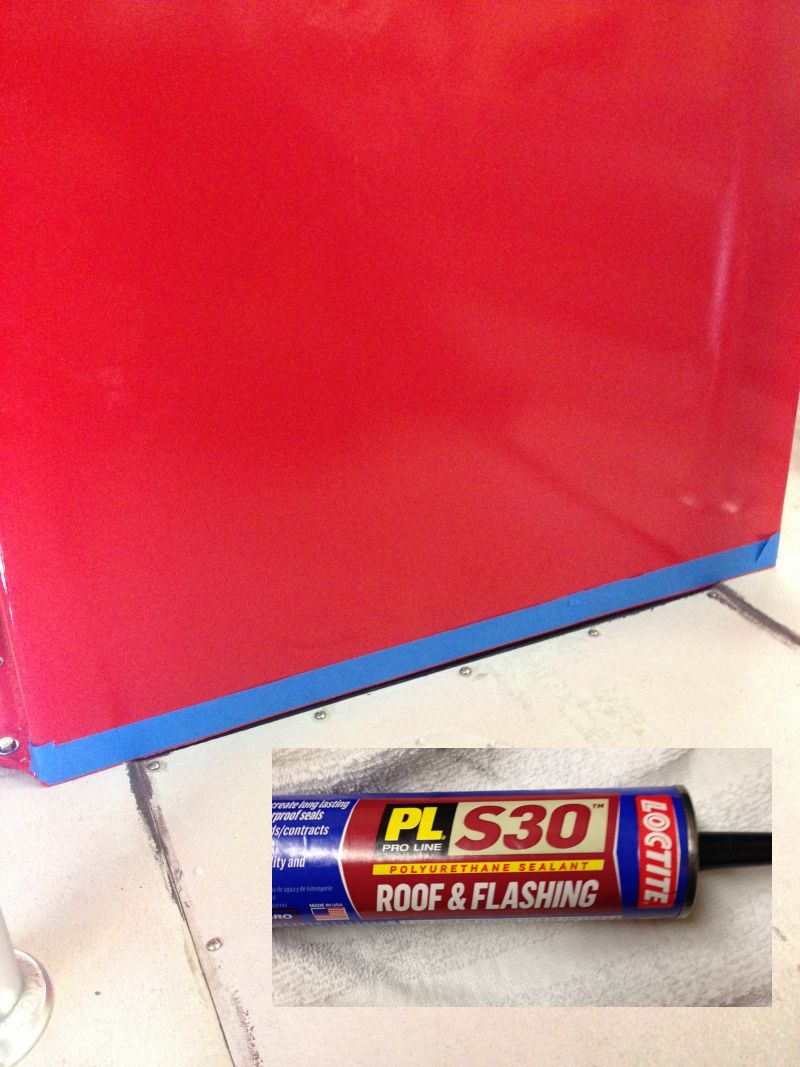
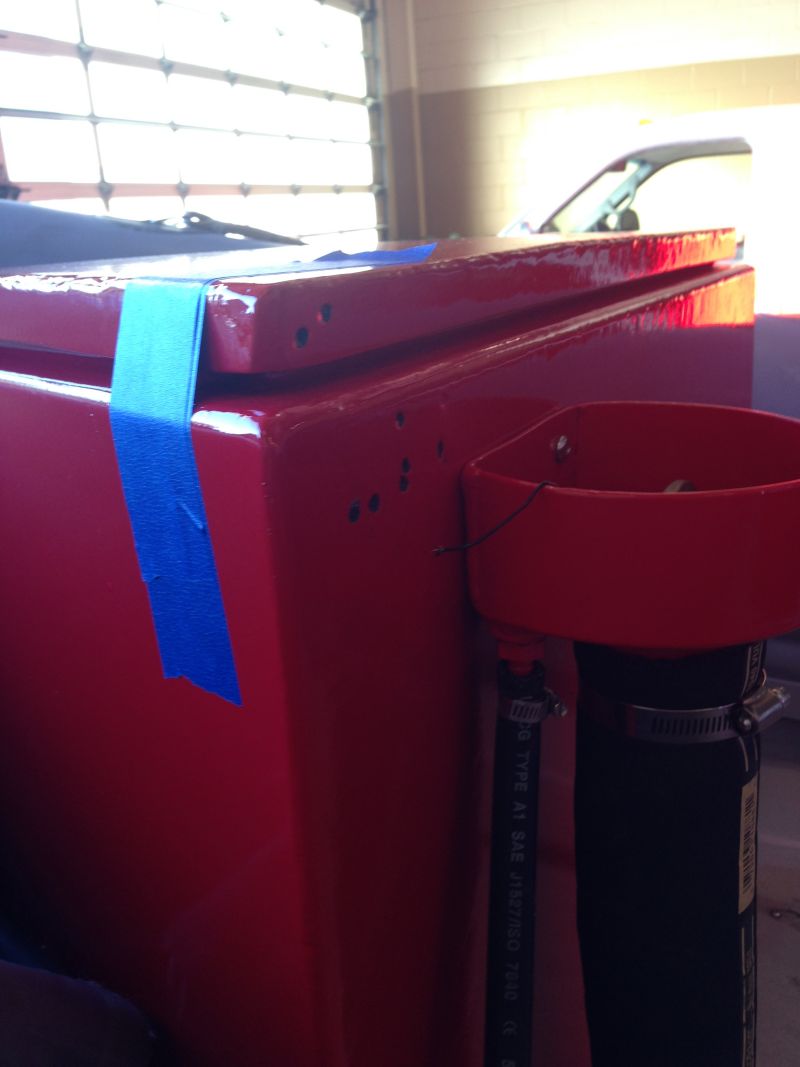
Masked off all around console to run a bead of Polyurethane Sealant by Loctite.We used this sealant throughout the boat. It is excellent for projects.

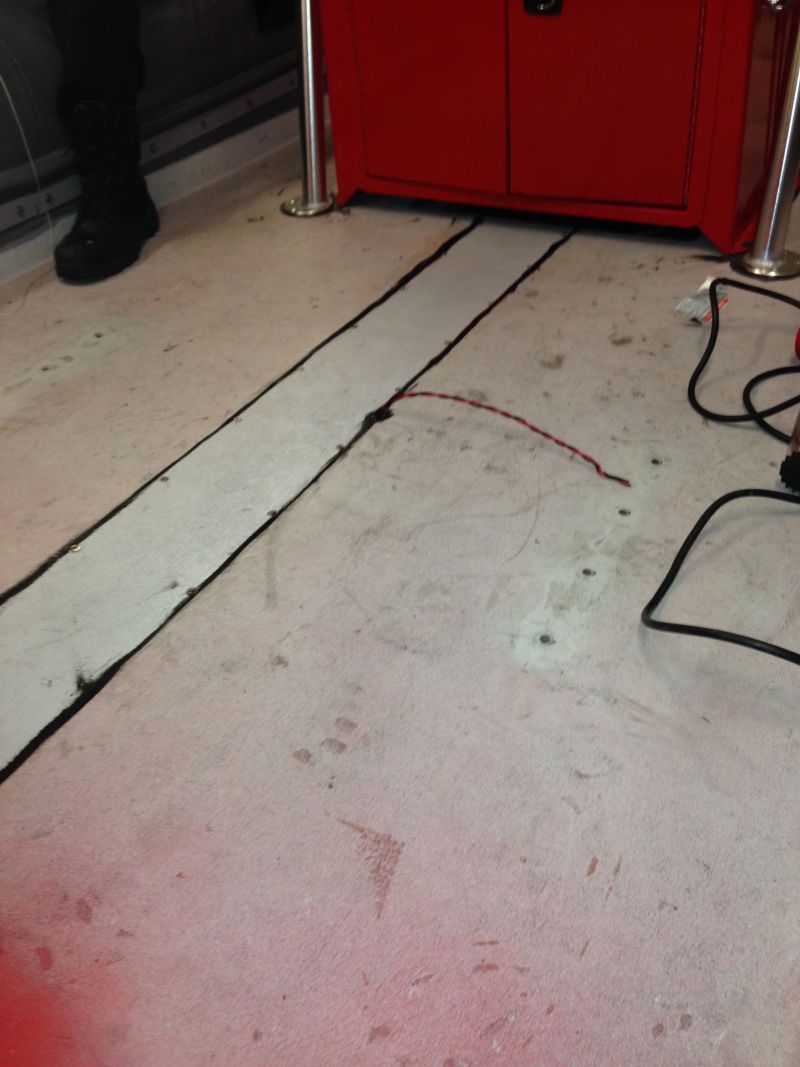
Once you remove the tape, you have a nice clean line. On certain projects, you will tape off both sides to get a clean line. Since we are having a Safe Floor installed we are only worried about having a clean line towards the paint.
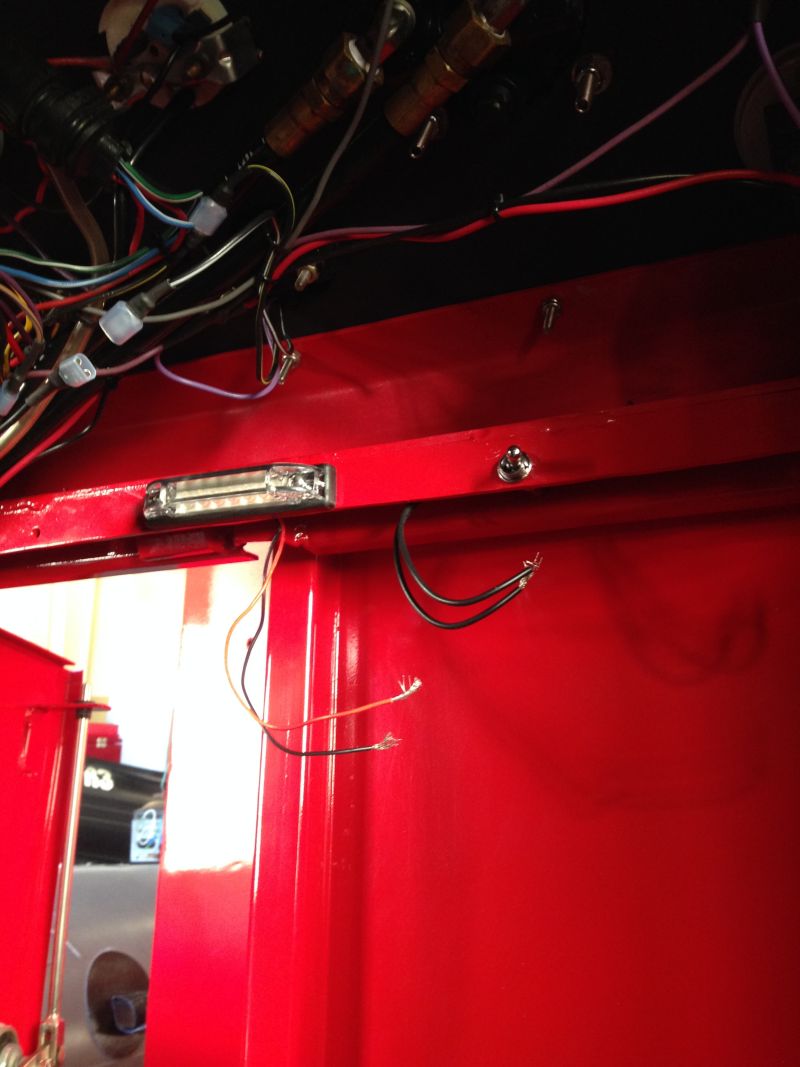
Installed small LEDs on the sides of the console to light up the floor area at night

Installed the center plate and sealed it
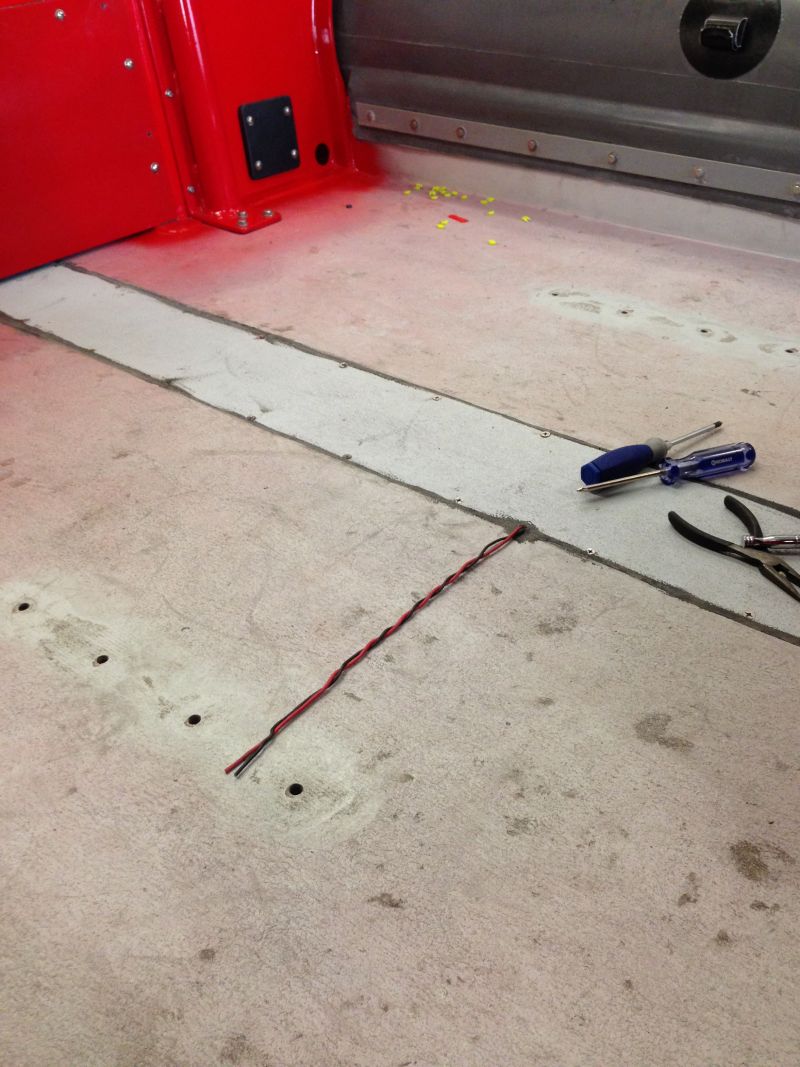
The wires for the LED light that will go under the seat
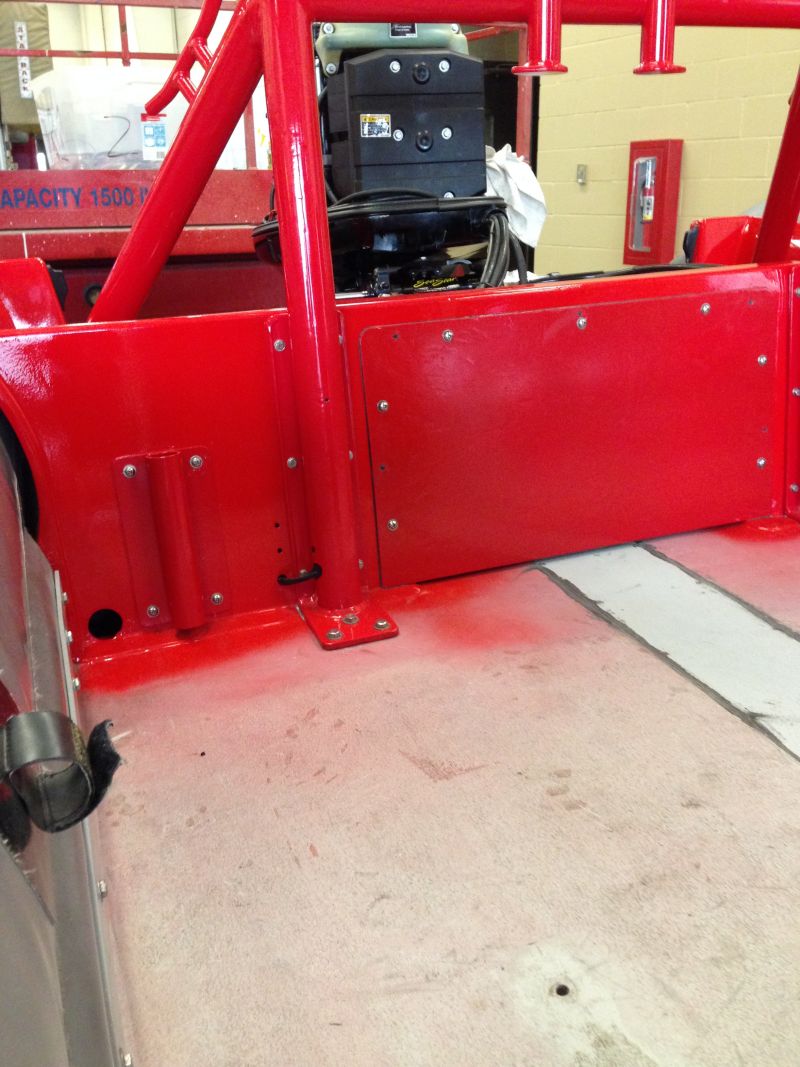
Back plate installed and sealed
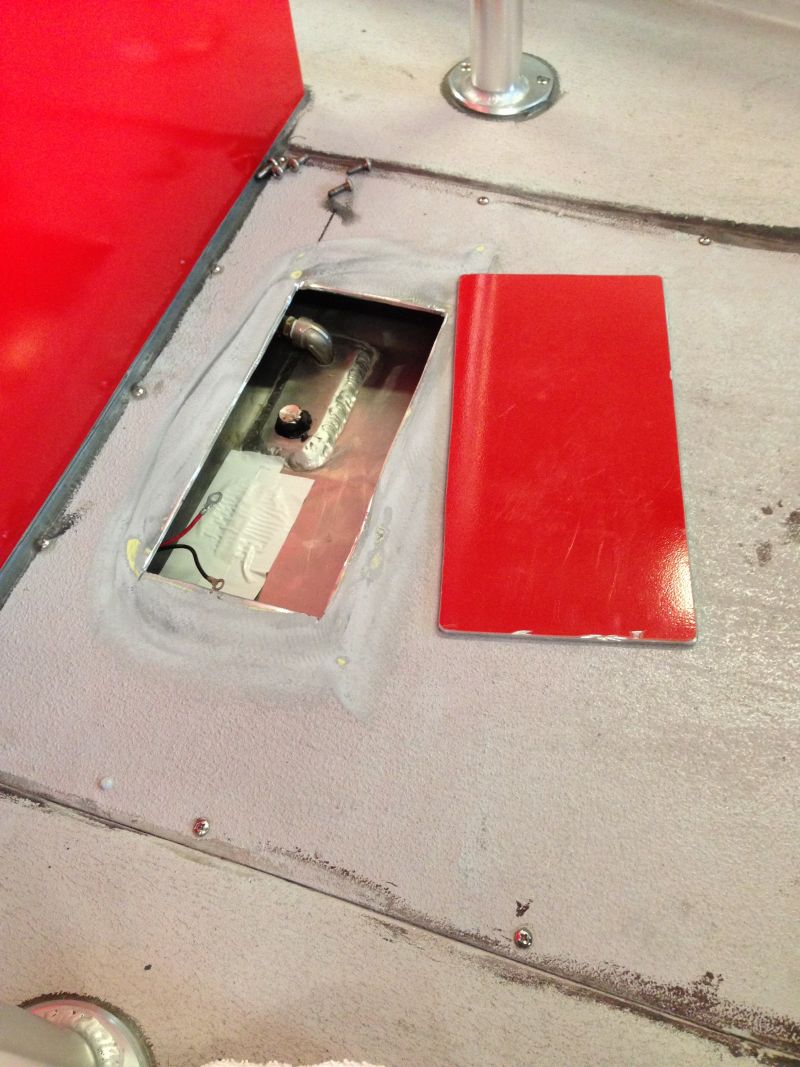
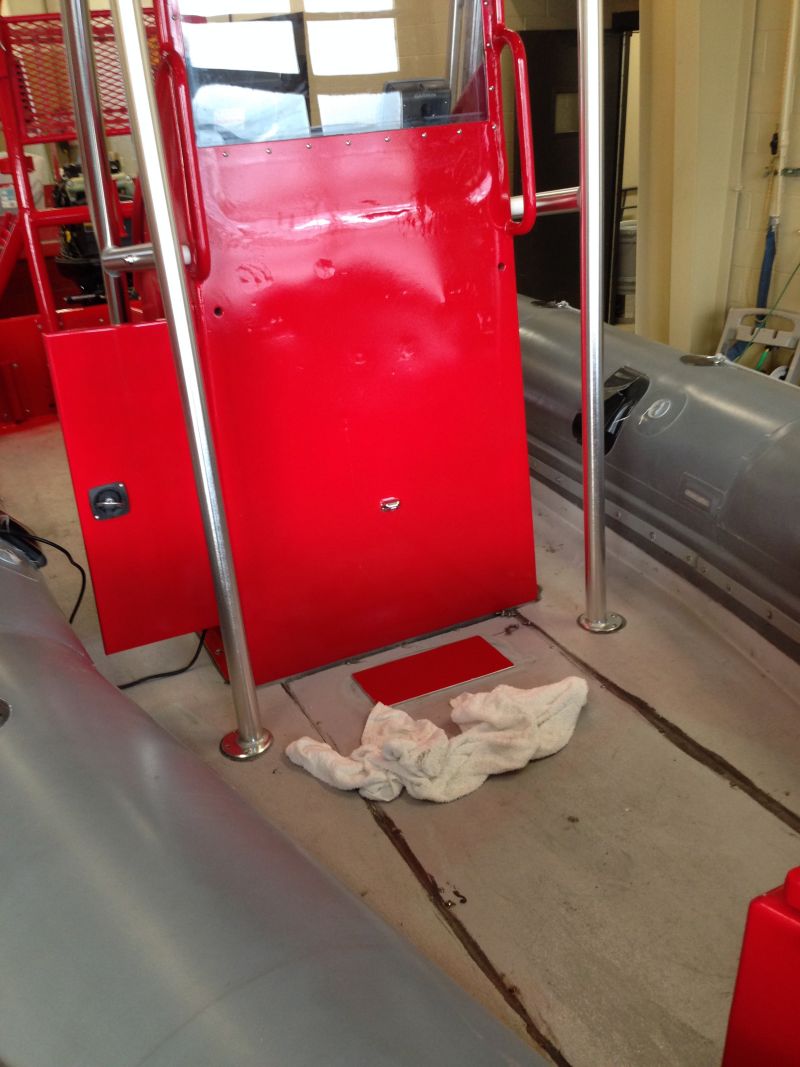
Cut an access hole to the fuel tank fittings
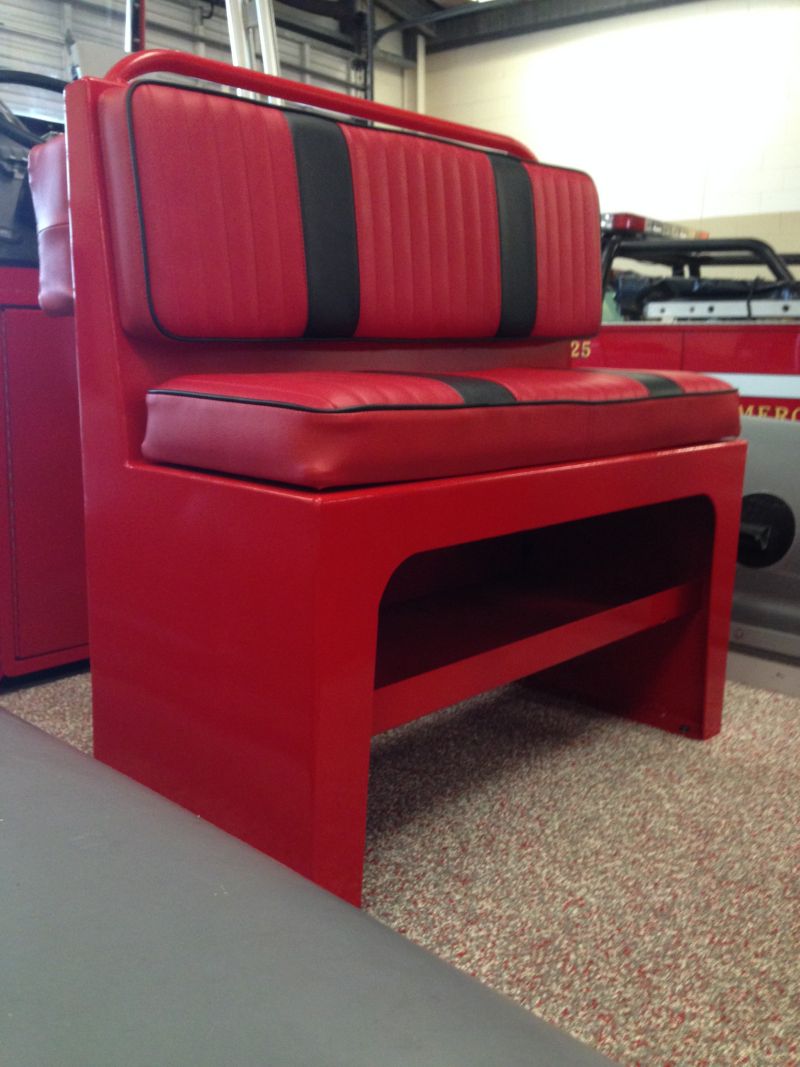
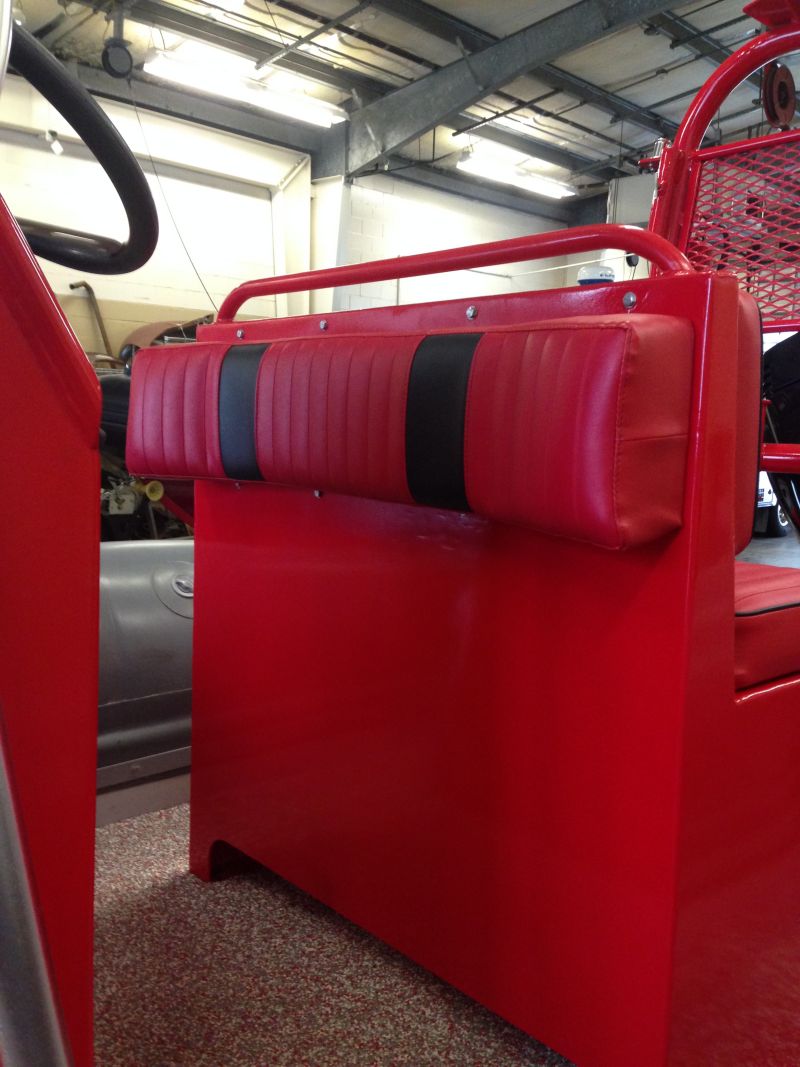
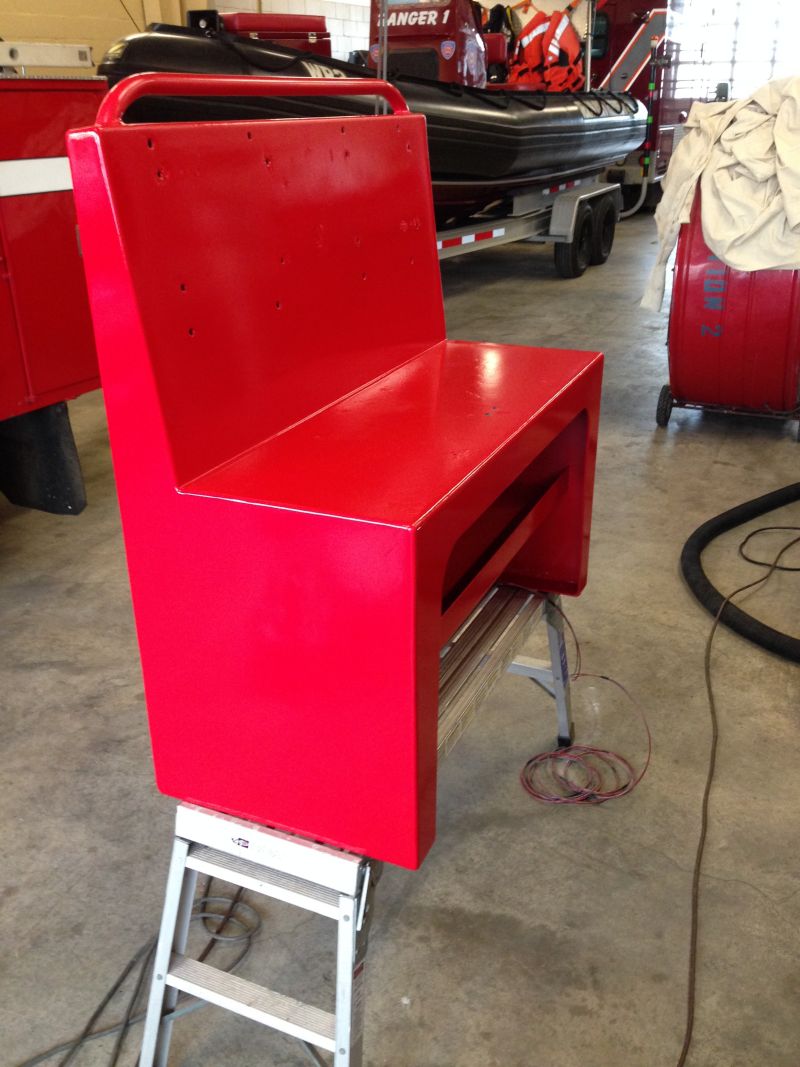
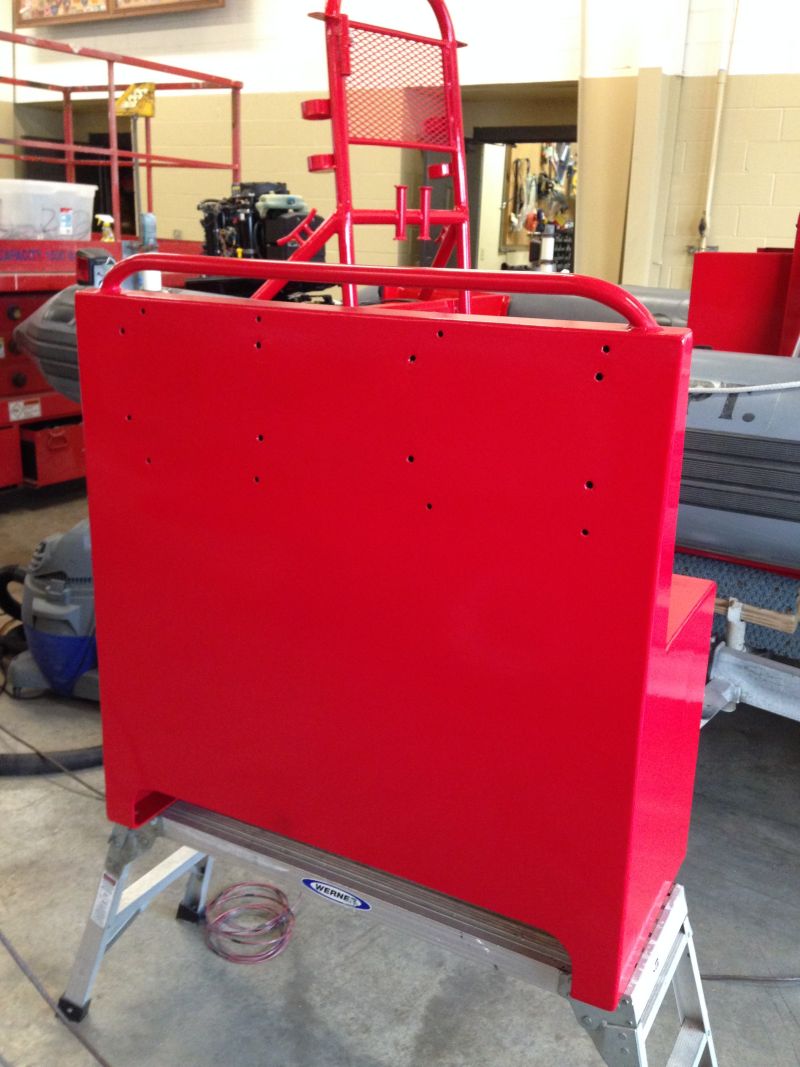
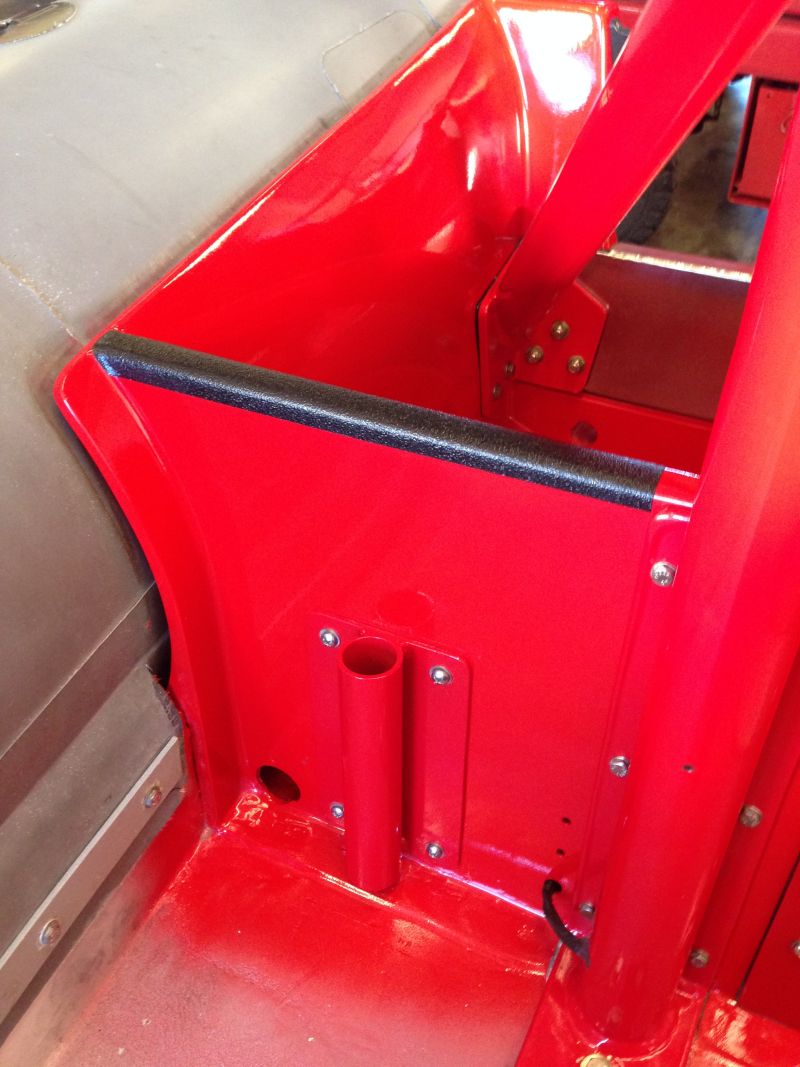
Preparing area for the leaning post/rear seat
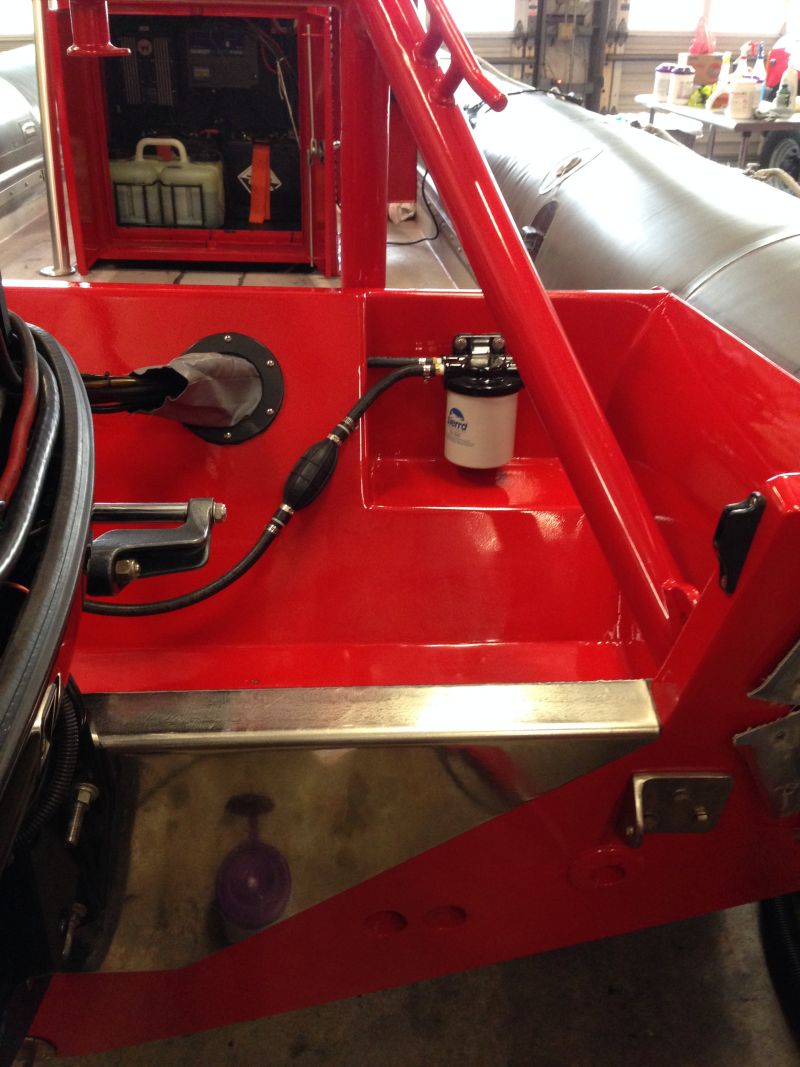
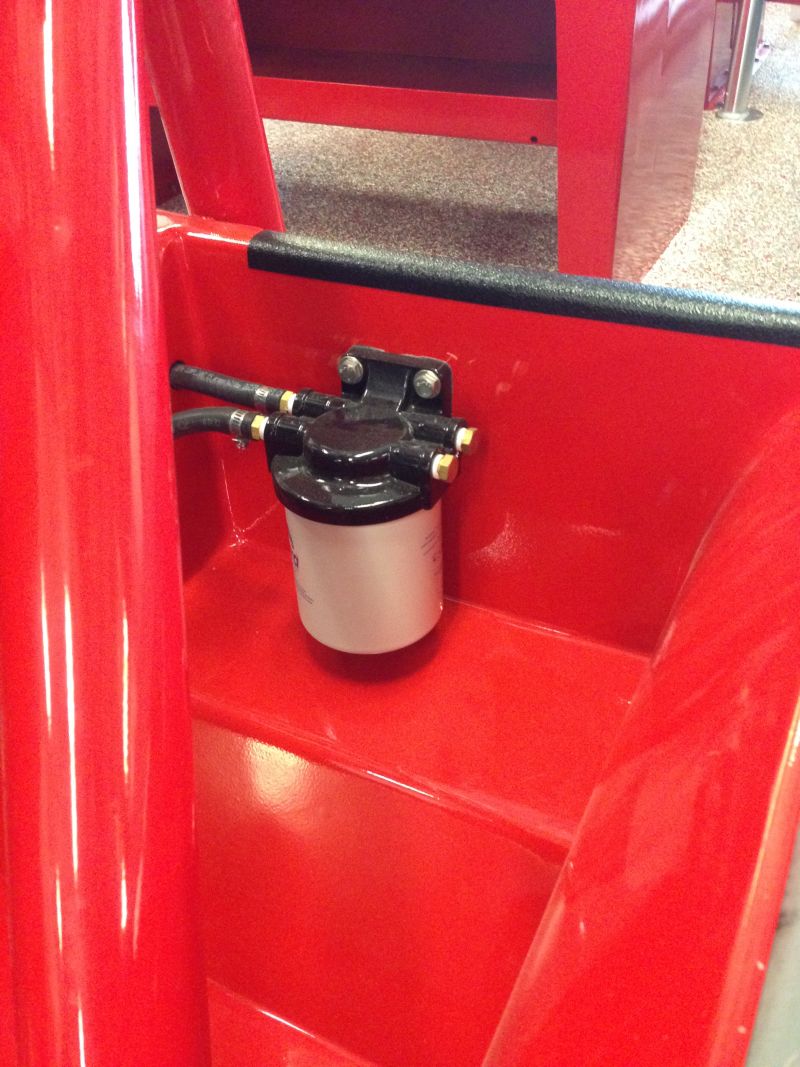
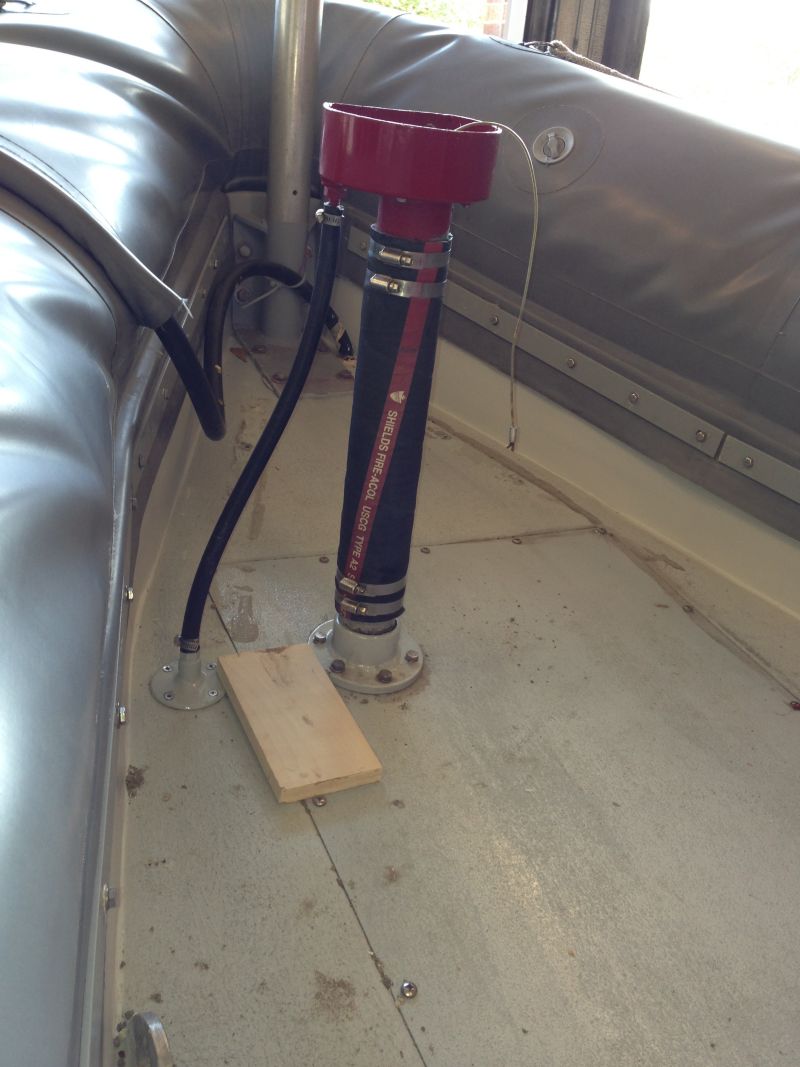
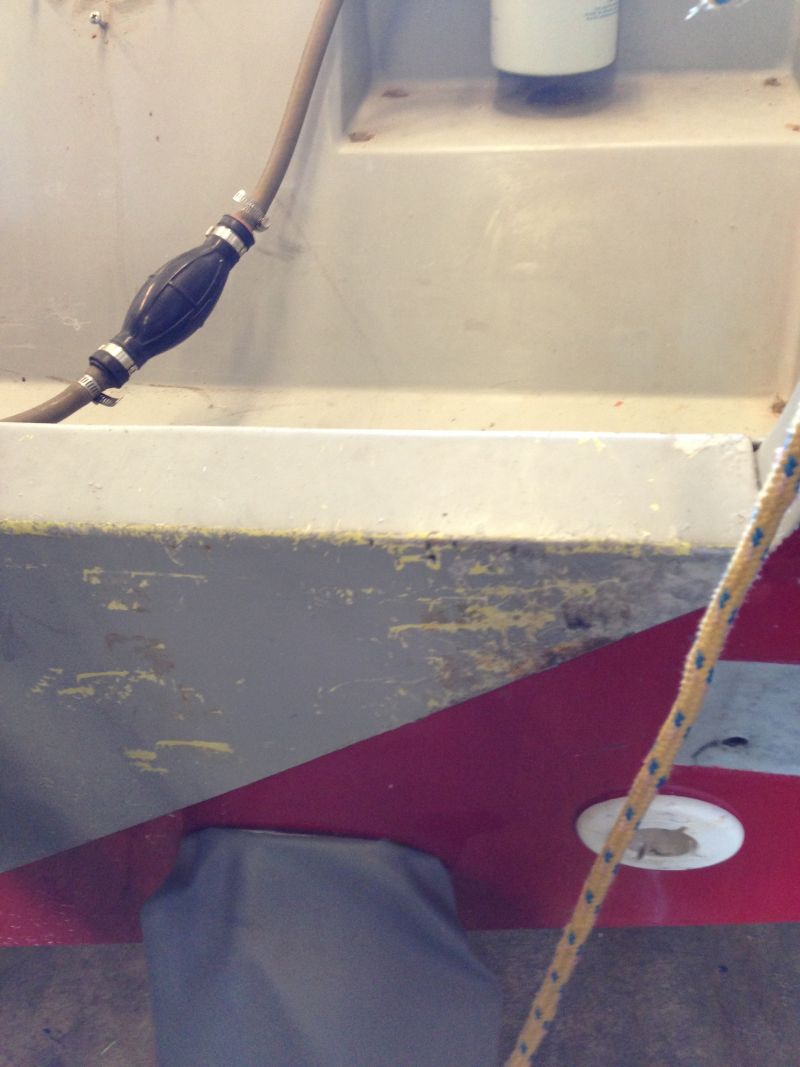
Fuel filter installed
LEDs to light up name plate at night
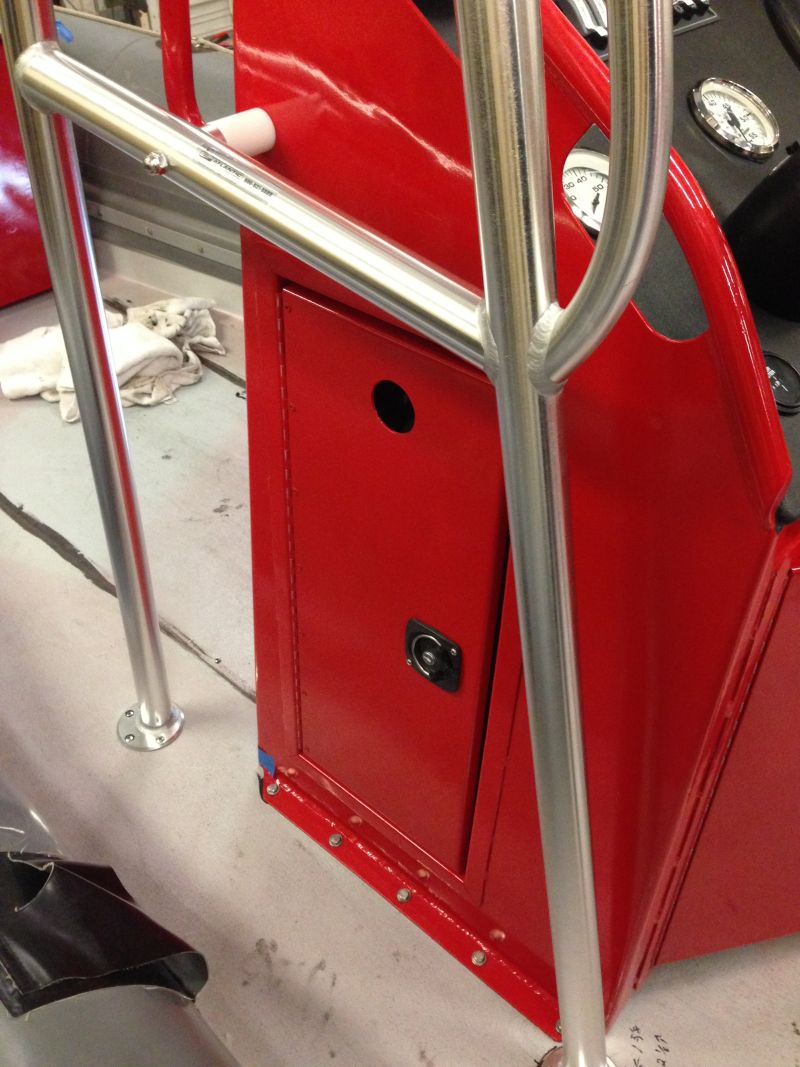
Front box mounted and waiting for a new latch
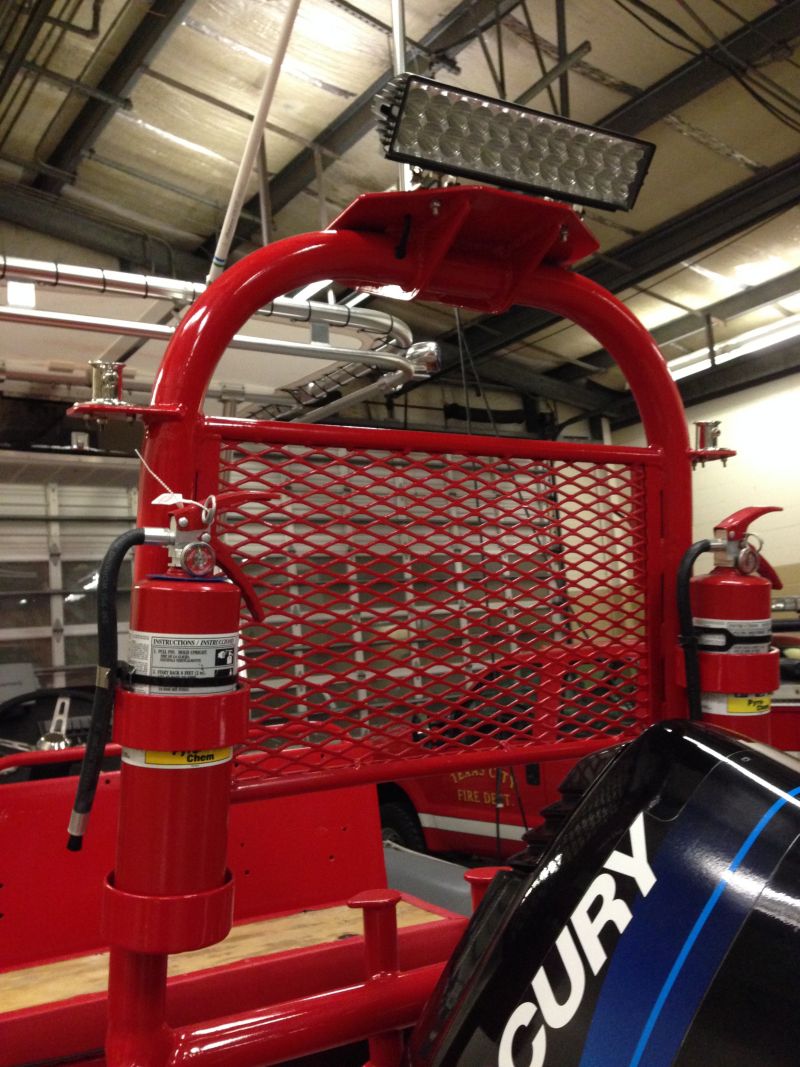
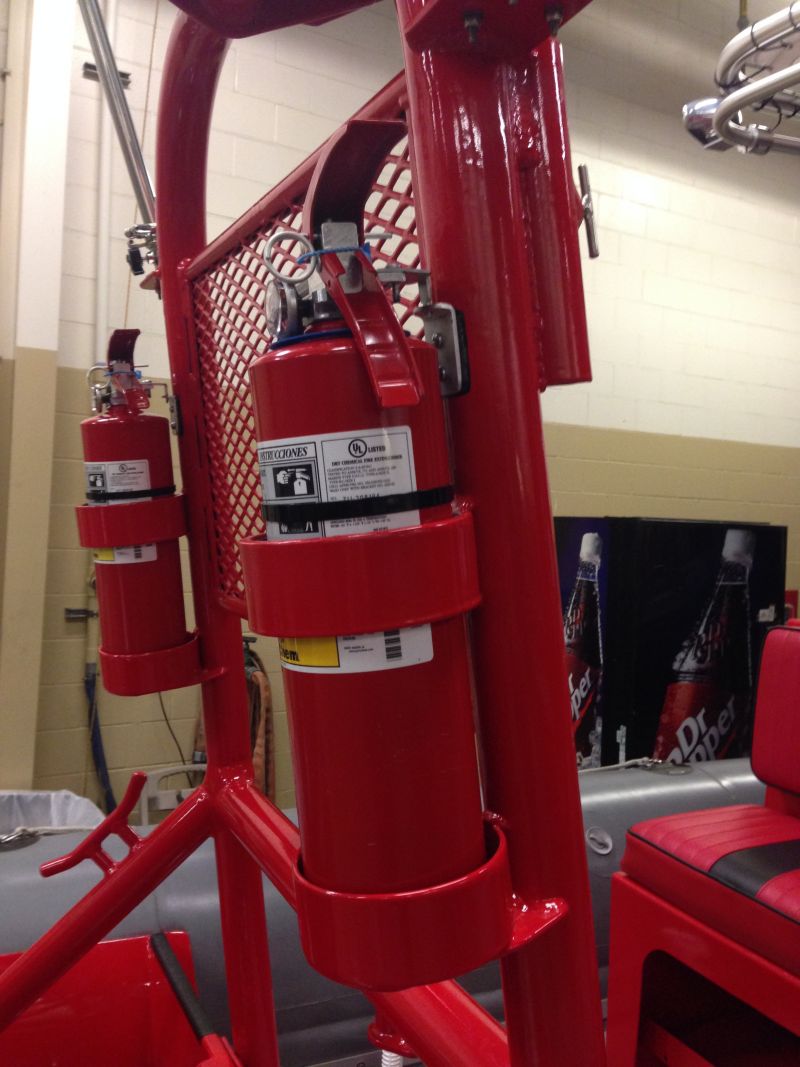
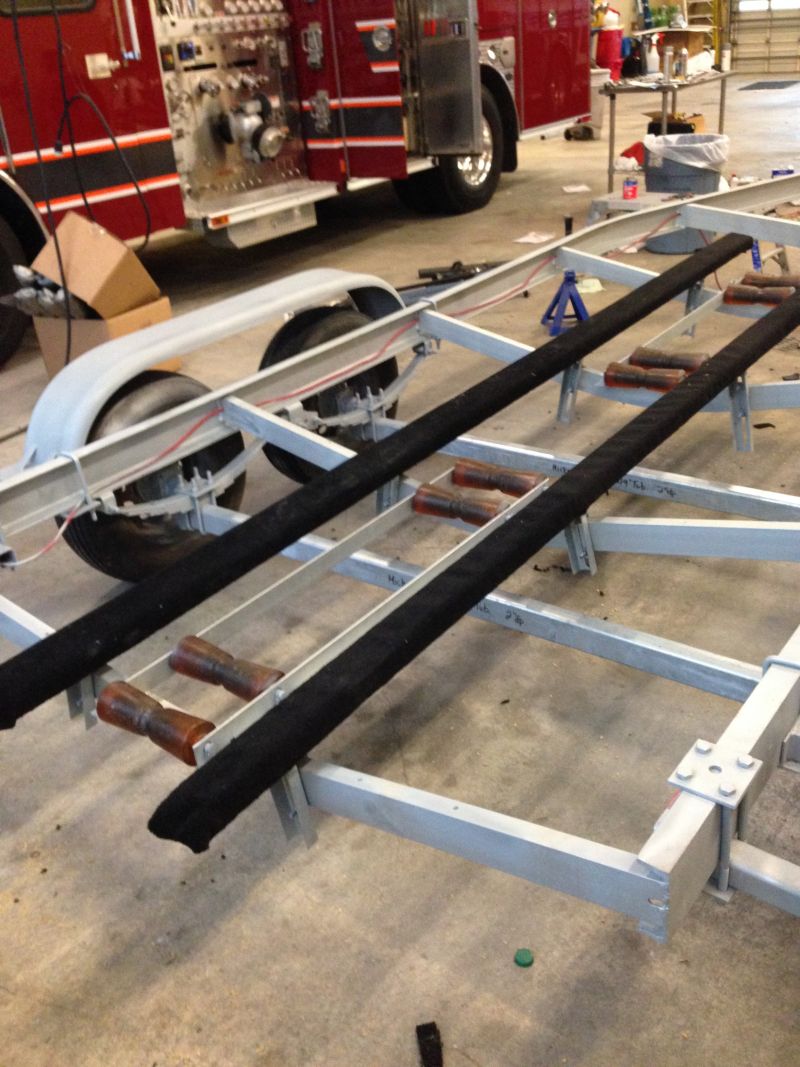
Fire extinguisher holders lined with rubber
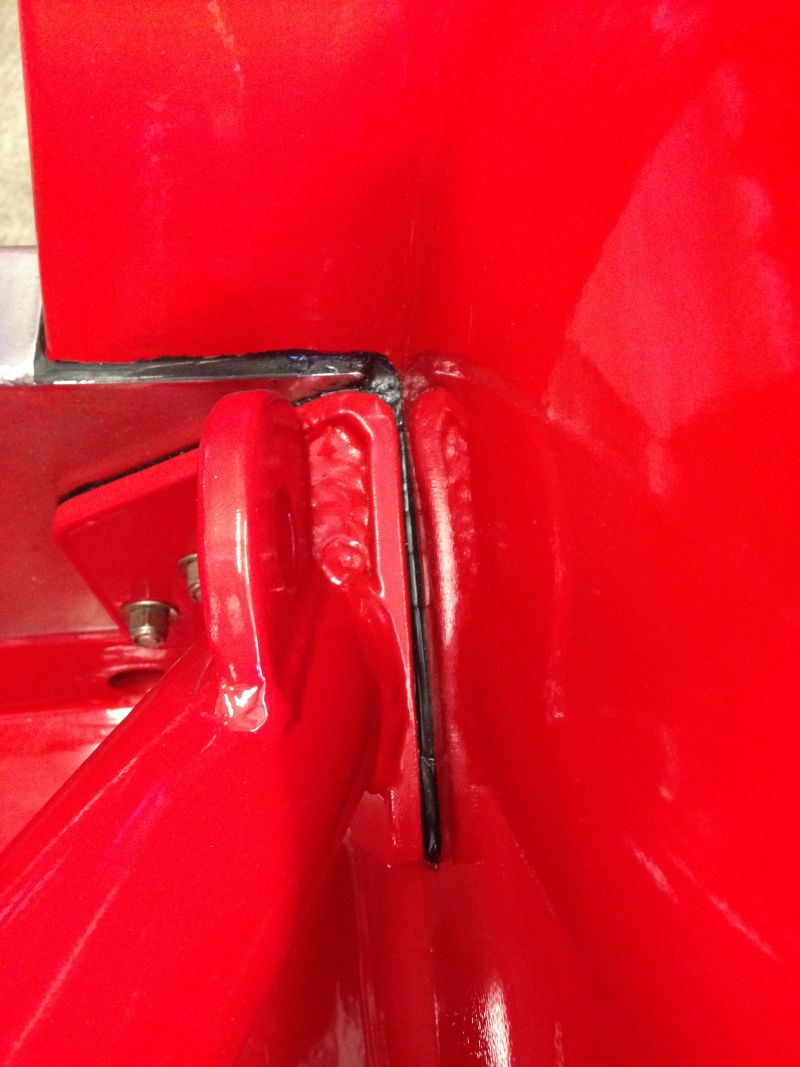
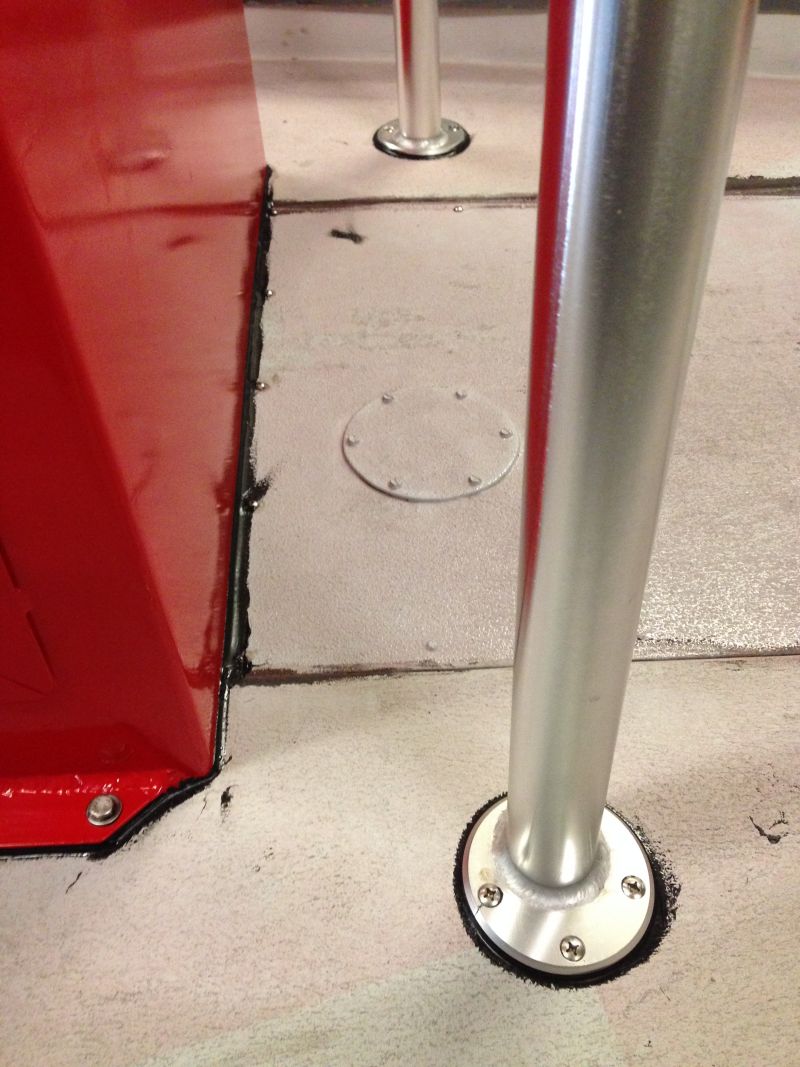
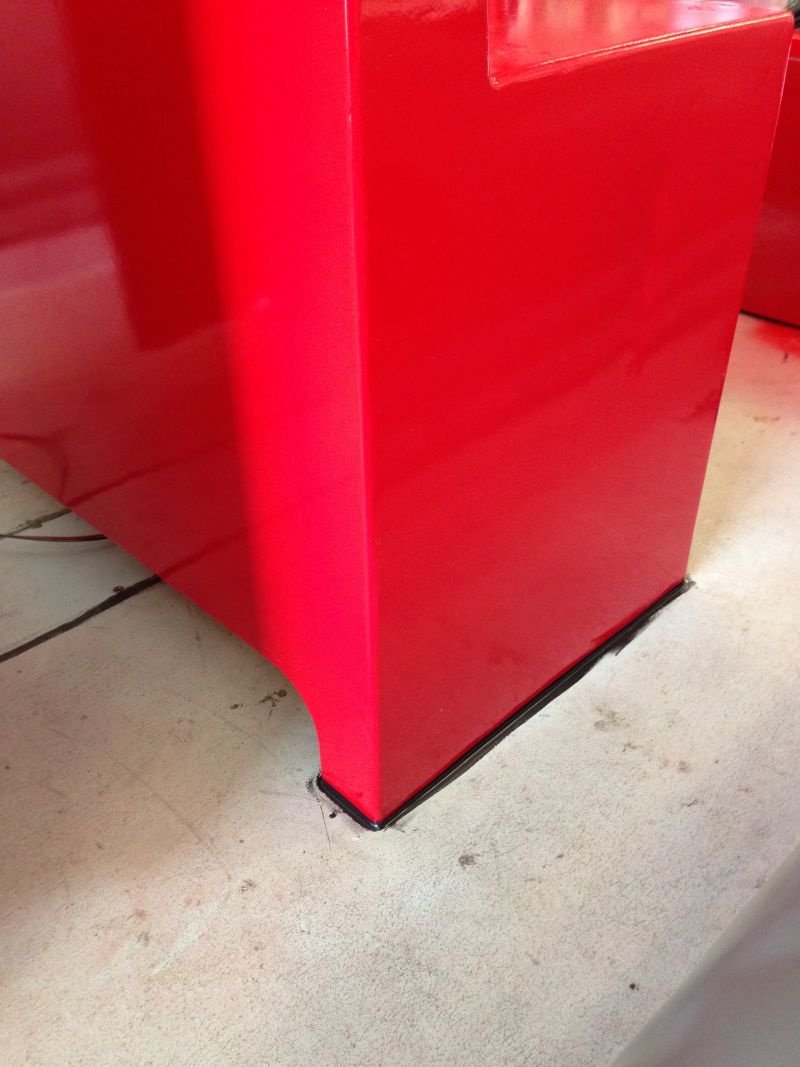
Sealing places with Loctite Polyurethane that saltwater will corrode if allowed to sit
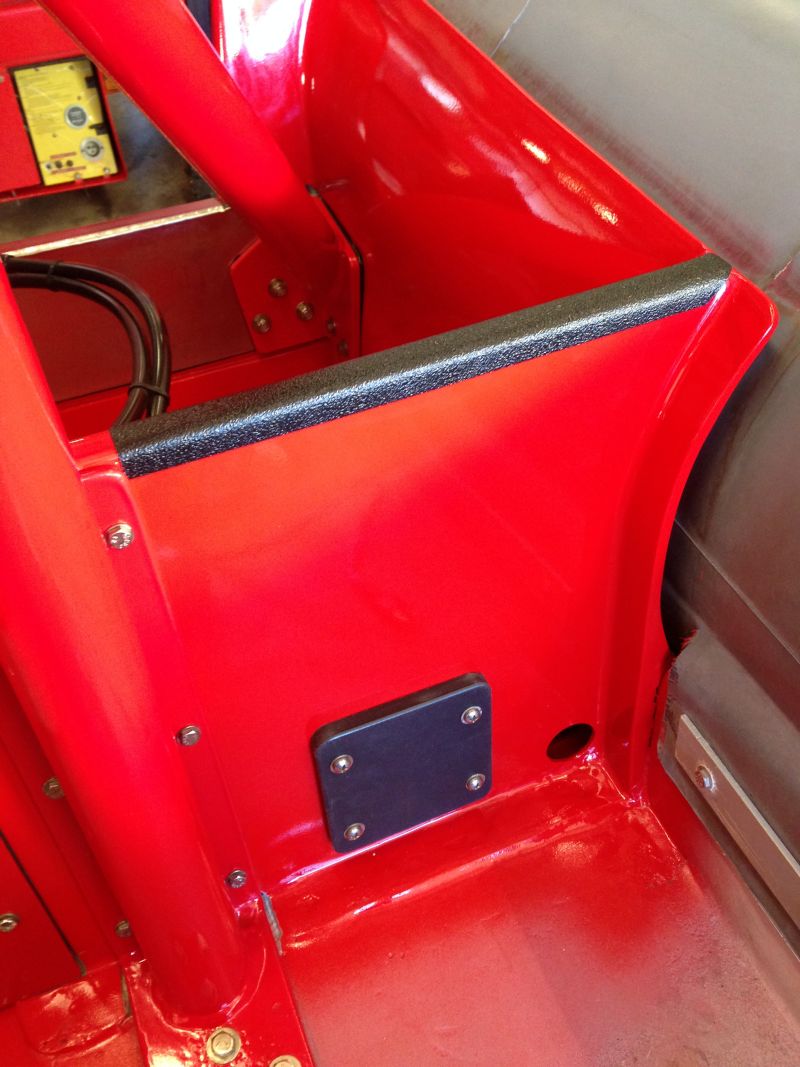
Non skid to protect area from scuff marks
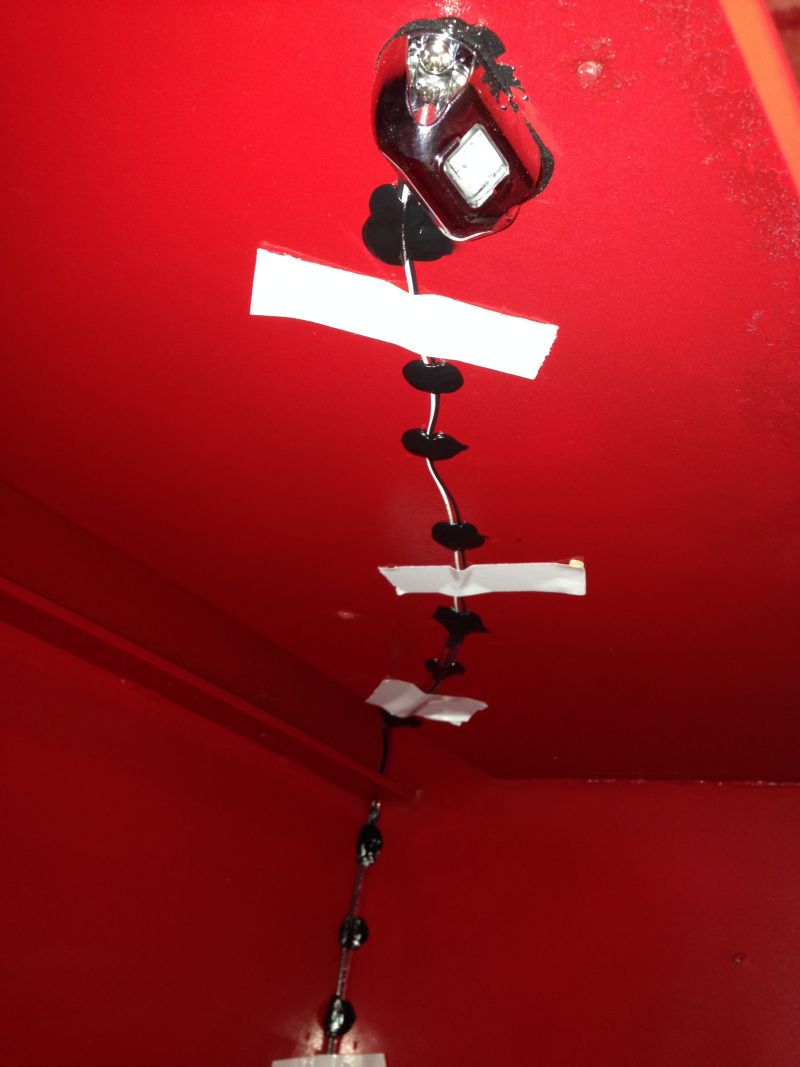
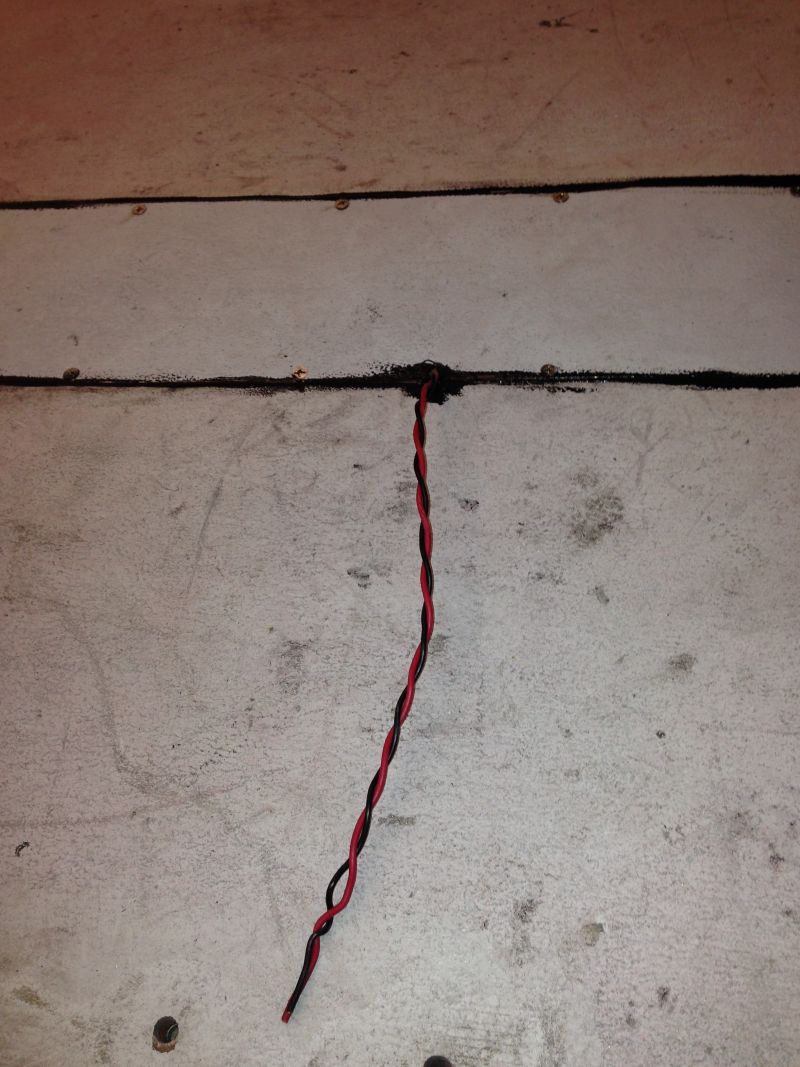
Used the Polyurethane Sealant to hold the wires in place for the LED light underneath the seat.

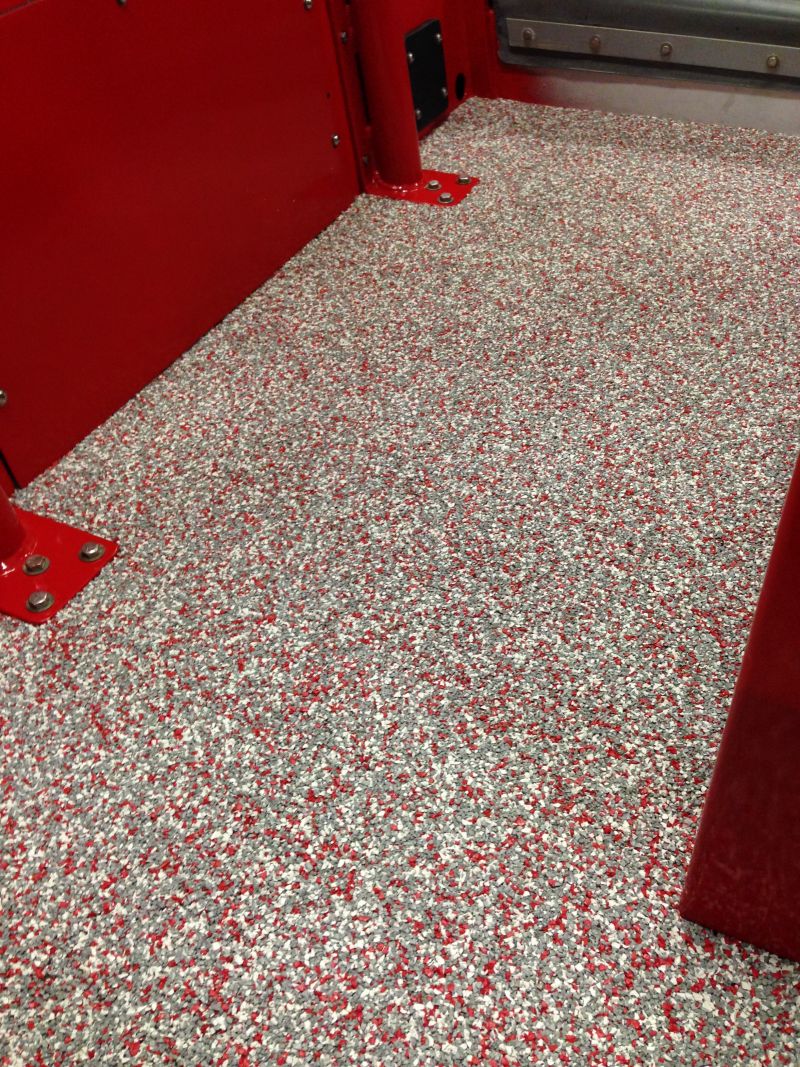
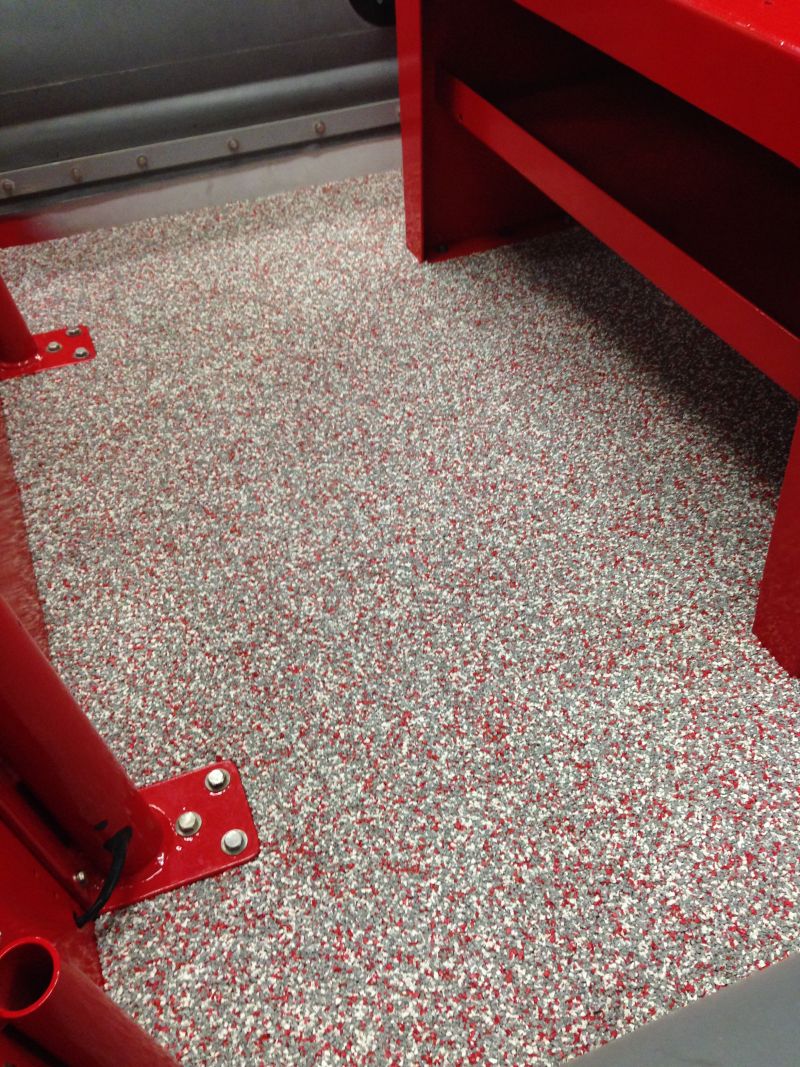
Same thing on the floor, except the Safe Floor will lay right over these wires.
Mounted a toogle switch and LEd under the center console
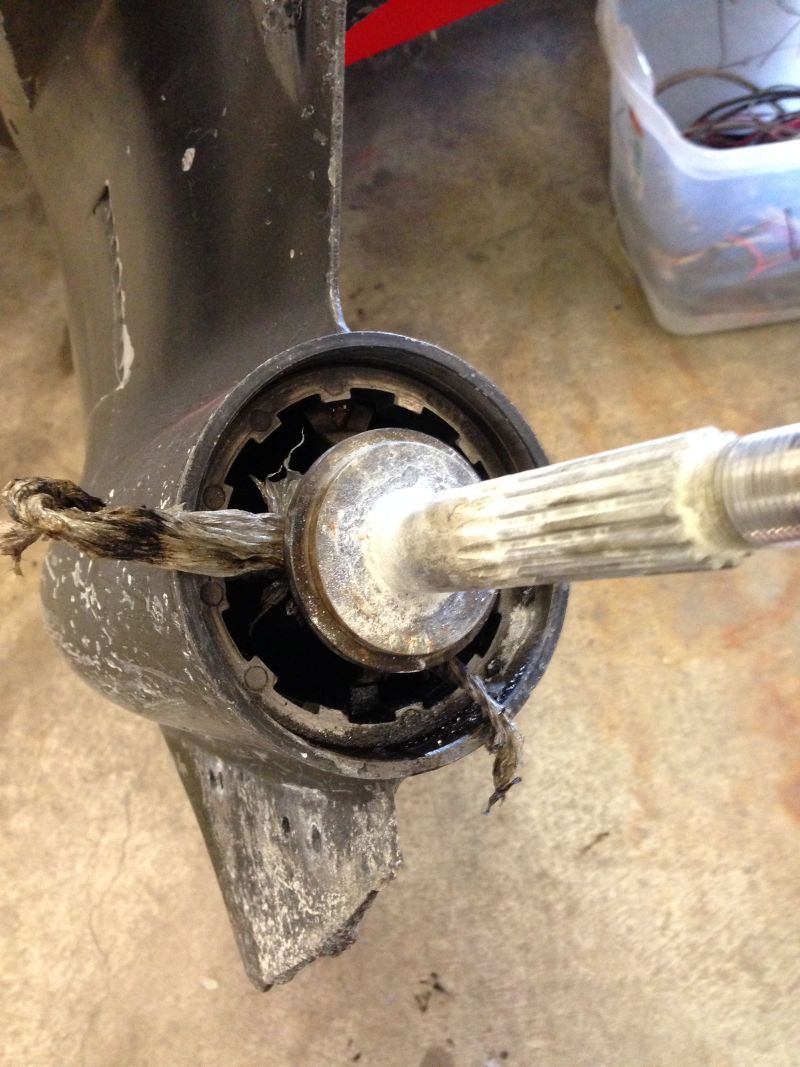
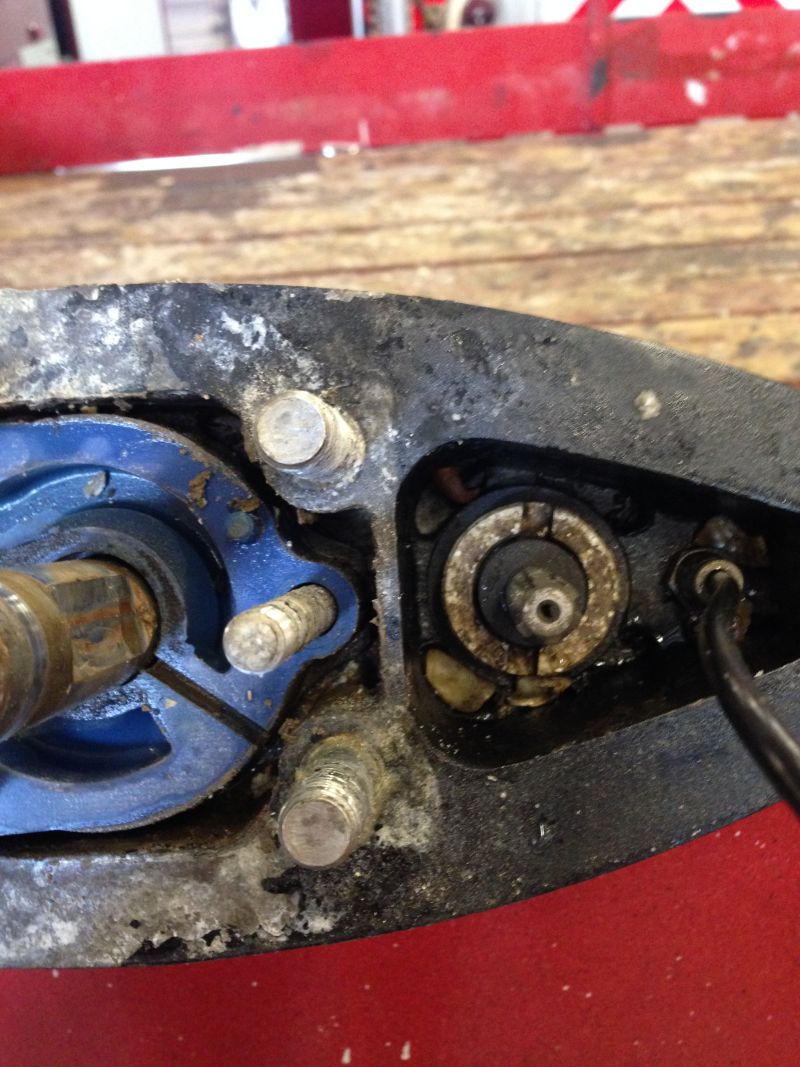
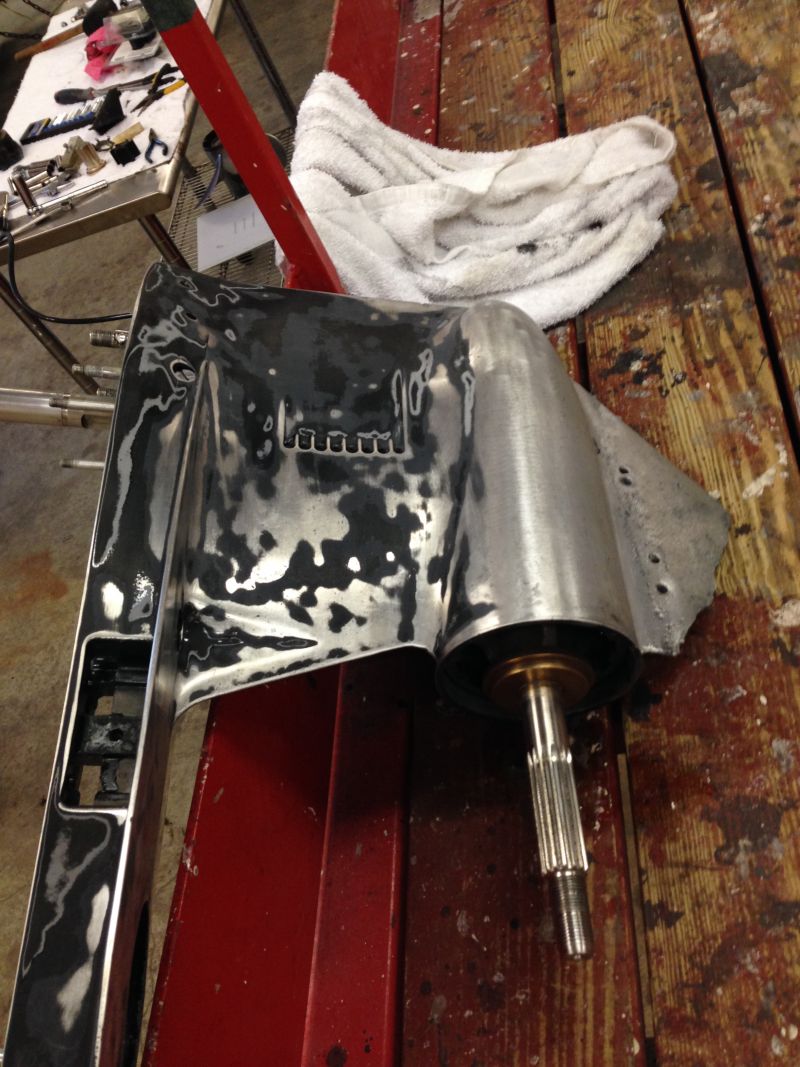
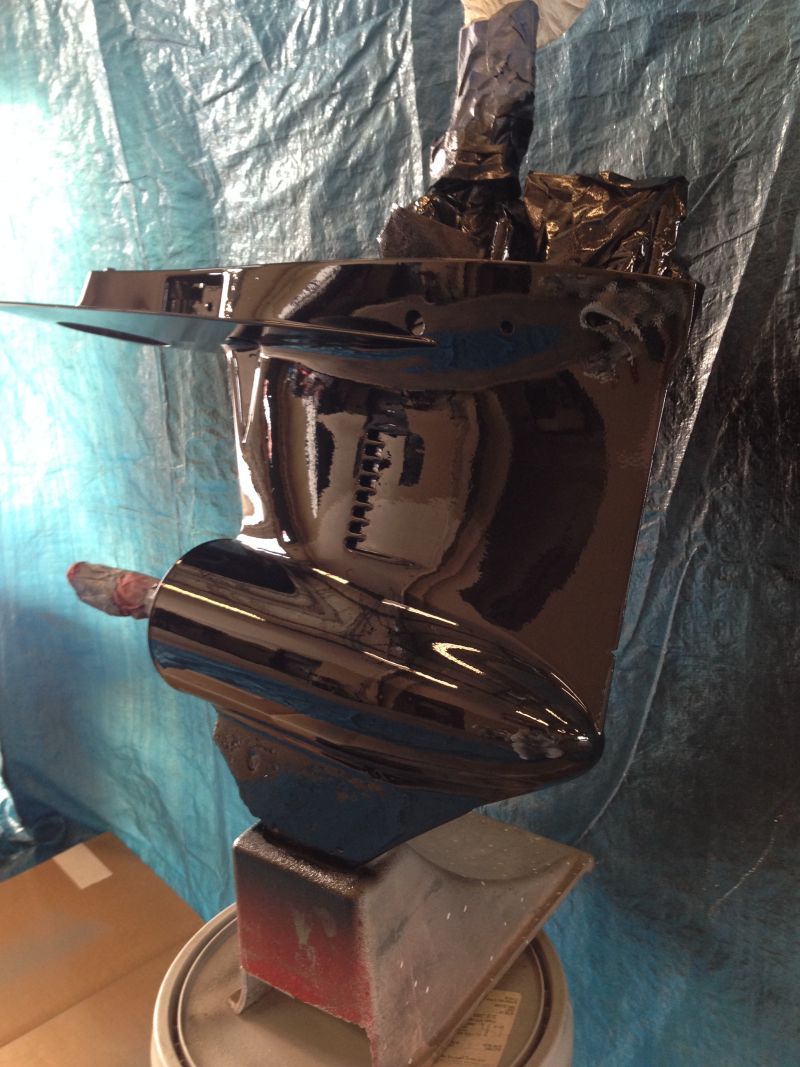
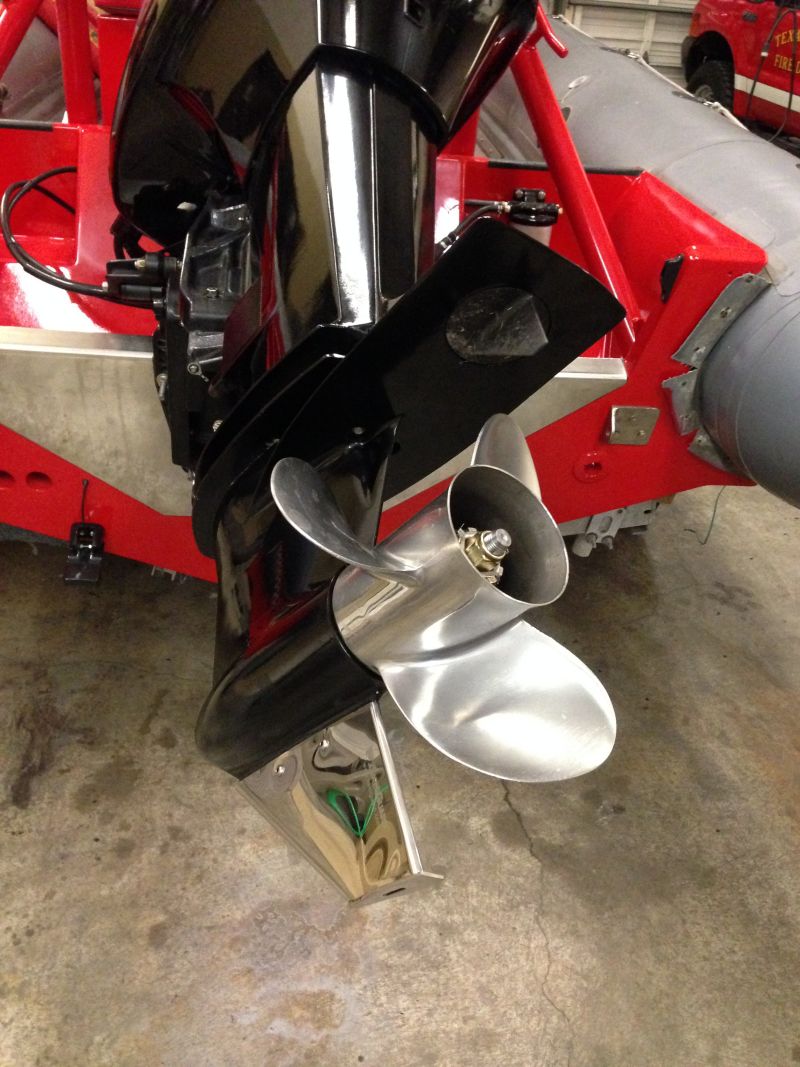
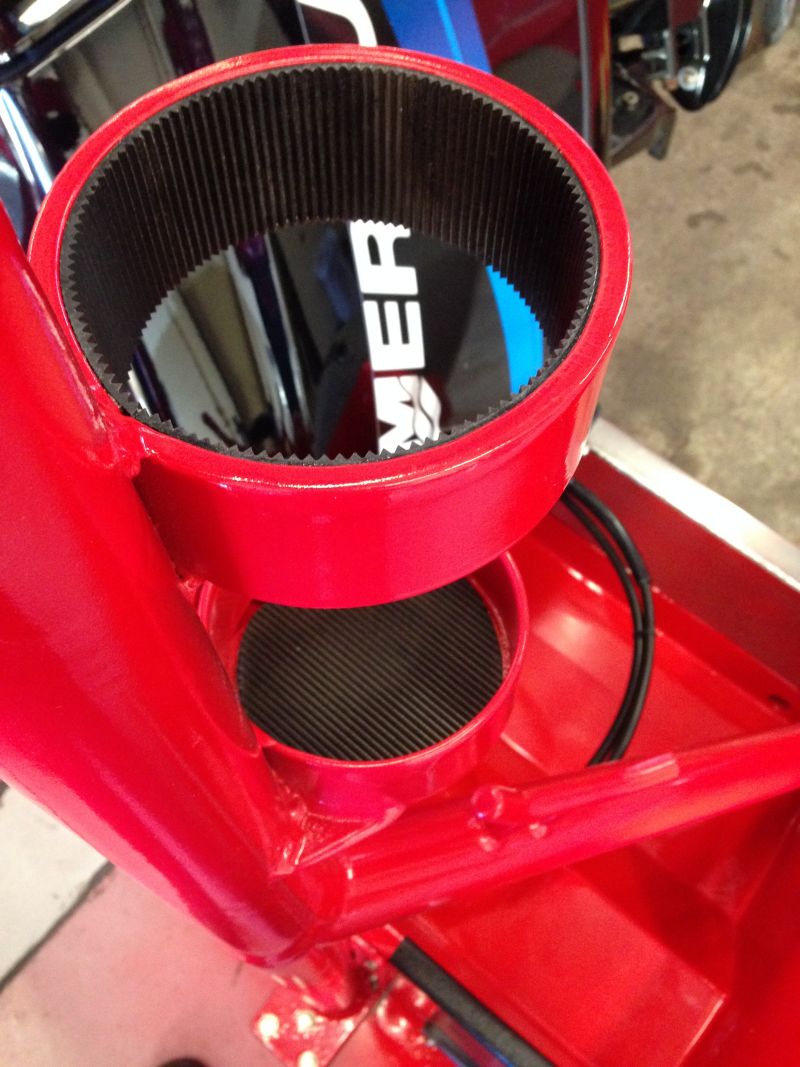
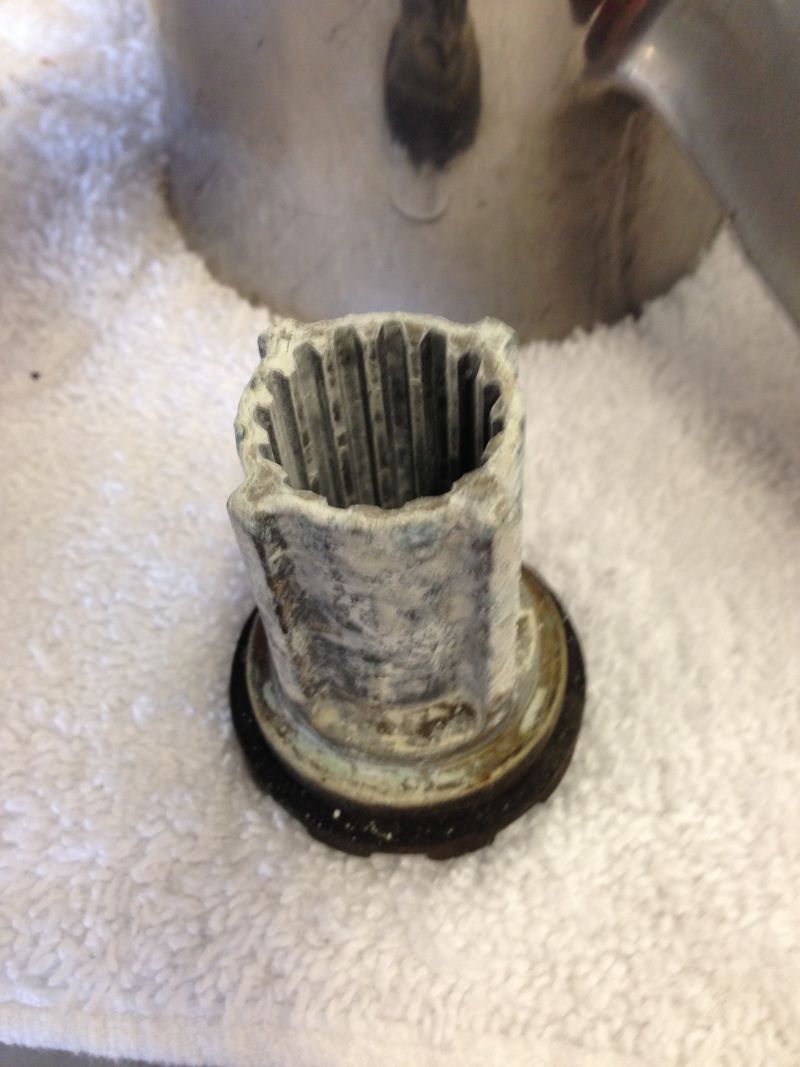
Removing the prop revealed a mess or plastic and fishing line
A lot of salt build up from over the years behind the prop that had to be cleaned up
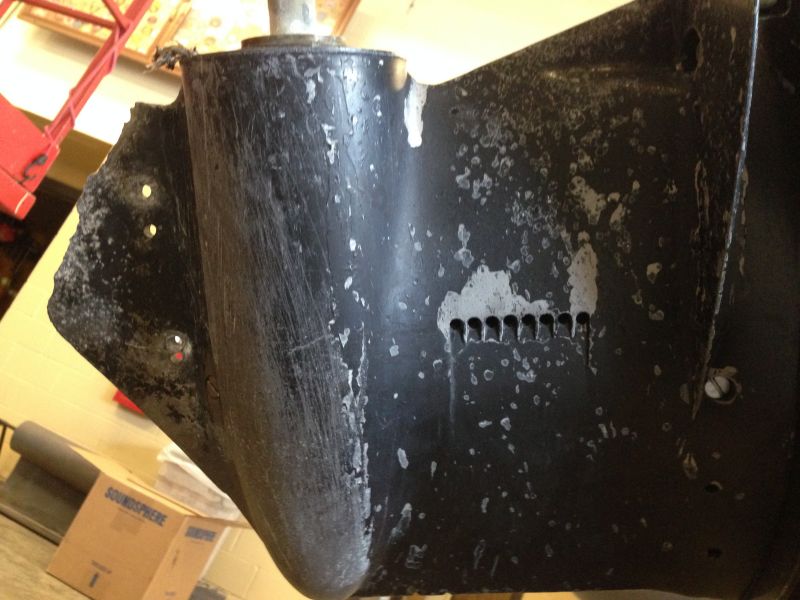
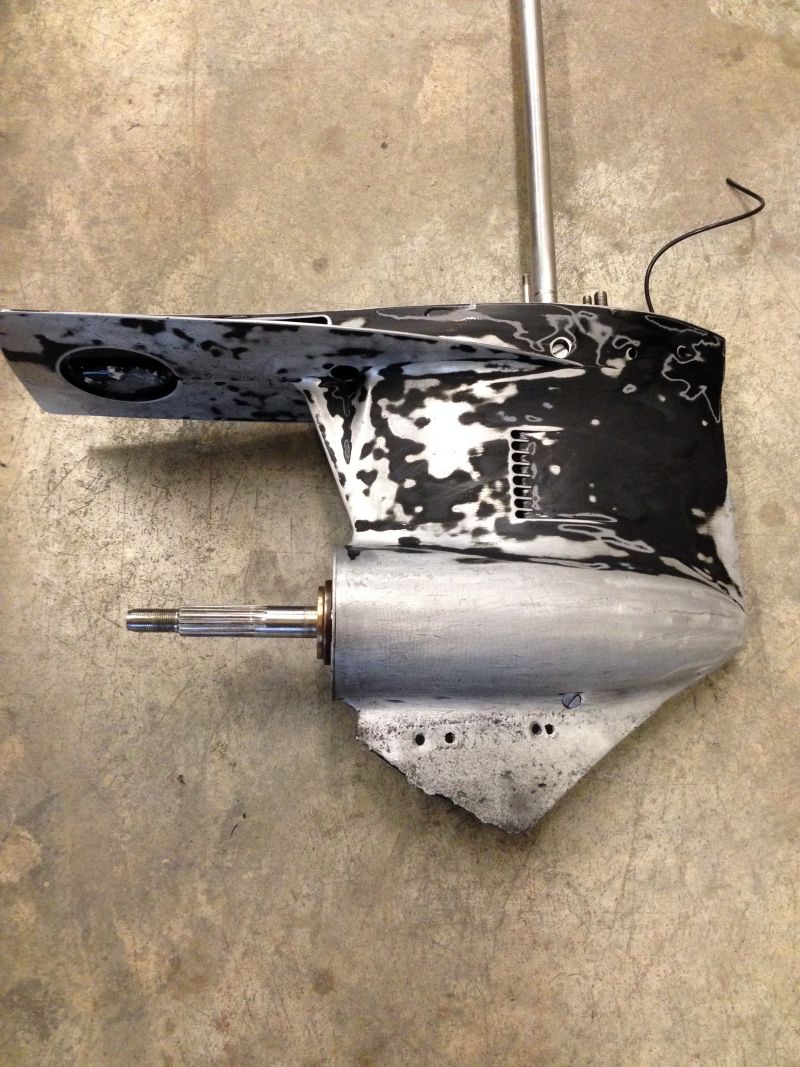
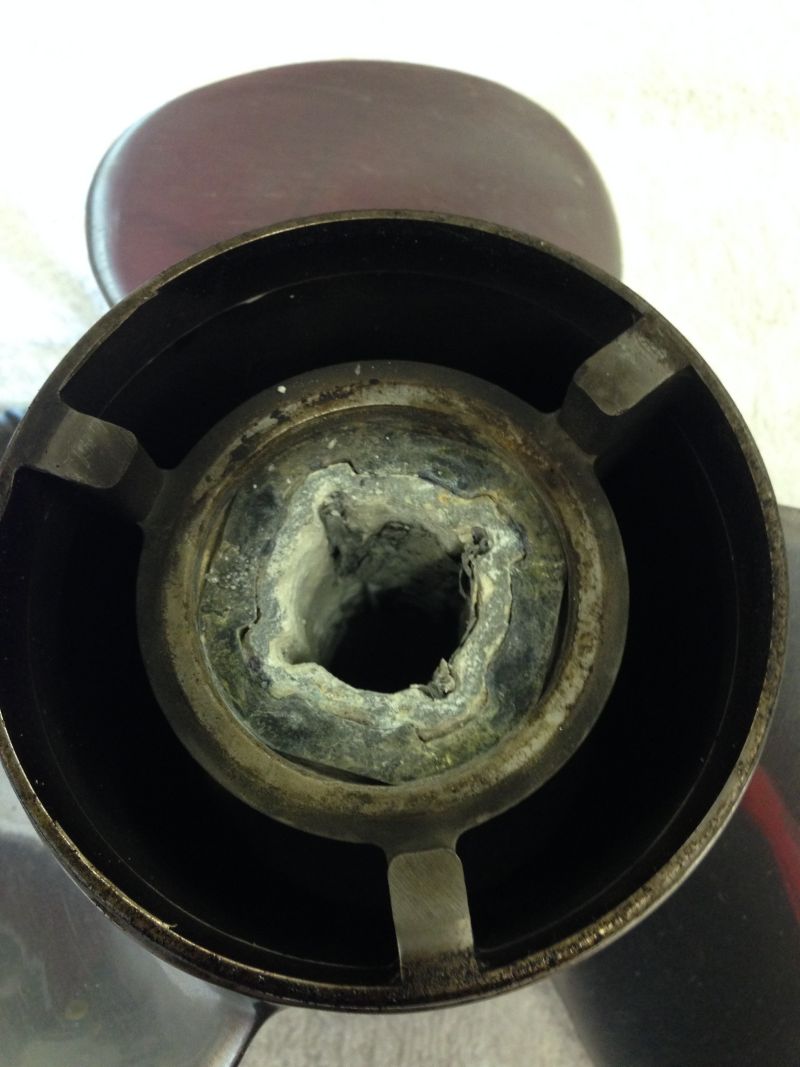
Lower unit pretty abused

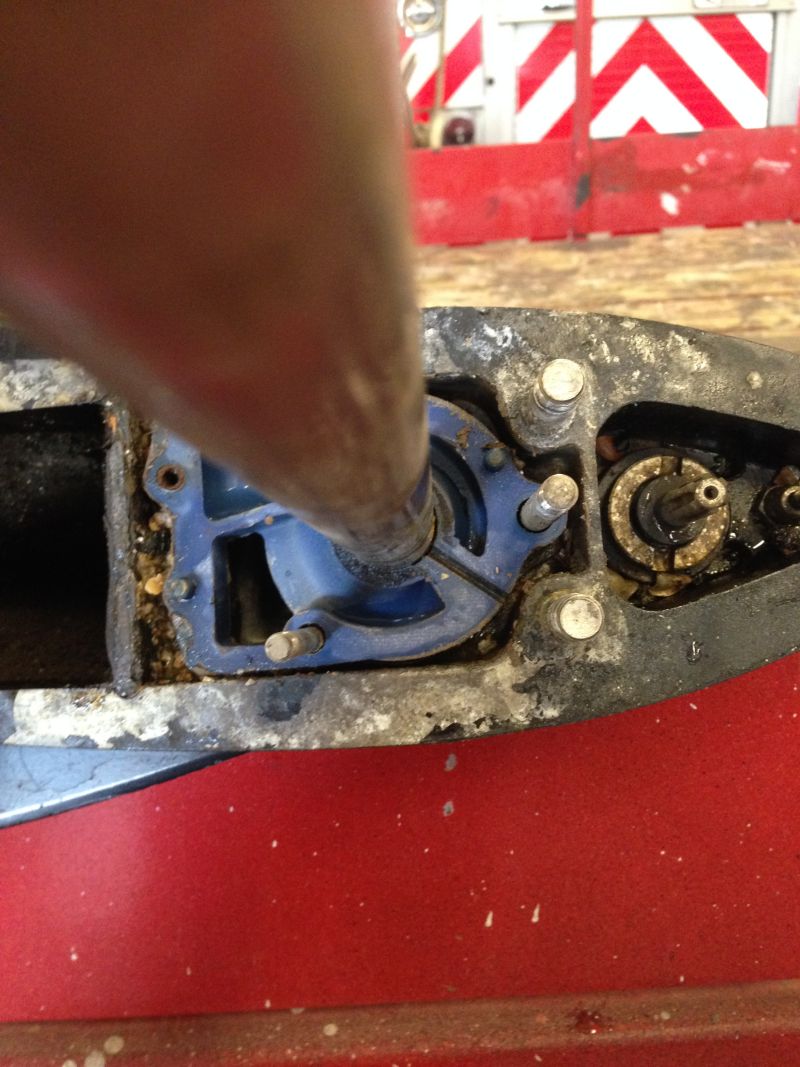
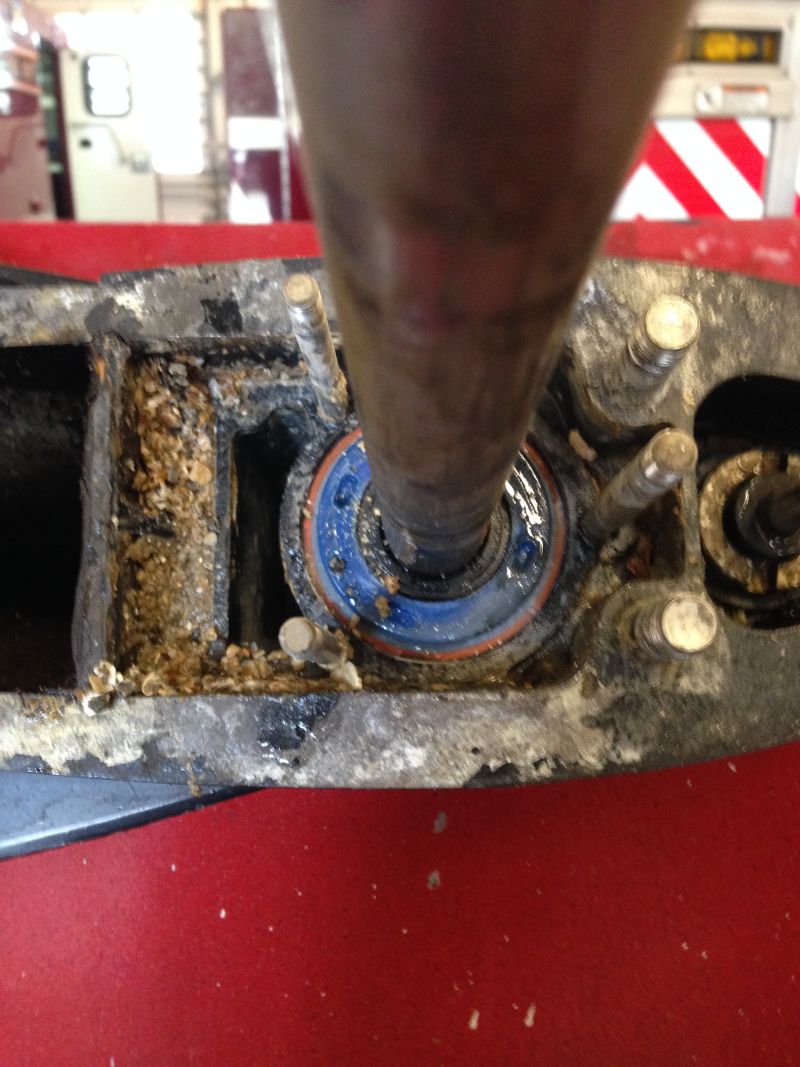
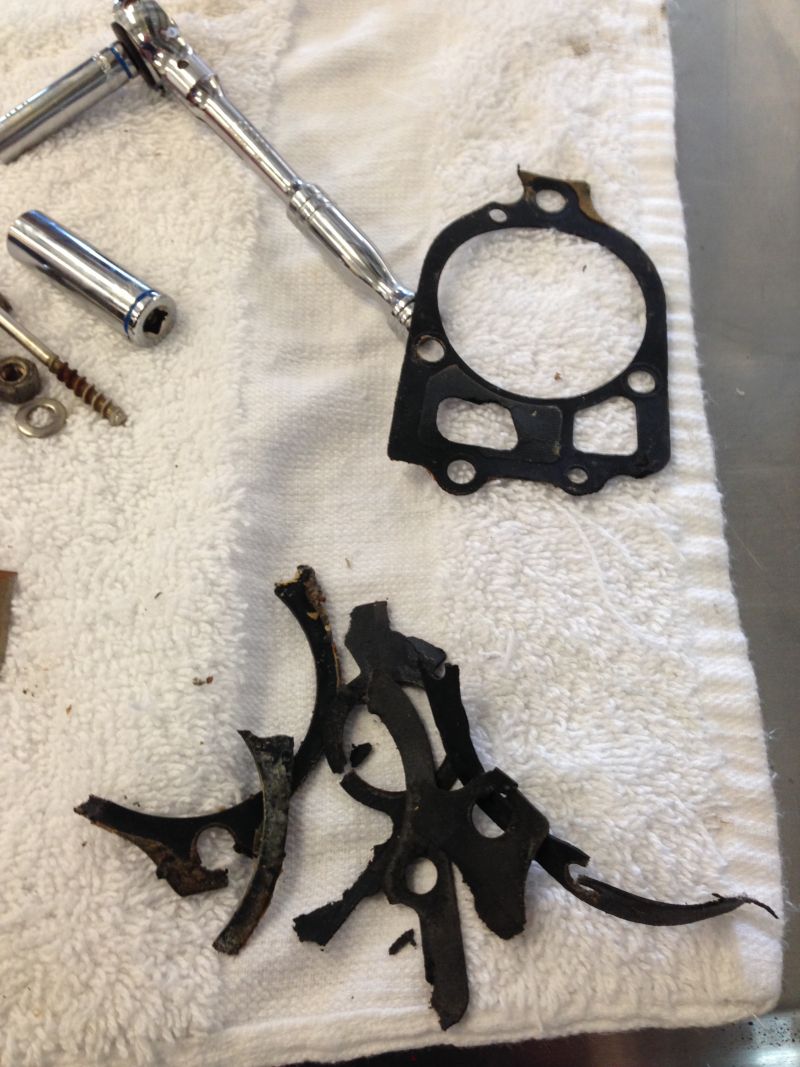
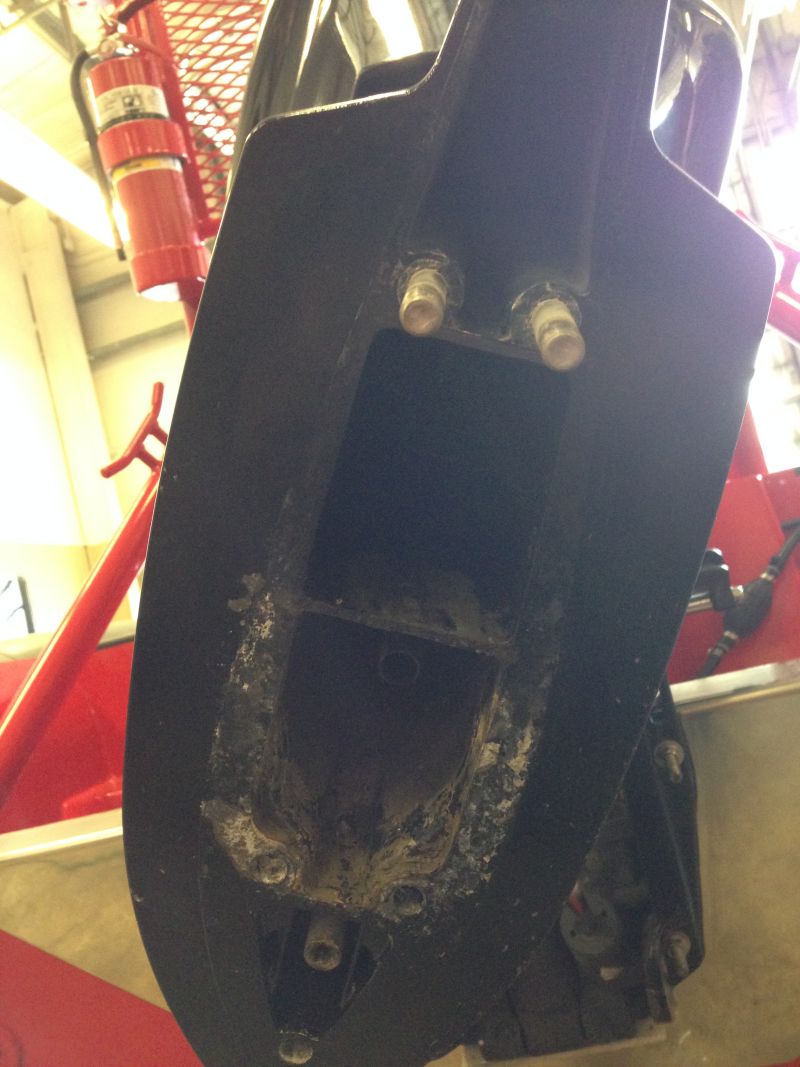
Removed the lower unit to change out the water pump
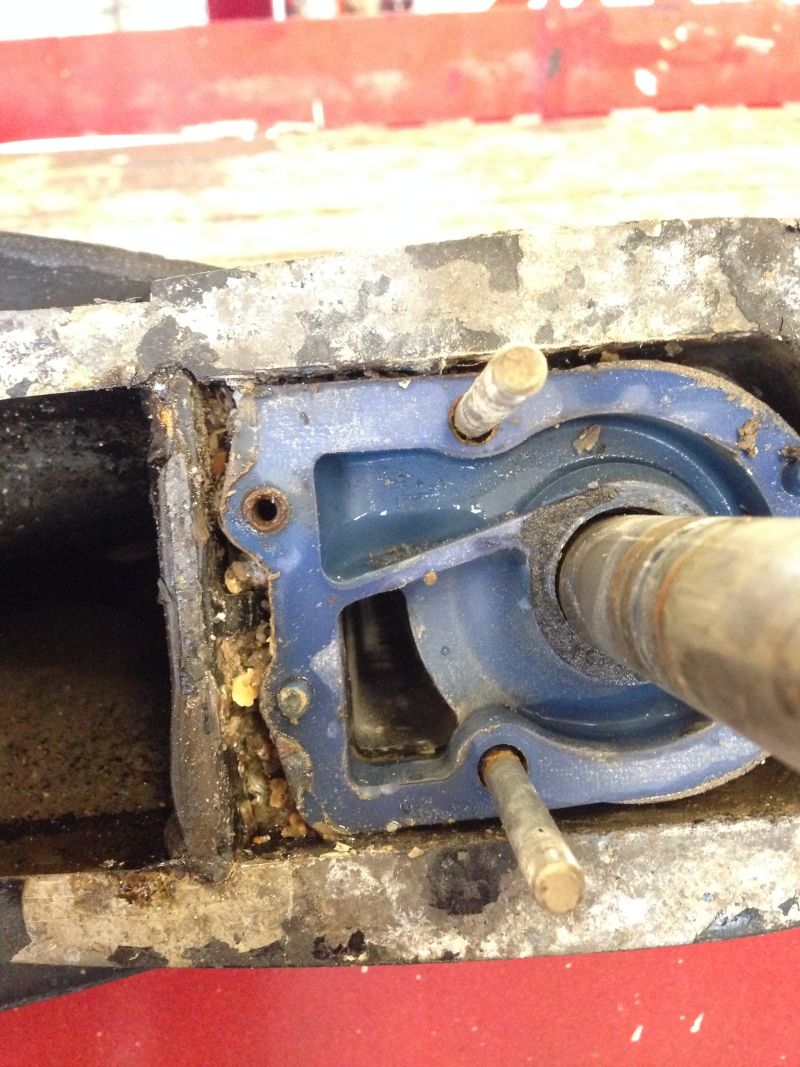
It is a mess