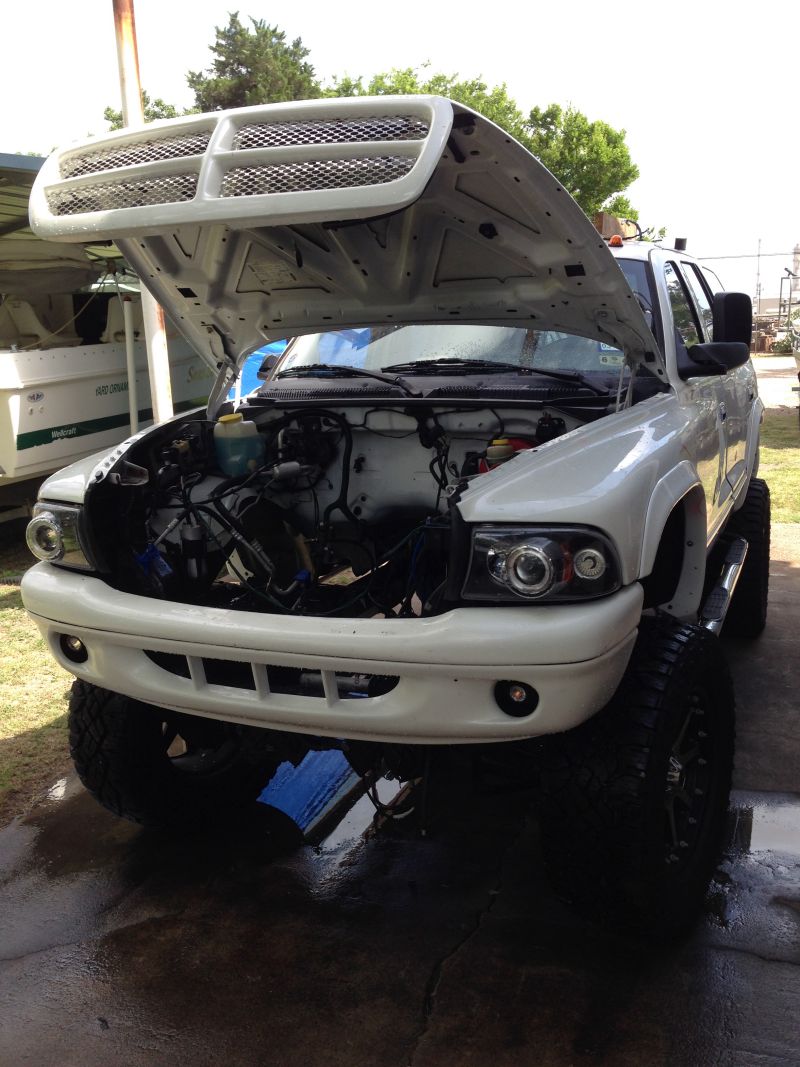
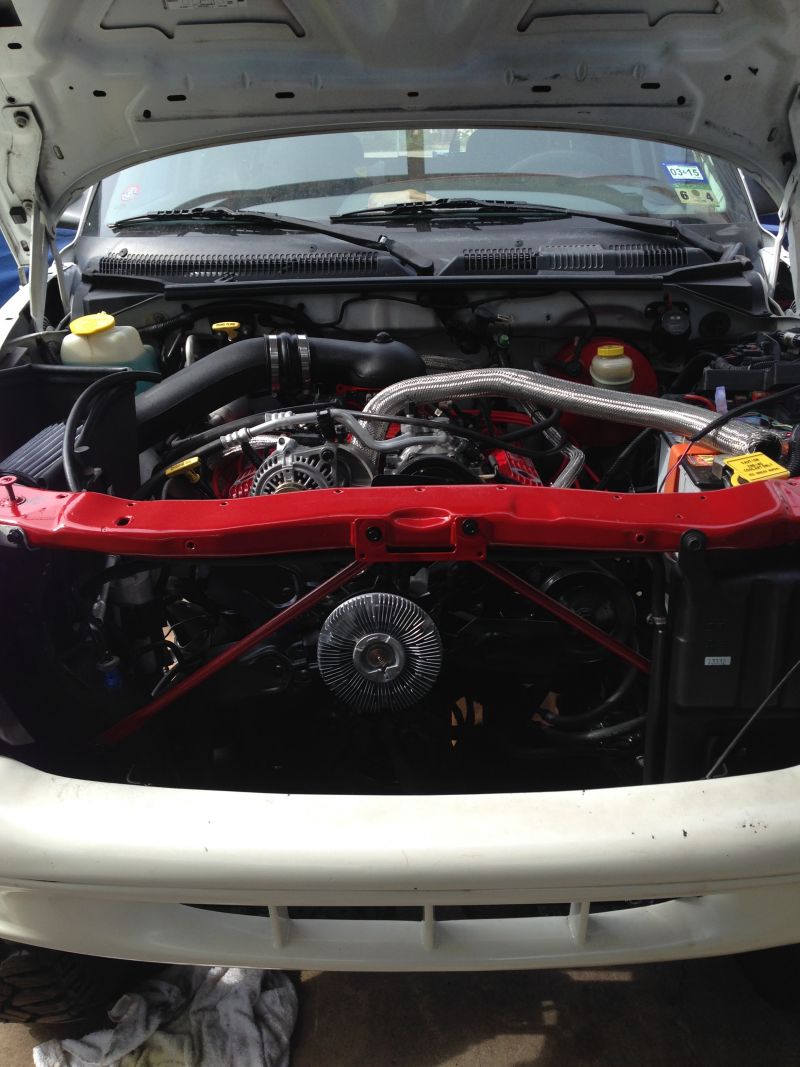
'98 Durango 4x4 5.9 Engine Mods
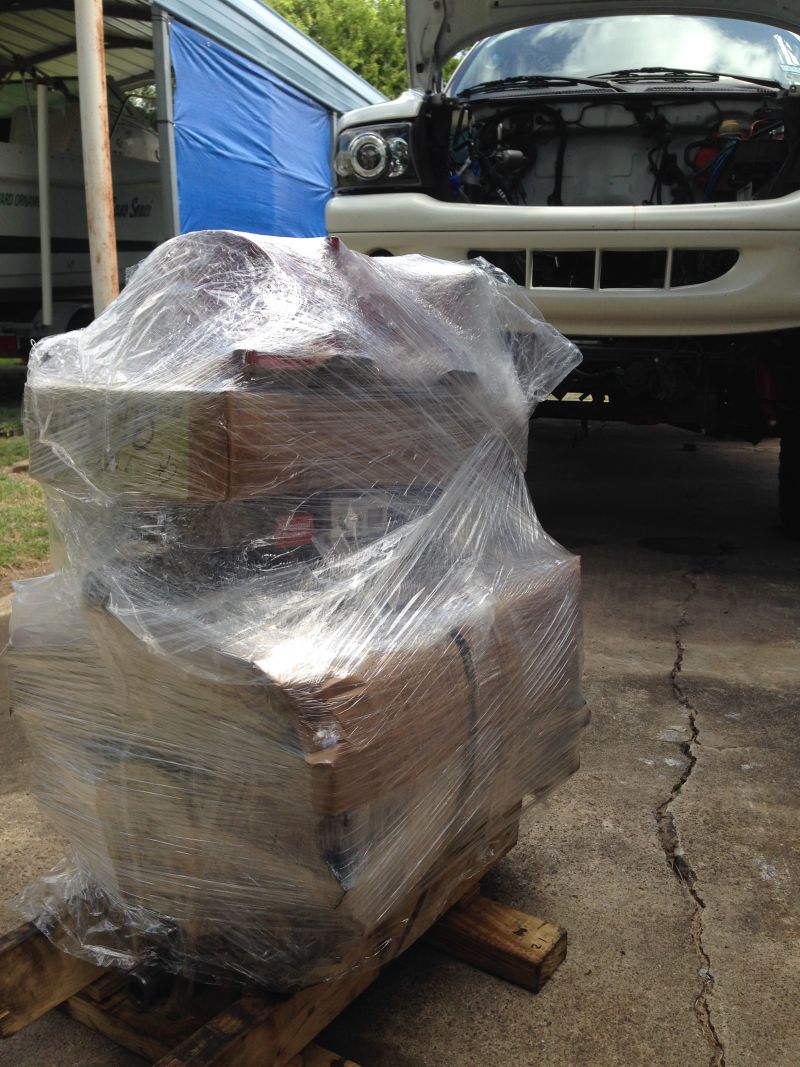
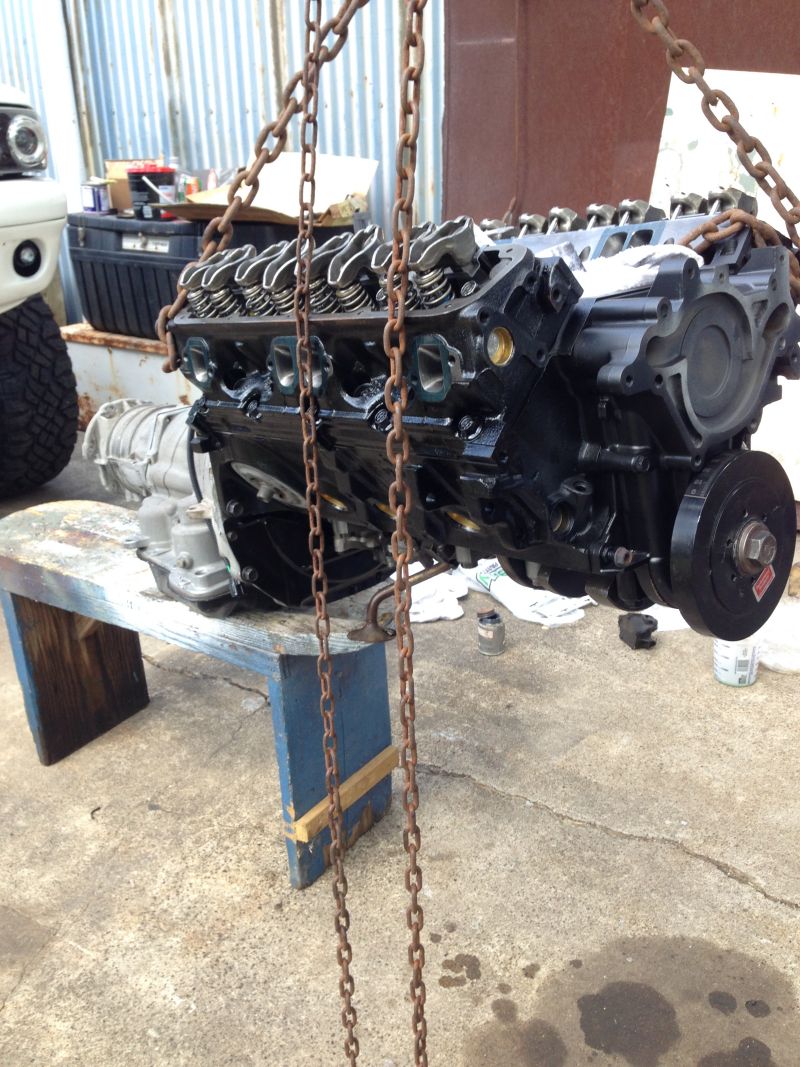
I had a 360 engine built to swap out with my oil burning tired engine. I did the actual swap out myself.
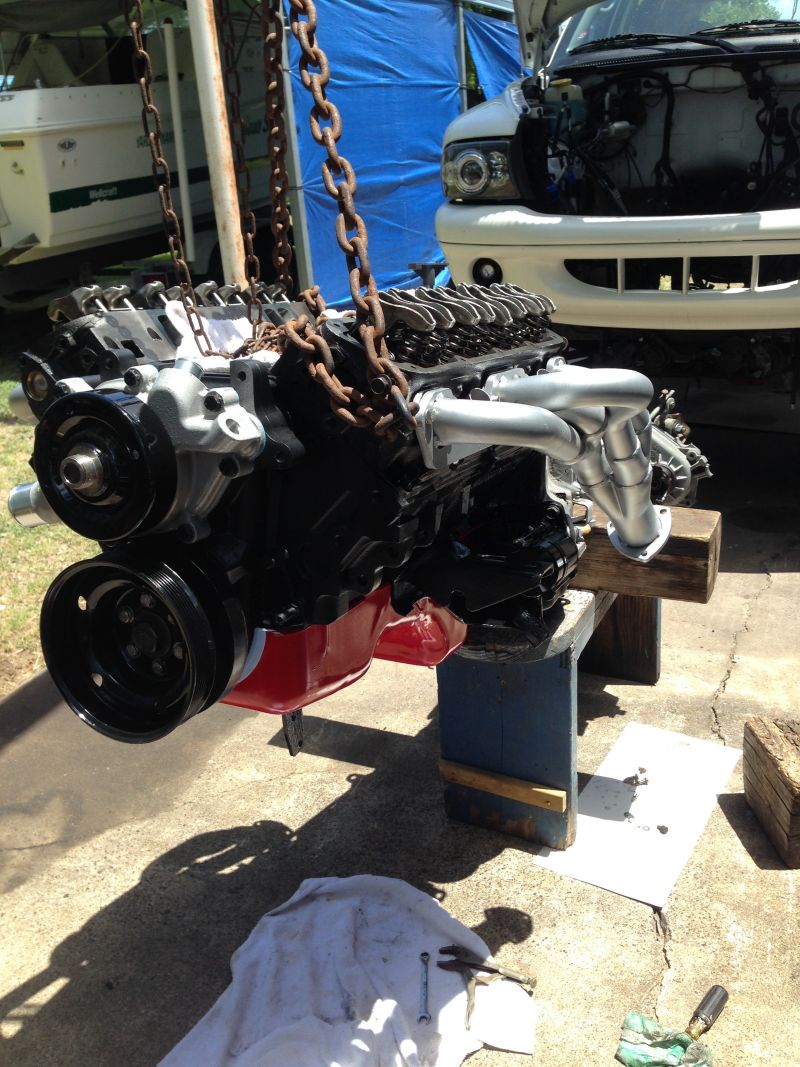
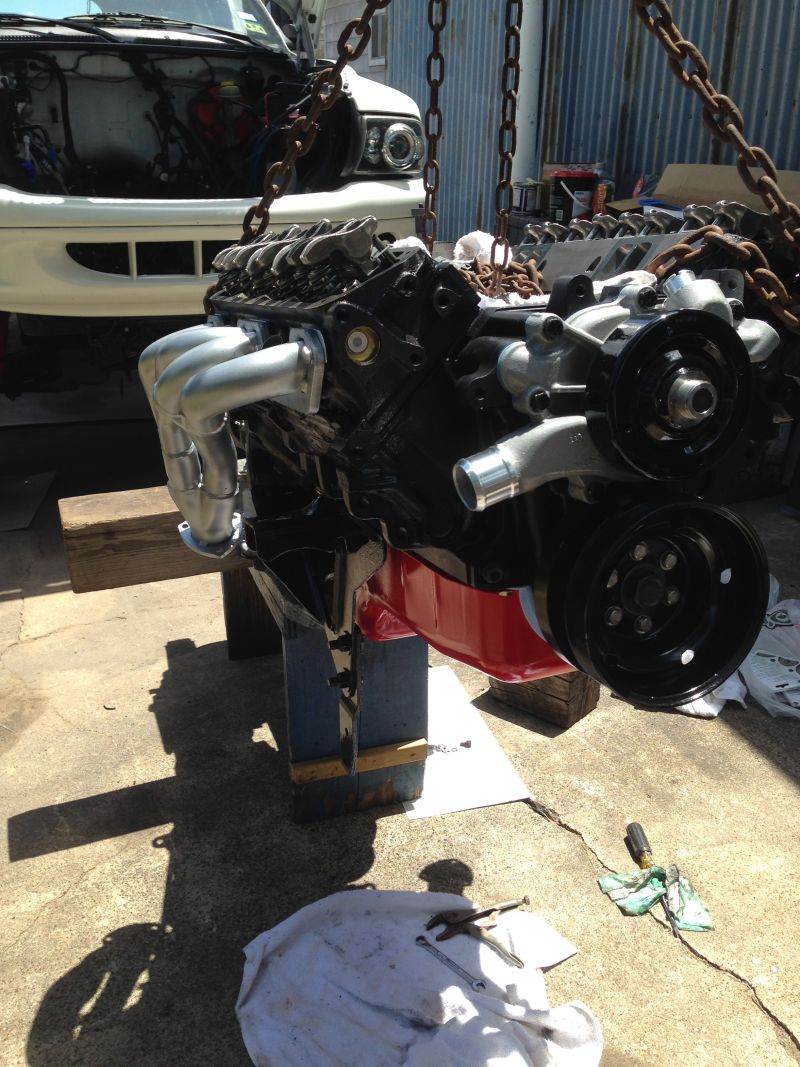
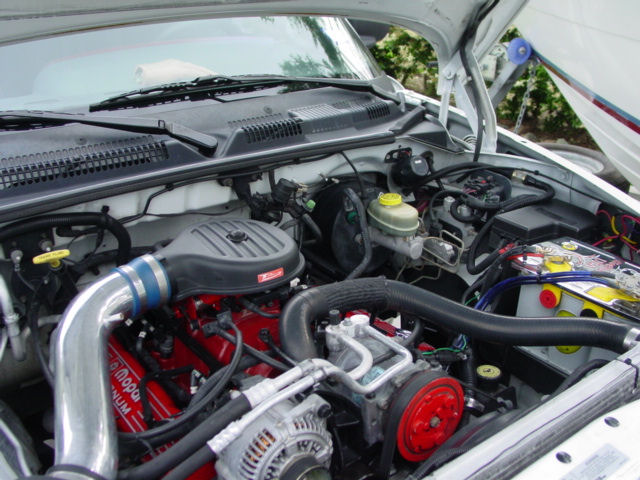
This is the specs on the new set up.
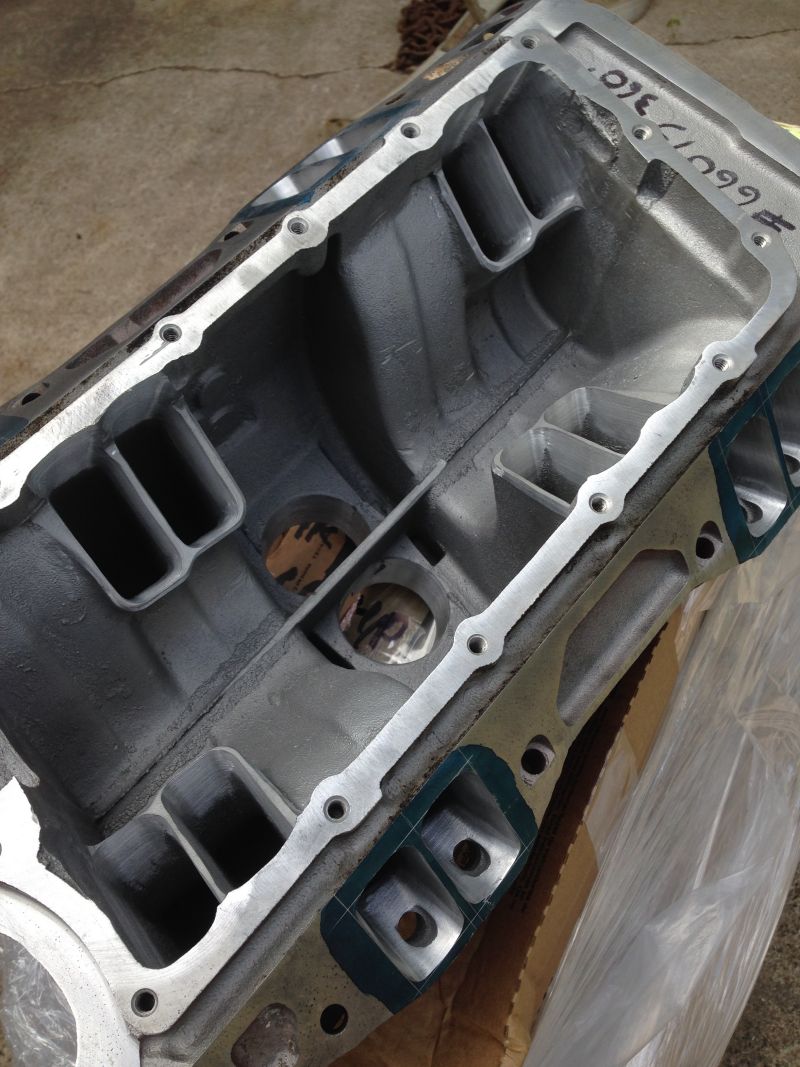
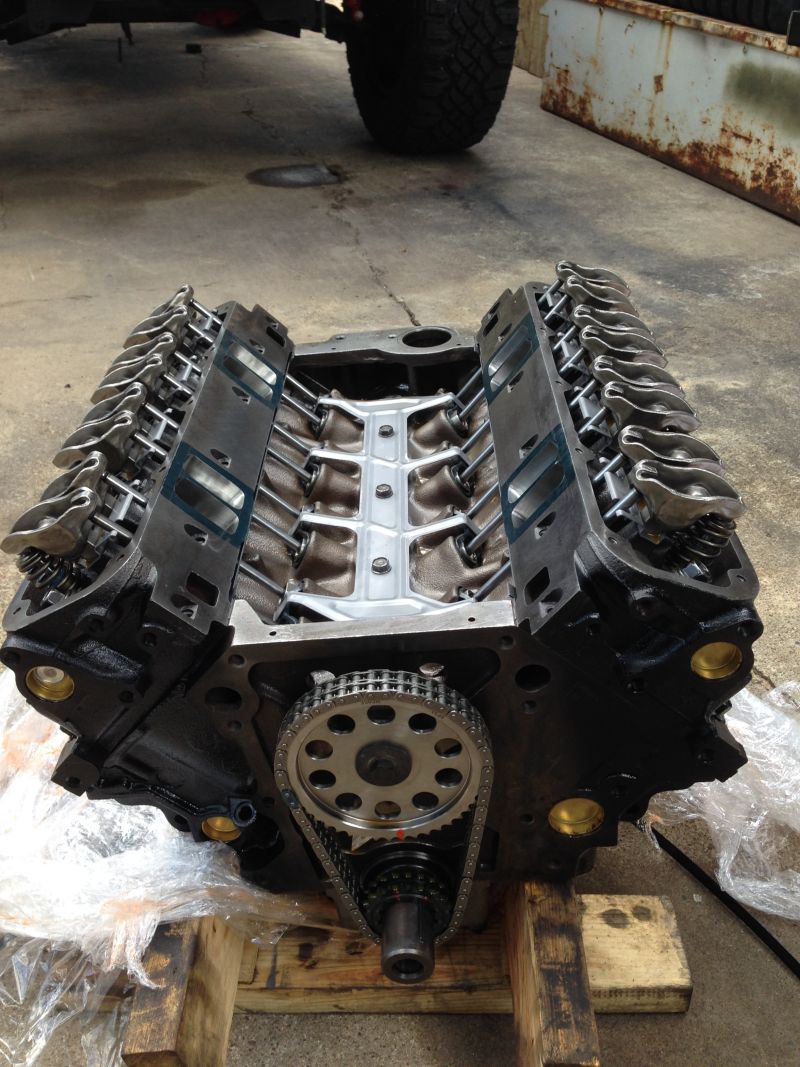
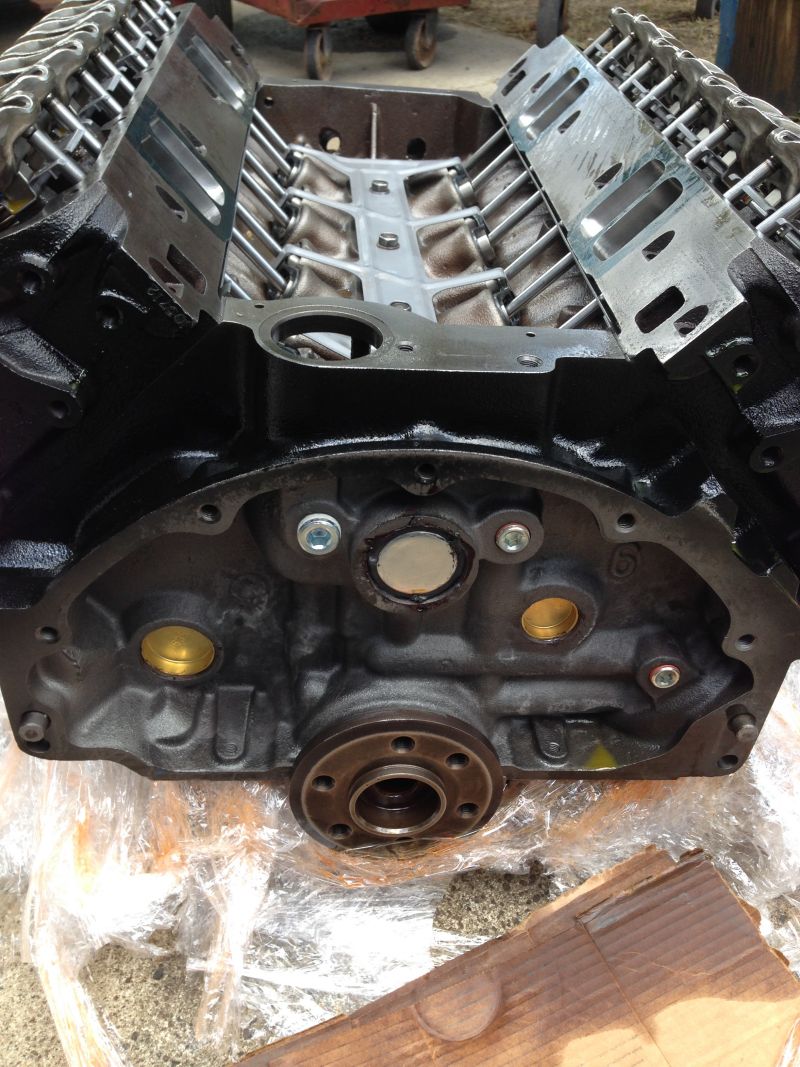
Block bored, honed, decked and aligned honed
New cam bearings
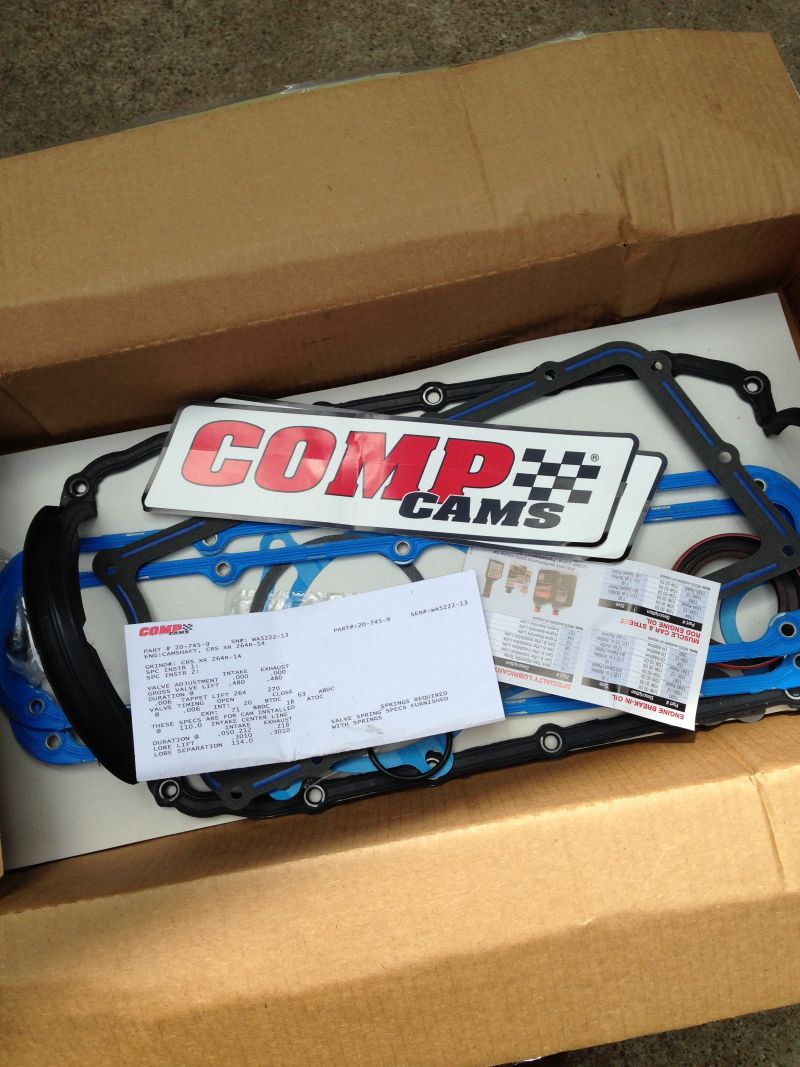
Performance camshaft (Pro Comp) 220/240 @ 0.50, 490 lift, 112 lobe center
Matching roller lifters
Resized rods with ARP rod bolts
Reground 3.578" stroke
Crankshaft micro polished less than a 12 RA finish
OEM pistons with Molly Rings
Match weight balanced rotating assembly
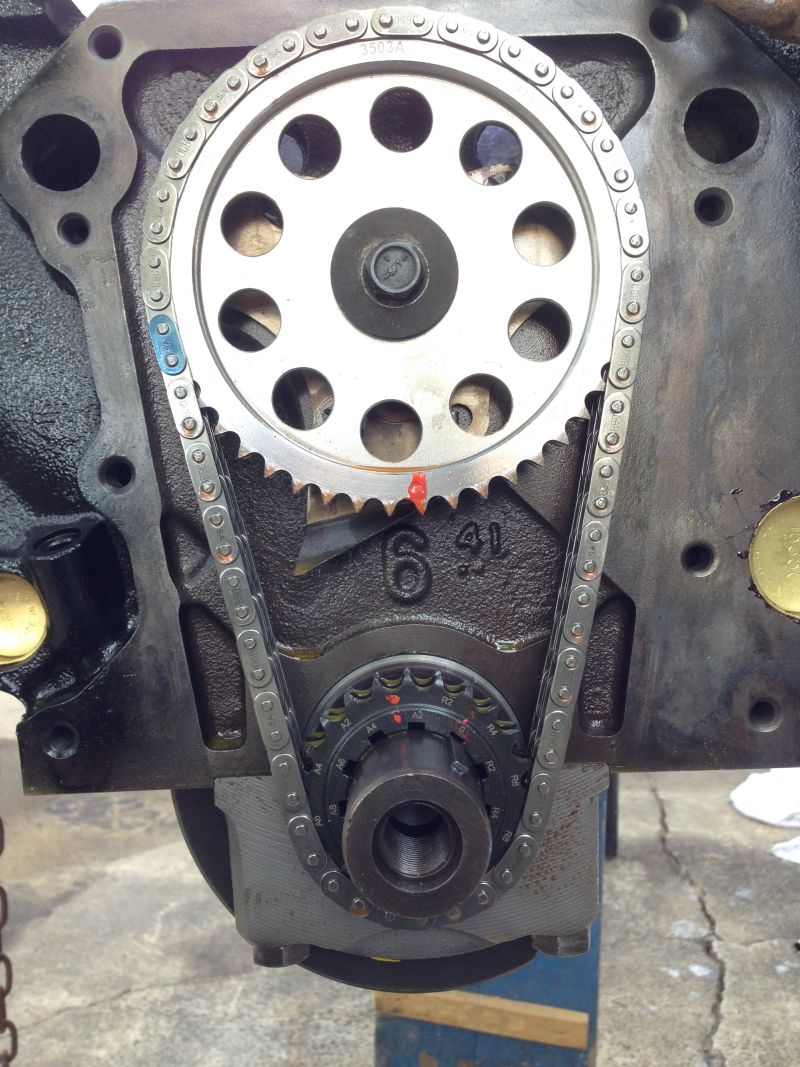
New timing set
New high volume oil pump
New Felpro gasket set
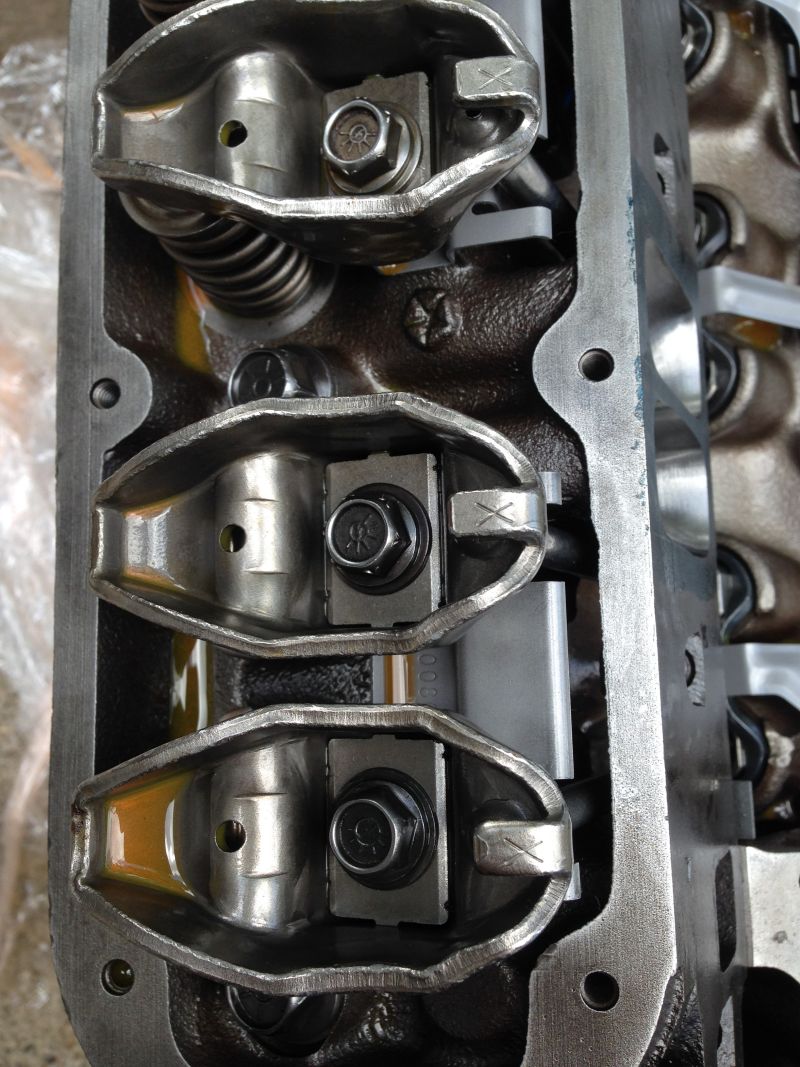
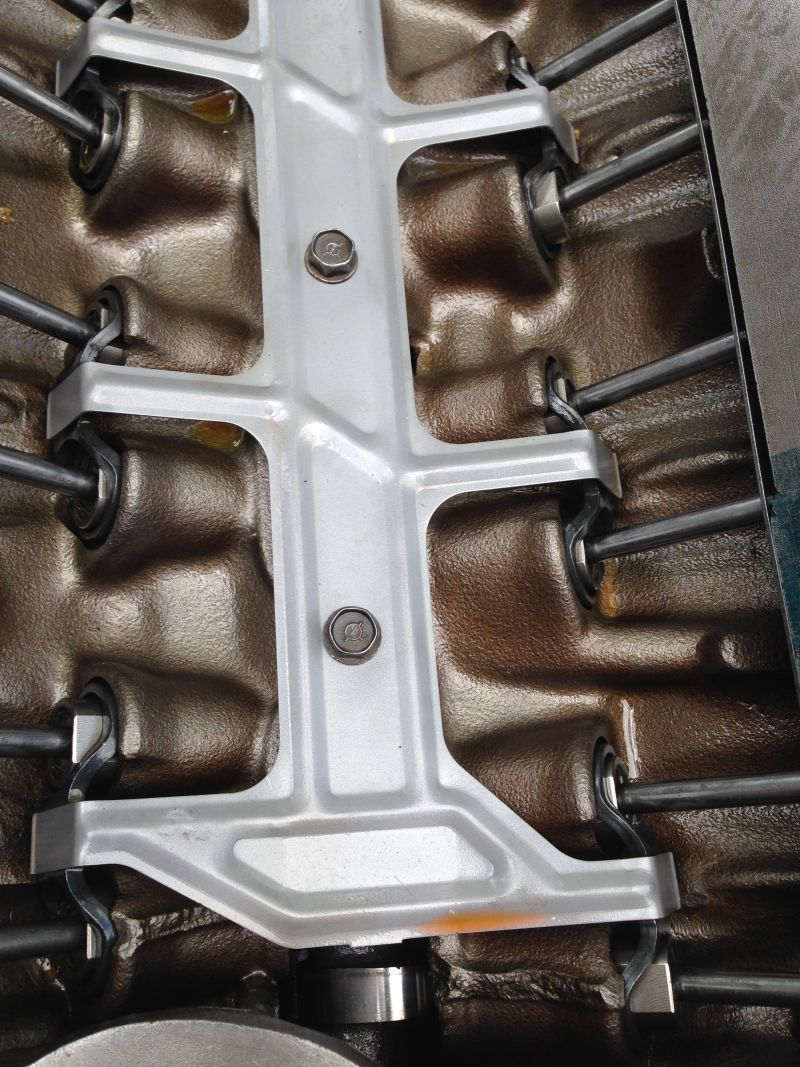
New pushrods and stamped rockers
New head bolts
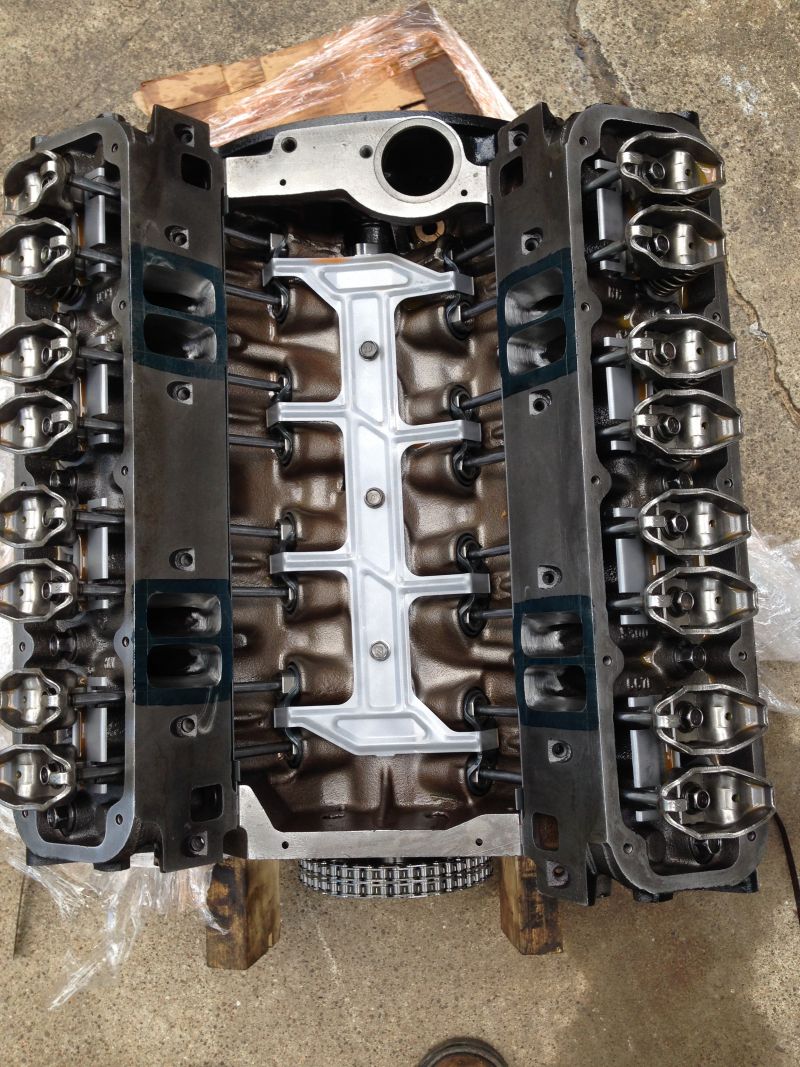
Cast iron heads with 2.00/1.60 valves
Matching springs
3 angle seats
New guides
Positive seals
Dial in cam
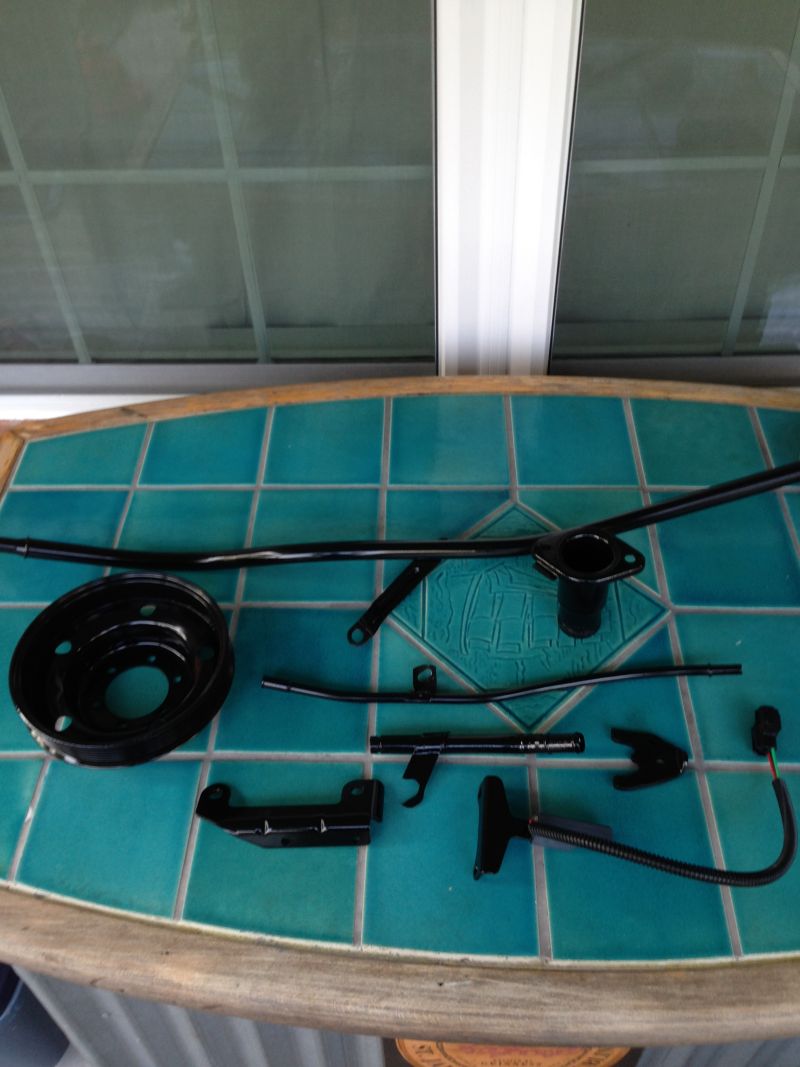
Painted black
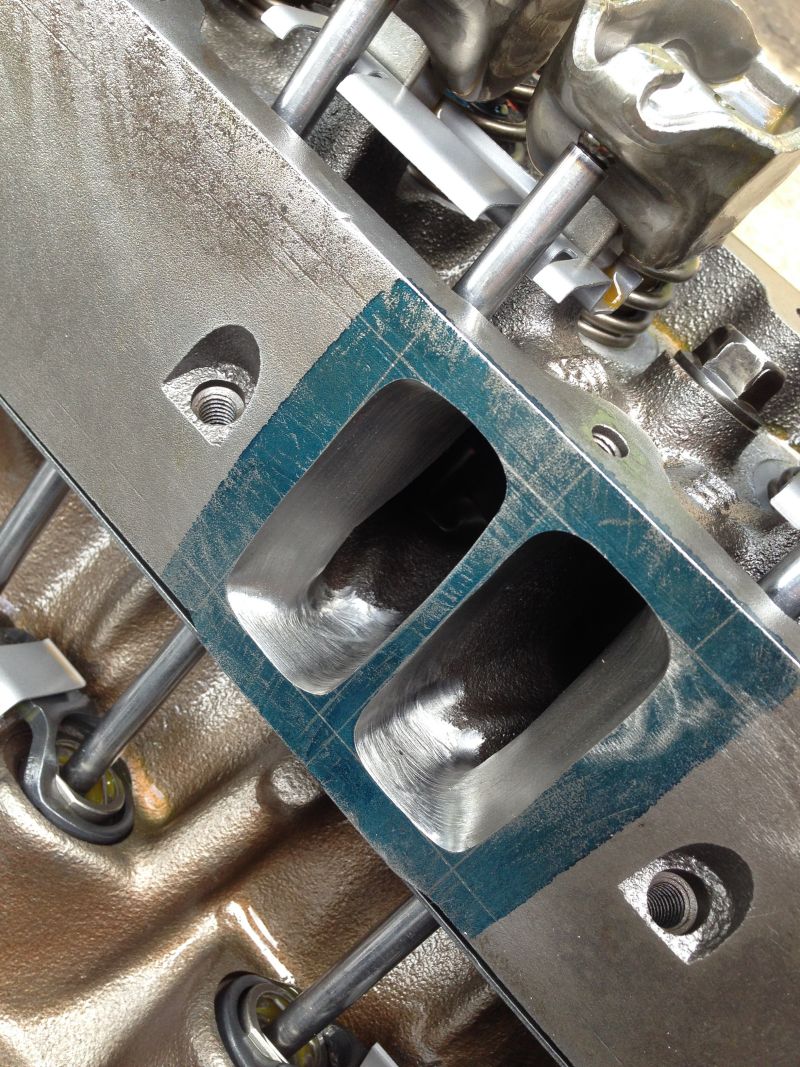
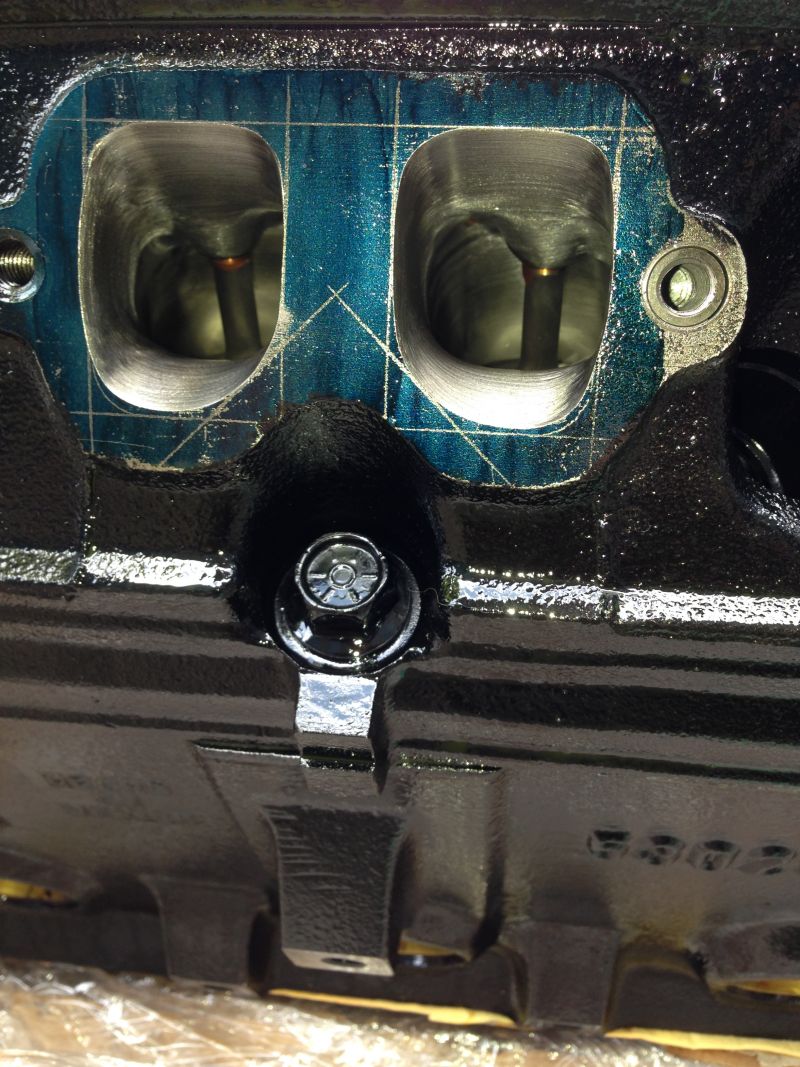
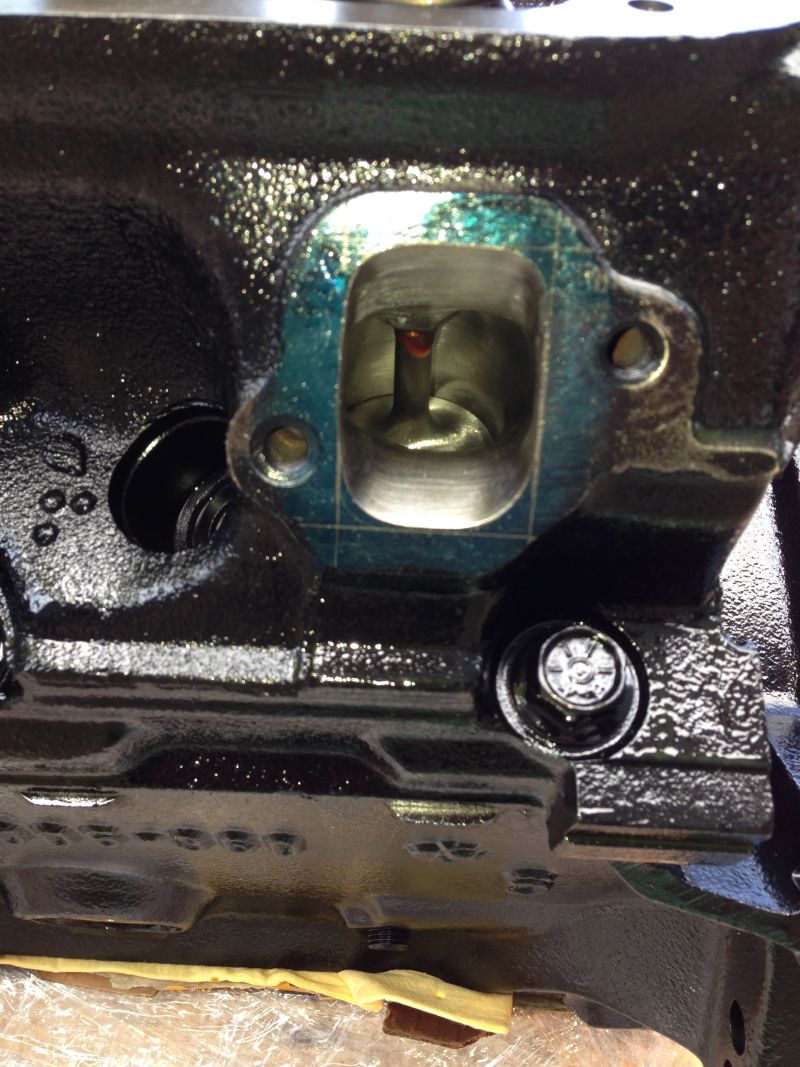
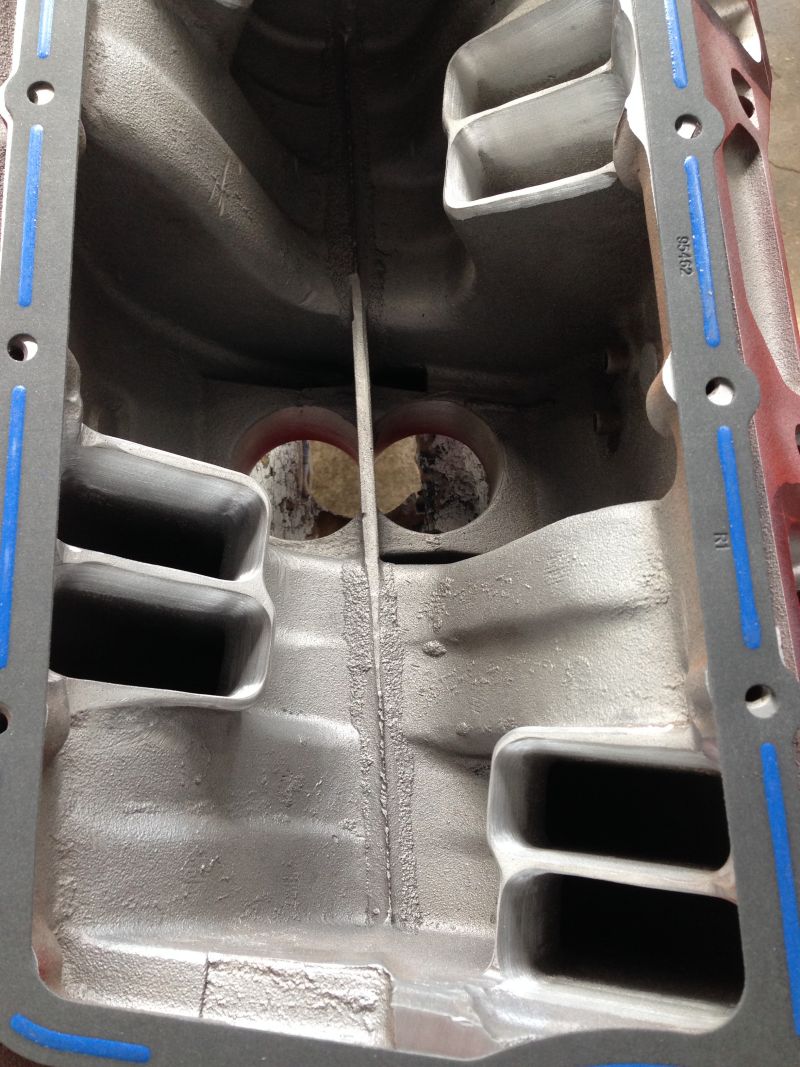
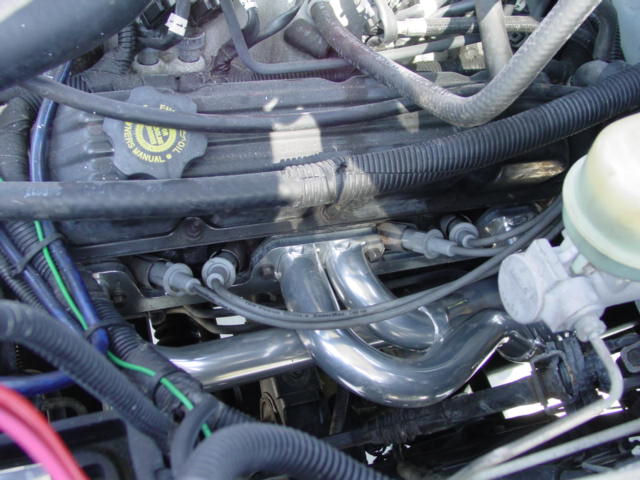
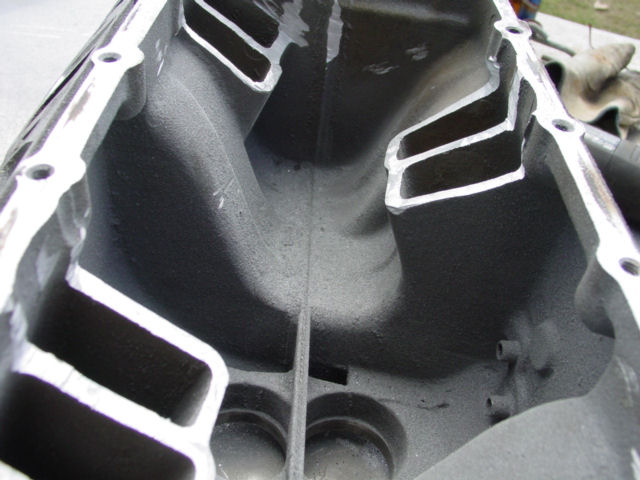
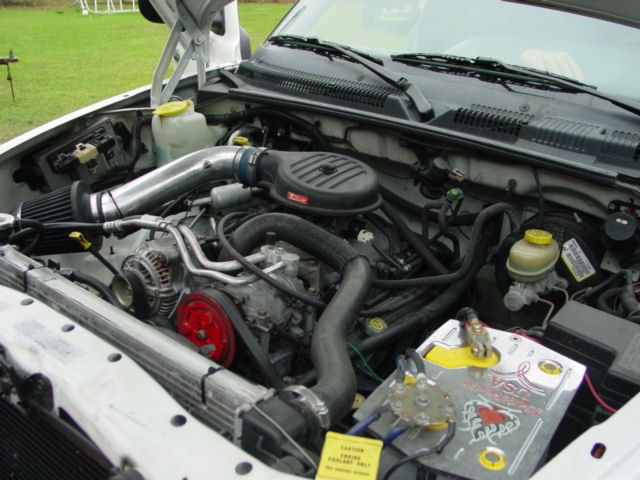
Stage two porting - ported and polished from intake to exhaust by hand
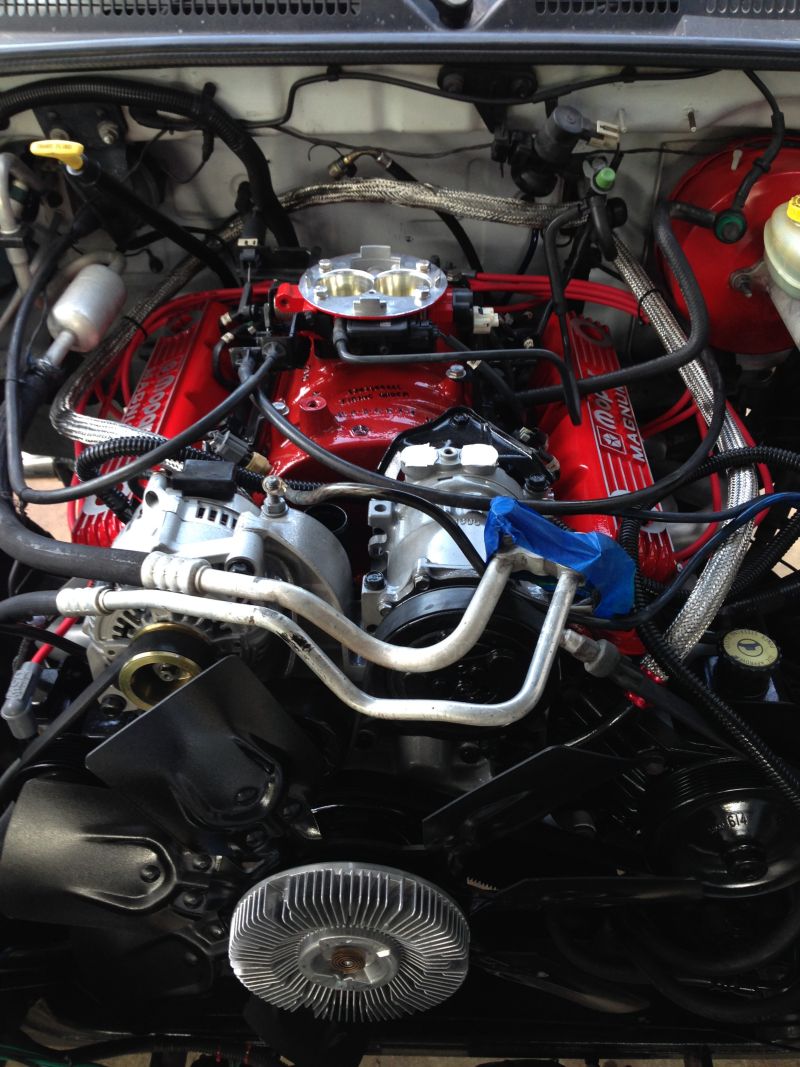
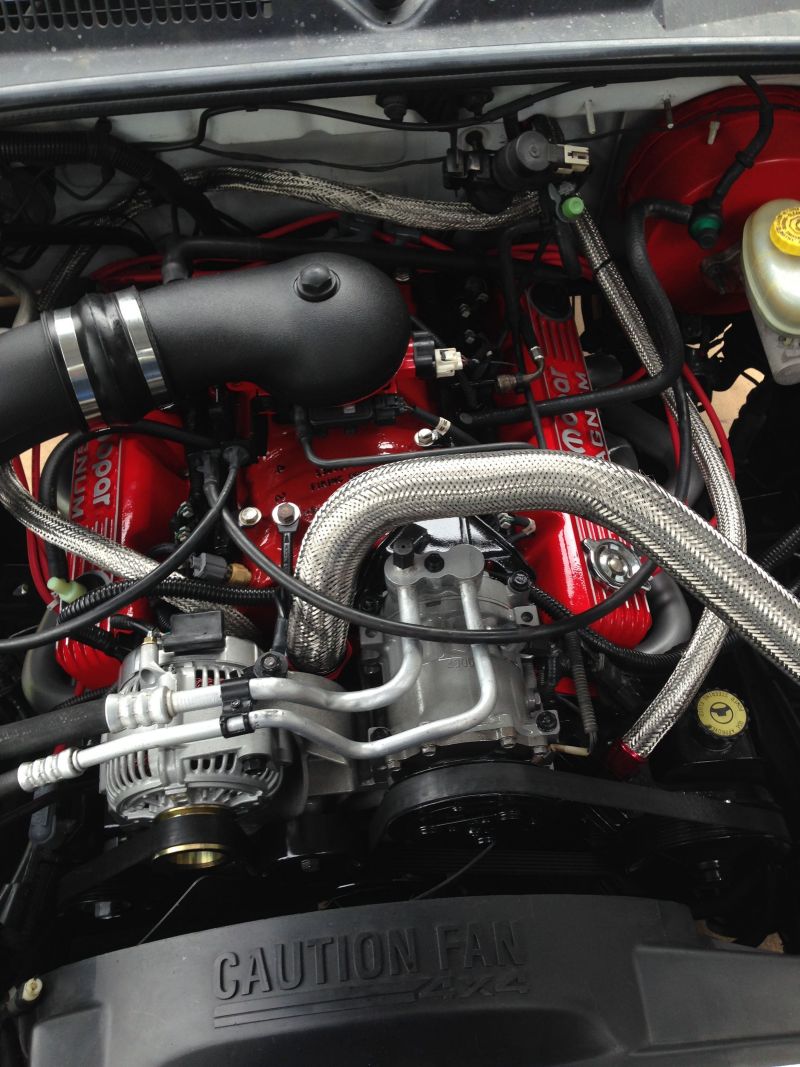
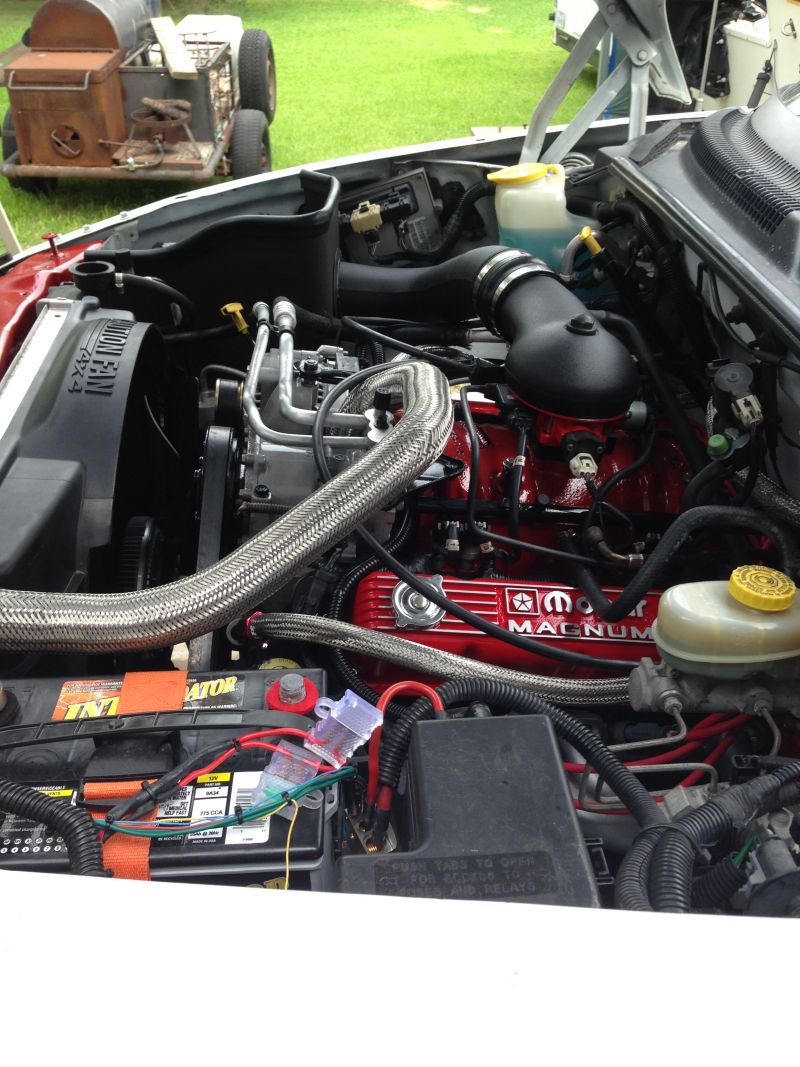
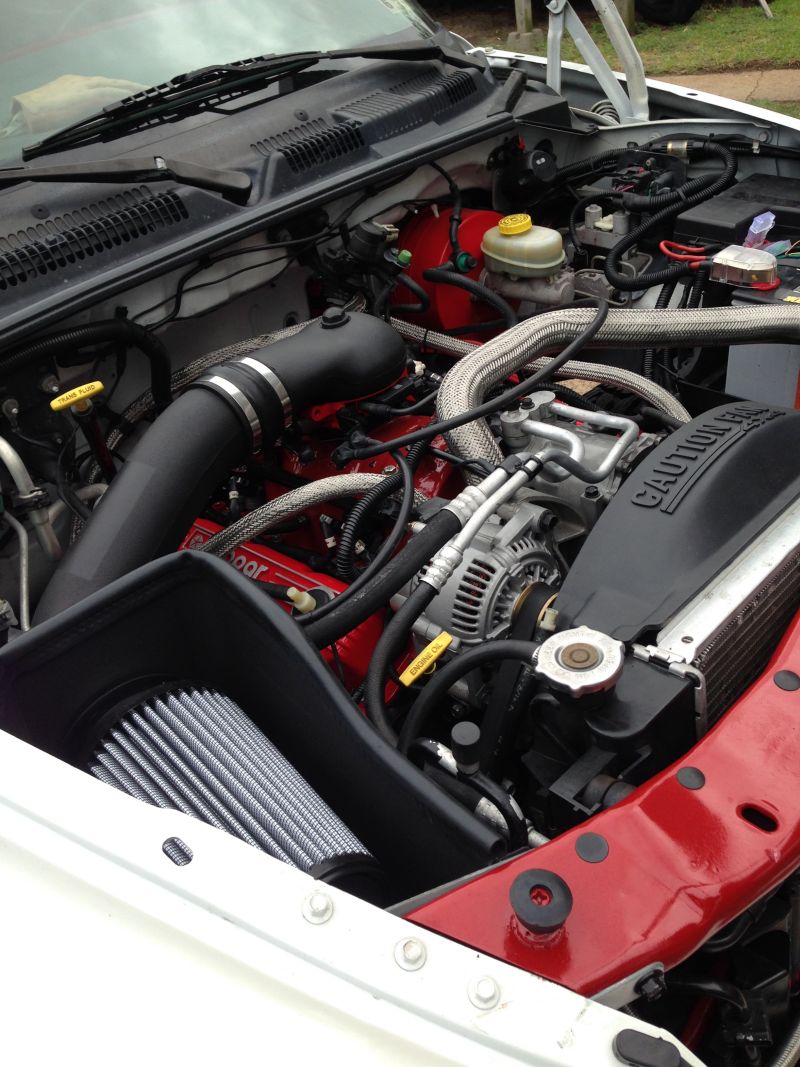
52mm Fastman Throttle Body
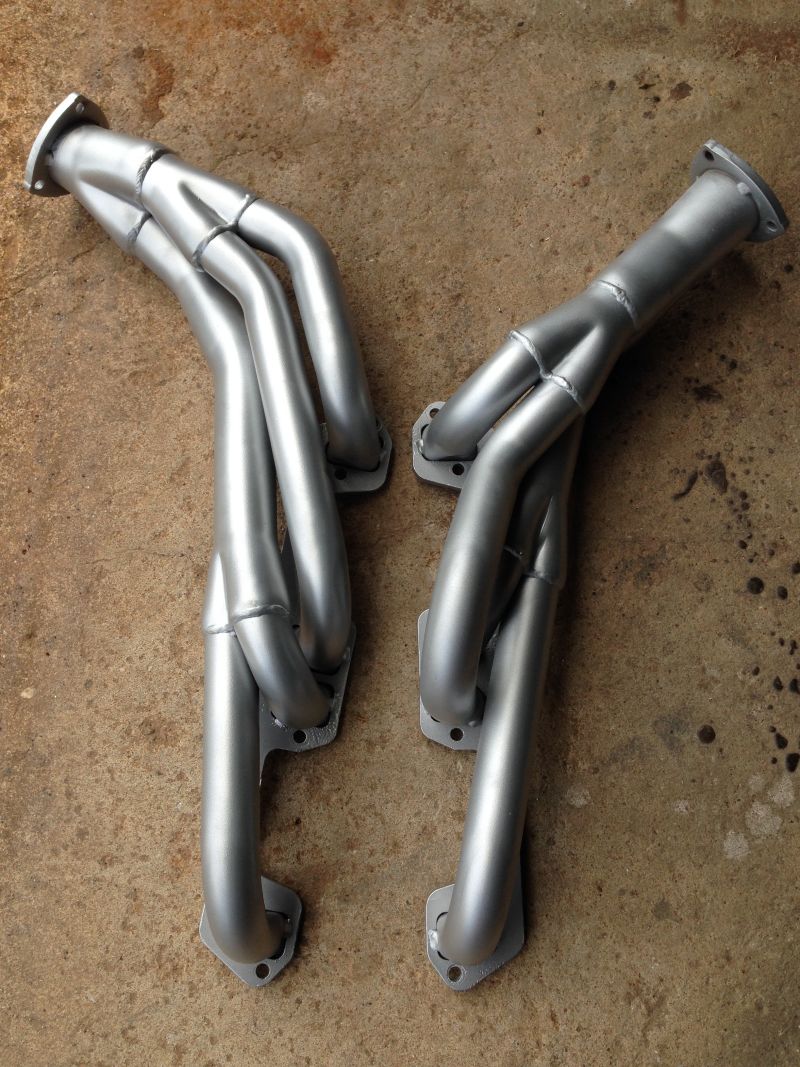
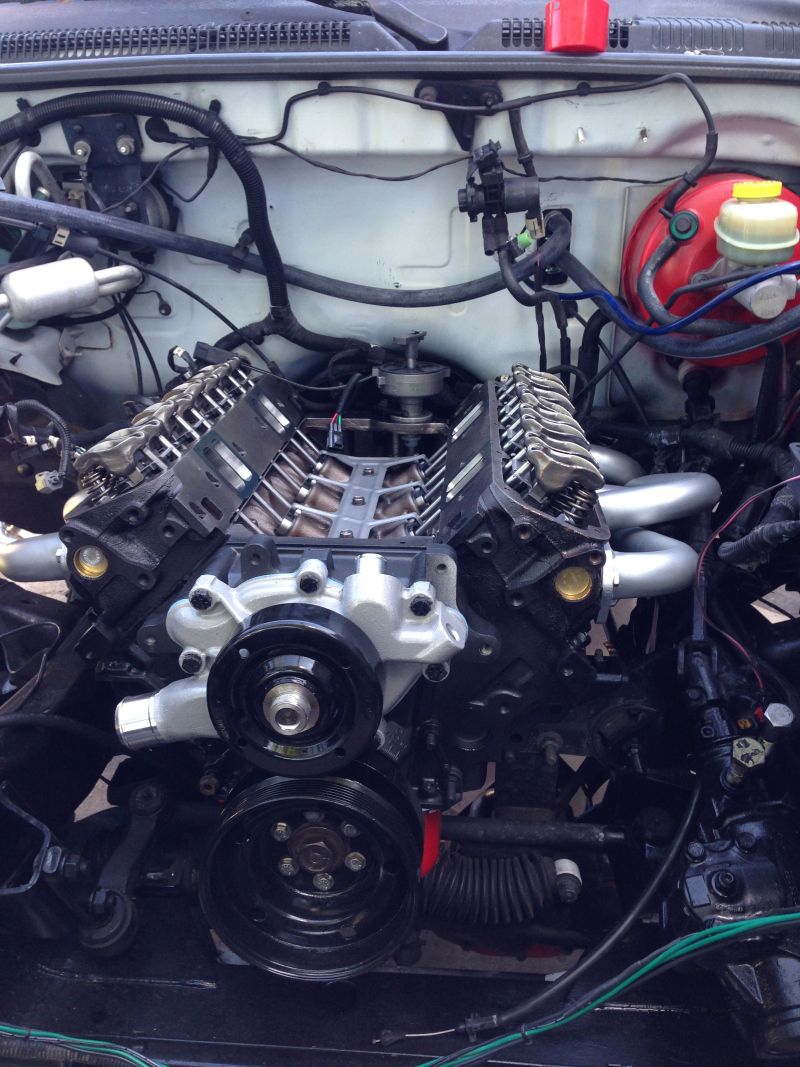
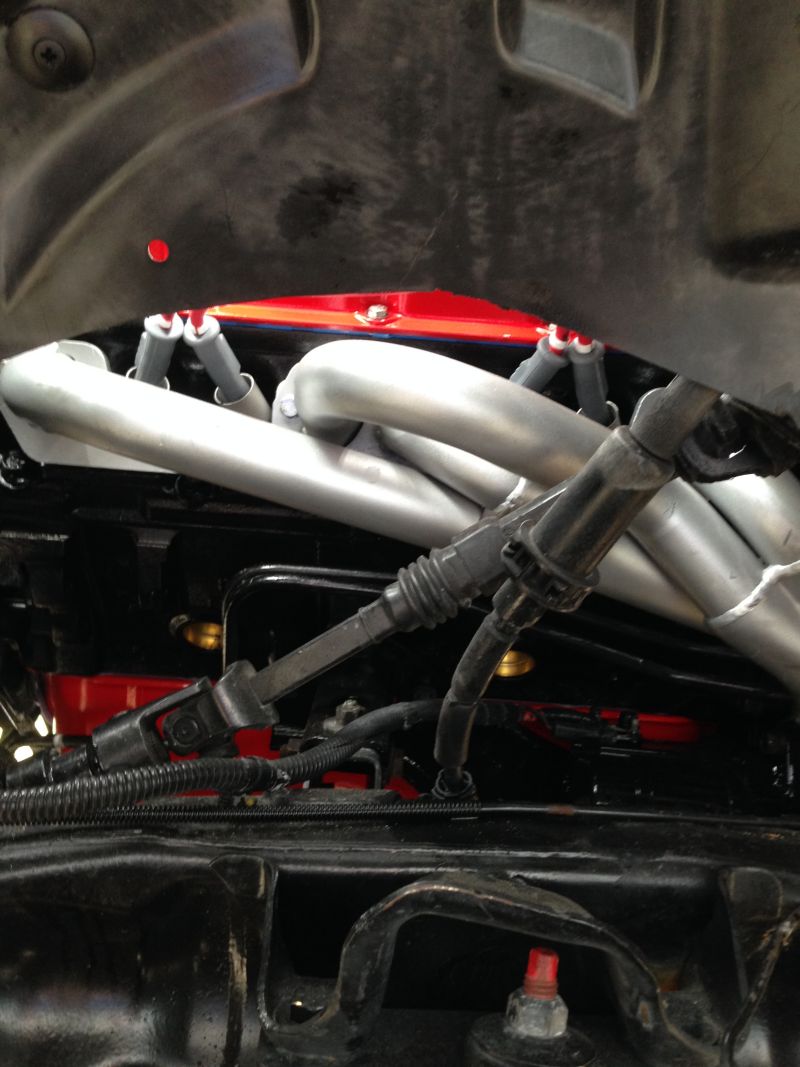
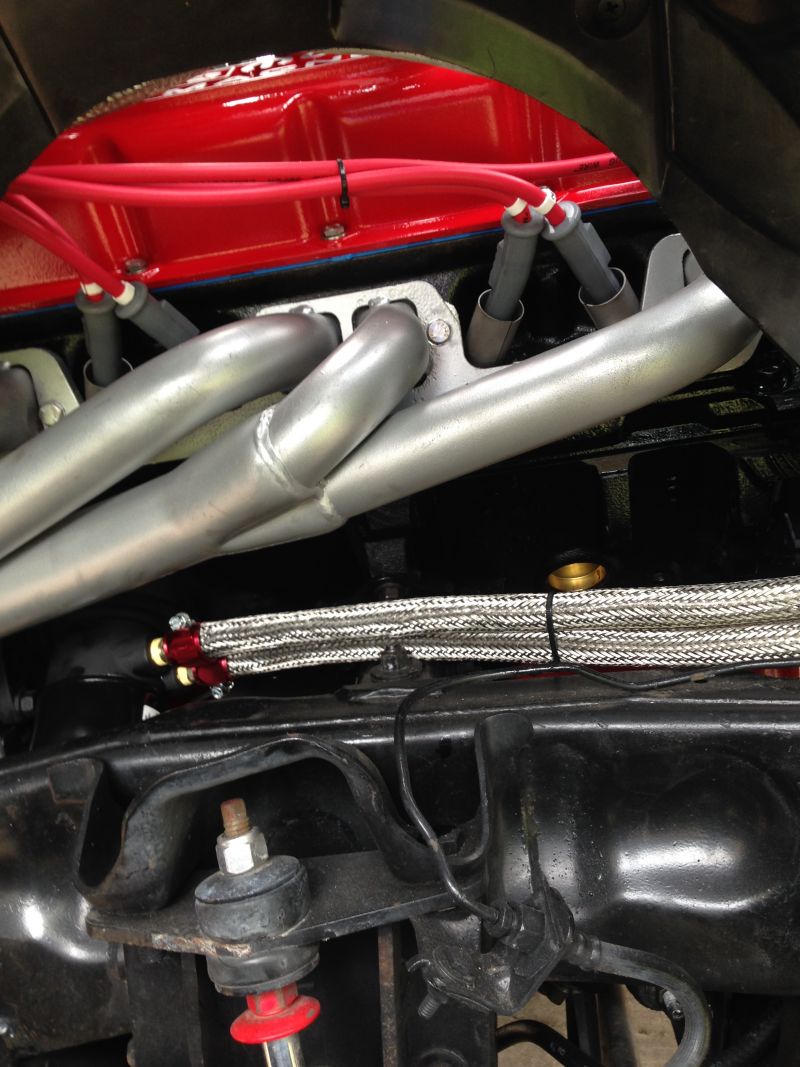
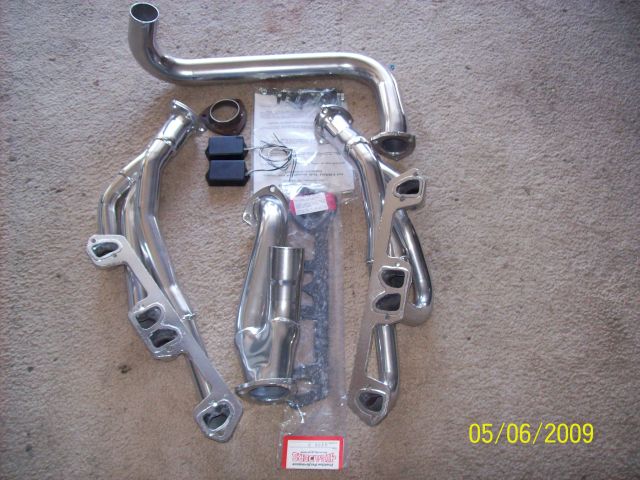
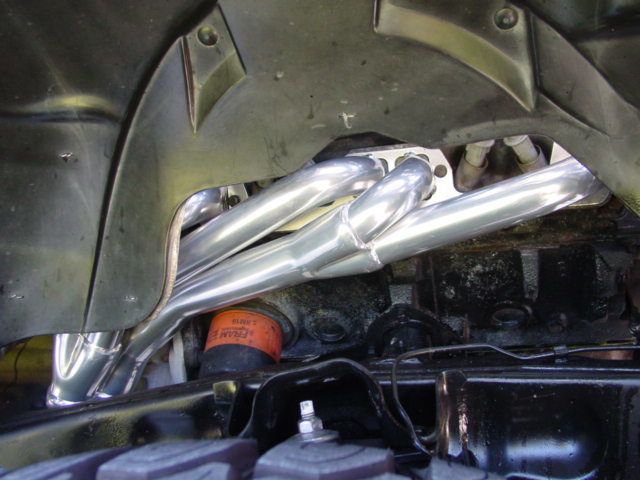
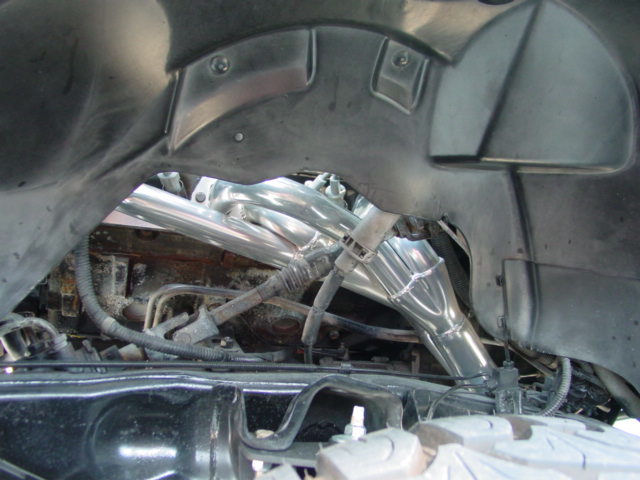
Mike Leach PPH Headers
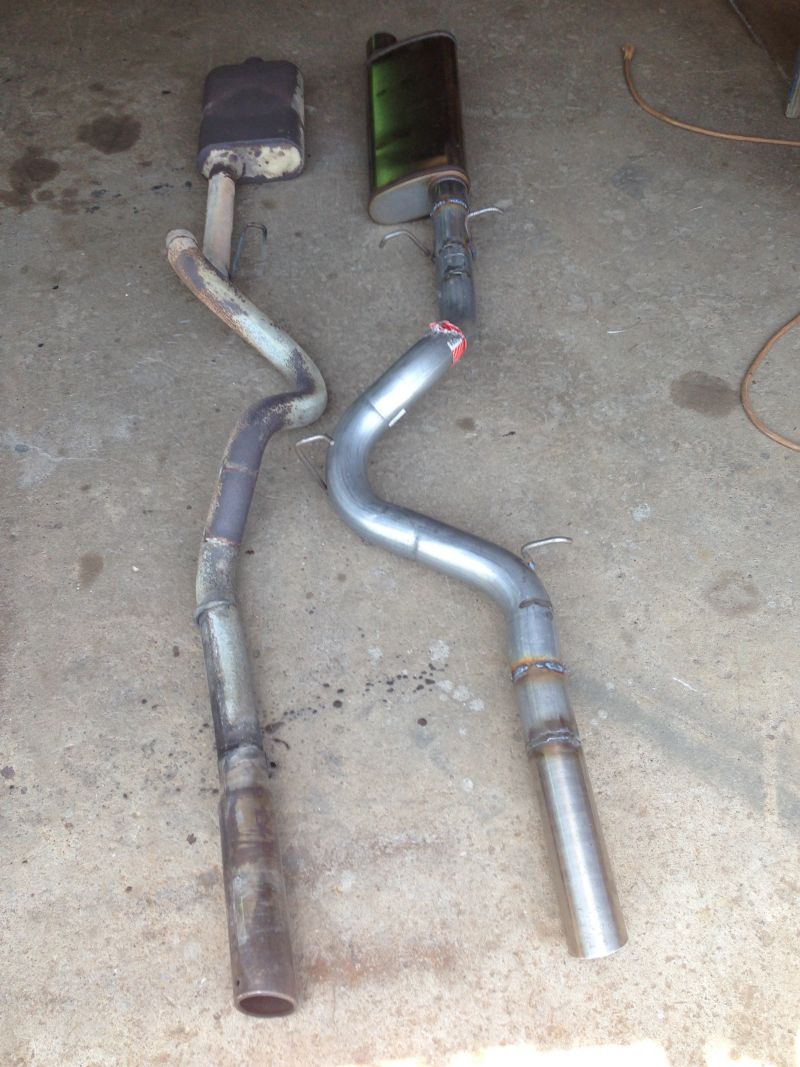
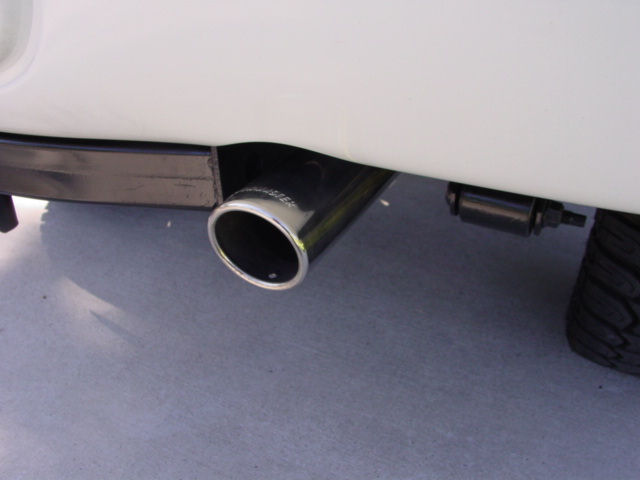
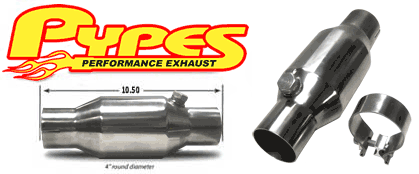
3" stainless exhaust from headers out, with stainless Pypes Cat and Stainless Magnaflow muffler
AFE cold air intake
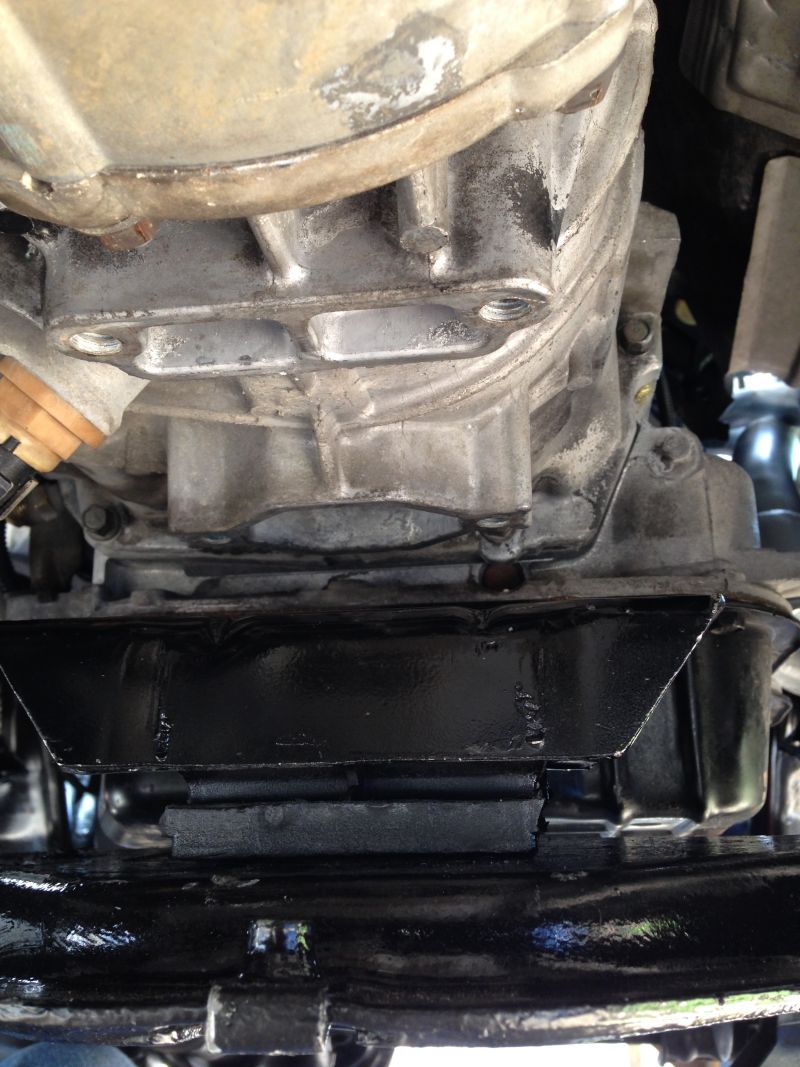
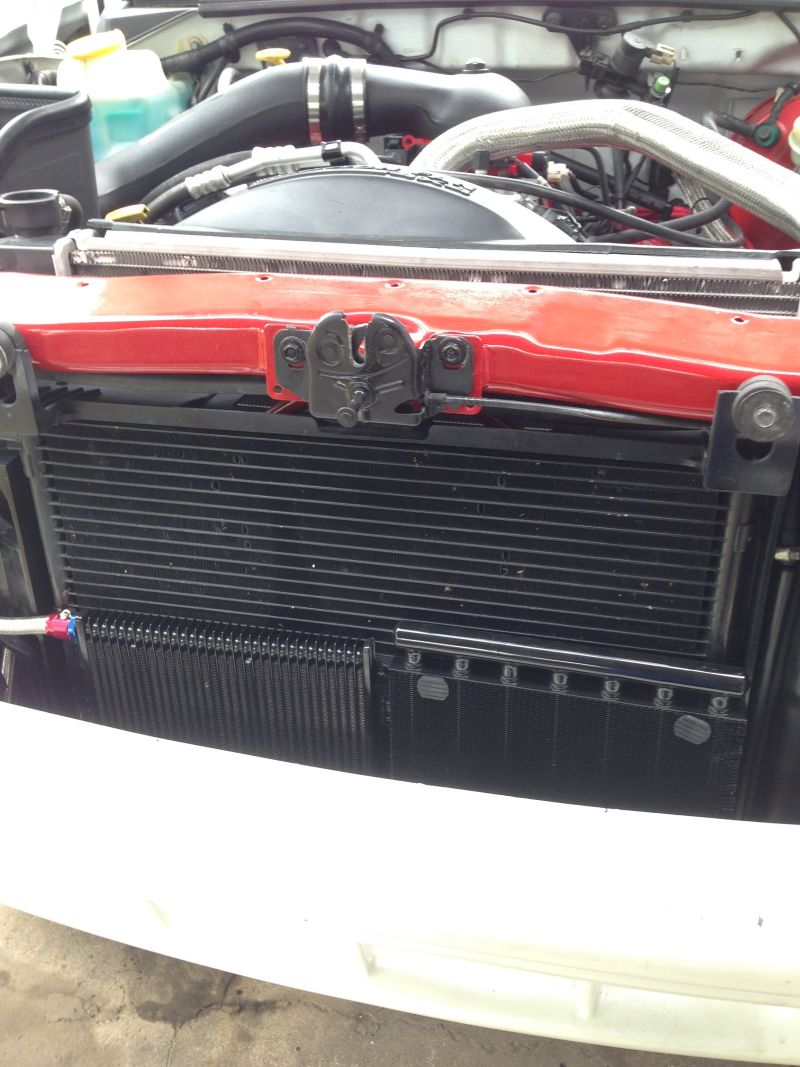
Transmission and oil coolers
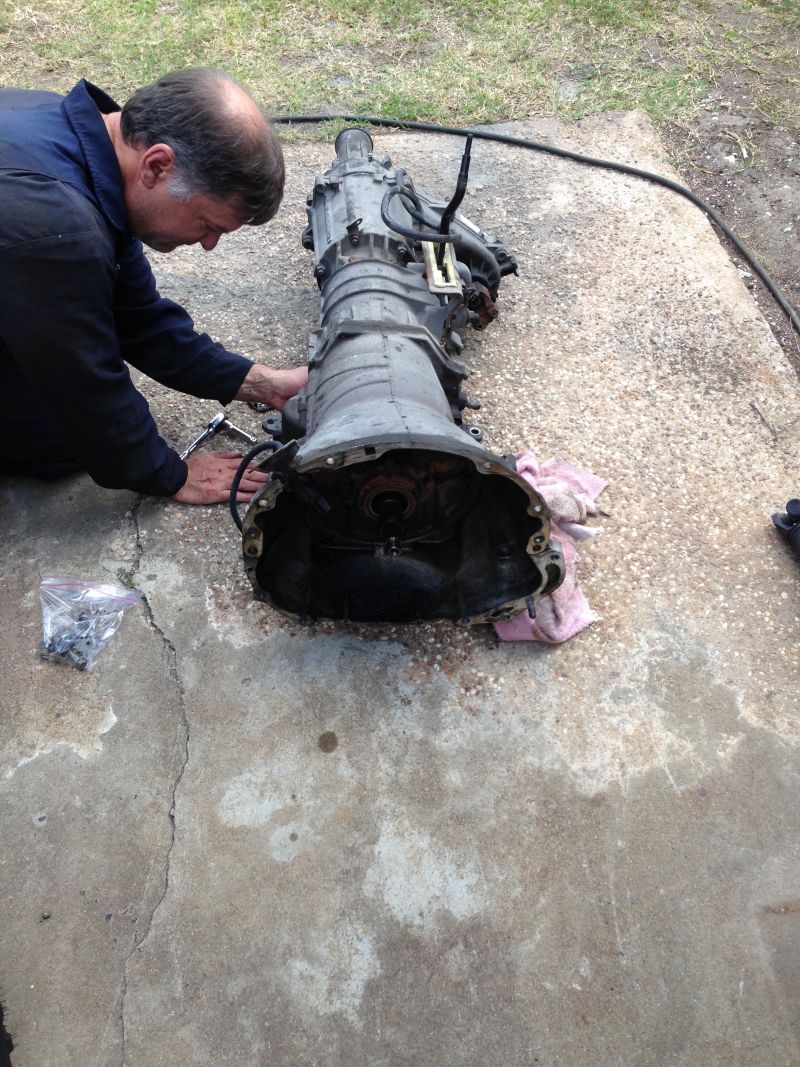
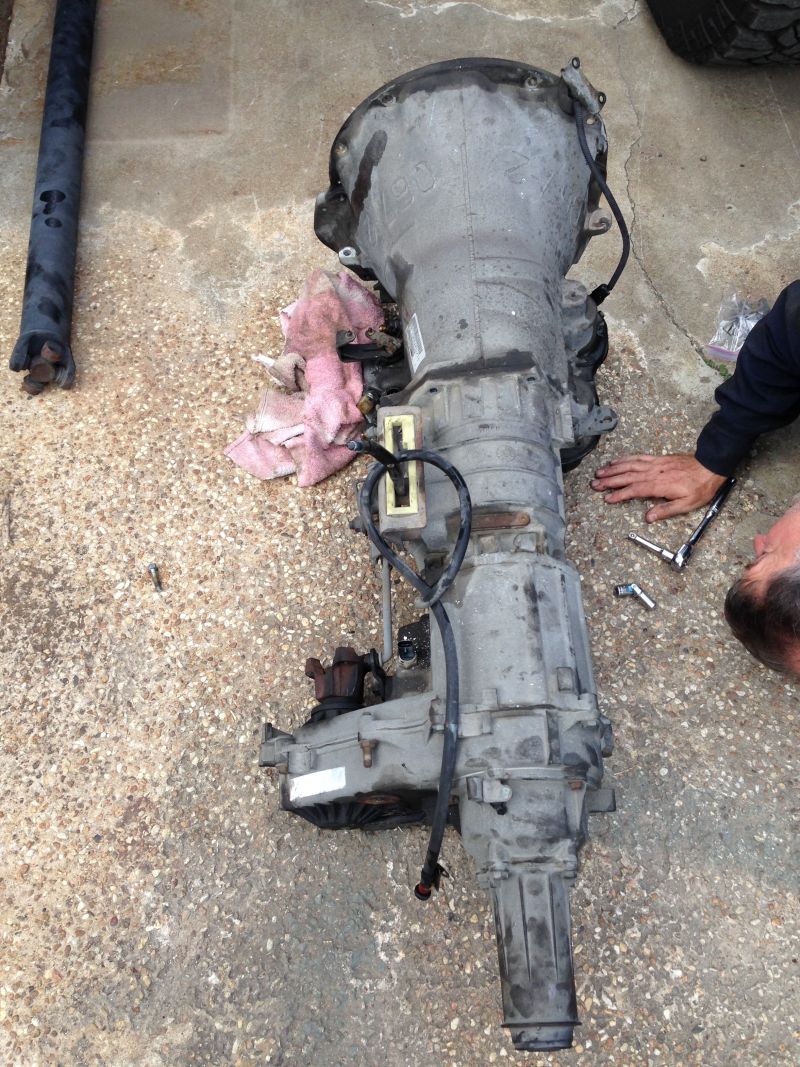
Transmission 46RE rebuilt, new stock convertor, high performance bands, clutches, electronics and a shift kit.
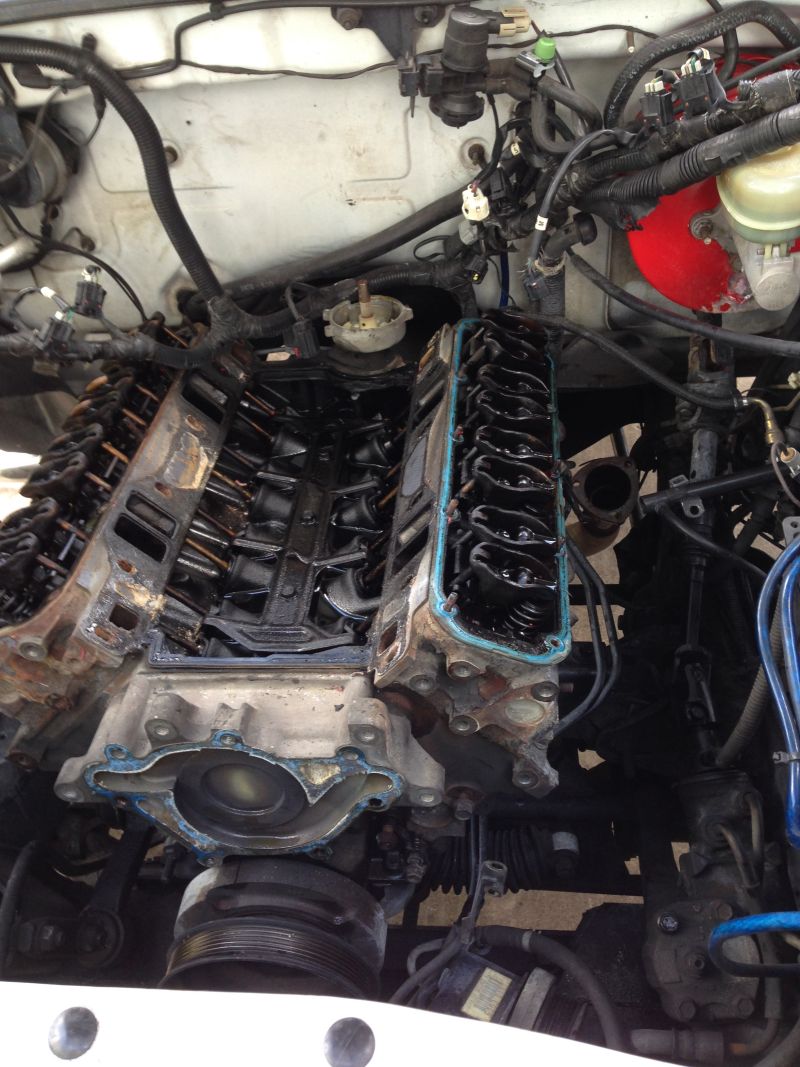
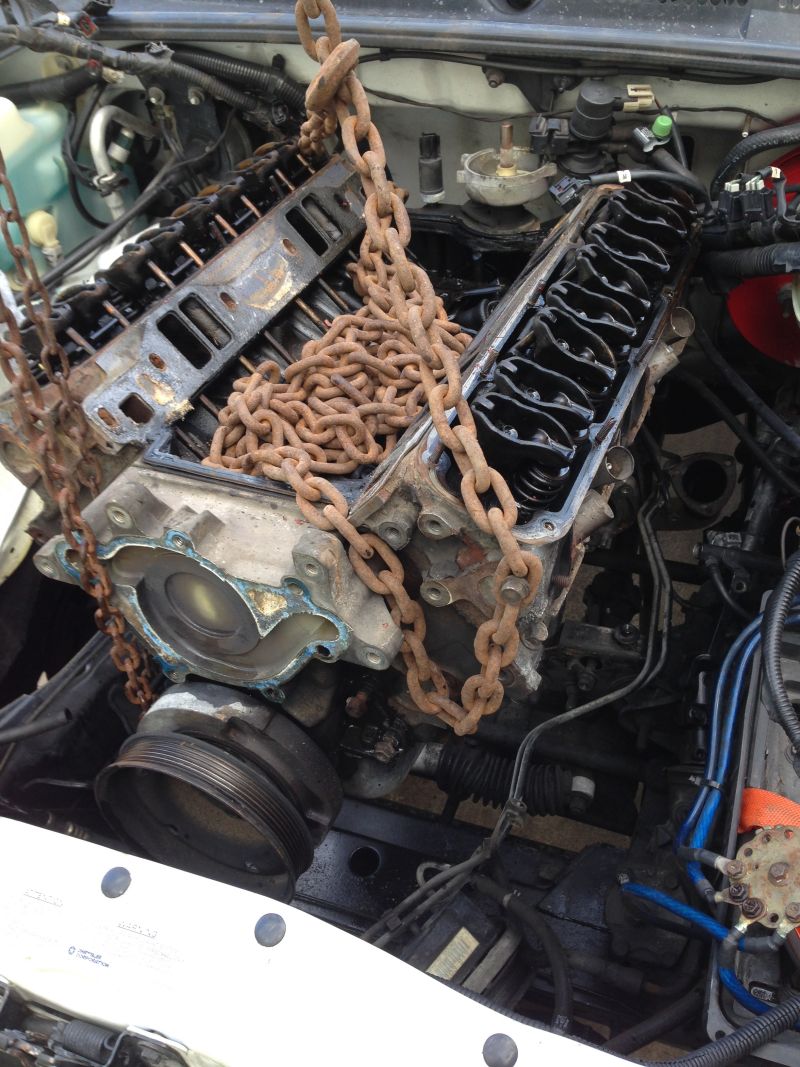
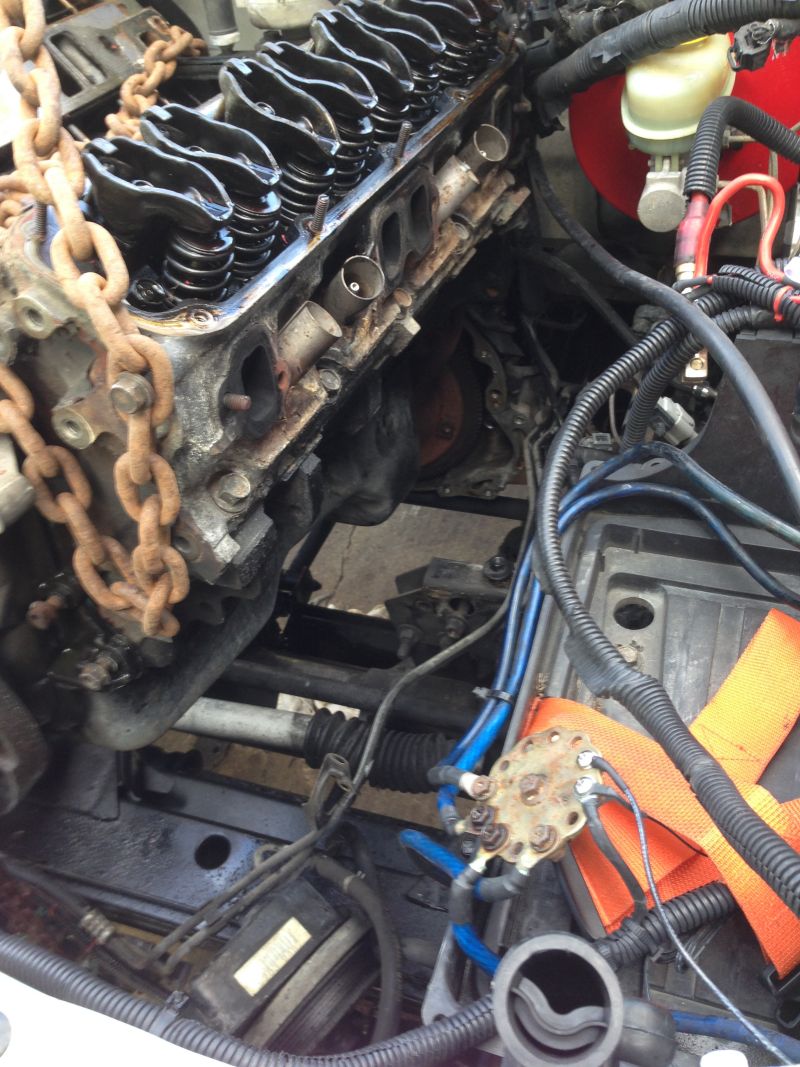
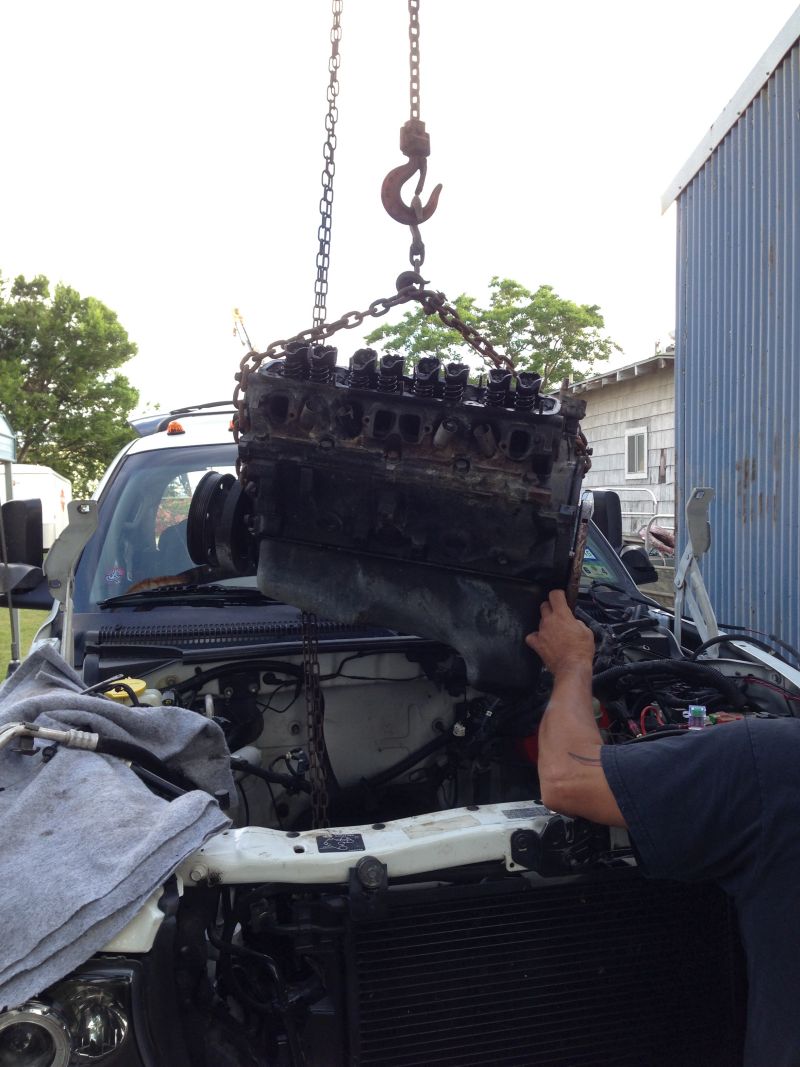
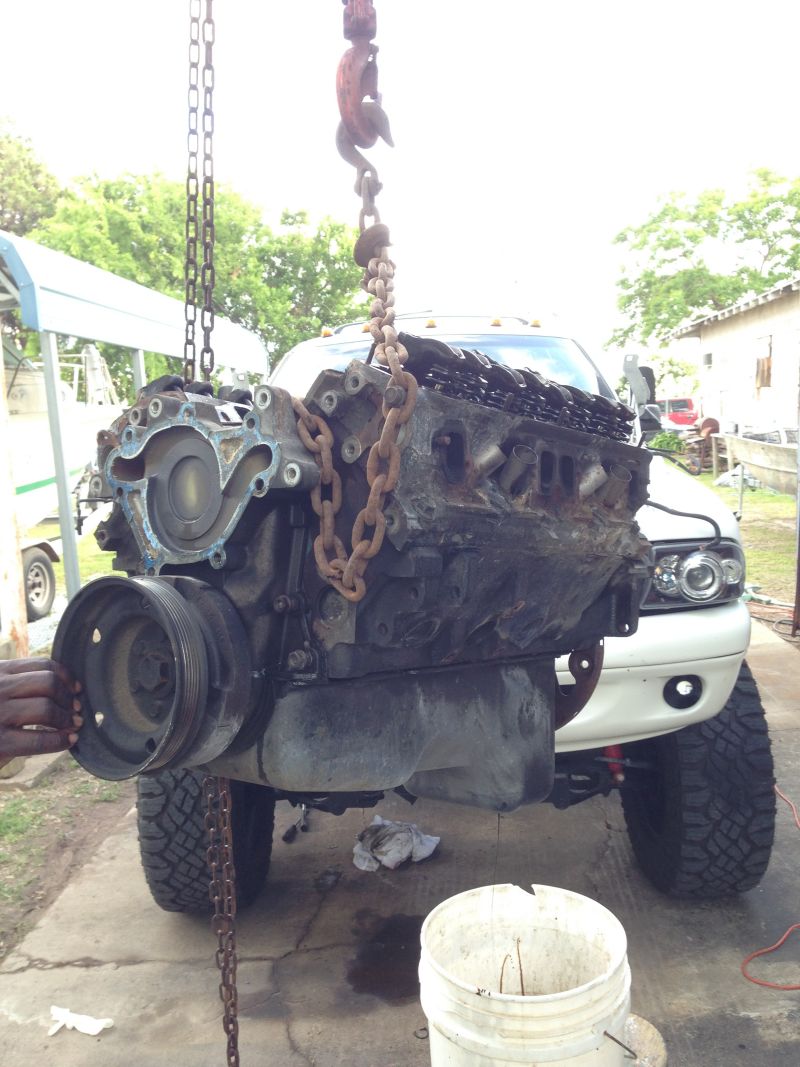
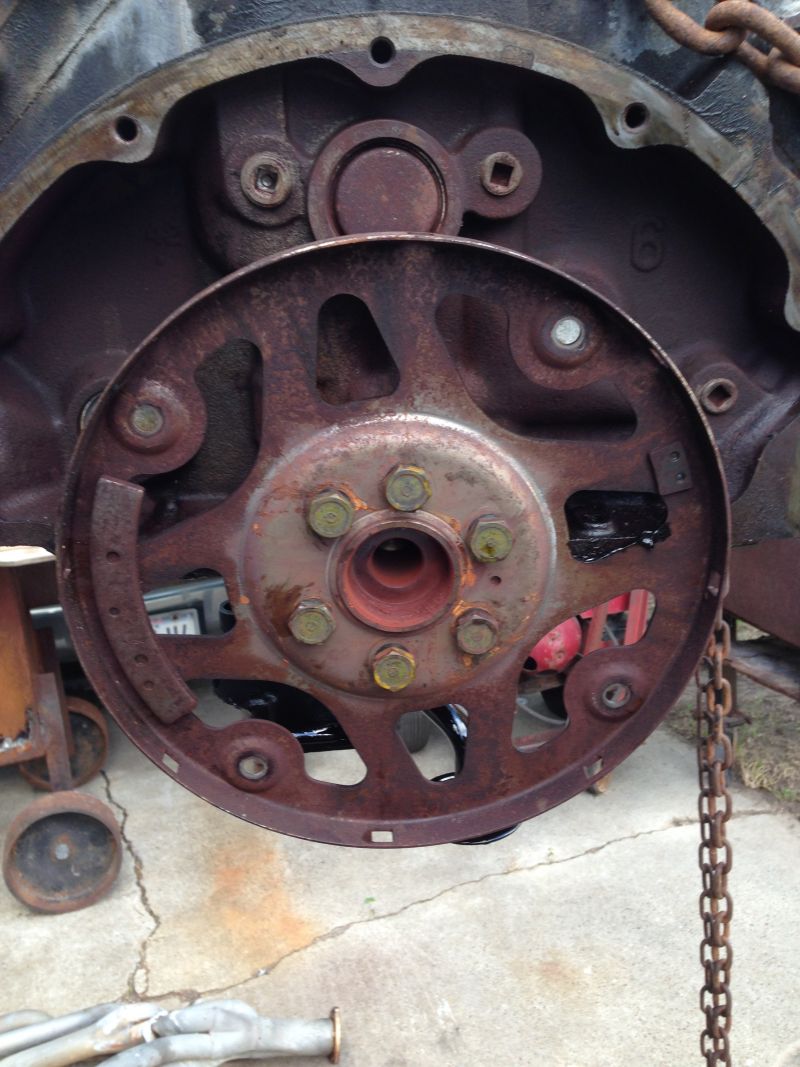
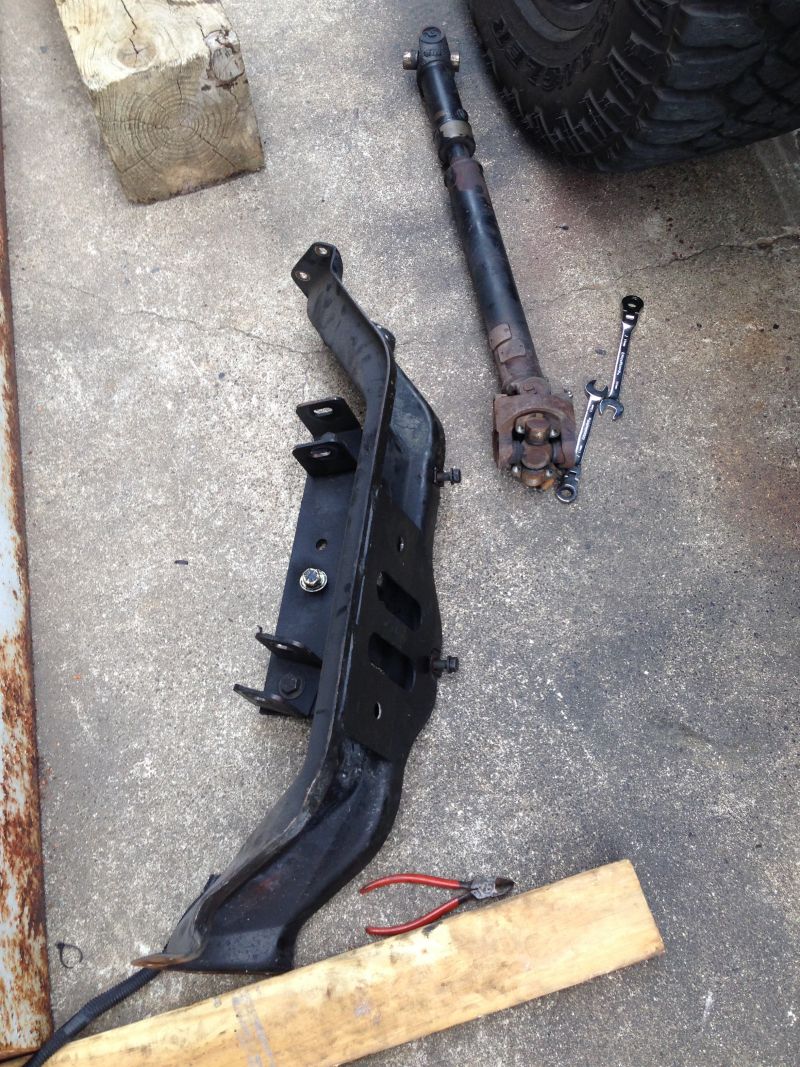
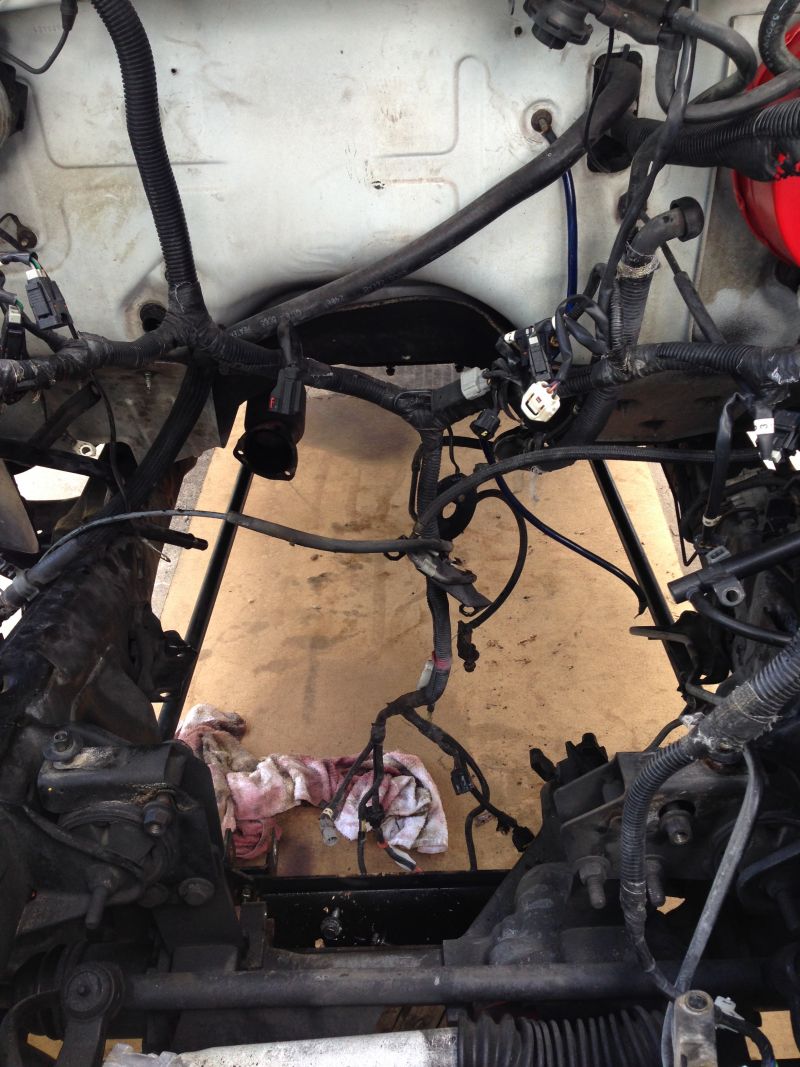
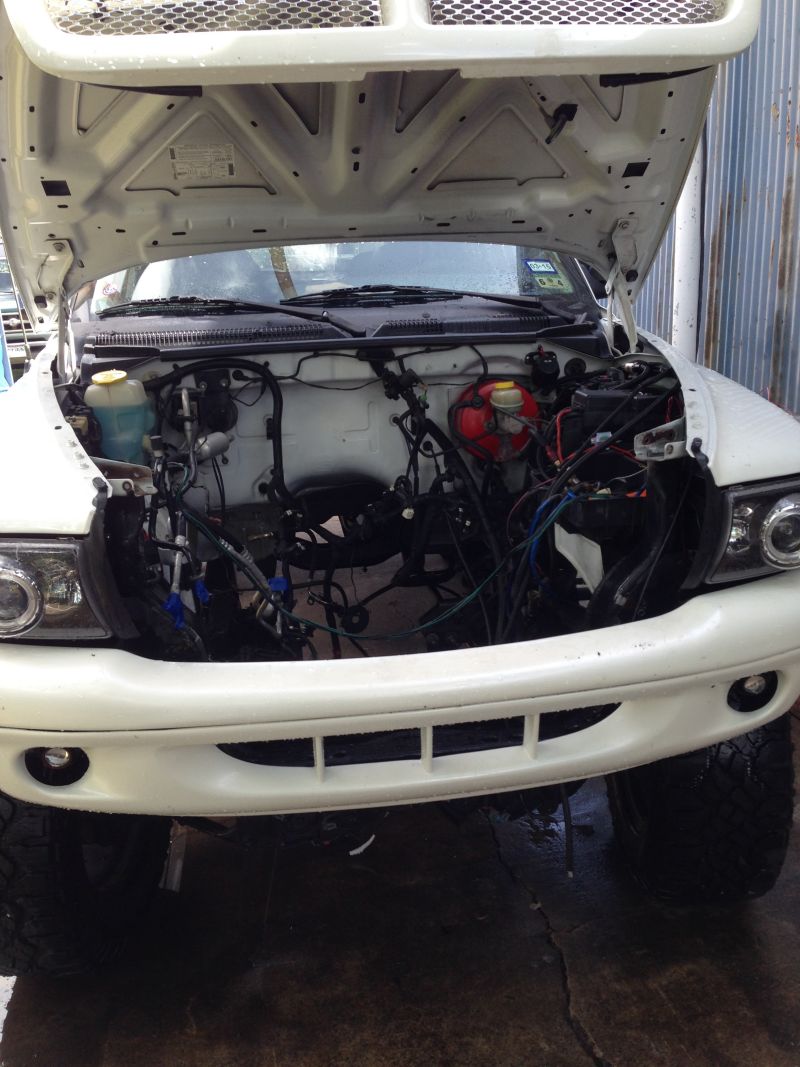
 REMOVING OLD ENGINE |
 |
 |
 |
 |
 |
 |
 |
 |
 |
 |
 |
 |
 |
 |
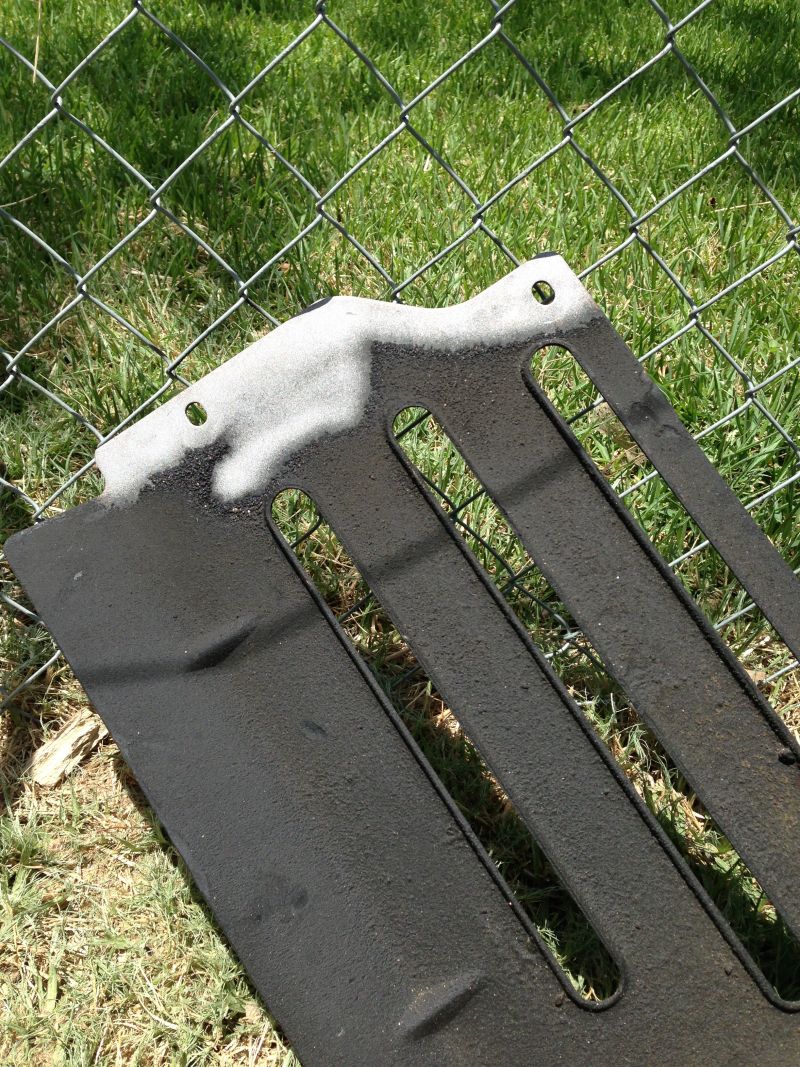
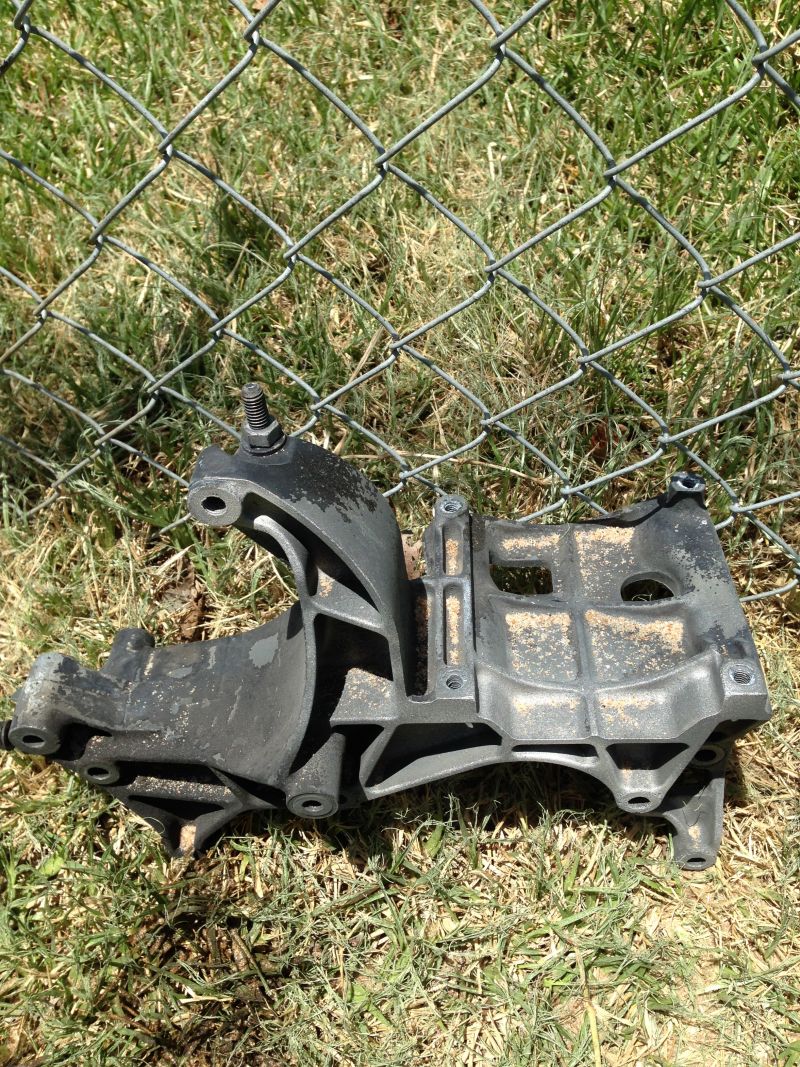
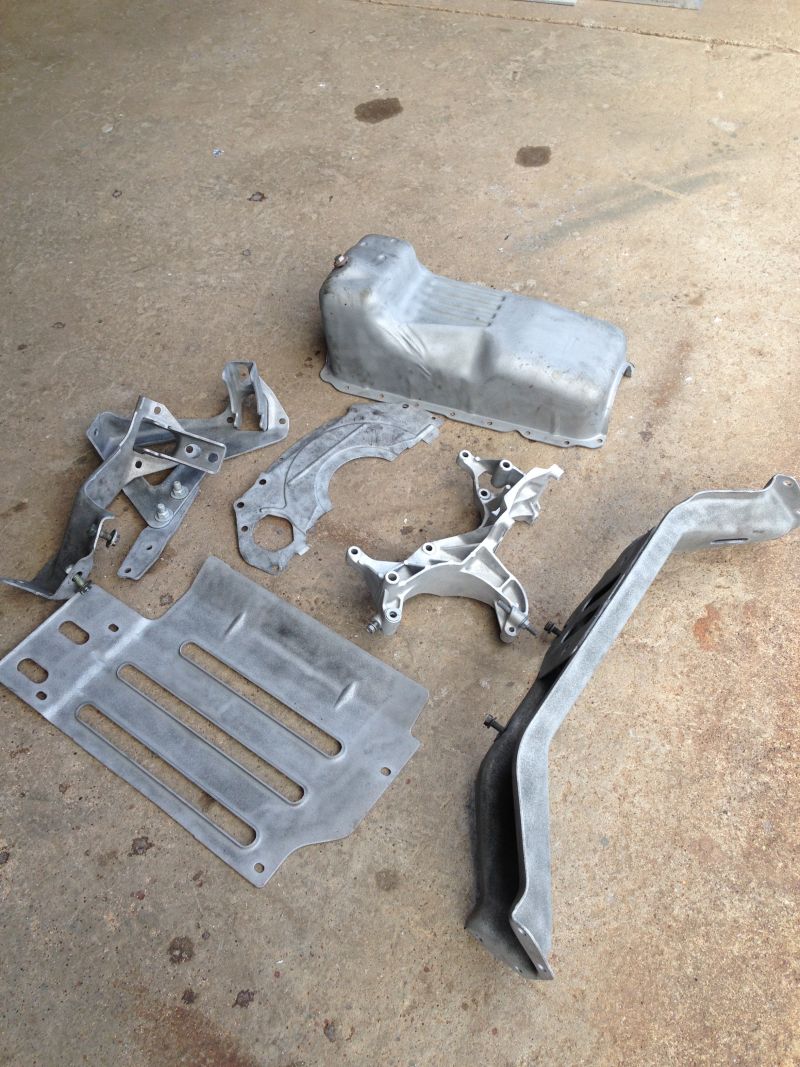
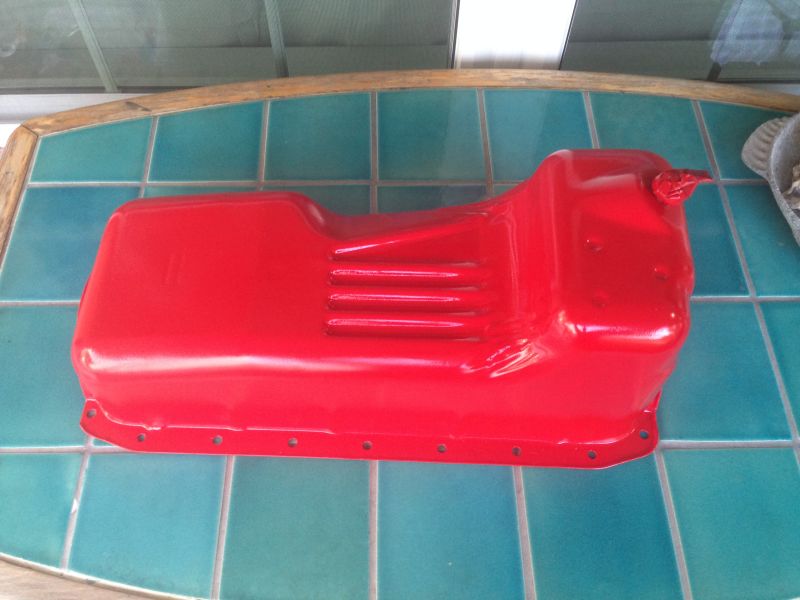
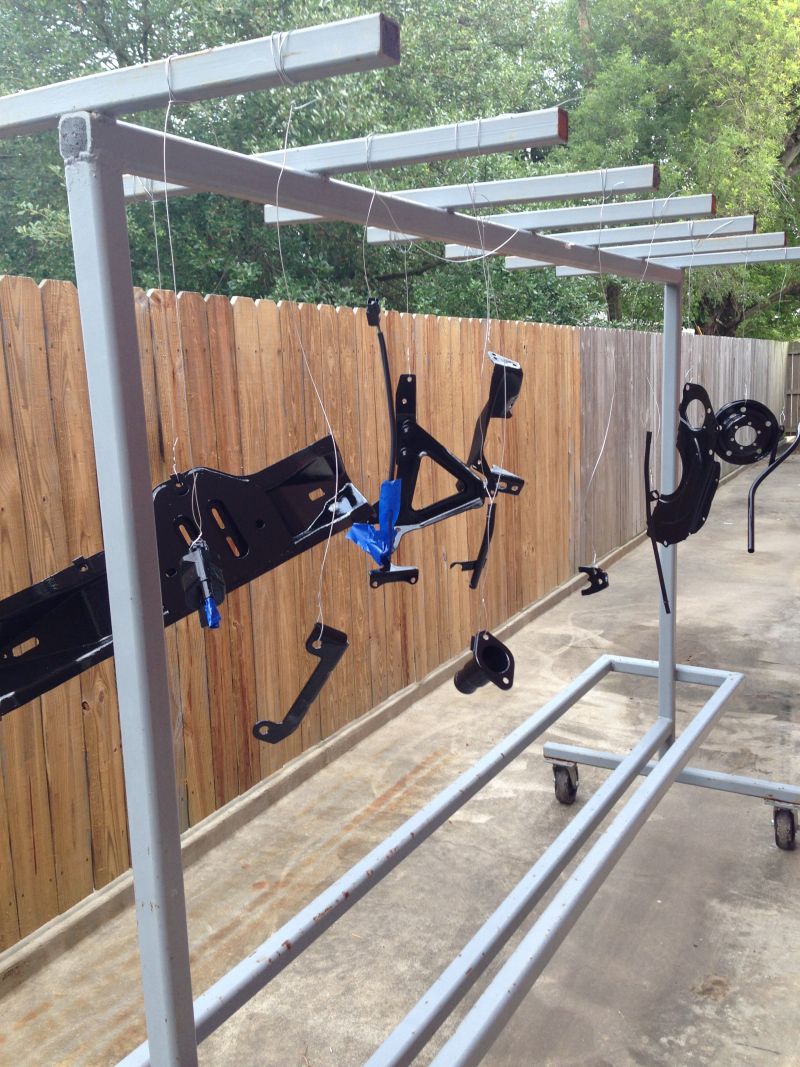
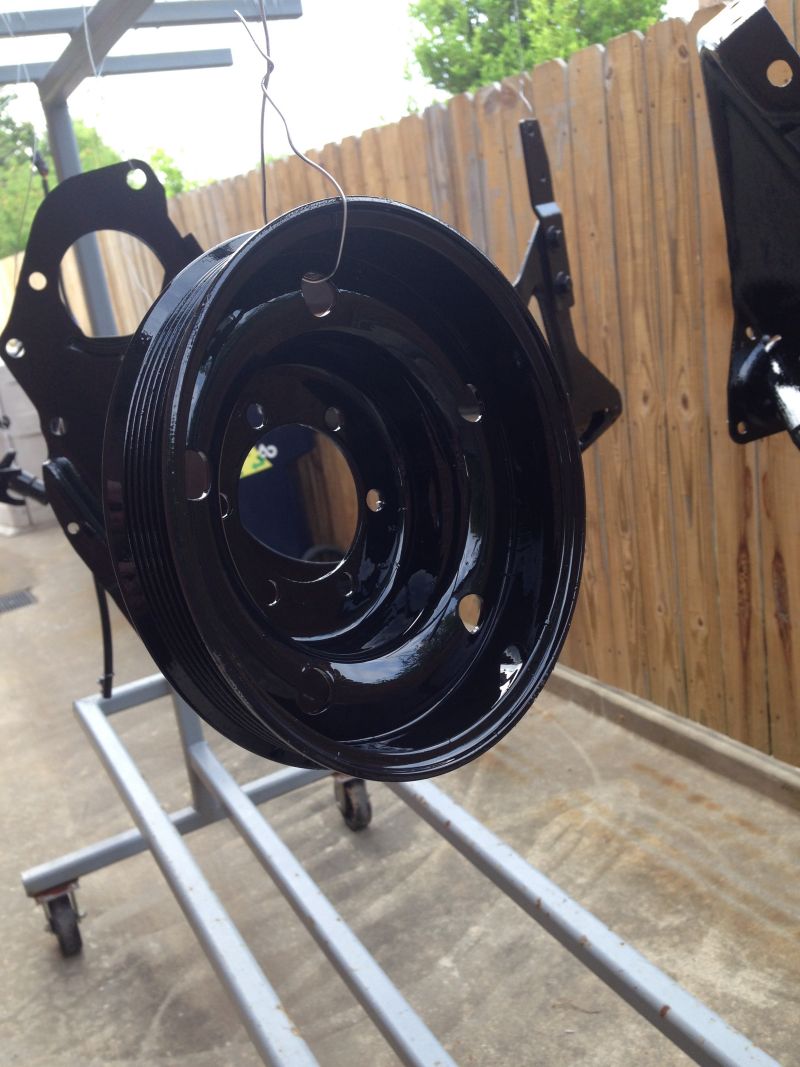
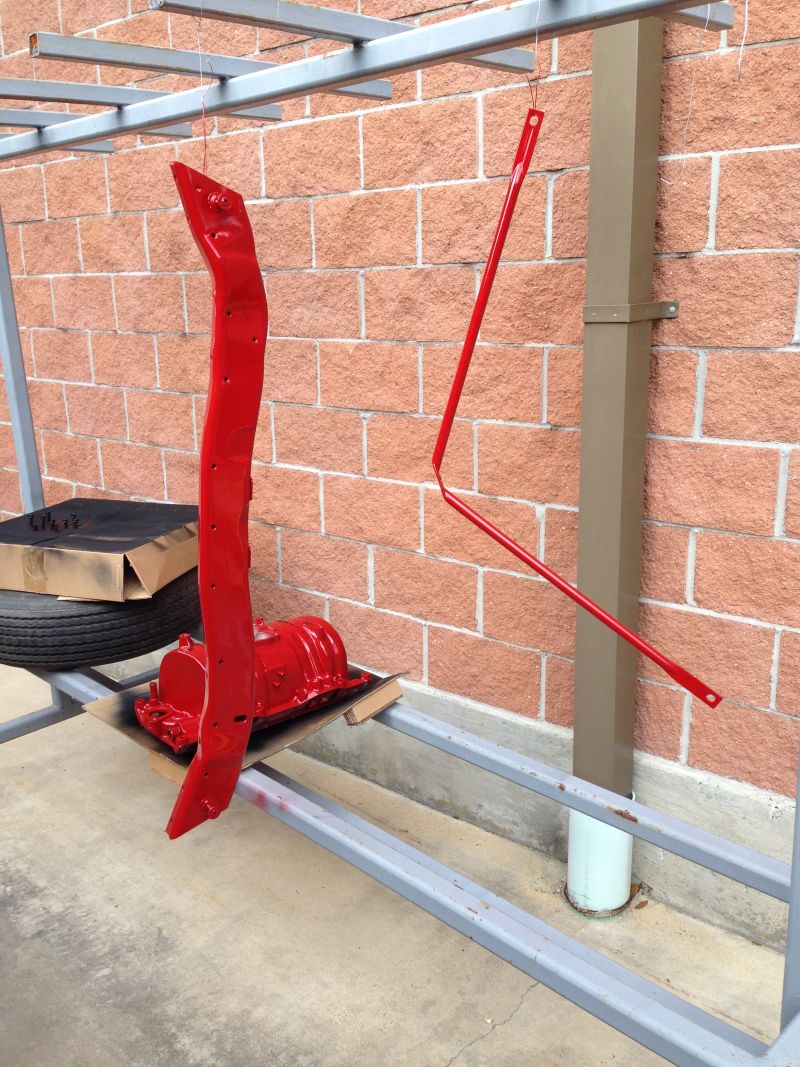
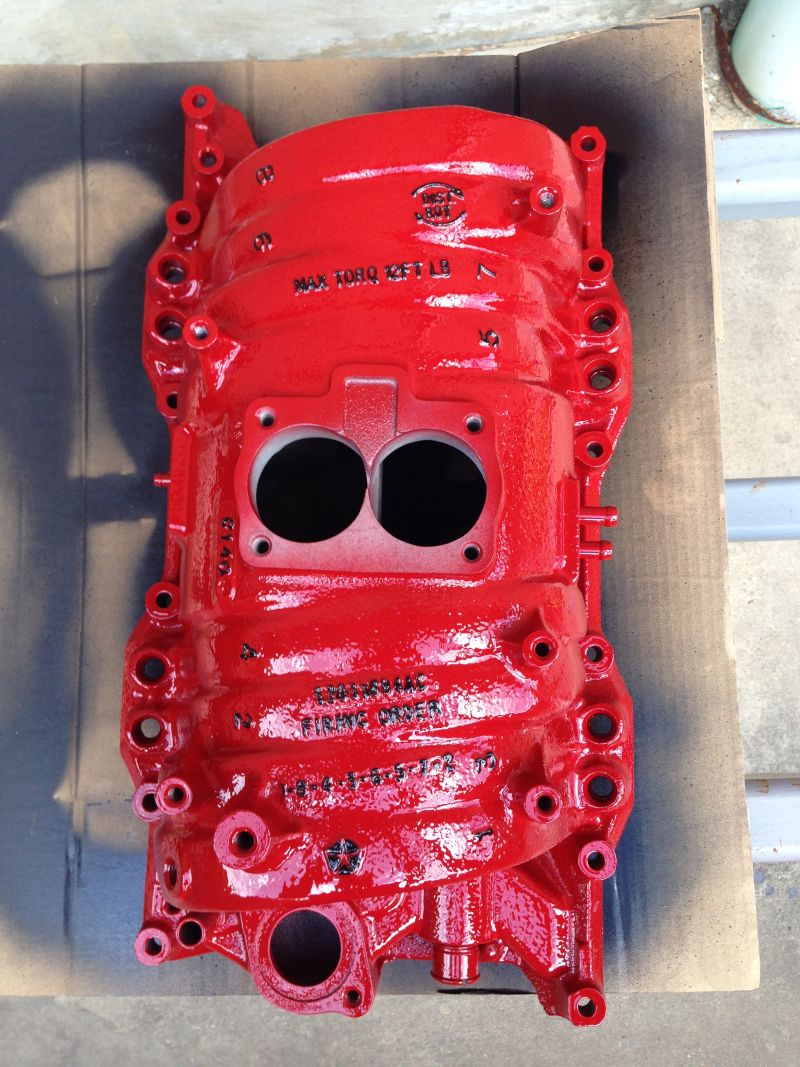
 LET THE SANDBLASTING START. EVERYTHING WAS BLASTED, PAINTED AND CLEAR COATED. |
 |
 |
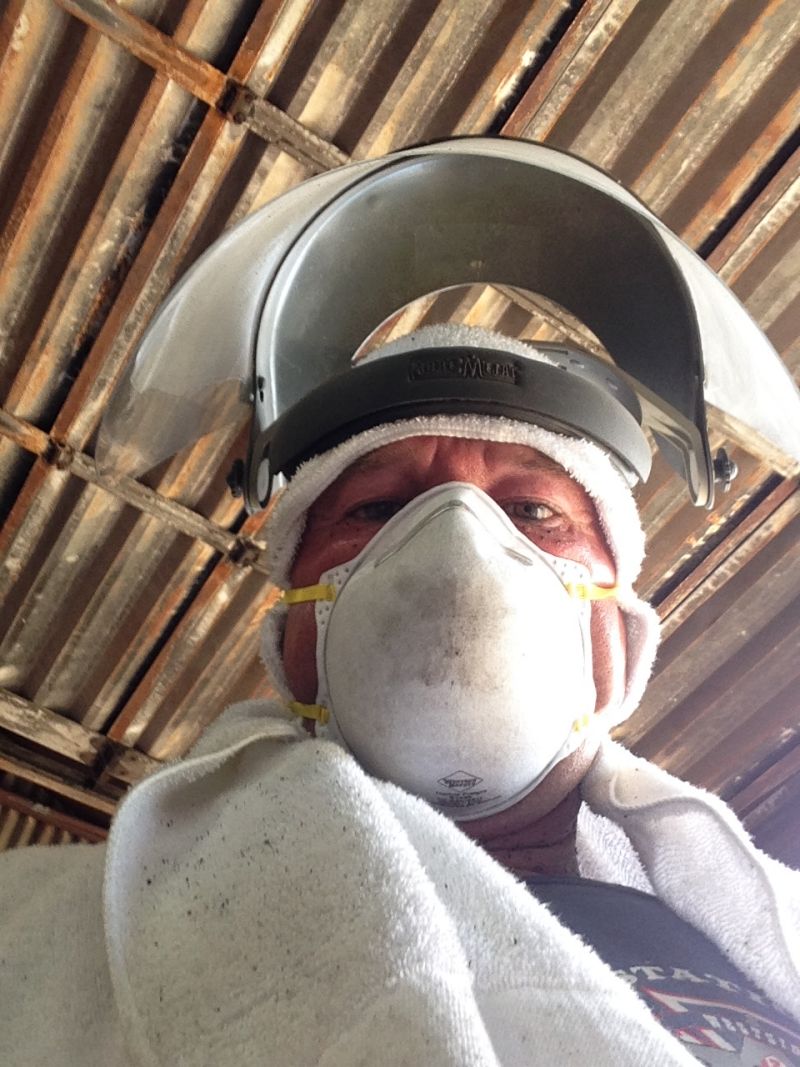 YOURS TRULY |
 |
 |
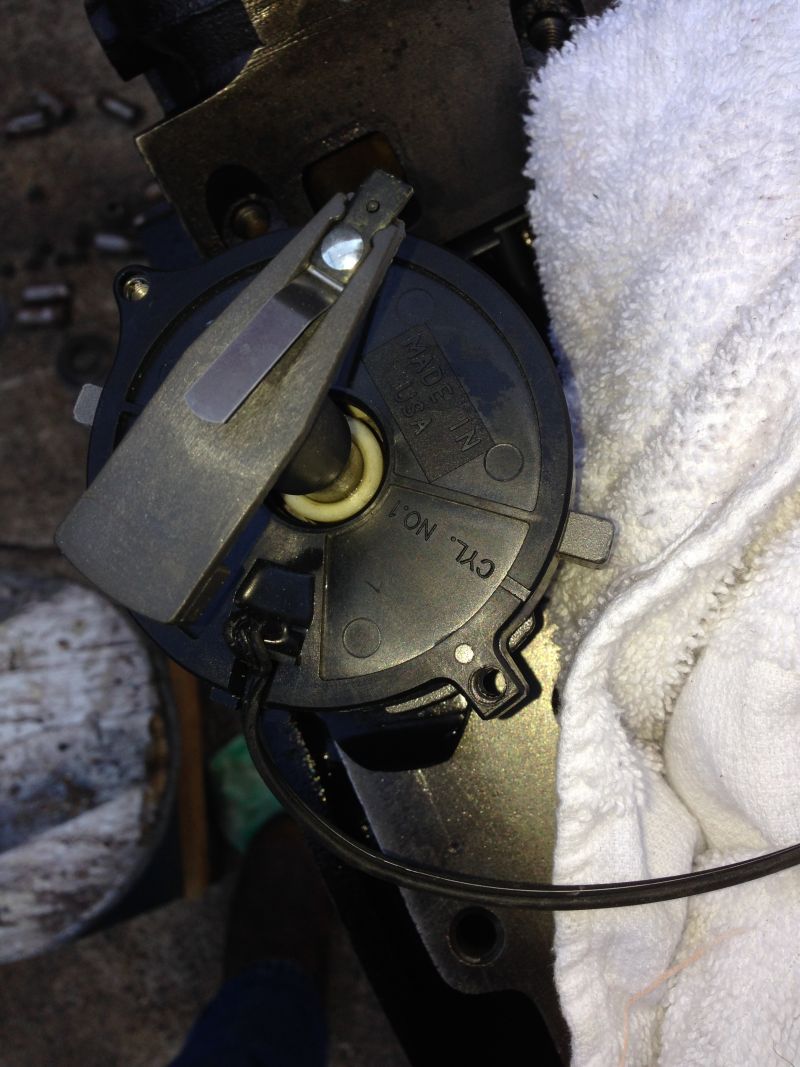
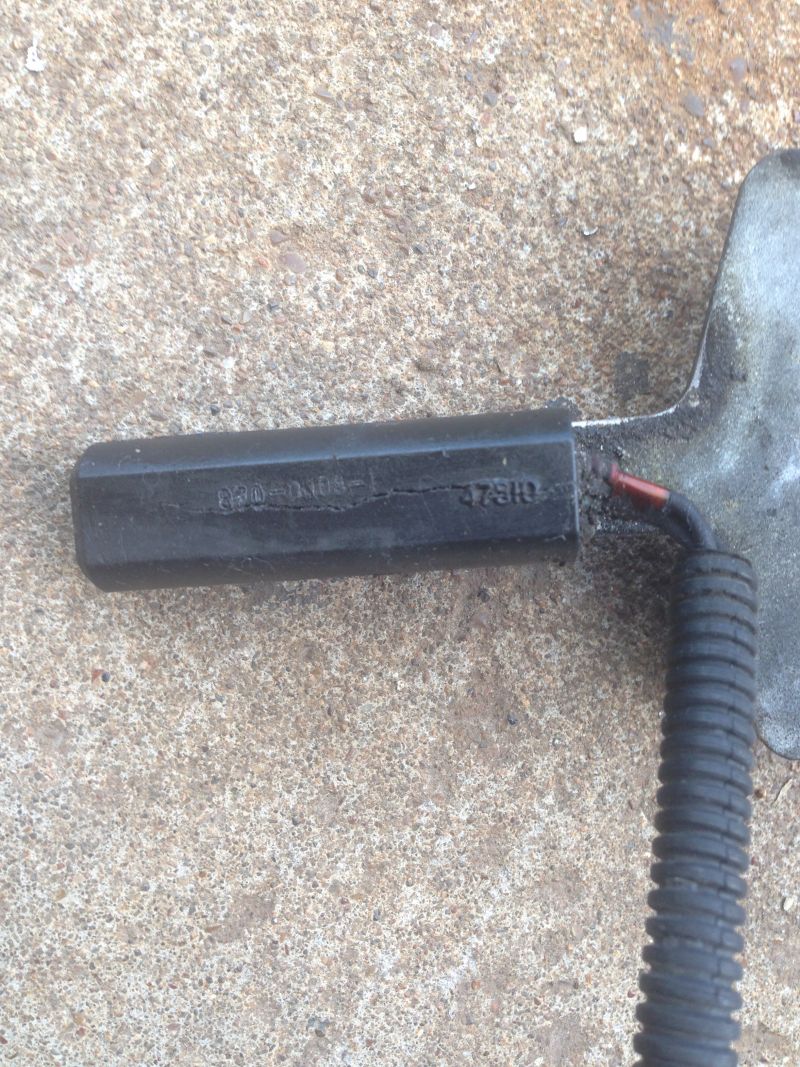 REPLACED THIS SENSOR DUE TO AGE AND CRACKS |
 |
 |
 |
 |
 |
 |
 |
 |
 |
 |
 |
 |
 |
 |
 |
 |
 |
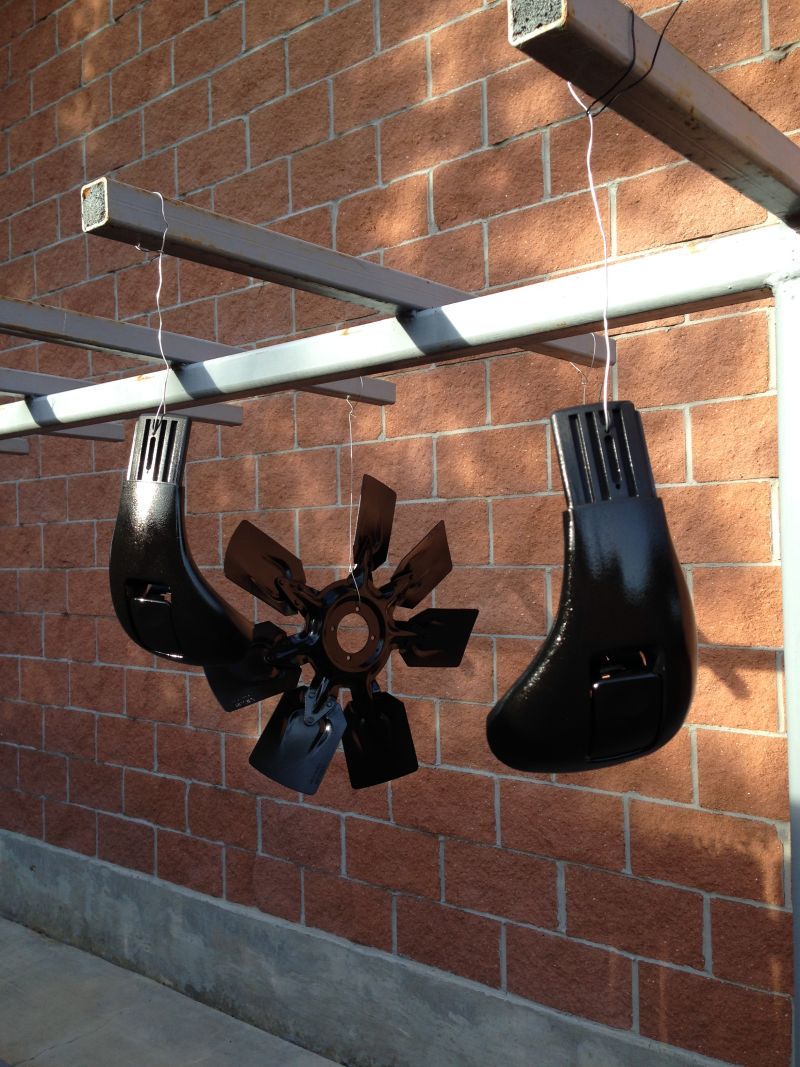
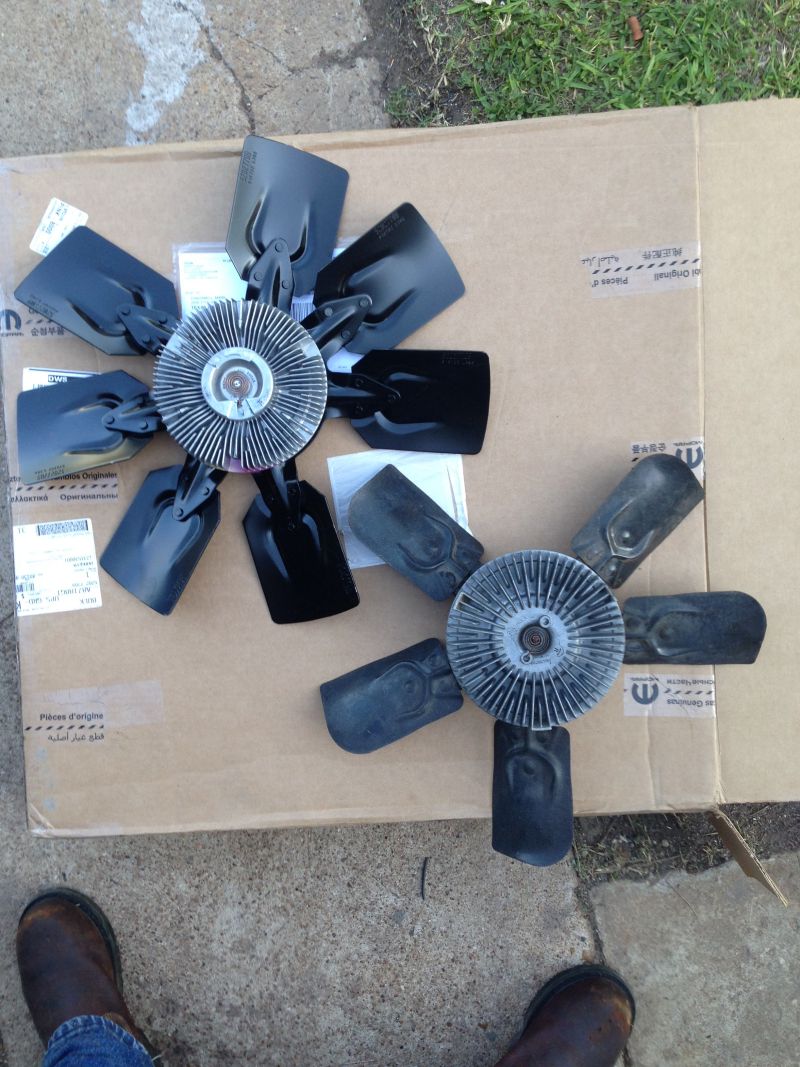 V10 FAN AND CLUTCH SETUP COMPARED TO STOCK SETUP |
 |
 |
 |
 THESE TWO DECALS WERE REPLACED |
 |
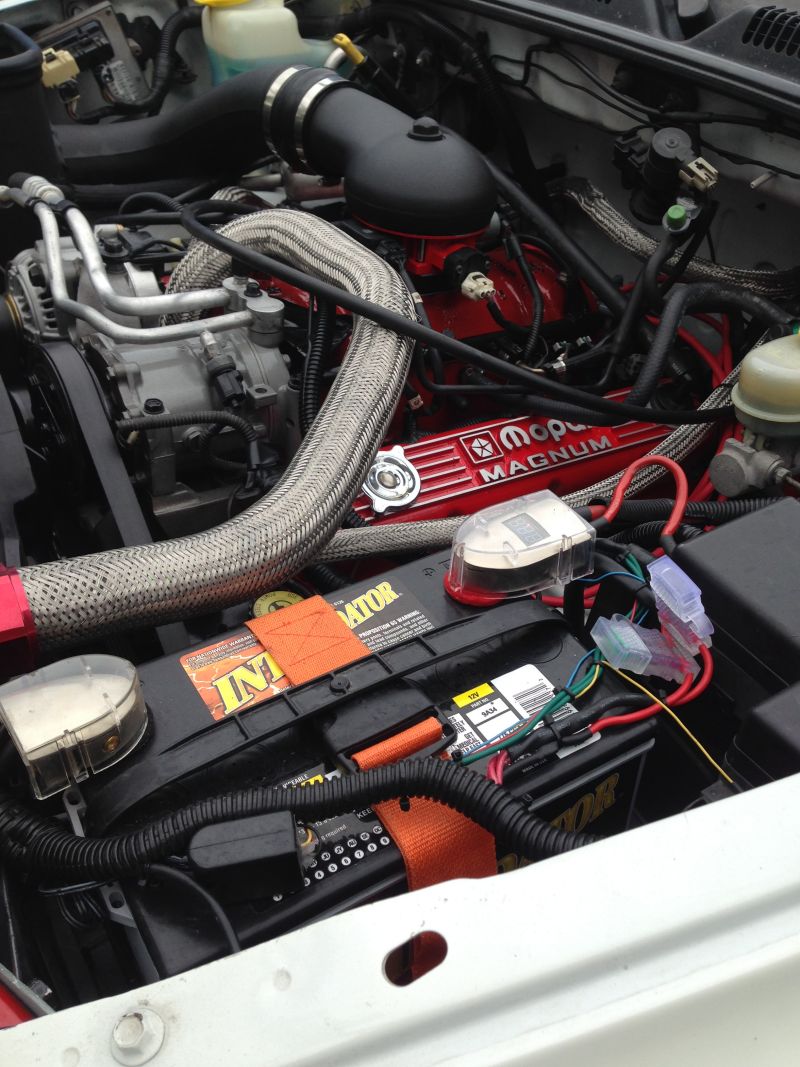
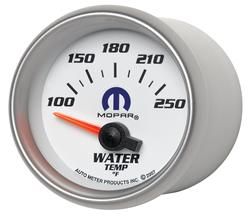 INSTALLED TWO MOPAR GUAGES TO WATCH THE TRANSMISSION AND RADIATOR TEMPS  |
 |
 |
 |
 |
 |
 |
 |
 |
 |
 |
 |
 |
 |
 |
 |
 |
 |
 |
 |
 |
 |
 |
 |
 |
 |
 |
 |
 |
 |
 |
 |
 |
 |
 |
 |
 |
 |
 |
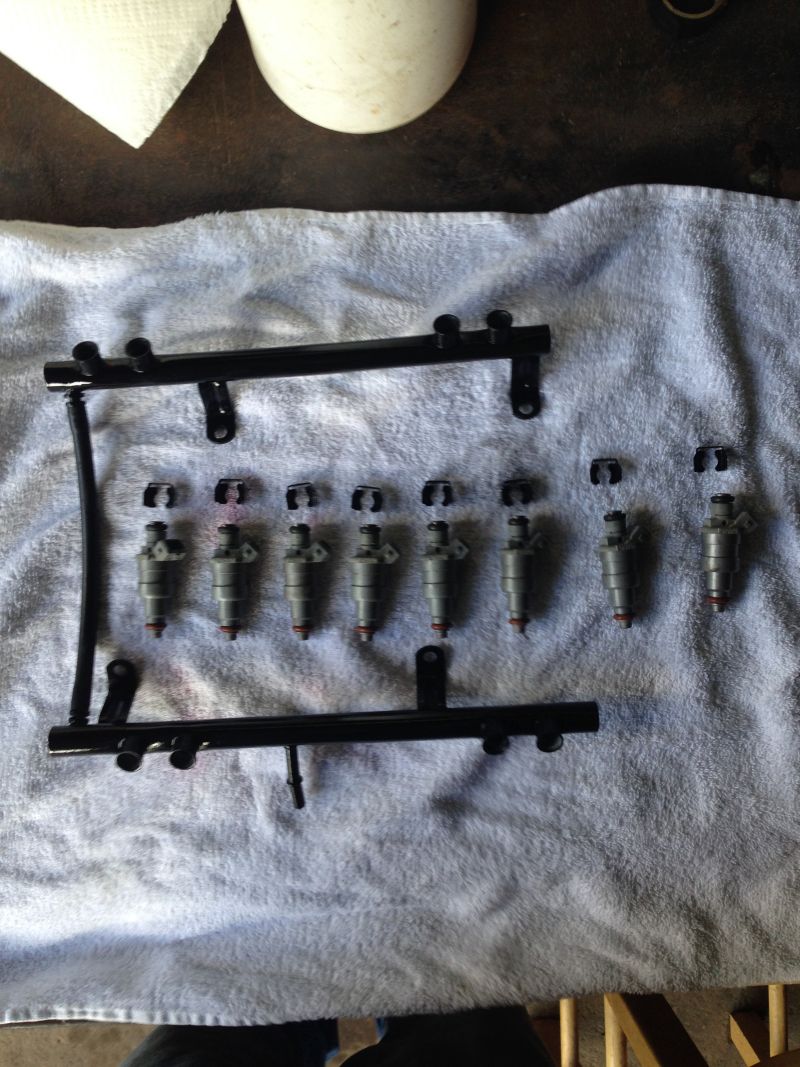
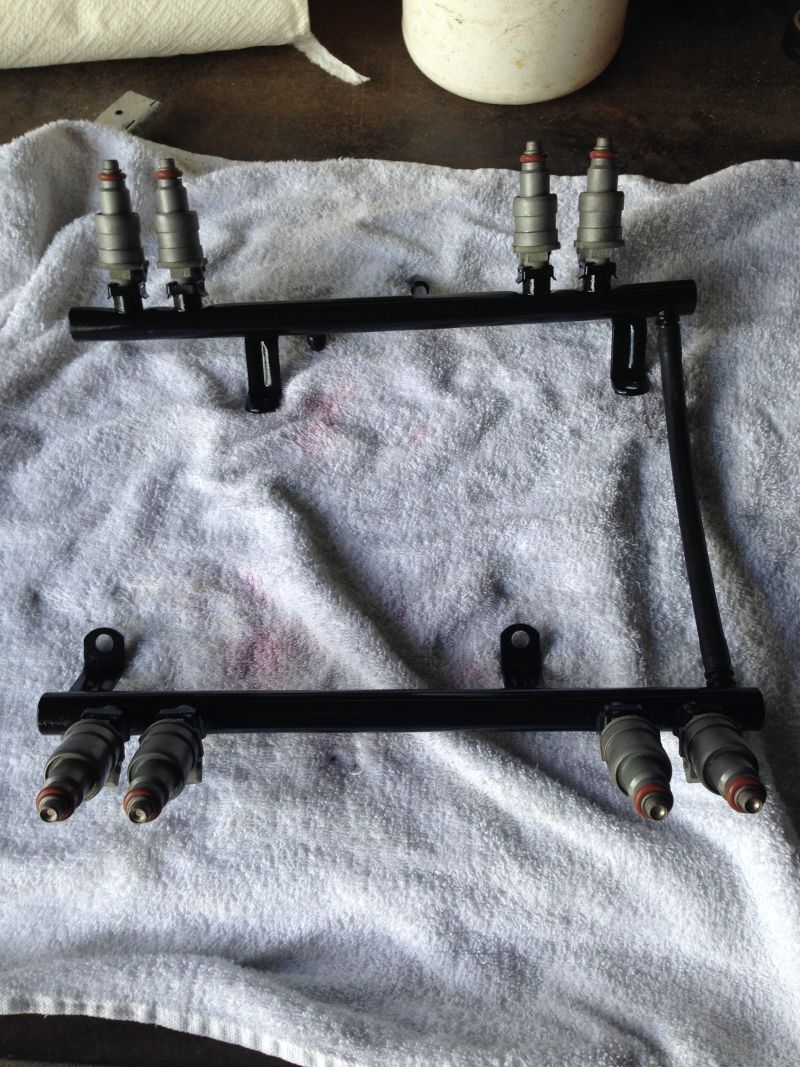
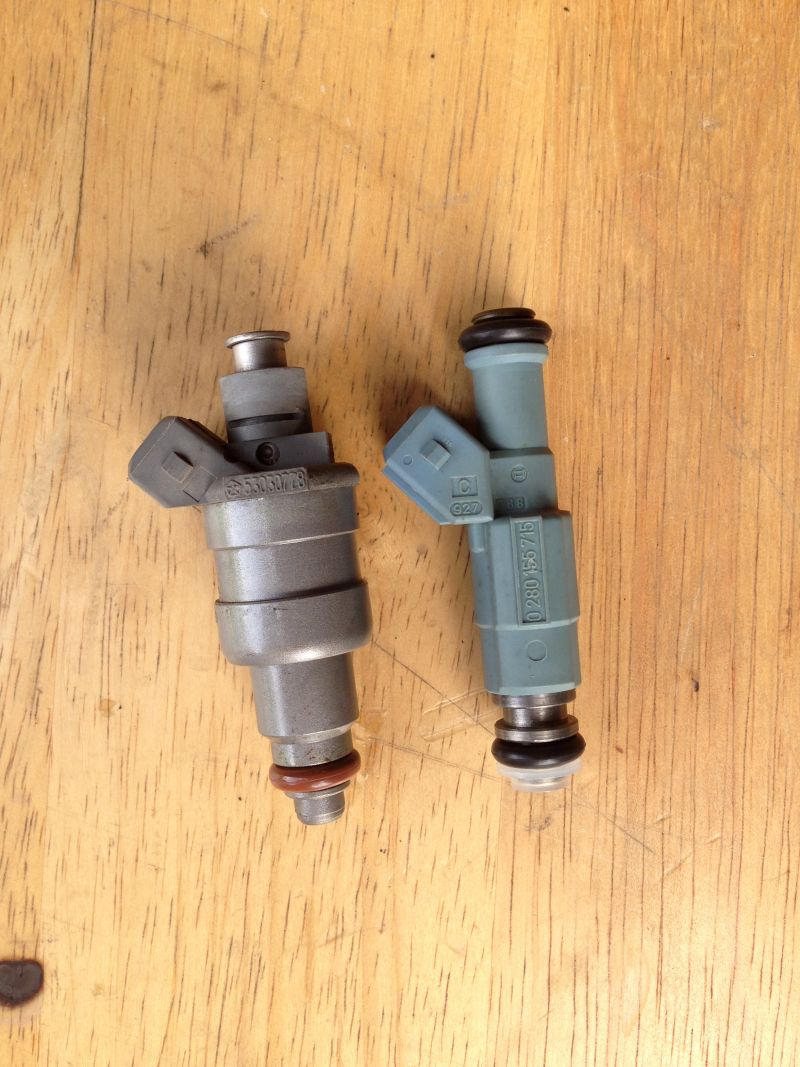
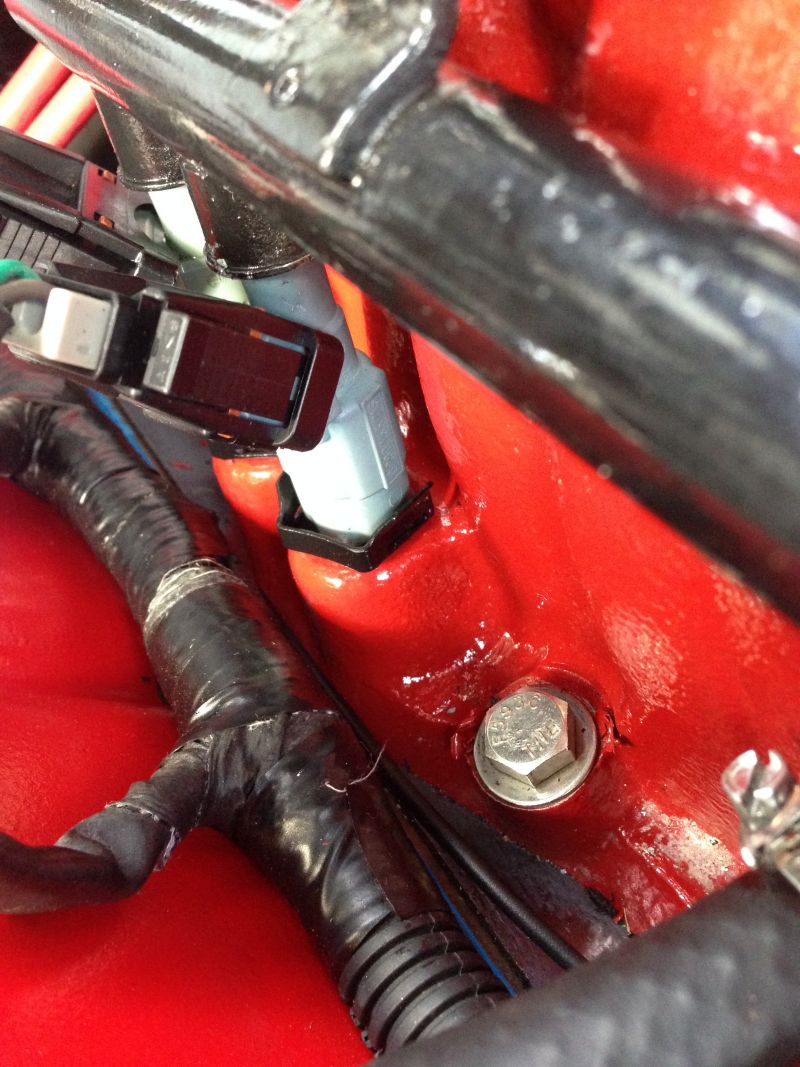
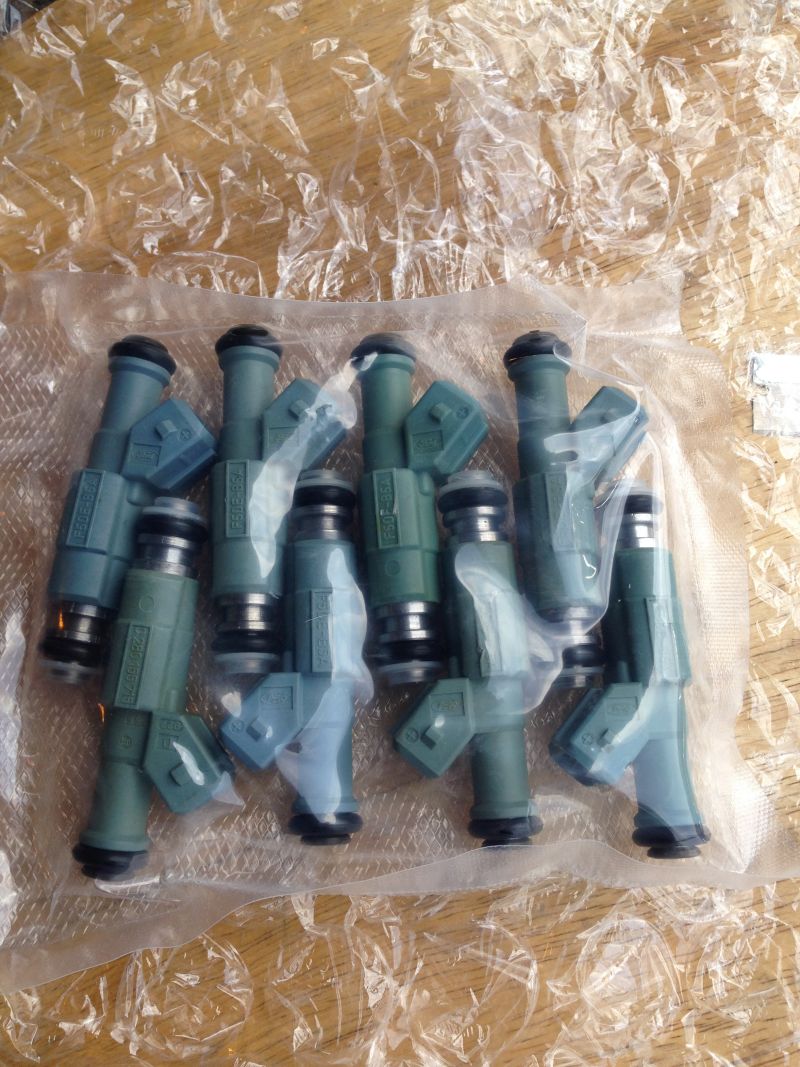 INSTALLED BOSCH 4 NOZZLE INJECTORS, 24LB/252CC @ 43.5 PSI (3 BAR) PART # 0280155715 HIGH IMPEDENCE |
 |
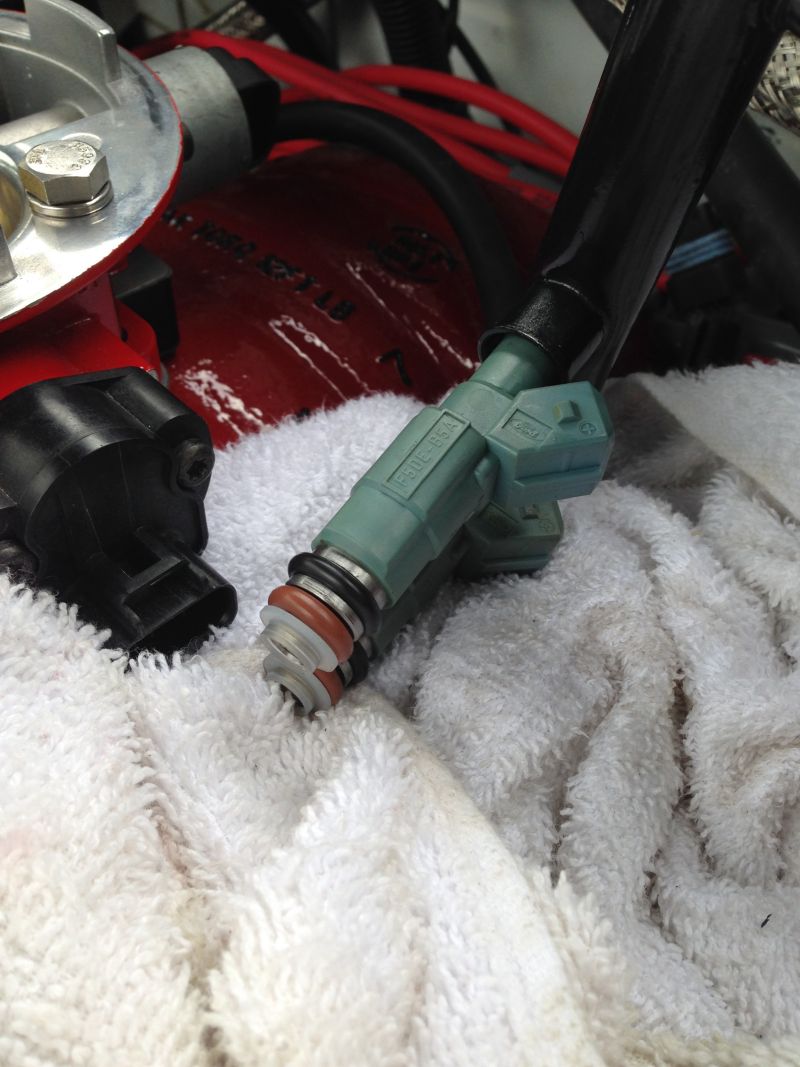 |
 TO HOLD THEM IN PLACE, I HAD TO PUSH THE CLIPS ON AT THE BOTTOM OF THEM. |
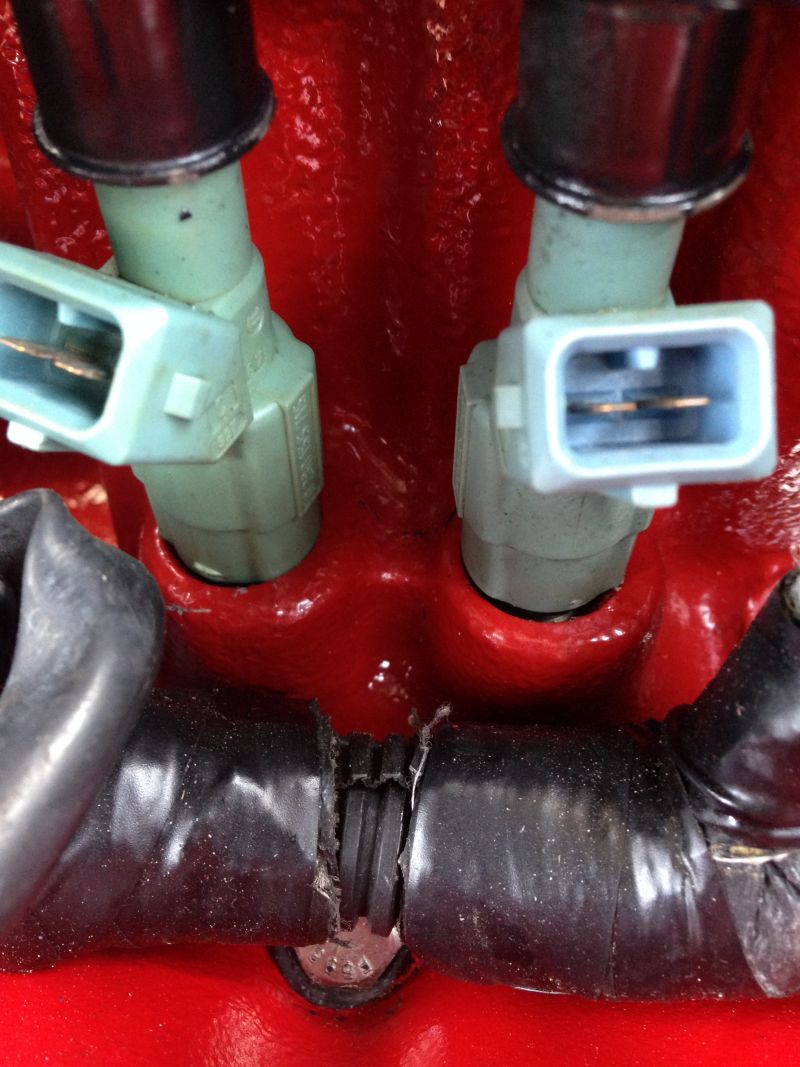 WITHOUT THE CLIPS ON THE BOTTOM, THEY SLID DOWN TO FAR AND LEAKED AT THE TOP. |
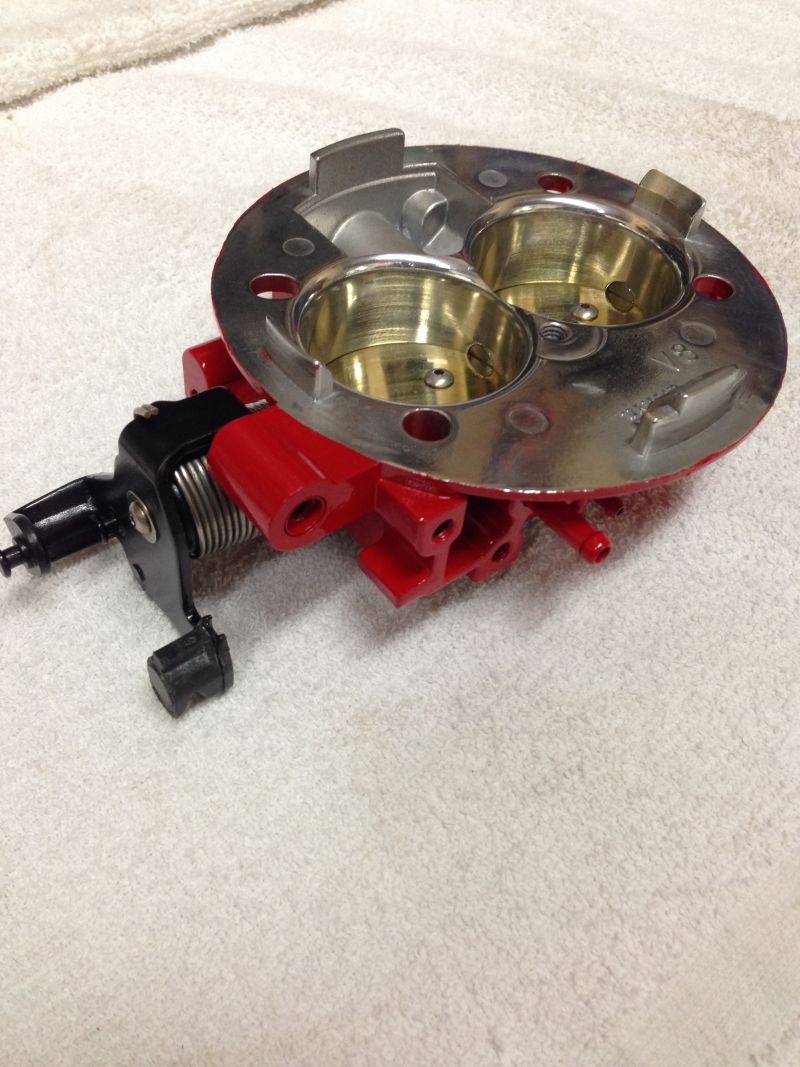 FASTMAN 52MM THROTTLE BODY |
THESE ARE THE TWO DYNO RUN SHEETS. YOU CAN SEE A BIG IMPROVEMENT AFTER SEAN POWELL AT HEMIFEVER WROTE A CUSTOM TUNE. I DO LOSE ABOUT 35% HORSEPOWER AT THE REAR WHEELS DUE TO THE 35" TIRES AND THE 3.56 GEARS IN THE AXLES.
******With the stock tune******
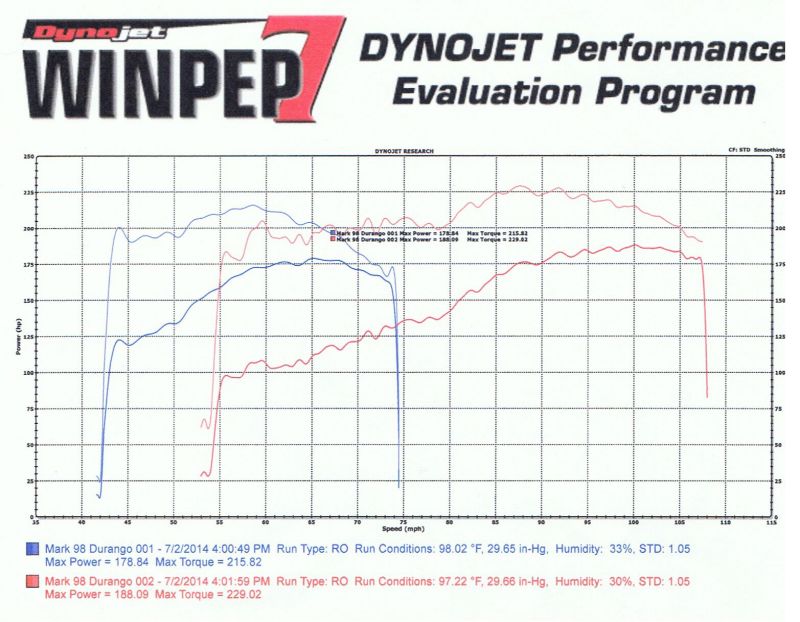
*******With the HemiFever custom tune*****
AFTER THIS RUN, SEAN TWEAKED THE TUNE, PLUS BUILT ME A RACE FILE TO GET OFF THE QUICKER. THE CAM INSTALLED HAS NO LOW END POWER WHERE I NEED IT. THE RACE FILE DOES MAKE A BIG IMPROVEMENT AND IT DOES SEEM TO HOLD POWER AT 3000 RPM AND BELOW.
NOW TO GET IT BACK TO THE DYNO
AND SEE IF I WANT THE TUNE TWEAKED EVEN MORE.
AS OF NOW THE DURANGO GETS AROUND 16 TO 17 MPG IN TOWN AND 10 TO 11 ON THE HIGHWAY. STOMPING IT OFF THE LINE WILL LAY YOU BACK INTO THE SEAT ALL THE WAY TO 80 MPH. AT 80 MPH IT IS STILL PULLING HARD WITH THE FRONT END STILL LIFTED UP AND STARTS TO FLOAT PRETTY SCARY, SO I LAY OFF. ON THE HIGHWAY IT WILL GET UP AND GO FROM 65 MPH TO 120 MPH LAYING YOU BACK IN THE SEAT.
DYNO RUN 8OCT14
=============================================================================================================================================================================
BELOW ARE MODS I HAVE DONE OVER THE YEARS OF OWNING THE DURANGO BEFORE THE ENGINE SWAP. I'LL LEAVE THEM HERE IN CASE THEY HELP SOMEONE ELSE OUT.
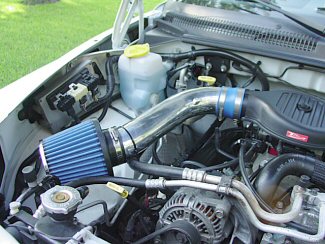
Cold Air Intake
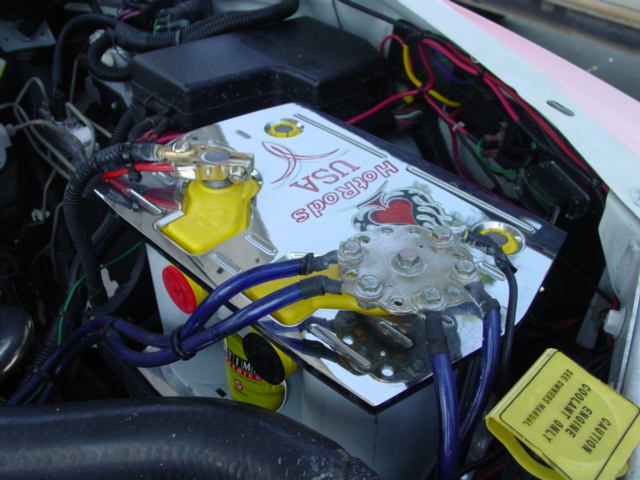
Optima Battery with a polished aluminum holder.
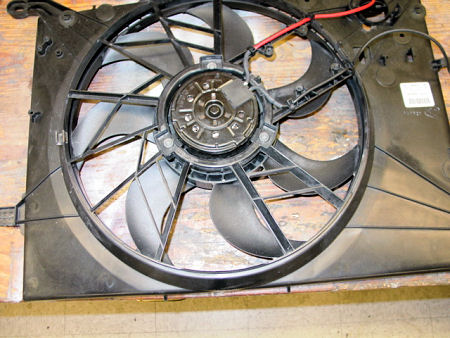
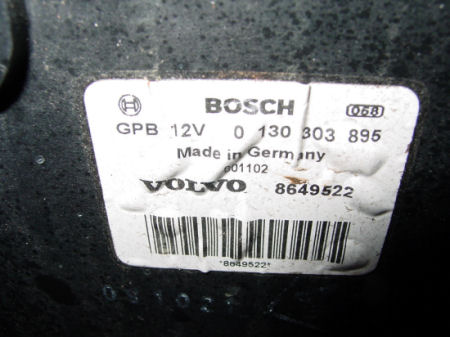
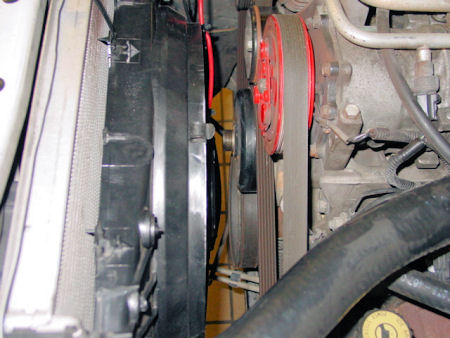
Bosch Electric Fan from a Volvo
After removing the stock clutch fan and installing this fan I have felt the increase in horespower which some claim is 17%. I can now feel the power and pickup since the stock fan has been removed.
This fan moves a lot of air and has kept my engine running cooler than the stock fan did.
This is an alternative to installing an aftermarket fan to cut down on cost.
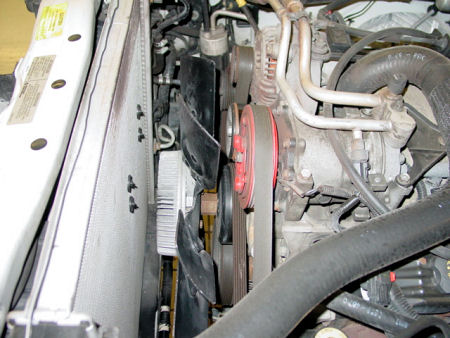
UPDATE: I have gone back to my stock setup with a Clutch Fan due to having to tow the boat and a camper. The electric fans were not able to keep up with the cooling and I had a lot of problems over the last two years. Once i went back to the stock setup, the problems were solved. I will leave the below setup here for reference help if anyone want to do electric.
Another setup I went with recently when the fan below went out. This setup I had on the D for about a month before going back to the stock clutch fan setup.
ELECTRIC FAN BUILT INTO SHROUD
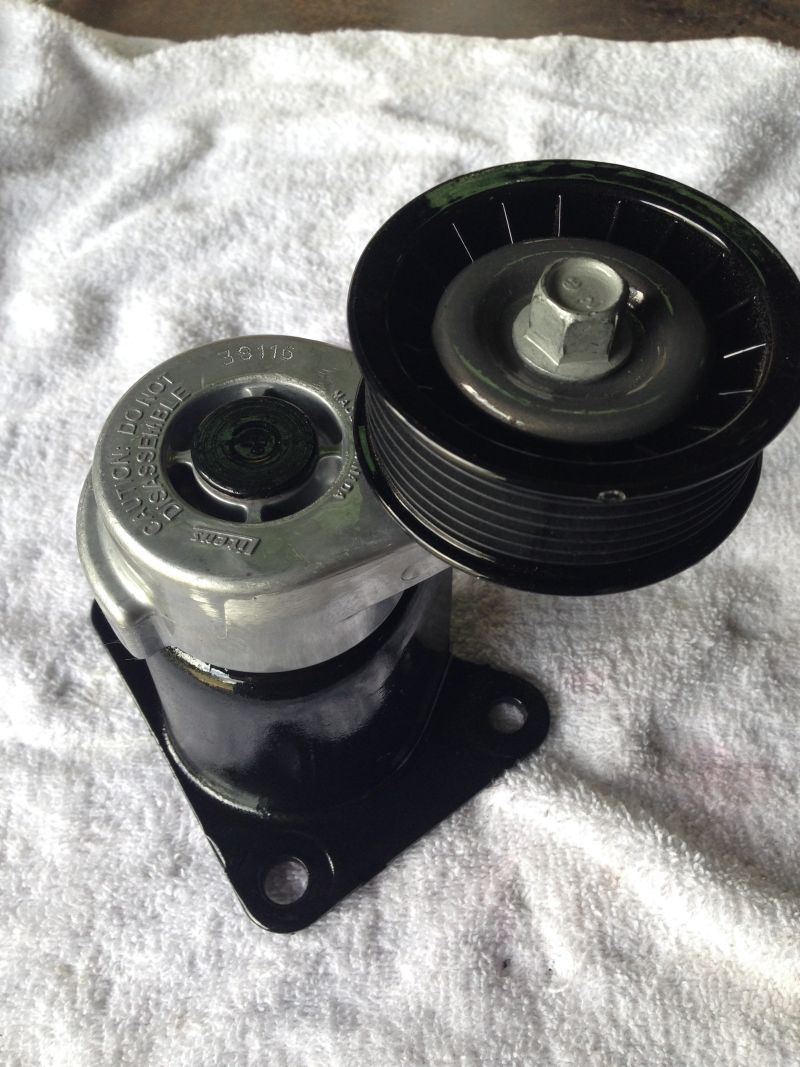
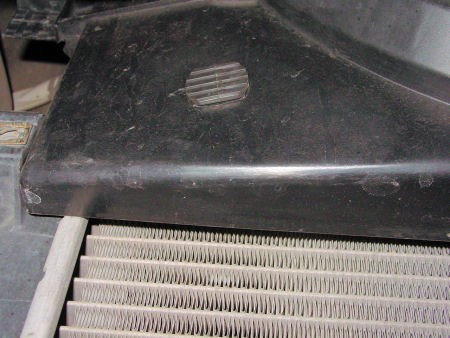
 After the fan shroud has been removed. Remove the belt then the fan. They do have a special tool to secure the pulley if you can get a hold of one. |
 I removed the two top mounts with a hacksaw. You can see the one in the top left before it was removed. |
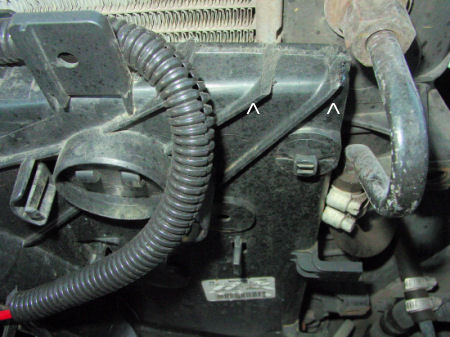 The arrows are pointing to where the top mount was removed. This is so it will clear the A/C line. There is a gap of about 1 to 1 1/2" from the top. This has not effected cooling. |
 Info on the type of fan I used. I picked mine up off of Ebay for about 15 dollars. |
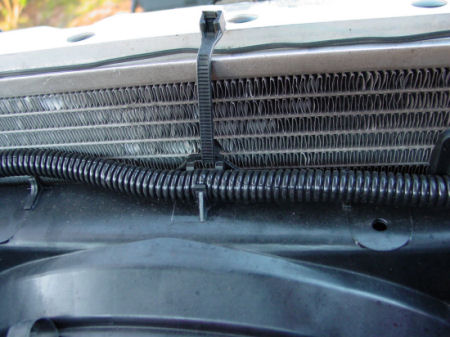 I used a zip tie to hold the fan in place until I could install all four of the Nylon Mounting Rods |
 Arrows point to where the top two Nylon Mounting Rods are installed. The holes for these were already in place and the tie only went through the radiator |
 I had to drill holes for the bottom two ties. They went through the radiator and the A/C cooler for the bottom two. |
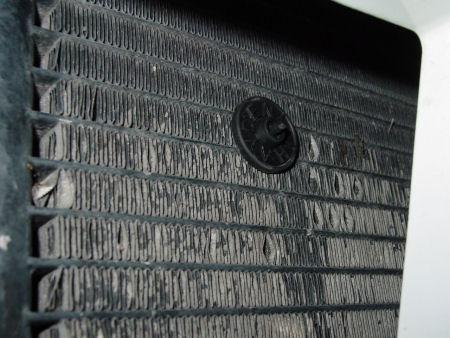 This is the bottom tie coming out through the radiator and the A/C cooler. These took a little patience to get through both the radiator and A/C cooler. |
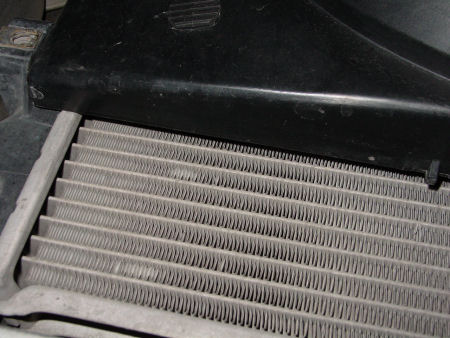 The fan left a 4" gap at the bottom of the radiator. But with the amount of air it moves it still keeps the engine cooler than the stock fan. |
 Here is the fan installed. |
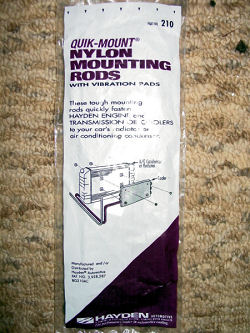 Nylon Ties I used to secure fan. You can get these at any automotive store. They are sold for mounting transmission coolers. |
HERE is a link to a recent addition to the fan. I installed a Variable Speed Controller on it. |
Installed Mopar PPH Headers.
They are polished stainless and are ceramic coated. The exhaust is all stainless from front to back.
I have a Pypes Cat and a Flowmaster 40 Delta Series Muffler in line ending with a polished stainless Flowmaster Tip.
 |
 |
 |
 |
 |
|
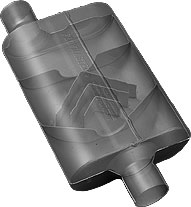 This two chamber design incorporates Flowmasters patented "Delta Flow" technology. The "Delta" deflectors result in increased scavenging for better performance and reduced interior resonance over the standard 40 series with a nice growl outside the vehicle. Sounds great on late model performance cars with catalytic converters. Constructed of 16 gauge aluminized steel and fully mig-welded for maximum durability. Interior is all stainless. |
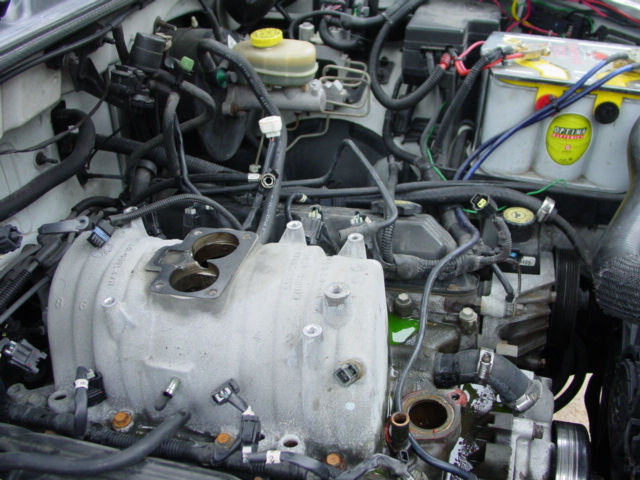
I did this Kegger Intake modification after reading that it takes away very little bottom end, though gaining a lot of upper end power.
The instructions are located [url=http://www.dakota-durango.com/forum/showthread.php?t=58960&highlight=kegger]HERE[/url].
 Cut them down with dremel |
 Here is the attachment I used, a cutting wheel |
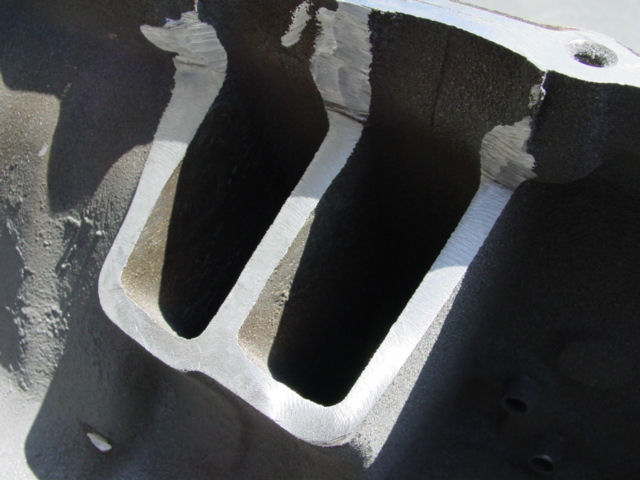 Closer view of them cut down |
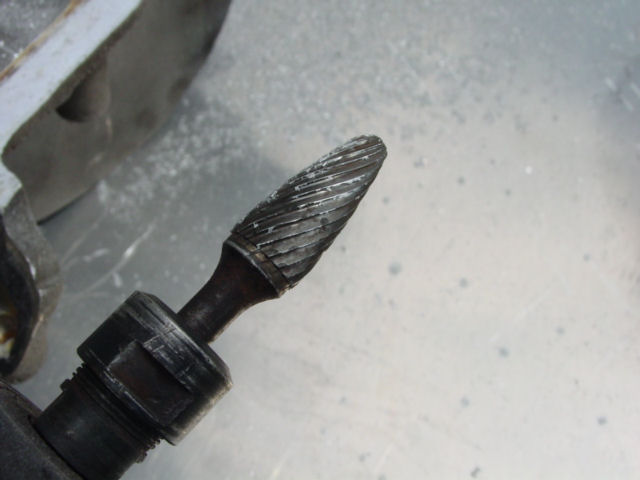 I used this attachment to bevel the edges of the cuts |
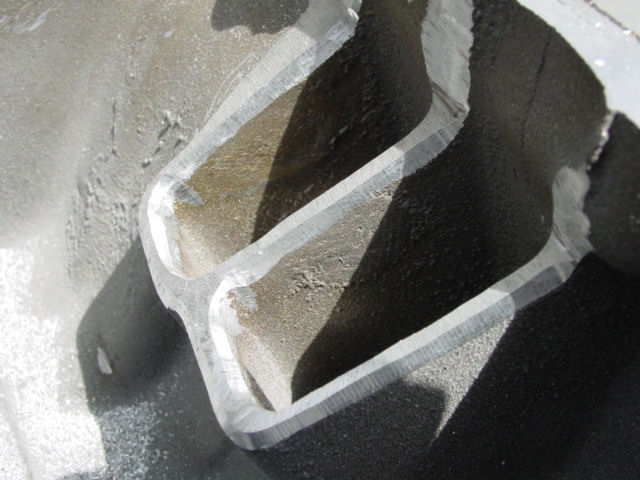 After beveling them |
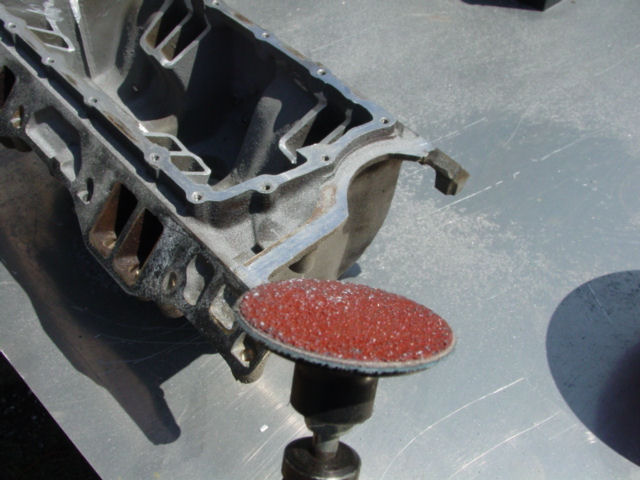
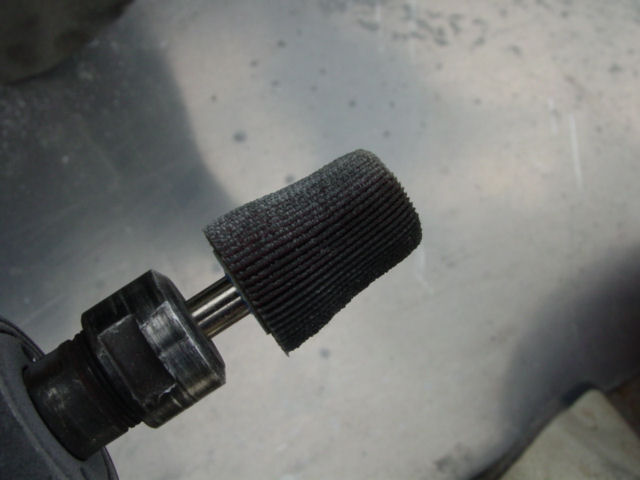 Then I used this sanding attachment to start smoothing the cuts and polishing the gasket ports and injector ports |
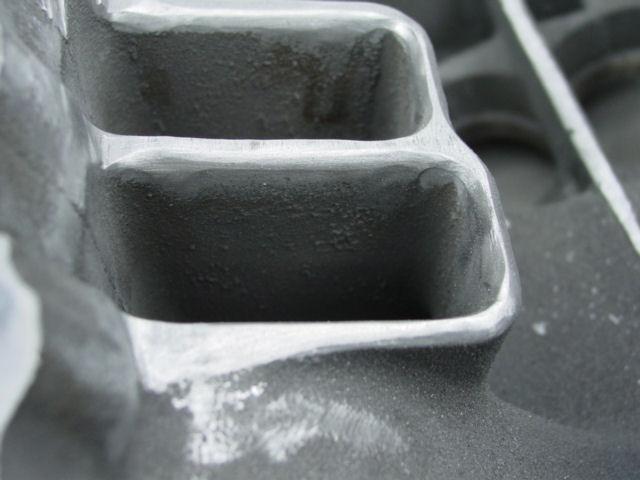 |
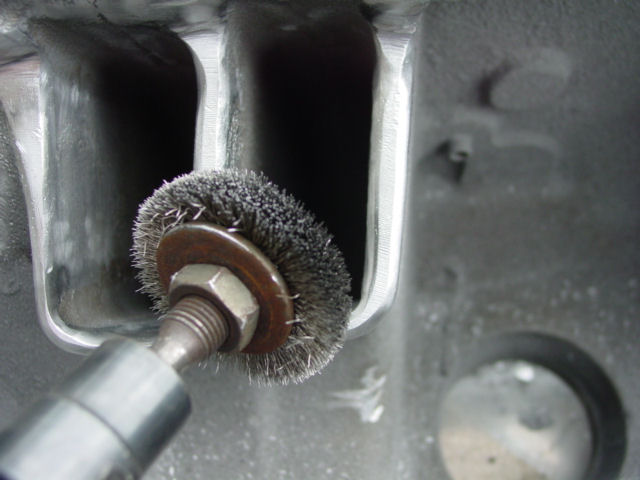 Then used this wire wheel attachment to further polish and smooth everything. Plus down into the tunnels as far as I could get |
 Then I bead blasted the outside |
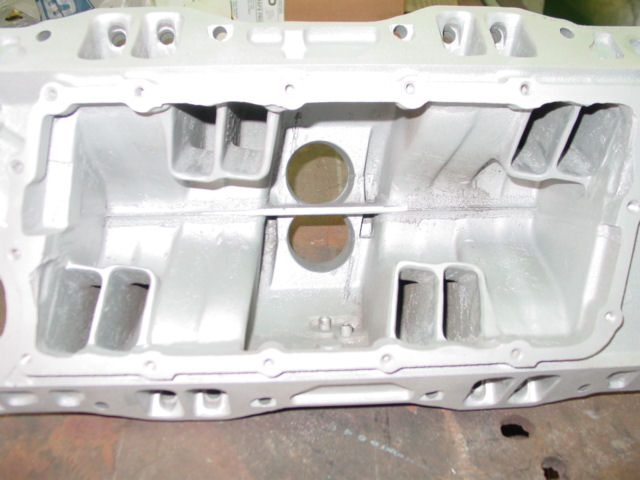 Also bead blasted the inside |
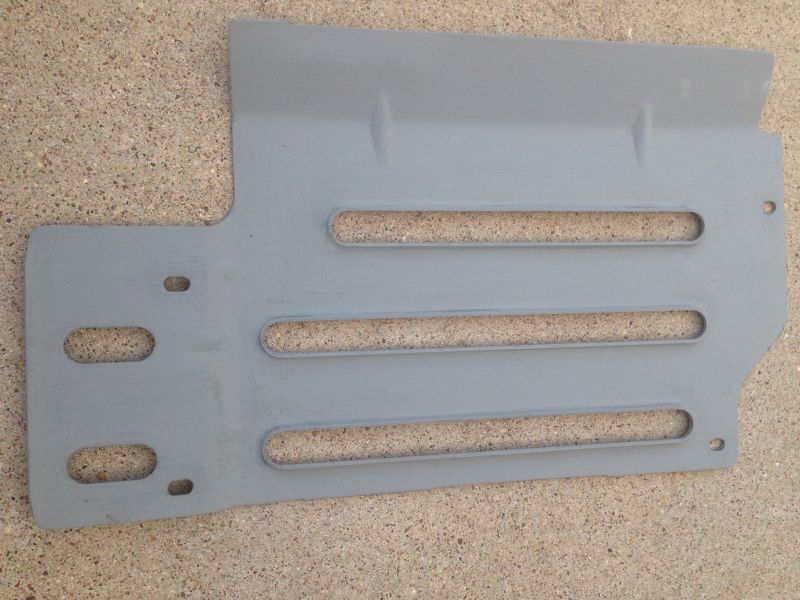
Ready for primer |
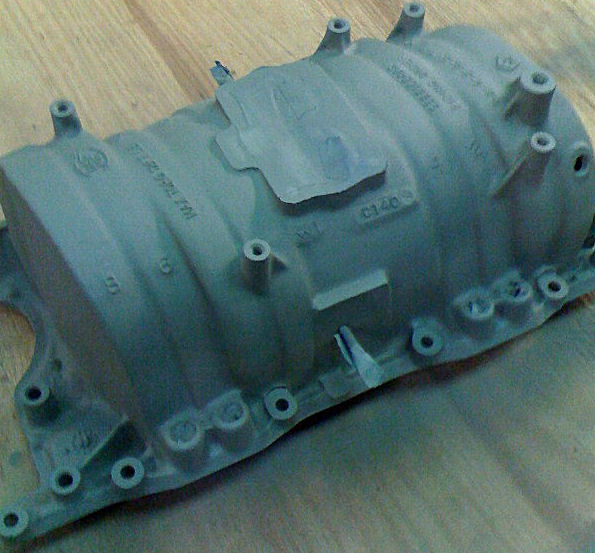 Shot it with self etching aluminum primer |
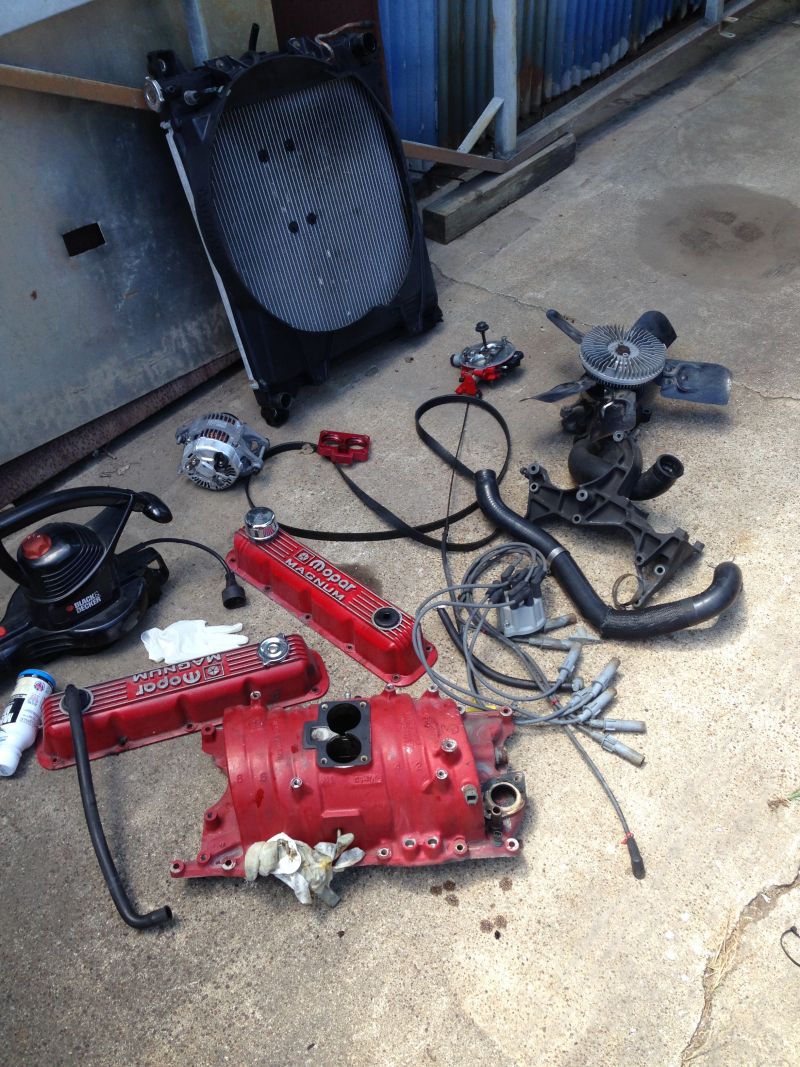
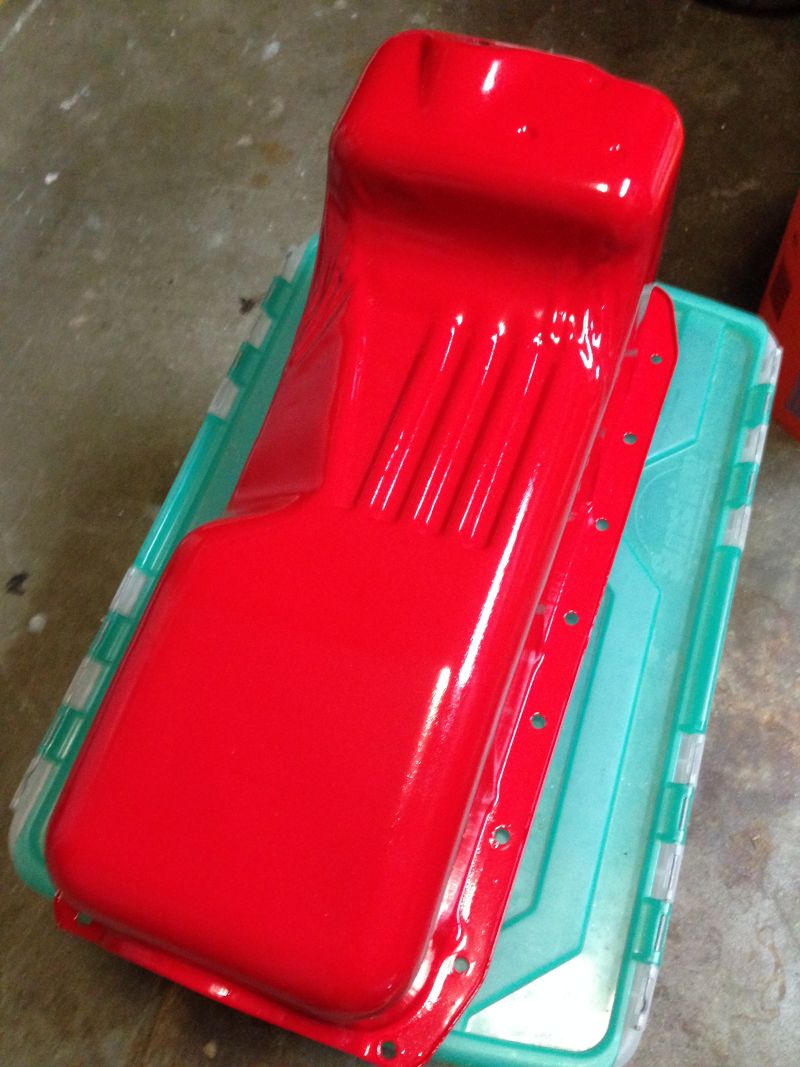
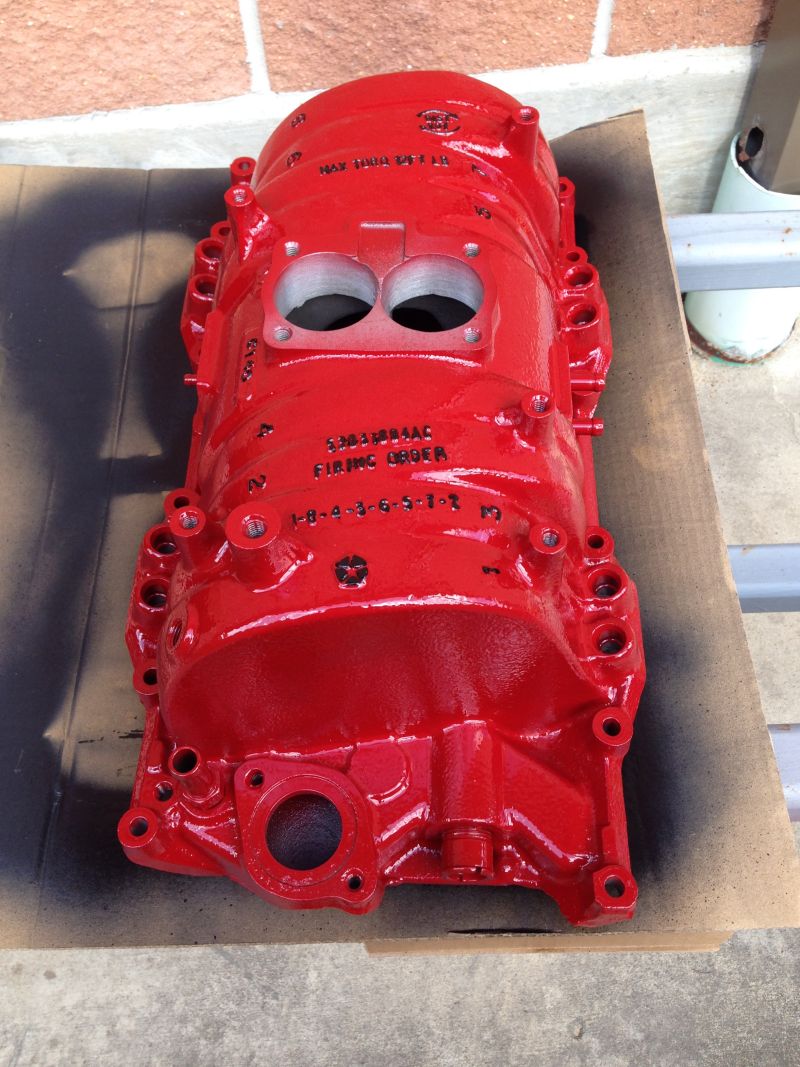
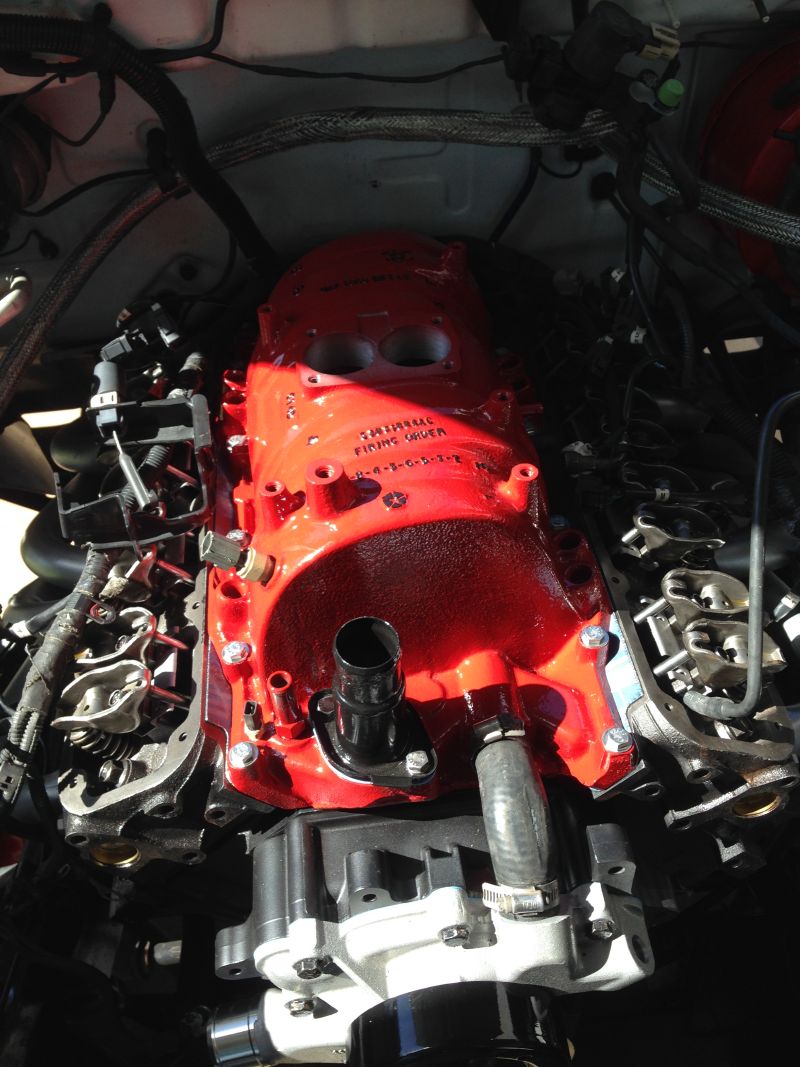
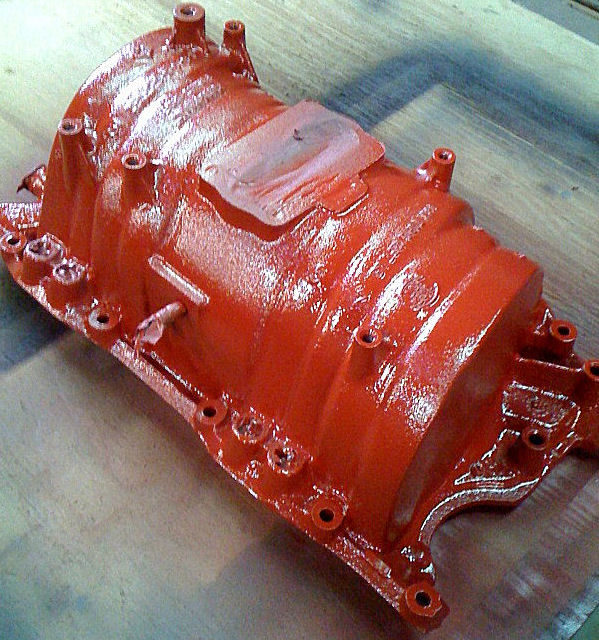 Then shot it red |
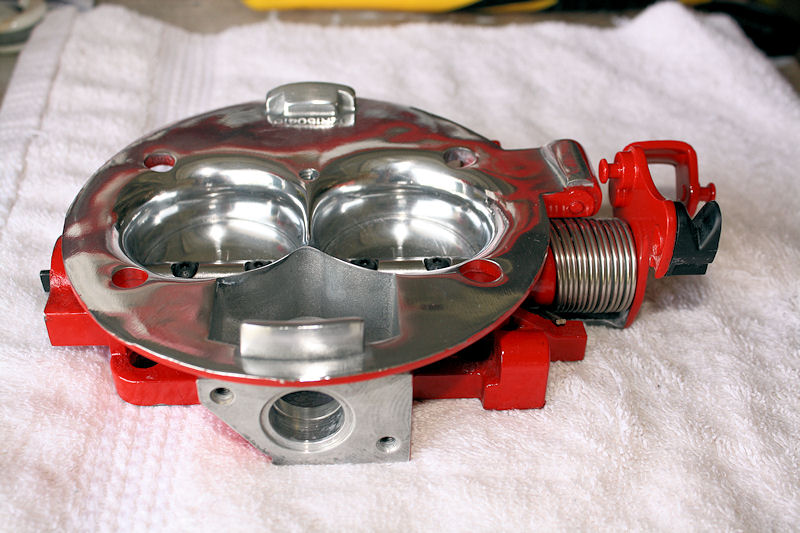
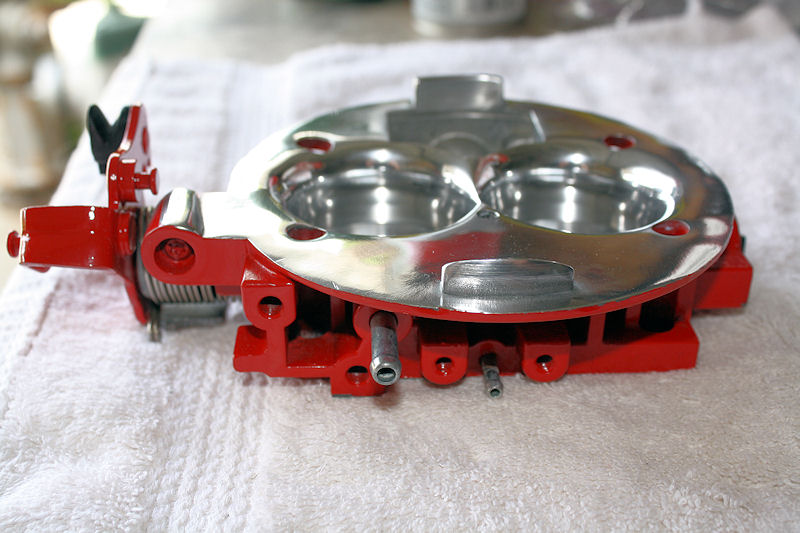
Throttle Body, ported and polished by [url=http://www.dakota-durango.com/forum/member.php?u=4748]bwdakrt[/url] on the Dakota Durango Board
And yes, when I posted this picture after I shot it red, it was pointed out to me that the linkage was installed upside down when I put it back together.
 |
 |
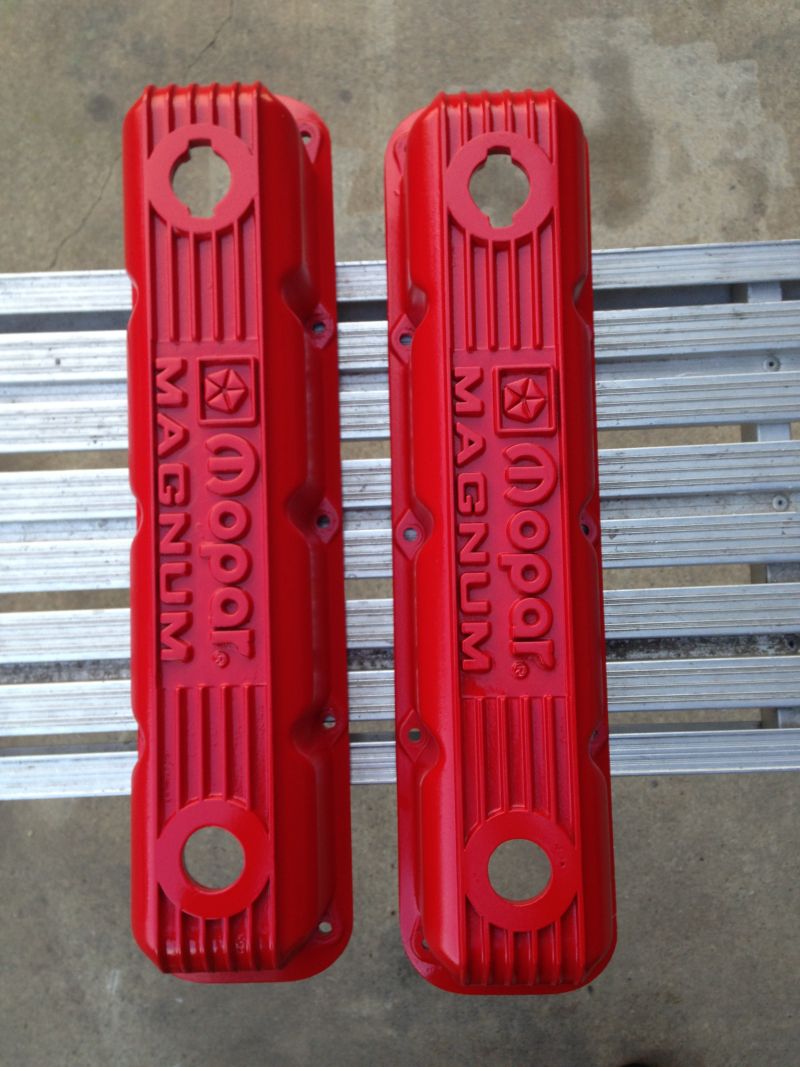
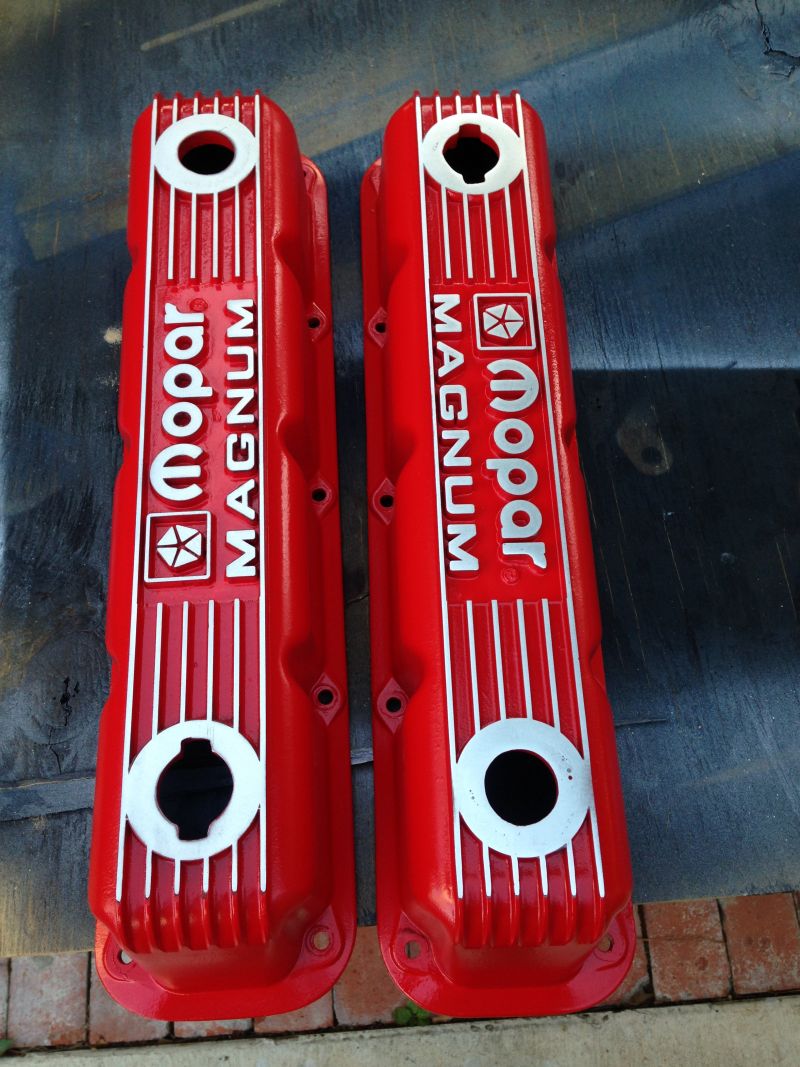
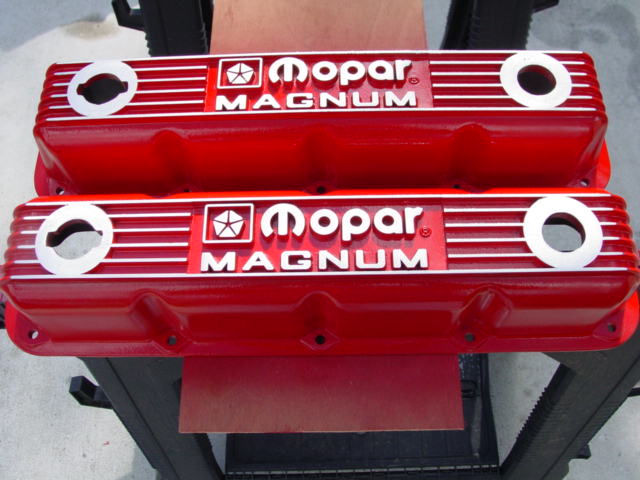
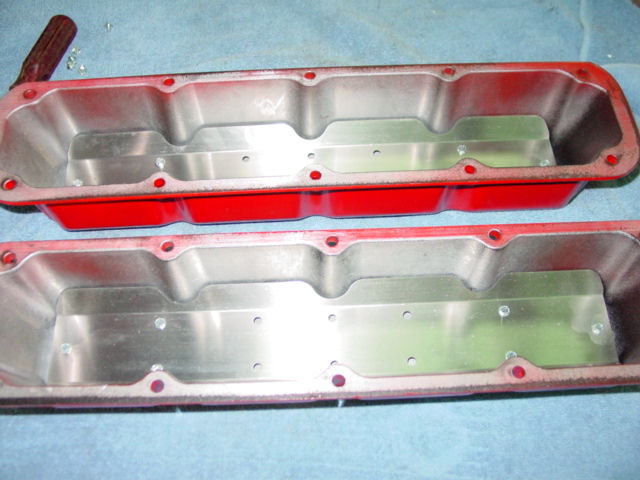
They were wrinkle black, so I bead blasted them, shot them red and then used a belt sander to bring the letters back out to original looking.
I also install full oil baffles inside them instead of the 4 small ones that came with it.
 |
 |
 Before |
 Before |
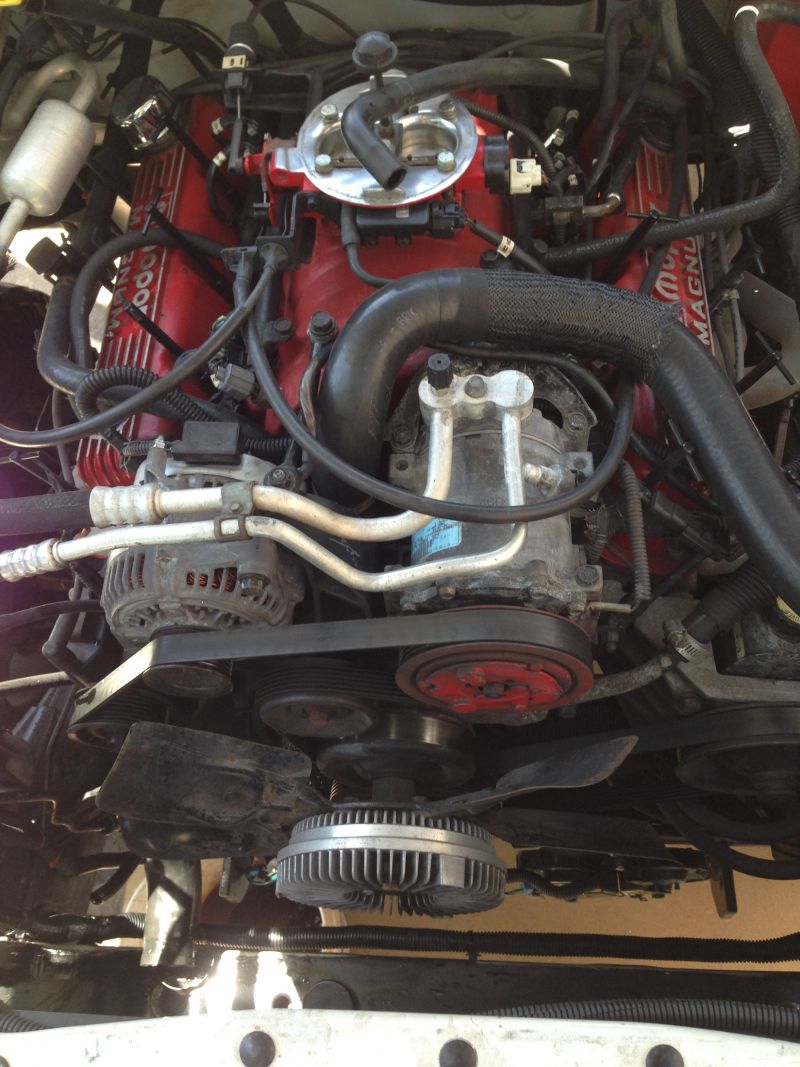
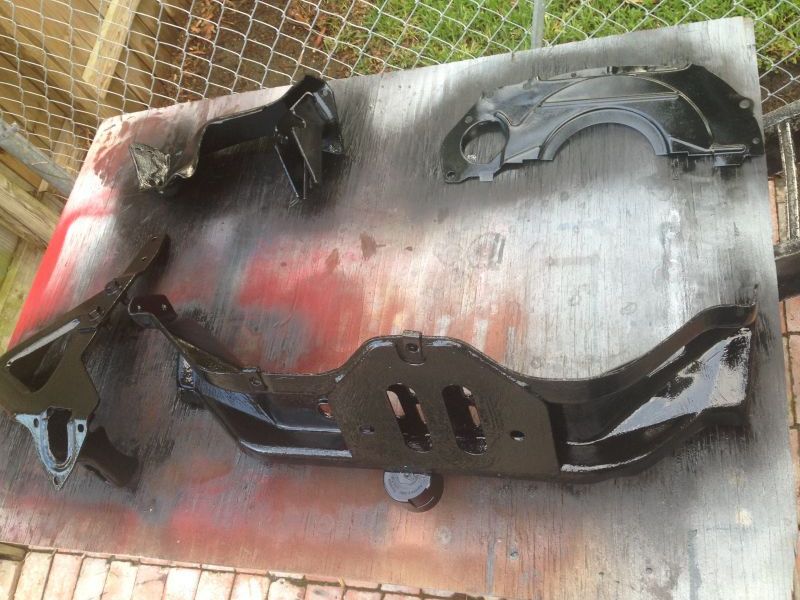
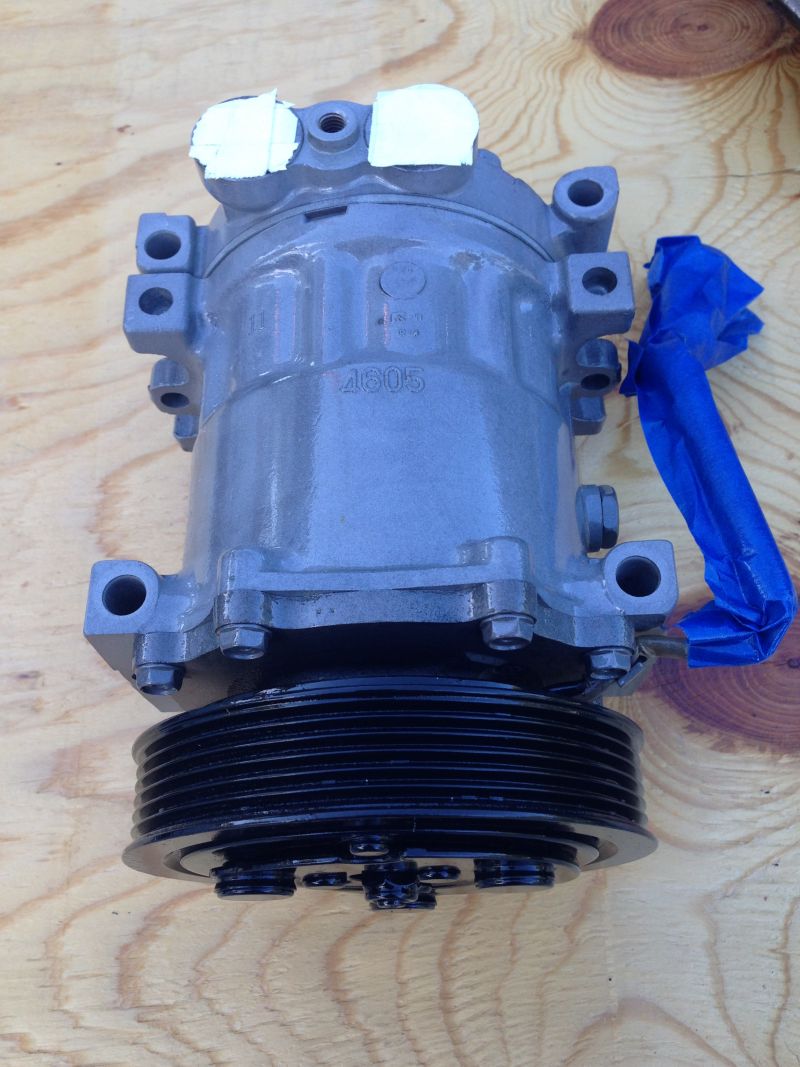
 After removing old throttle body, alternator, a/c and bracket, I also removed injectors along with injector holder, so I could paint it black. |
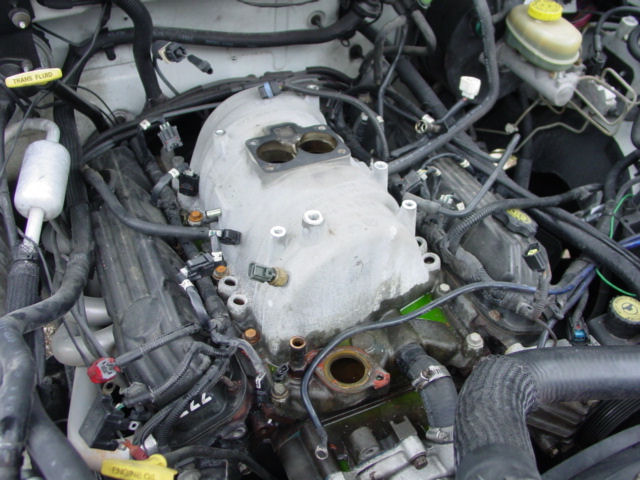 |
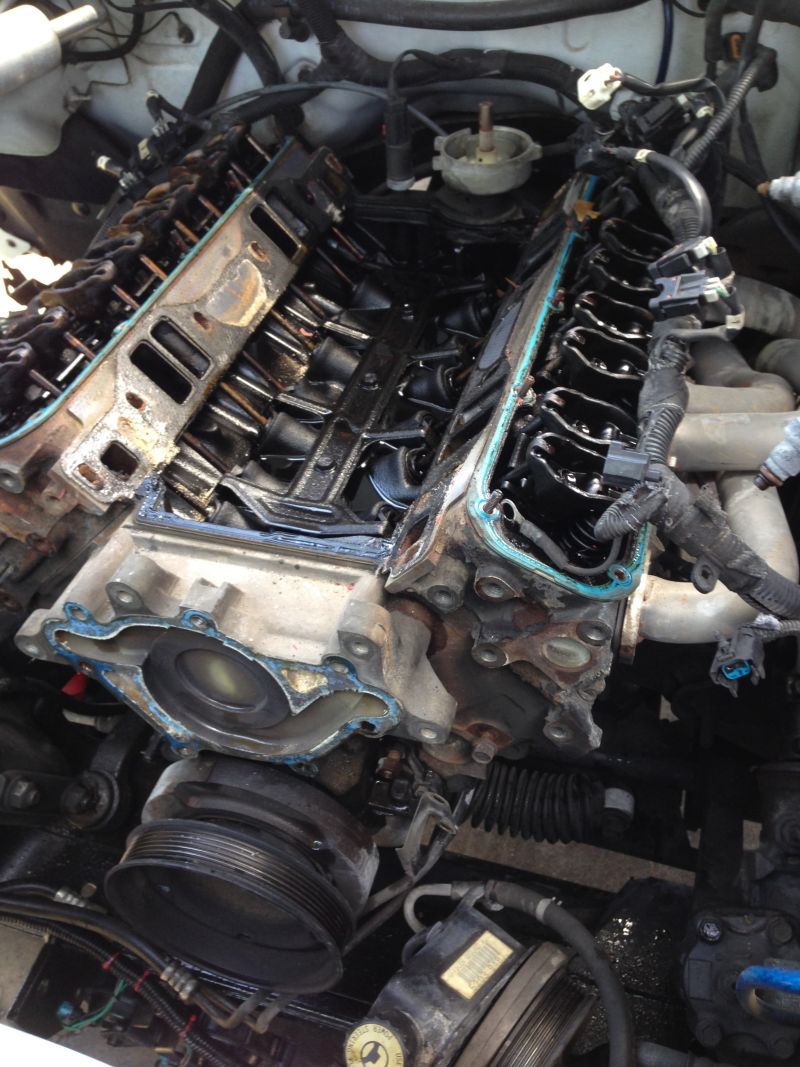
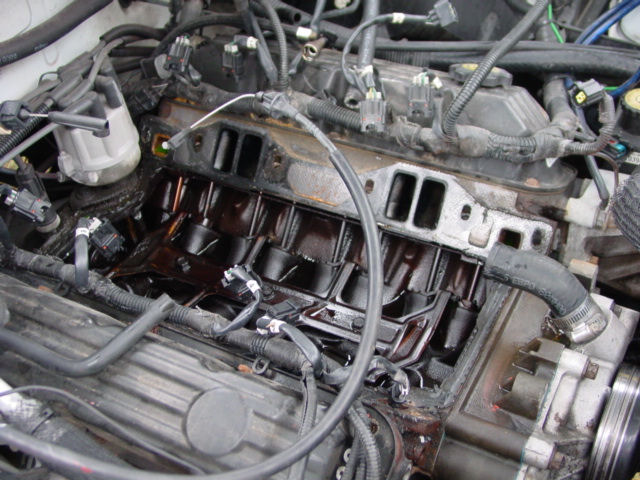 Old Kegger gone. You can see a lot of oil buildup around the Distributer, seems the Kegger had a nice leak back there. |
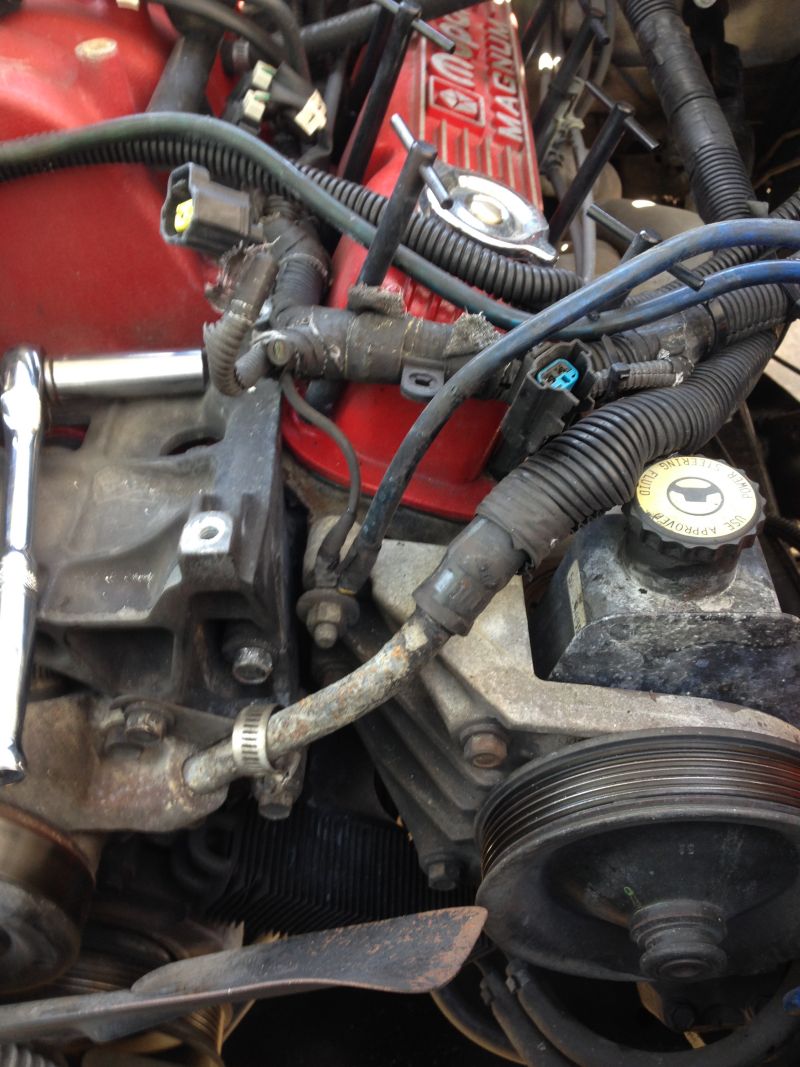
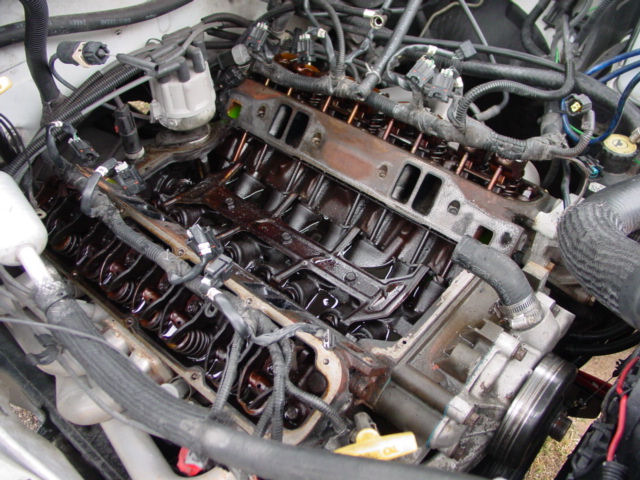 Old Valve Covers gone. I also cleaned up around the Distributer real good. |
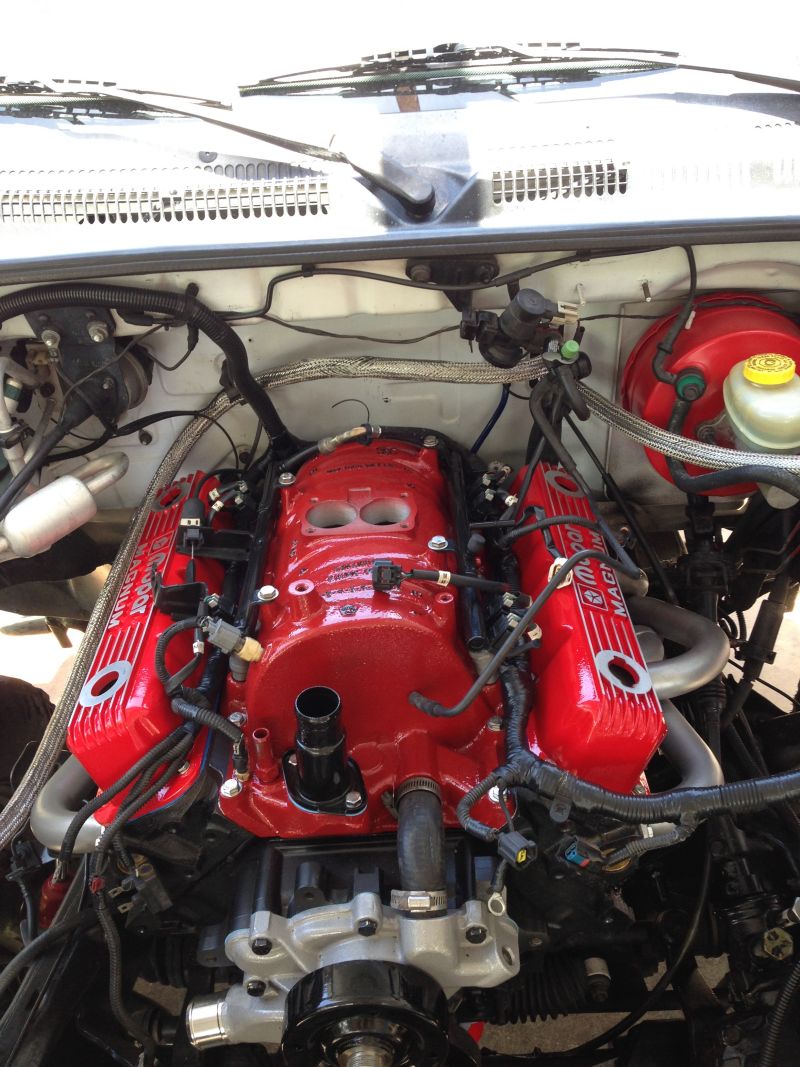
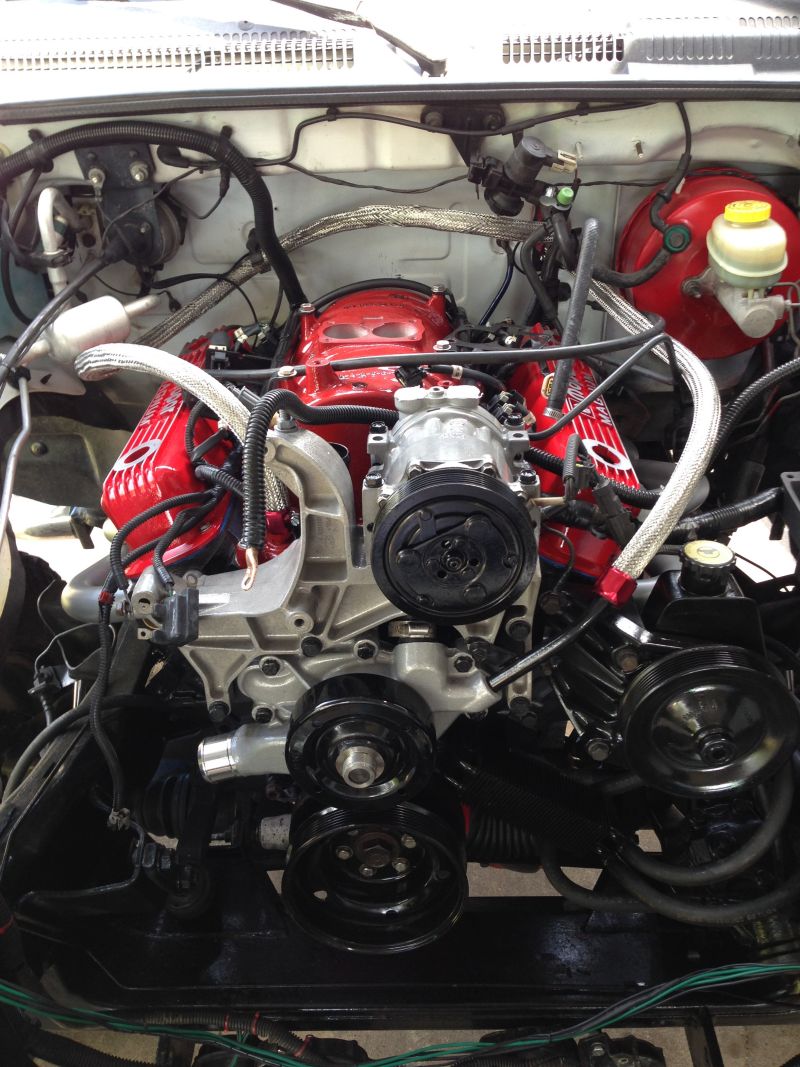
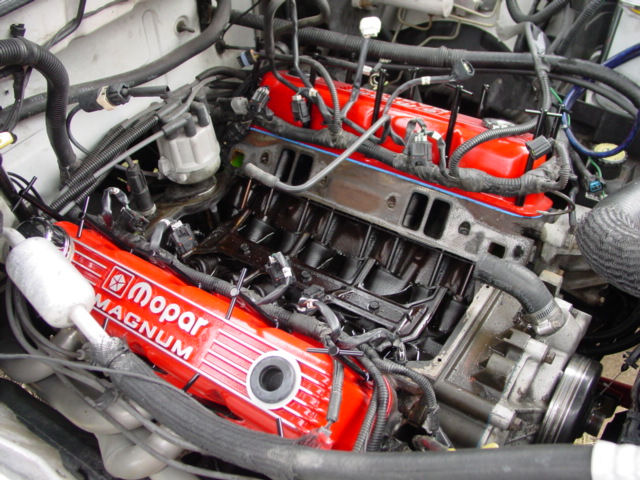 Mopar Magnum Valve Covers in place. I used aluminum powder coated t-bolts to hold them down. |
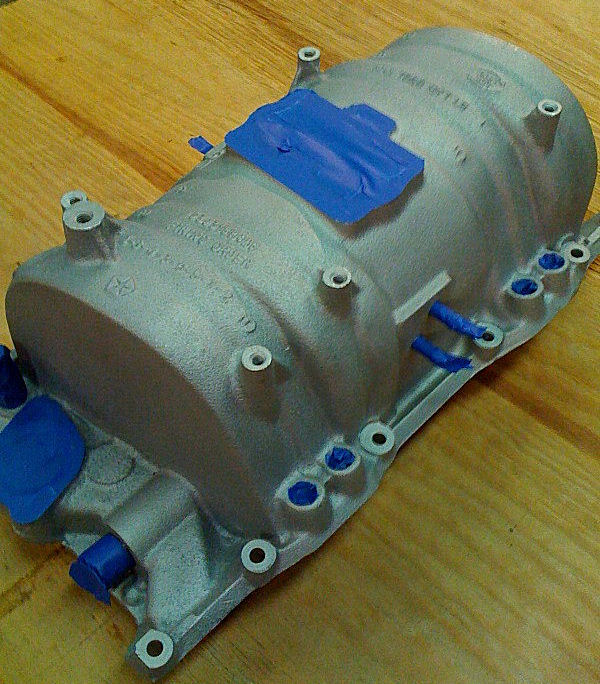
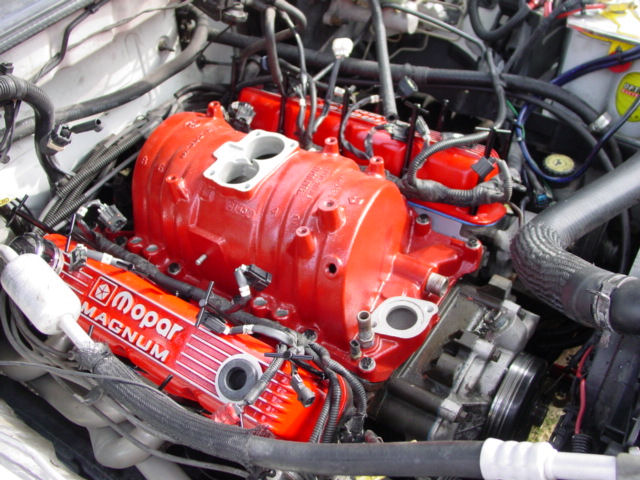 New and improved Kegger in place |
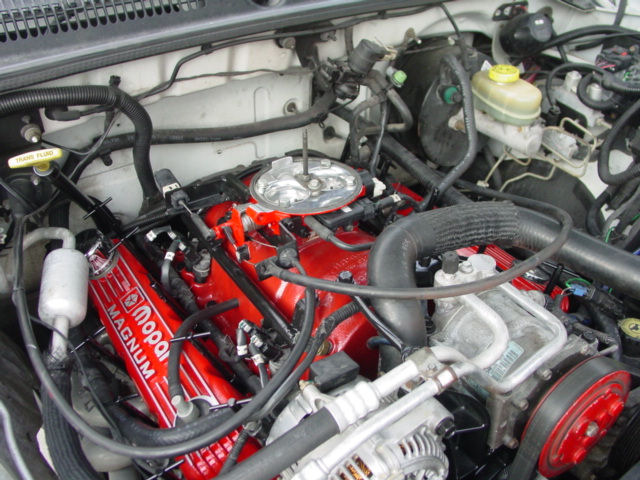 Almost there! |
 Finished and cleaned up! |